002 Intro to Screen-printing

I first learned printmaking during my diploma at college. This was during the Covid-19 pandemic. Being unable to teach in-person workshops, the college was forced to ask us to complete the unit from home. This meant no access to screen-printing equipment or a printing press for etching/intaglio. We made do. I remember my bedroom being full of the many experiments needing to dry. I practiced linocut, mono-printing and collagraphs.

Now in week 1 of university, I was finally introduced to the art of screen-printing. The only thing I had previously been told about screen-printing, was that you needed to use your muscles and that the end result would be something flat in block colours. They were wrong about the work looking flat. Our lecturer Caroline showed us some examples of screen-prints and I was surprised to see the delicate lines and layers of the work.
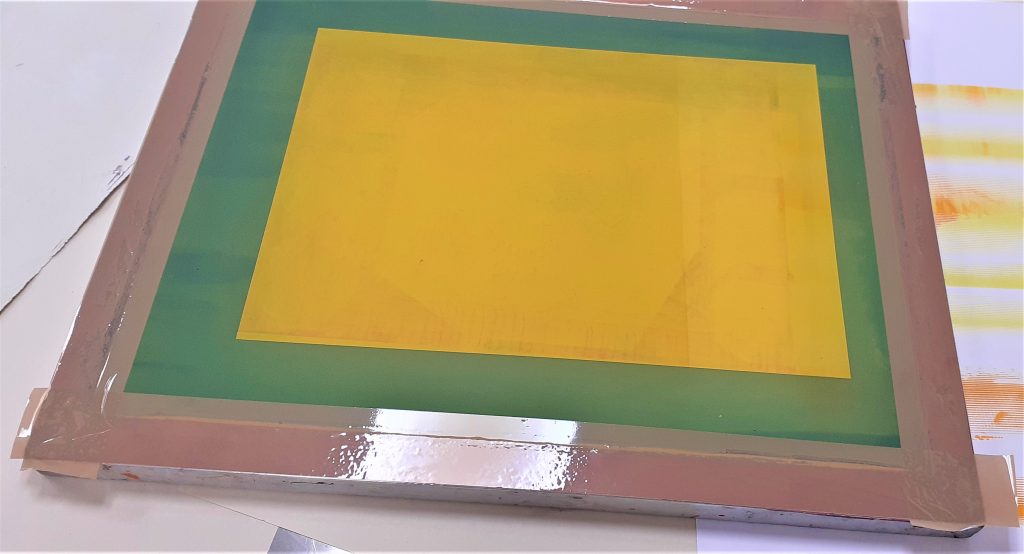
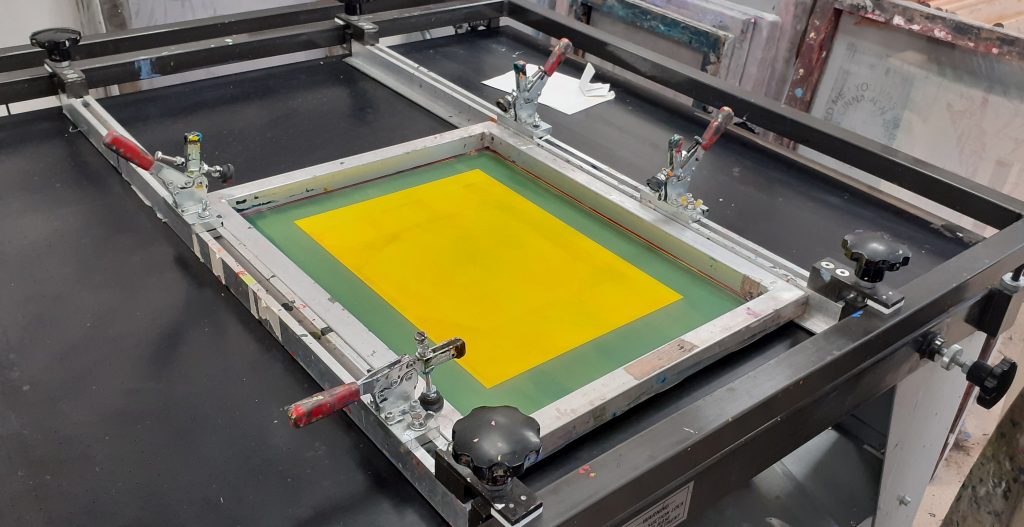
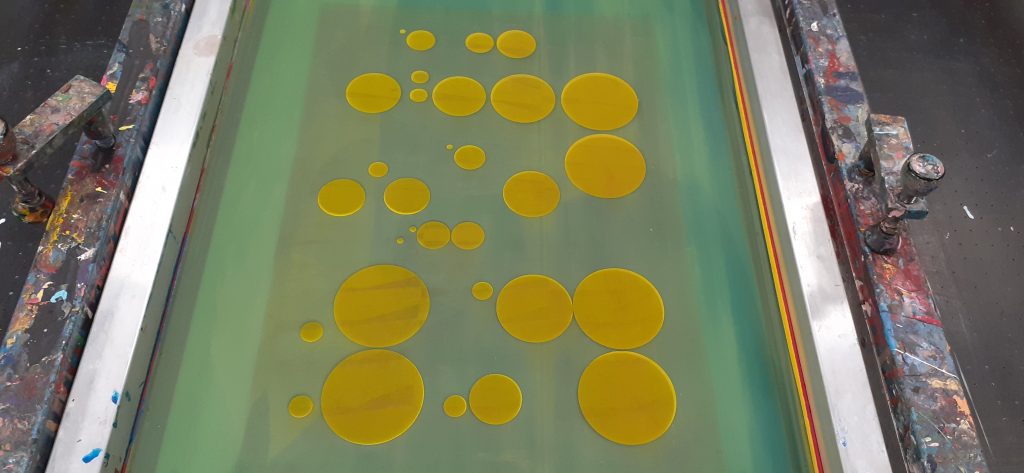
Taping around the edges of the screen ensures you get clean edges and stops ink leaking through where you don’t want ink.

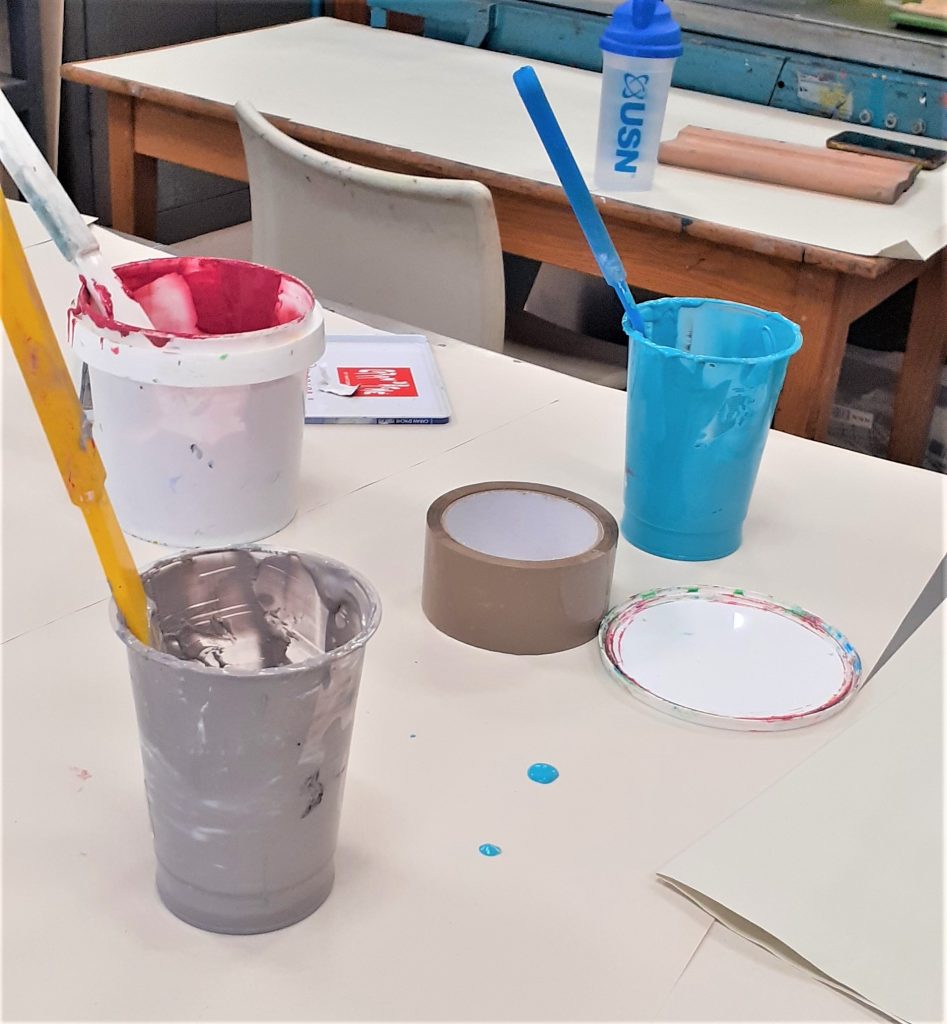
We used acrylic paint mixed with a binder. Adding more binder makes the paint more transparent. This is useful if you want to create a subtle layer.
When screen-printing, you need the screen to be held still when pulling the ink through. This machine is useful if you are working by yourself, as the vice is holding the screen. There is a sucking mechanism within the table that pulls the paper tight and holds it in place. A flat surface is also essential when screen-printing onto paper.

I came across several challenges in this first workshop. These challenges helped me to learn what to do next time. For example:

  • It was better to use too much ink on the screen. Excess ink could be removed, but too little ink meant that the screen would not be covered.
  • Using a clean, dry squeegee after the initial pull made sure that excess ink was removed and helped to push the ink through to get a better print. I noticed that the prints where I didn’t do this, were paler.
  • I found it difficult to print at the centre of the page. I later learned how to solve this issue.
  • Ink can gather at the edges of the print. If left to sit there, It can seep through and smudge the edges.
  • When using the vice machine, I needed to lift the screen and ‘flood’ the screen with ink, before setting it down to do the actual printing. When I failed to flood the screen first, the print did not turn out well.

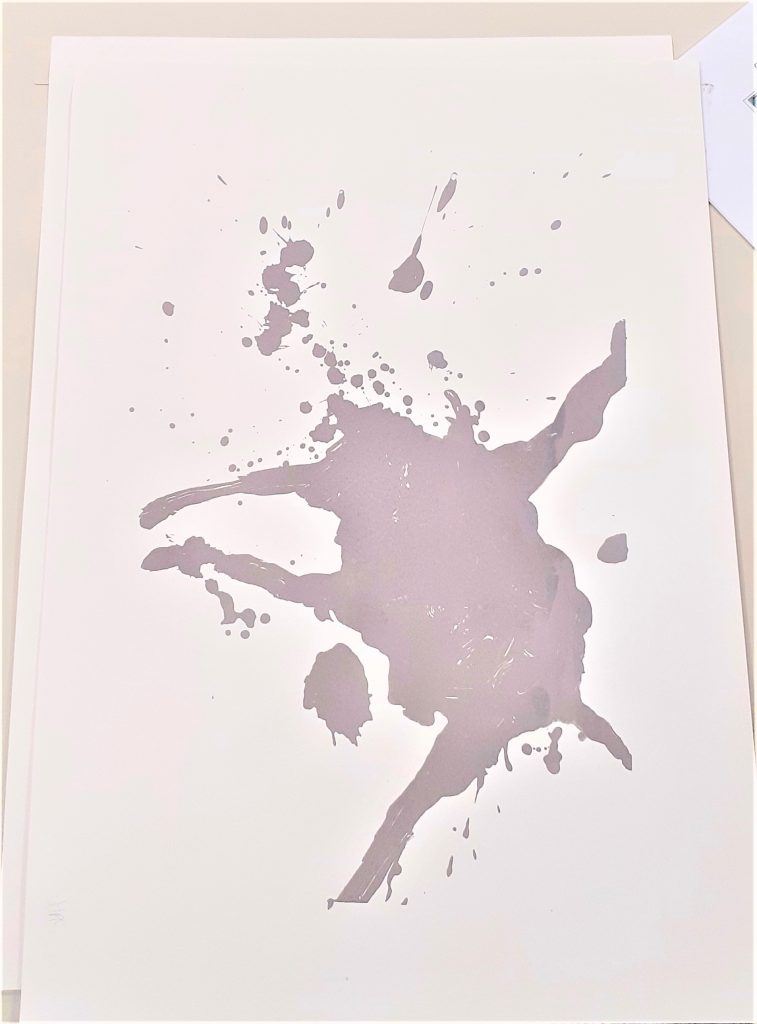
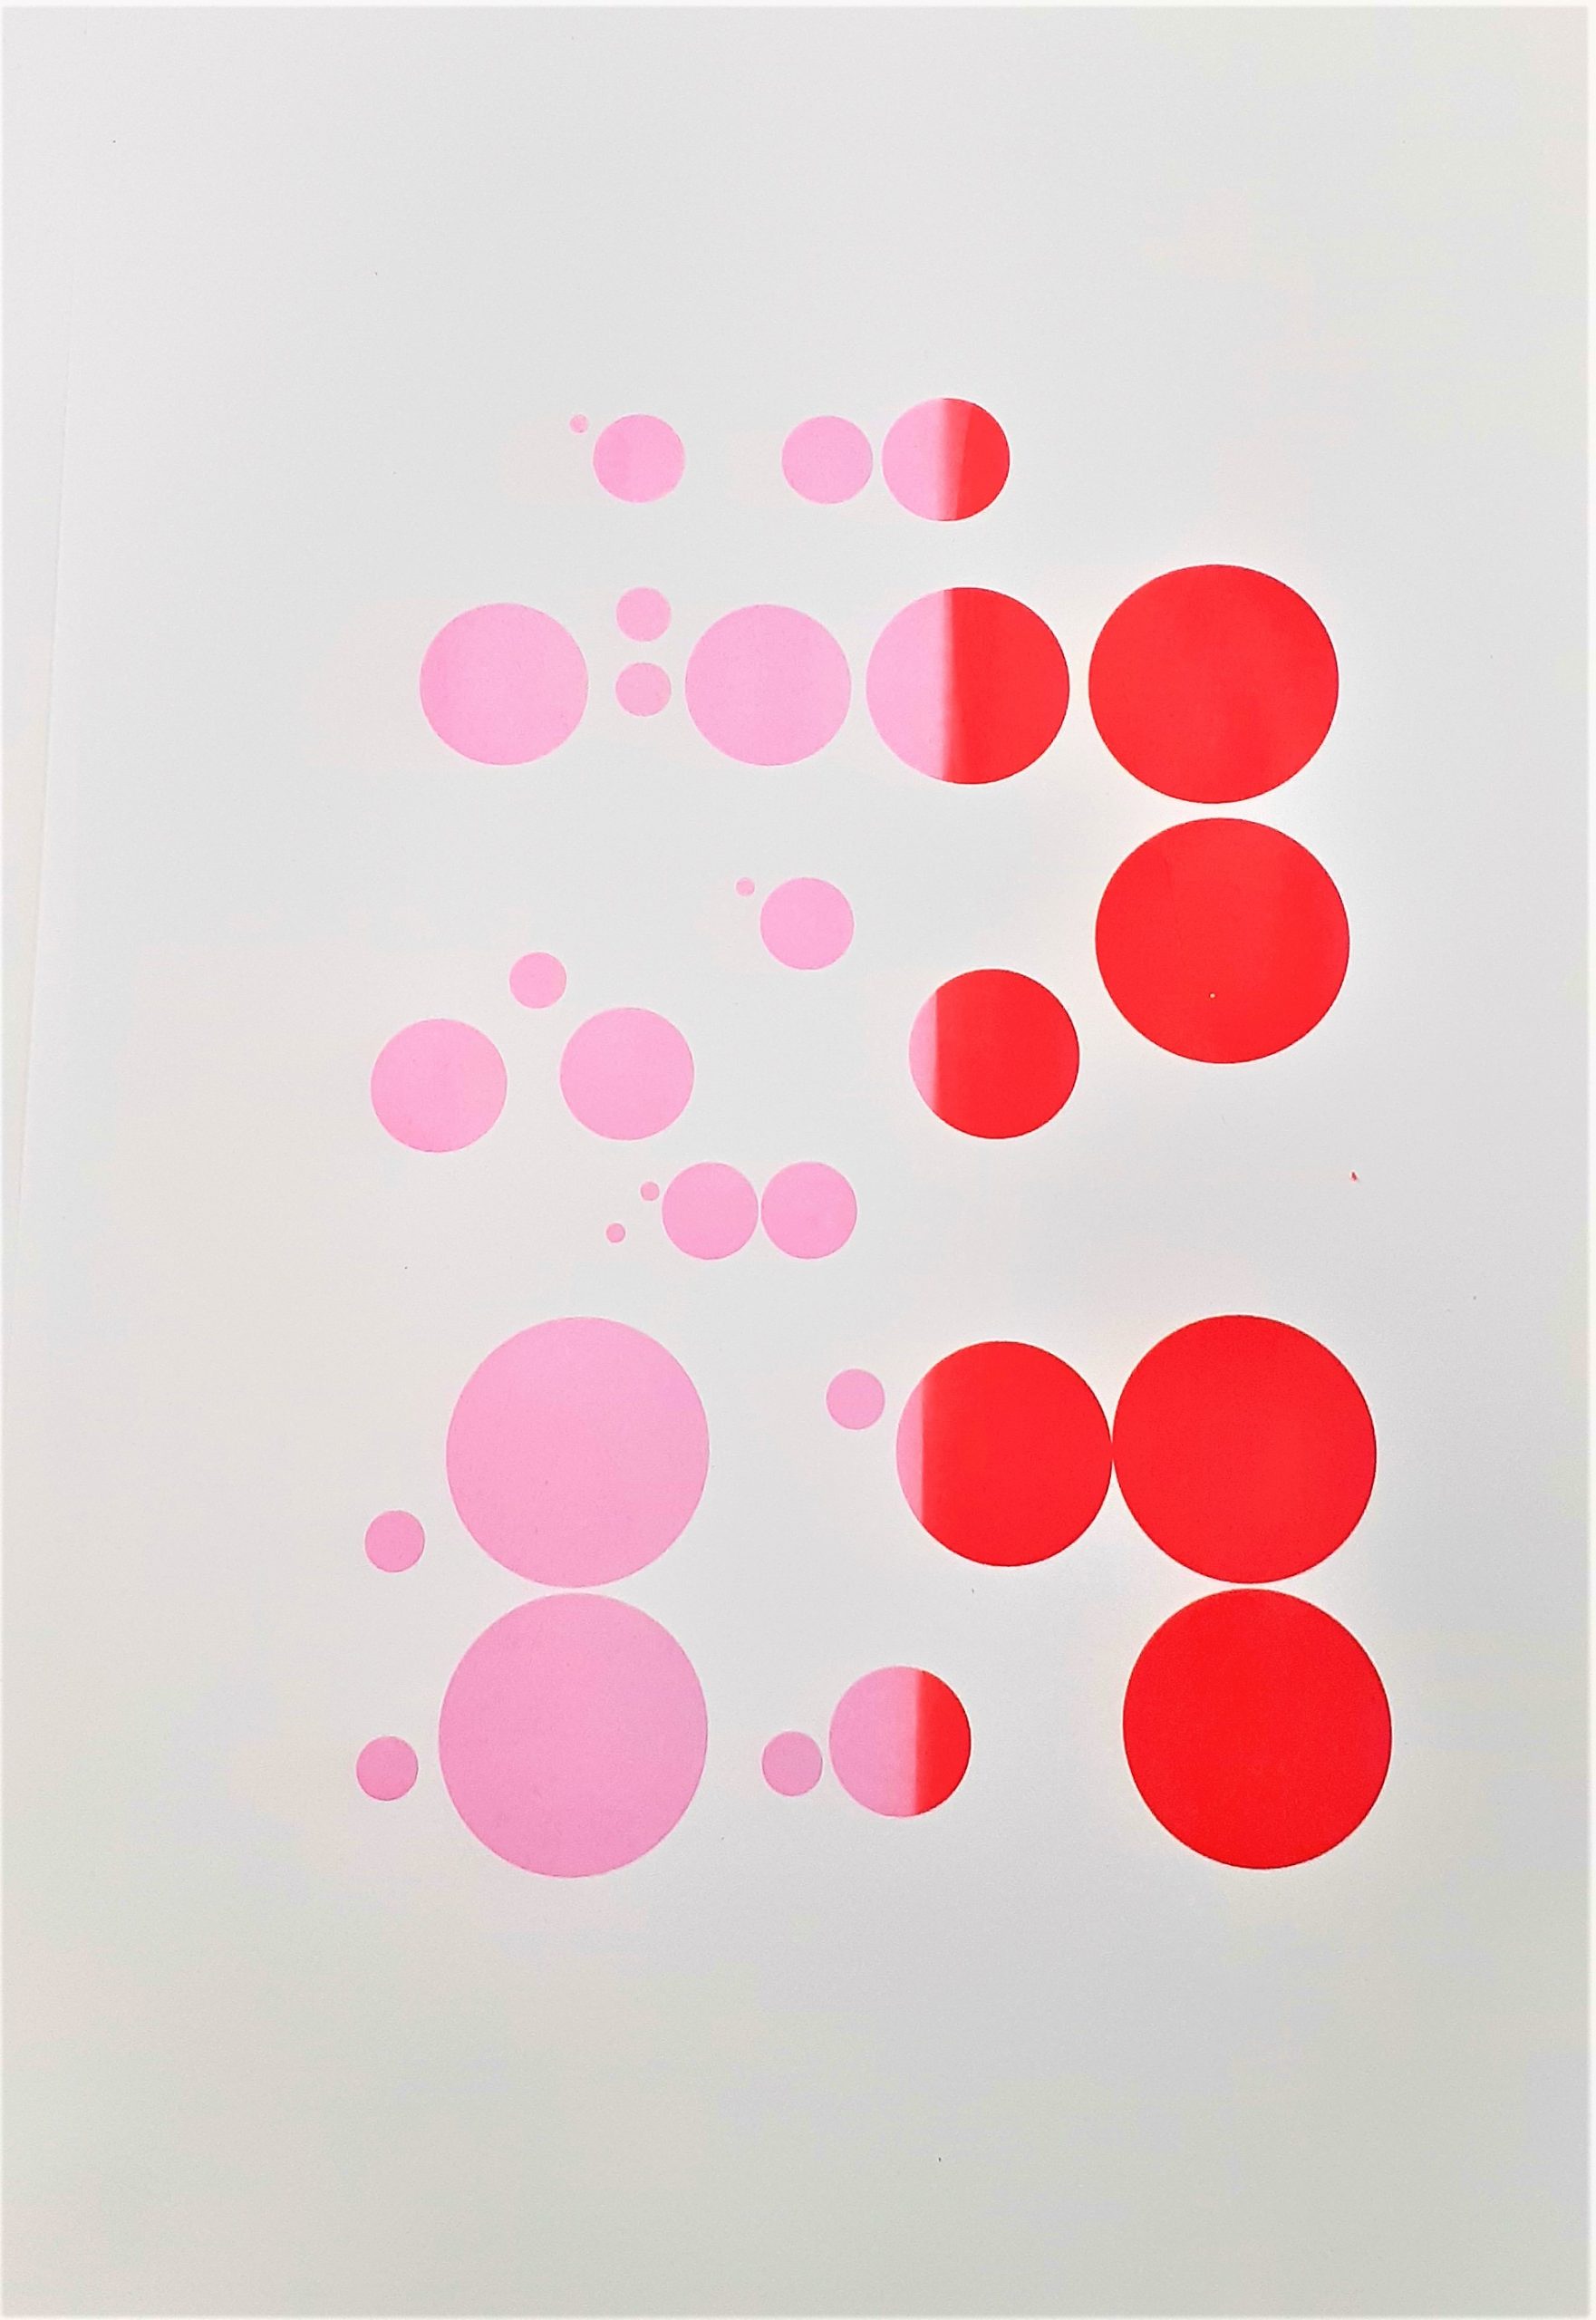
In this first workshop, we were printing the backgrounds for future compositions.

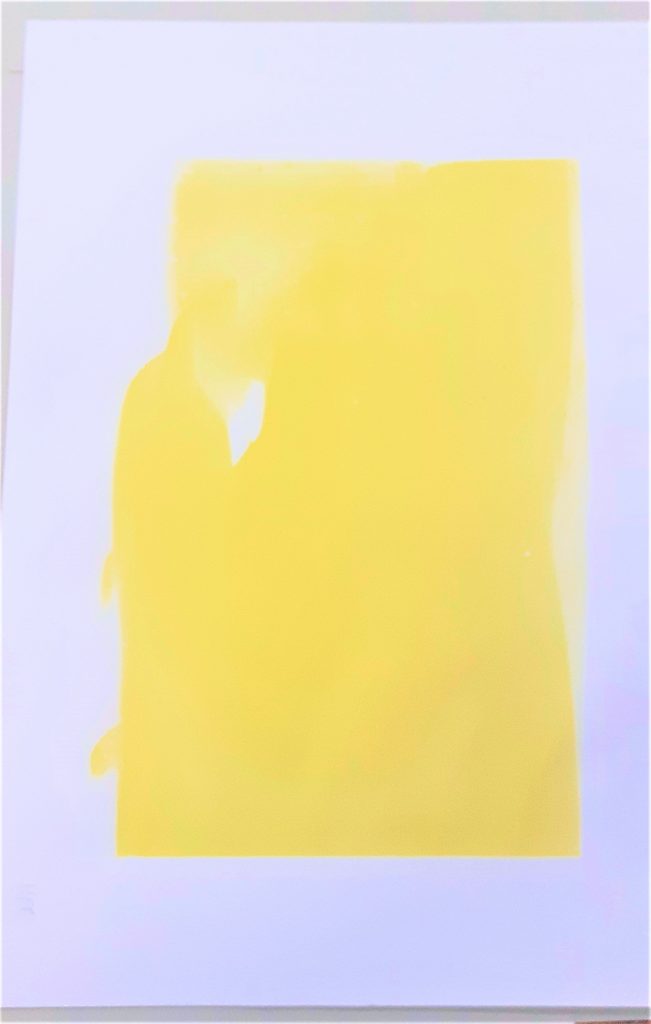
My initial attempts:
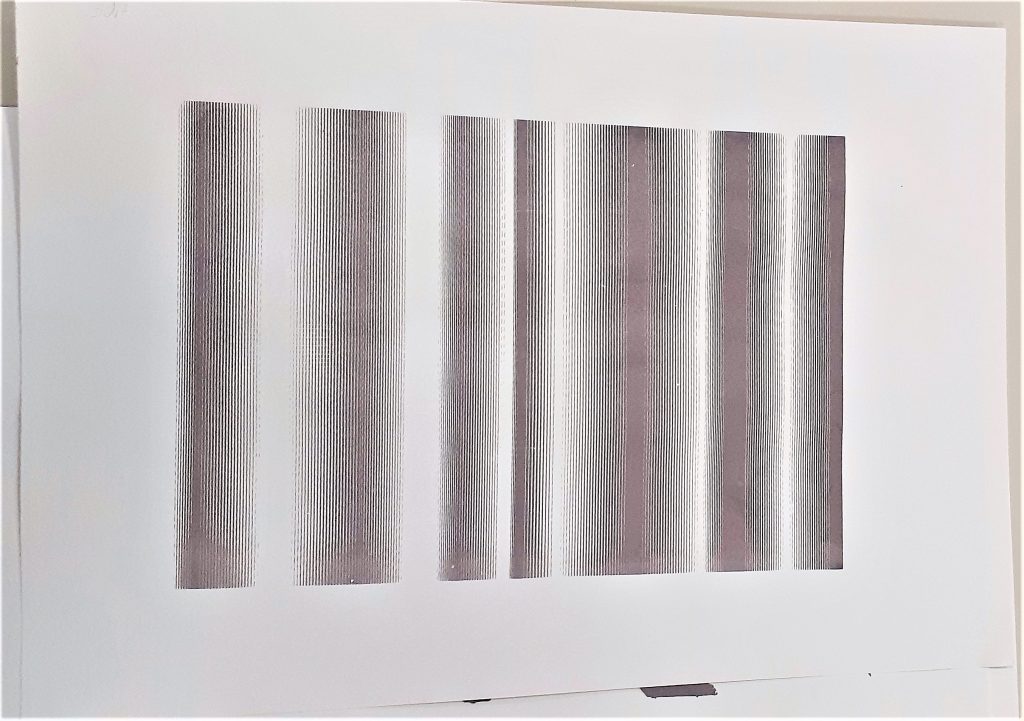
When making this print, I did not flood the screen first, which is why the ink did not come out as a perfect rectangle.

The following week I went back to the workshop to get some more practice. There was a lot to learn in the first session and I finished the session with just 3 workable prints. I wanted more backgrounds to work on in our next session with Caroline. I was happier with my prints the second time around. They were not perfect, but I learnt how I could improve.
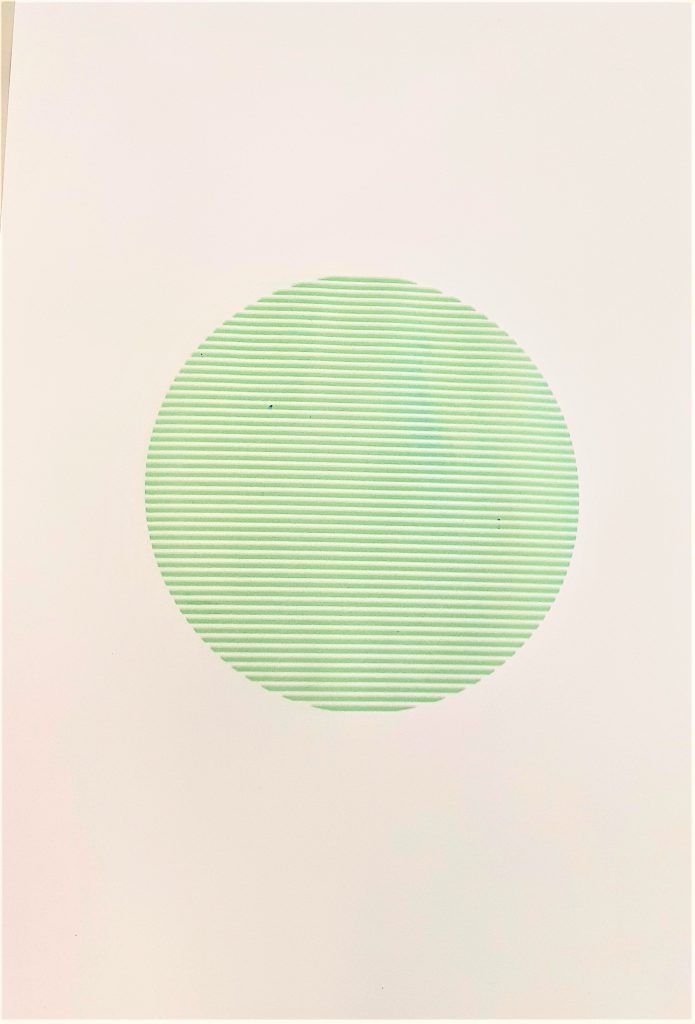
This print has a double-line effect. This is where I lifted up the screen and must have placed it slightly out of line before pulling more ink through.
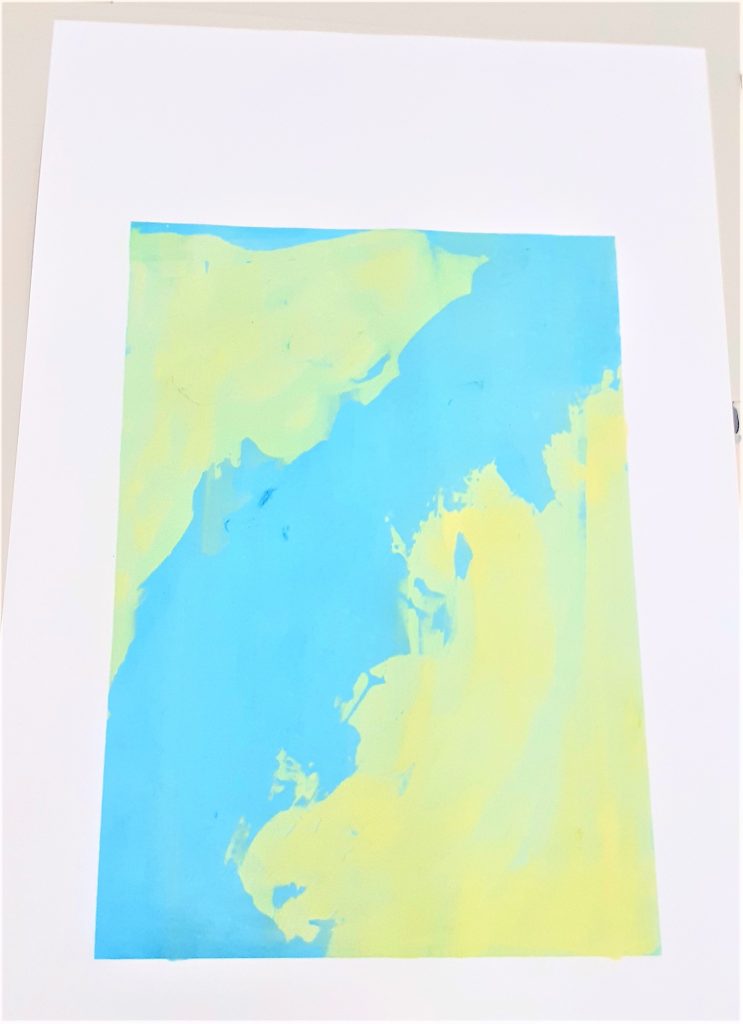
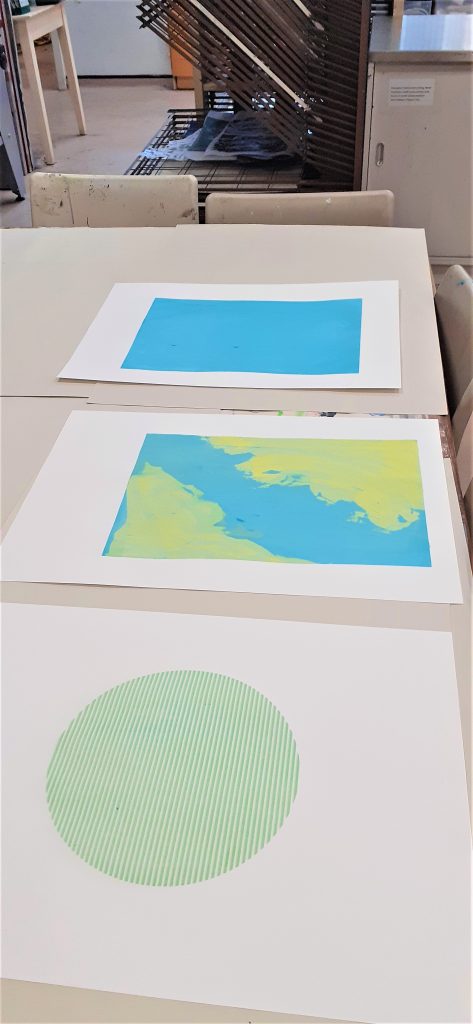
For this print, I used a paintbrush to apply yellow and blue paint onto the screen. As the ink was pulled through the screen, the colour merged.
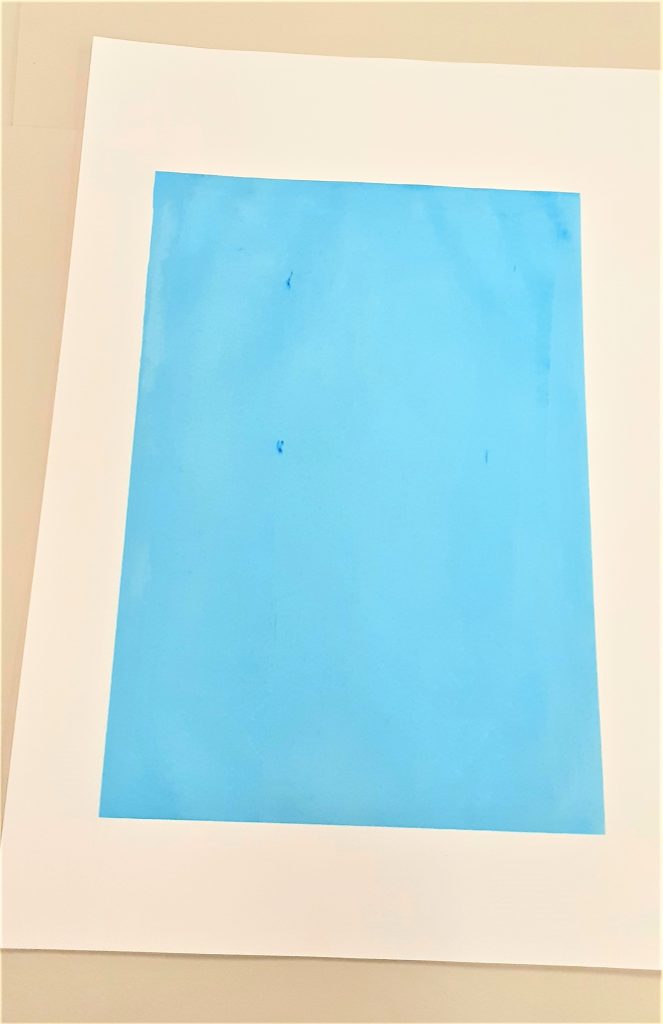
I wanted to make a plain background. I am happy with the neatness of the print overall. However, there are some spots of dark blue. This is where the paint was not mixed properly.
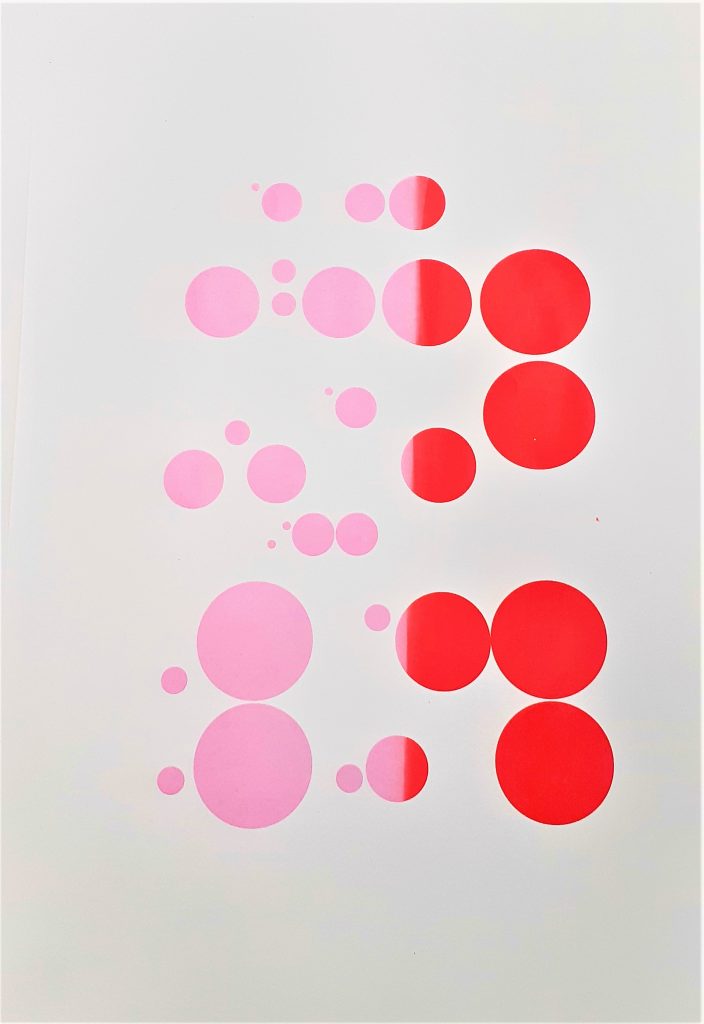
I used 2 colours in this print. I wanted to see how the colours would merge together. There were a couple of spots of dust that had landed on the print. When I removed the paper, the dust moved and therefore moved some of the paint across the page. This is something I could not have avoided. There is dust in a workshop and there is little we can do to avoid this.

In this session, I learned to align the print at the centre of the paper. To do this, I used print-outs of the original digital designs.
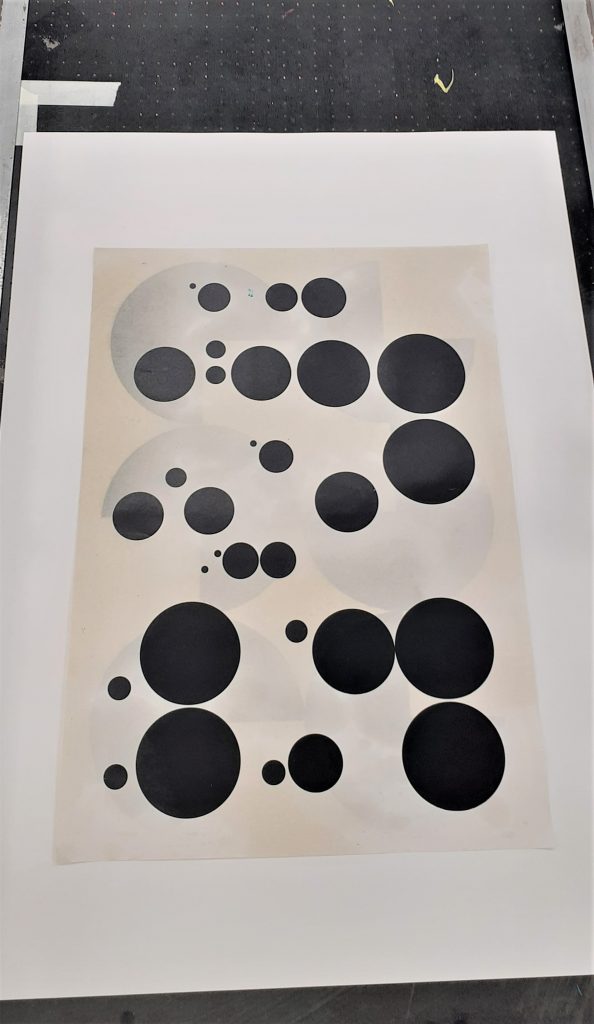
The design is the size of the screen. I placed the design onto my paper. The gives me an idea of where I want the design to be printed.
When I place the frame into the vice, I can see the design underneath and therefore use this as a guide to align the screen accurately.
Seeing my prints together, I am reminded of a globe, a country from above, and the ocean.

003 Artists & Words

I was interested in looking at how words can affect the meaning of an image or sign. Words are signs in themselves. To combine them with images can change the meaning completely, emphasise the meaning, or create a sense of irony and humour.

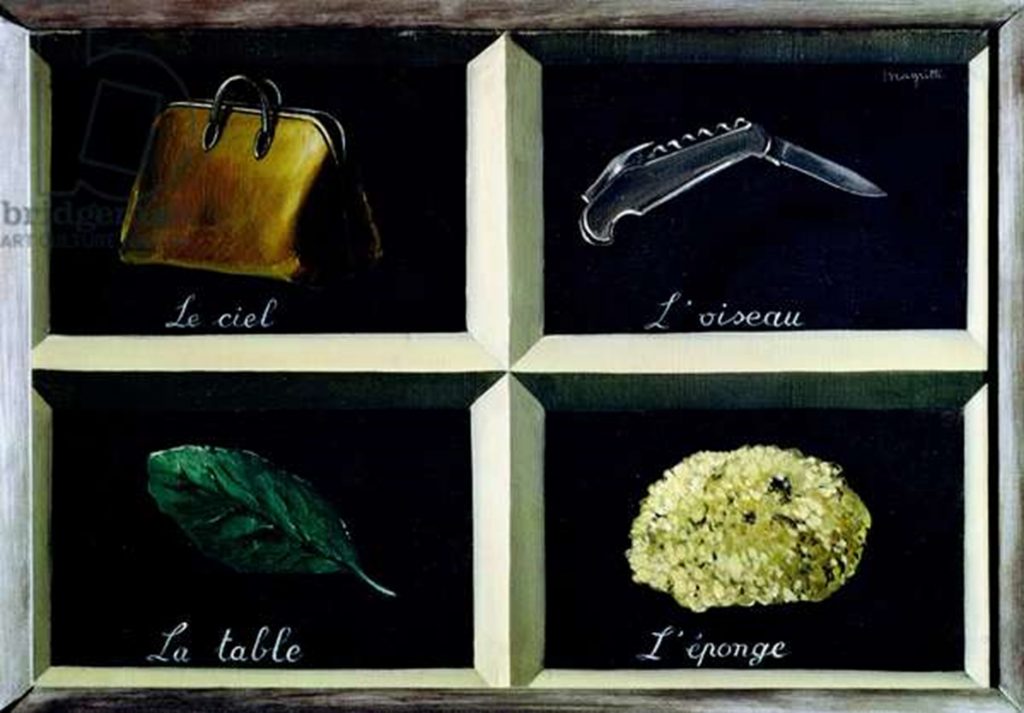
First, I looked at They Key of Dreams by Rene Magritte:

First, I looked at They Key of Dreams by Rene Magritte. In this painting he presents the viewer with a selection of different objects, divided by frames. The division gives us a sense that the artist doesn’t want us to connect the meanings between objects. The painted representations are detailed and realistic. Because of this, they could be considered icons.

A bag, a penknife, a leaf and a sponge are all common items. A sponge and leaf are natural, and the bag and knife are man-made. He then gives them inaccurate labels: Le ciel is the sky. L’oiseau is a bird. La table is a table. However, L’eponge is the sponge, which he labels correctly. In giving these objects different names, the viewer is led to question the use of the object and whether there may be some resemblance between the object being named and the object pictured.

Is a bag open like the open sky? Is a bird’s beak sharp like a knife? Could a leaf possibly be used as a table? Or are tables made from the same tree as a leaf comes from? The contradictions make for an interesting piece. They make the viewer think, and I really like that.

Brian Rea

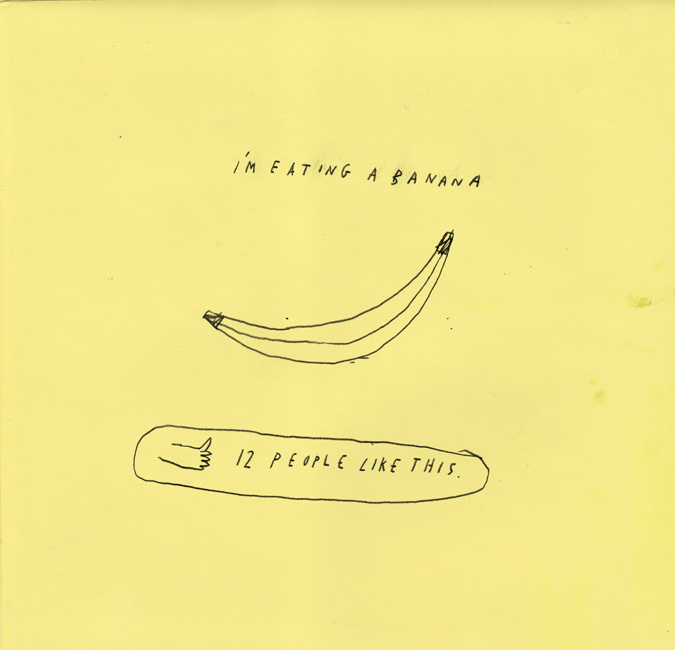
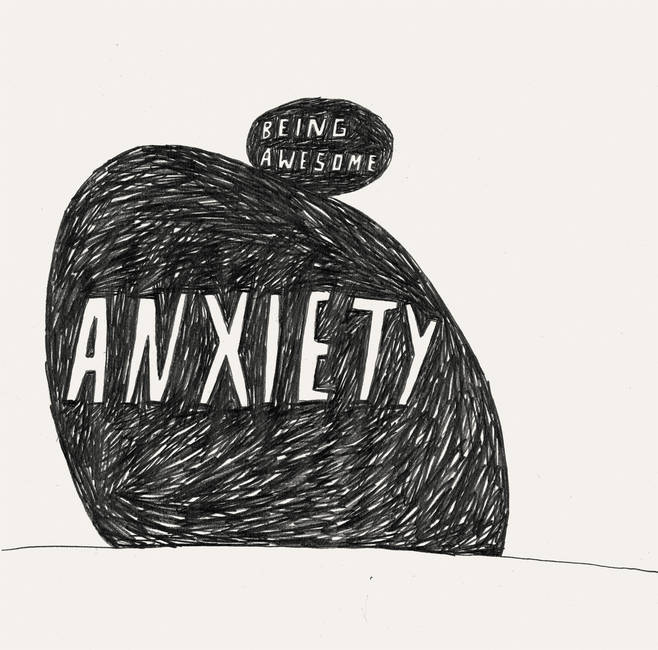
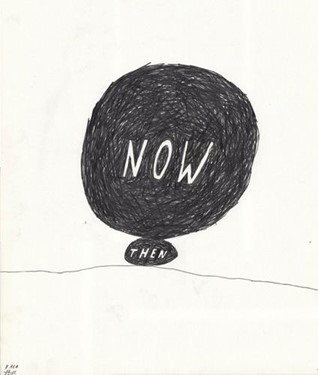
Brian Rea is an illustrator based in Los Angeles. His drawings and animations are playful and easy to understand. His style can be decorative but not overworked or garish. I like his restricted colour palette and hand-drawn lines. Several of his illustrations incorporate words. With few words he is able to say a lot. And this is because of how he has used the words.

(All images from BrianRea.com)

In this first example, there is the element of needing to know some background knowledge. A symbol is a sign that communicates a concept. In this instance, Rea is referring to social media likes. He signifies this without needing to draw a phone or computer screen. The words and the thumbs up icon are enough to reference the social media structure to an audience who has knowledge of social media programmes.


With this image, you would need to understand written English to be able to understand the message.

When viewing this piece, the viewer is putting together the meaning in their mind. The words and images here are of equal importance to communicate the meaning.

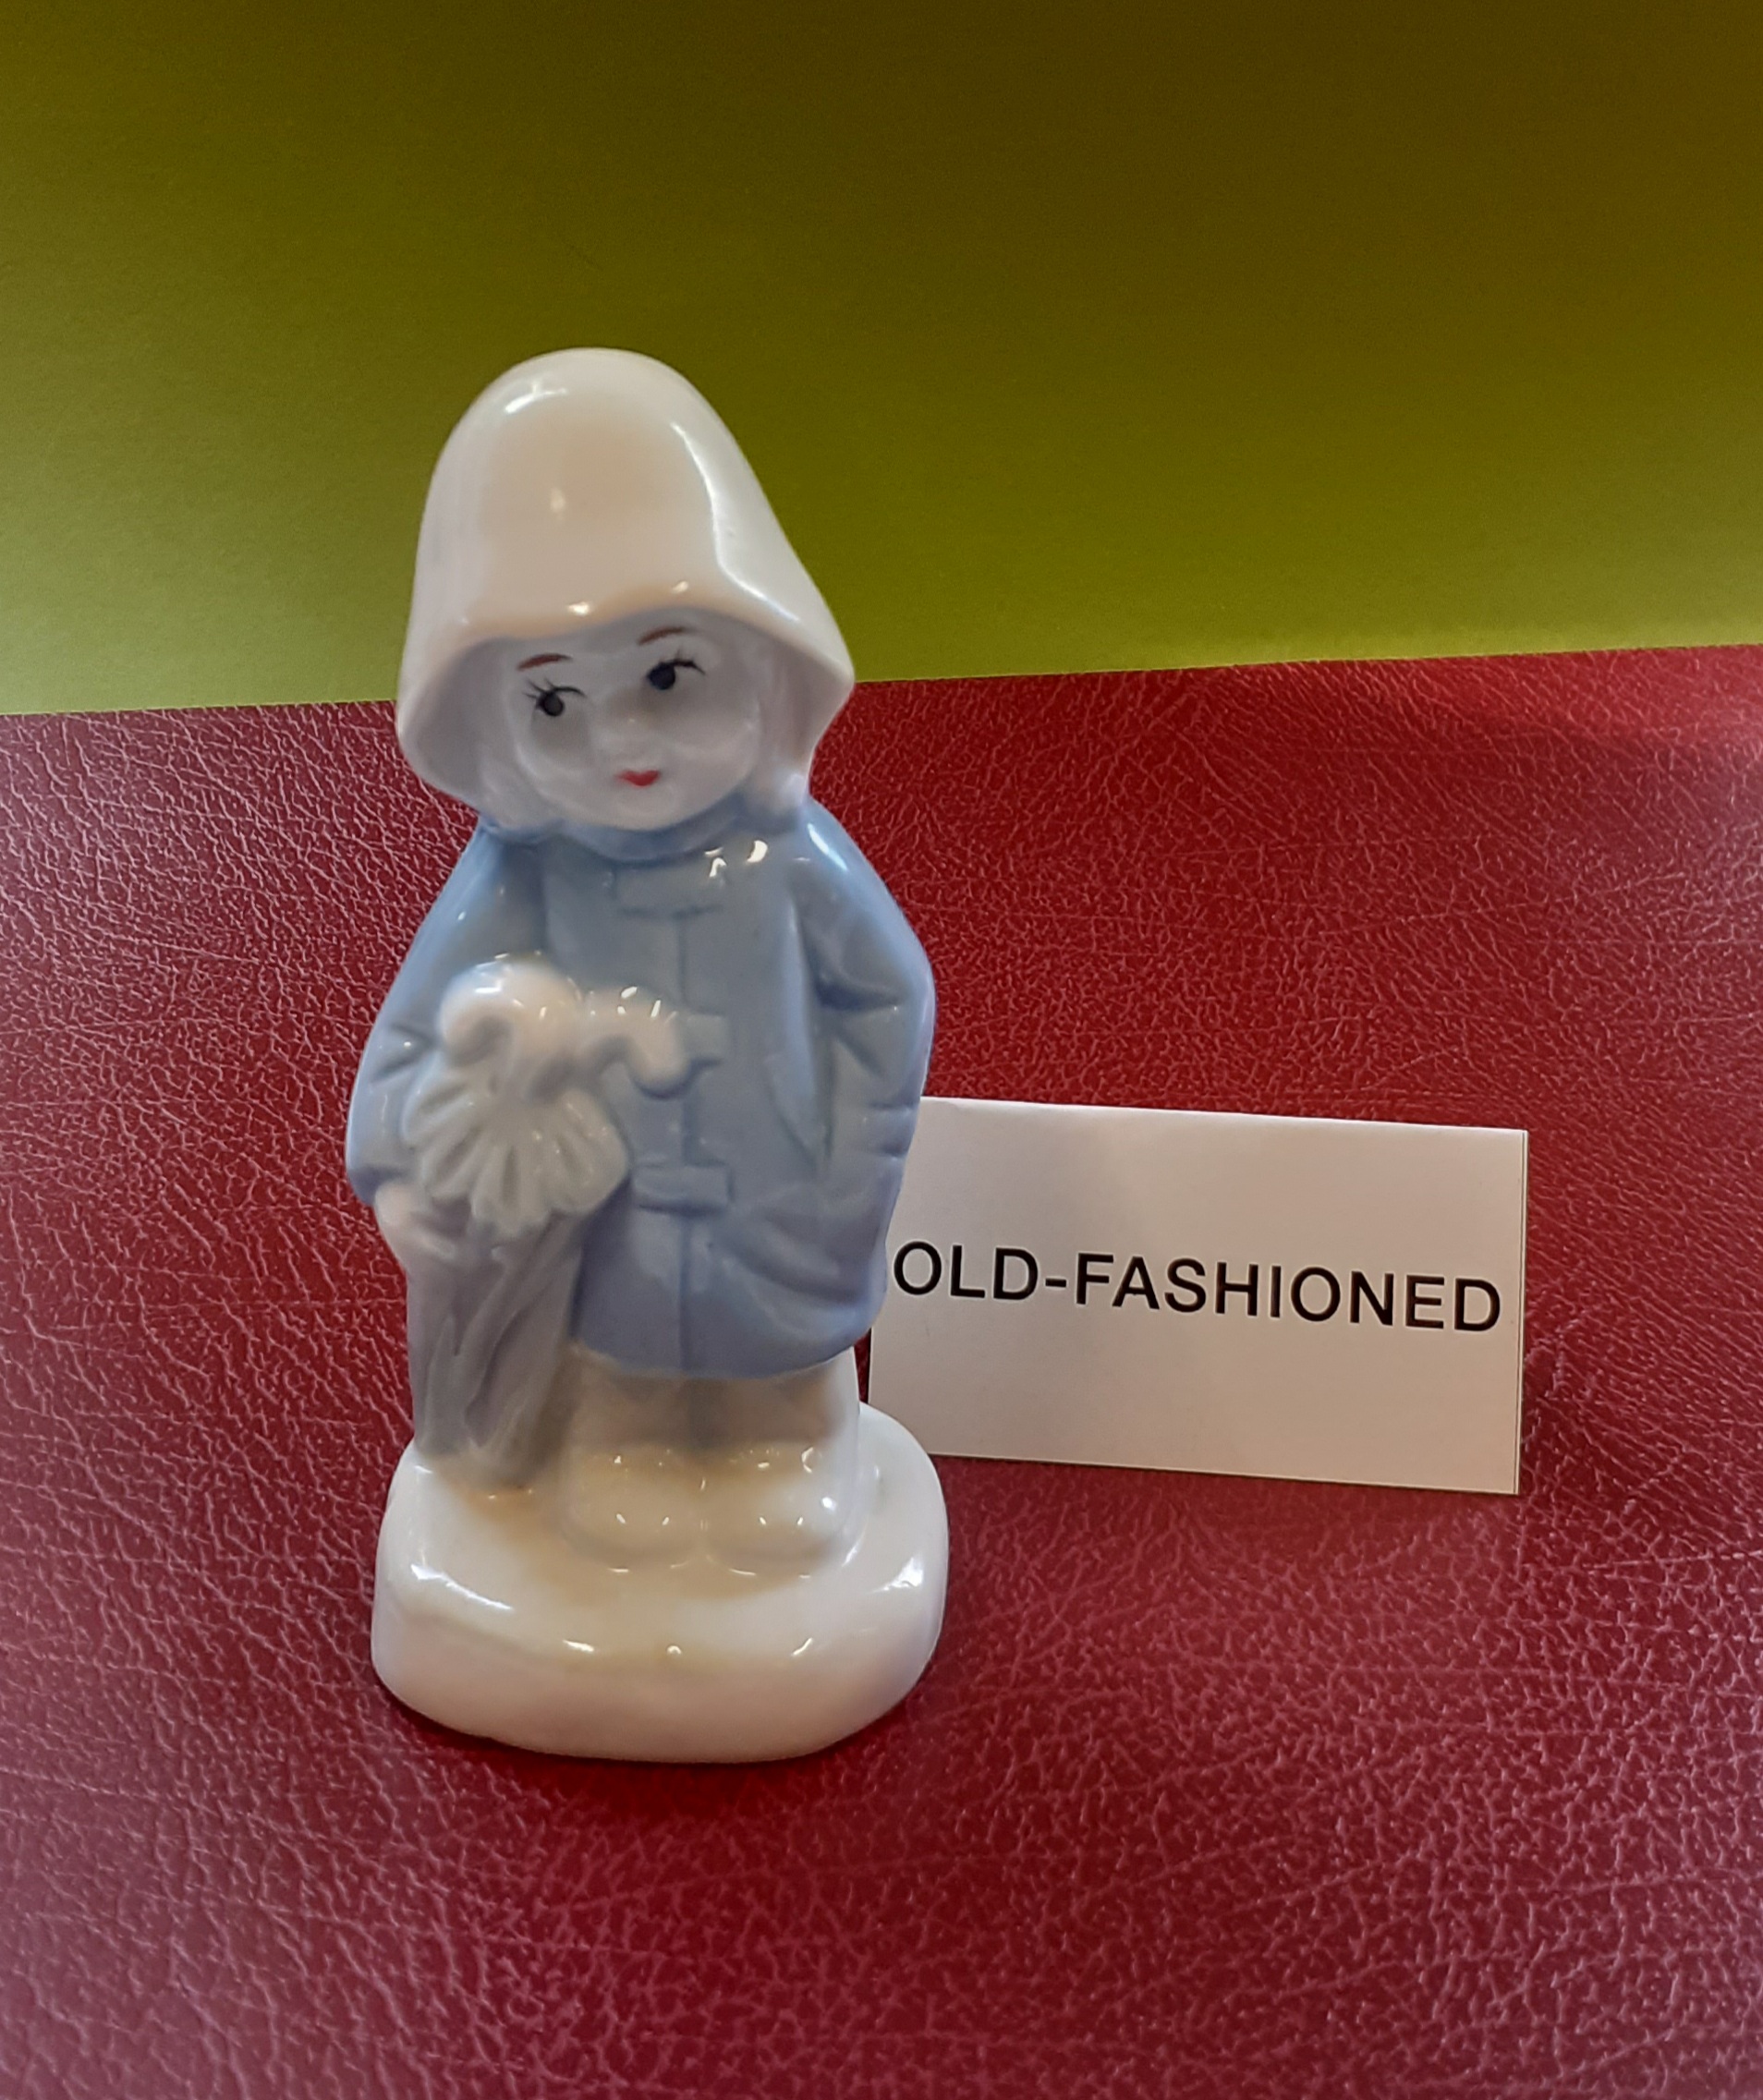
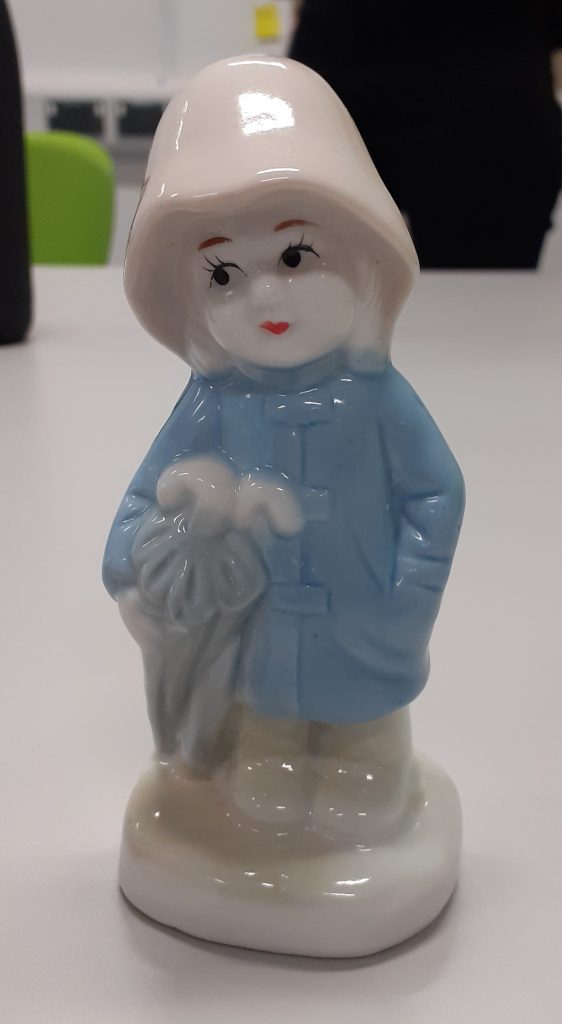
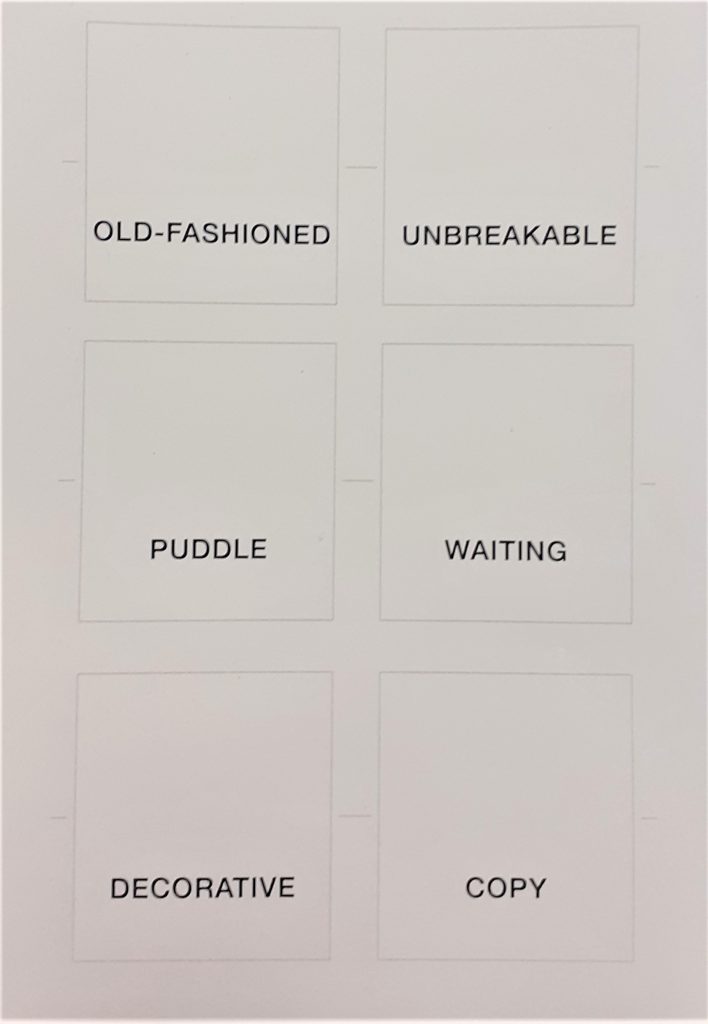
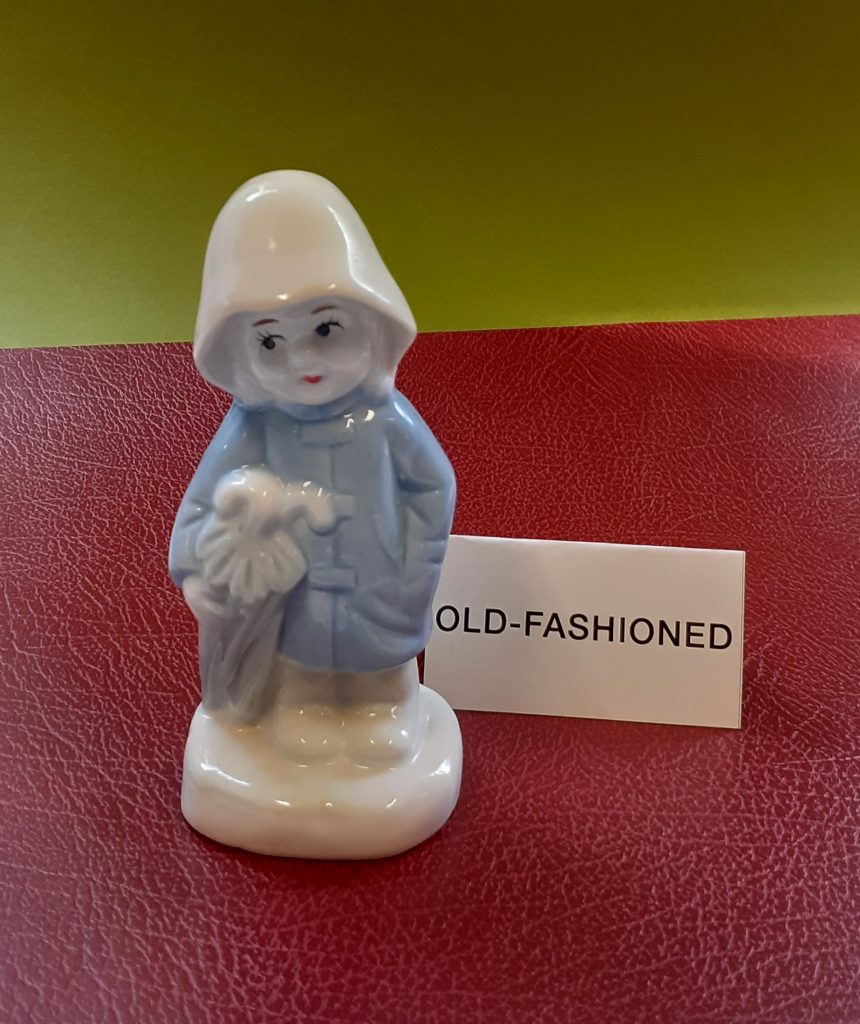
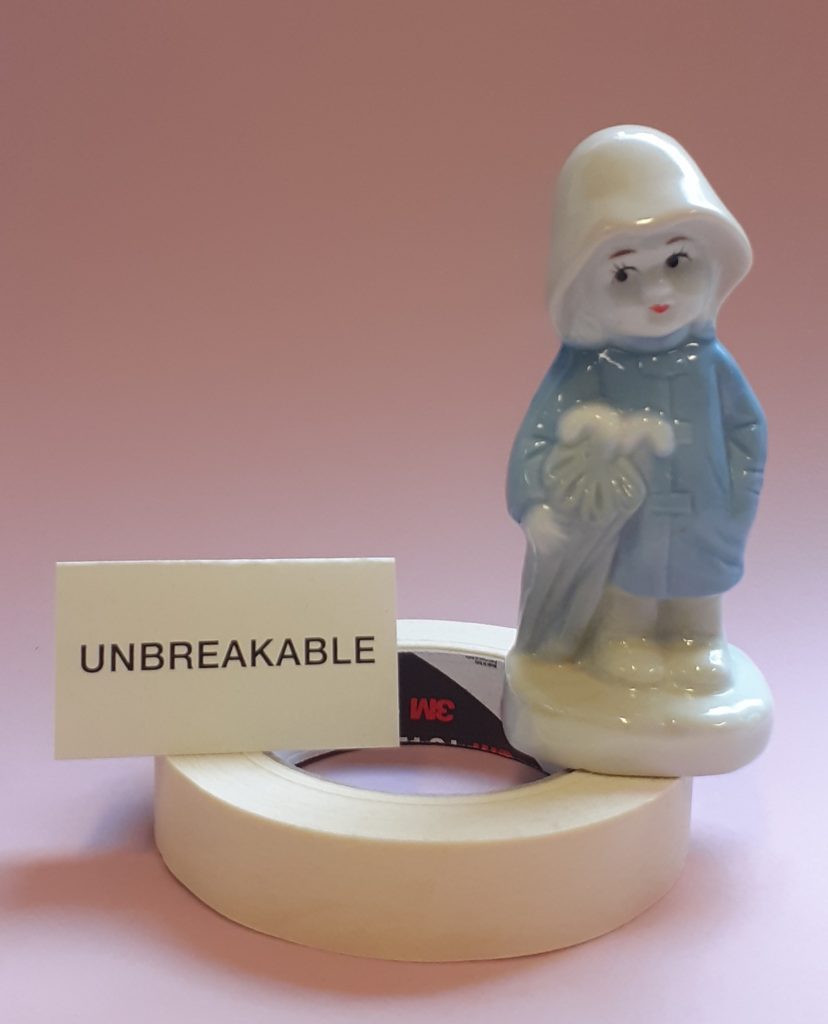
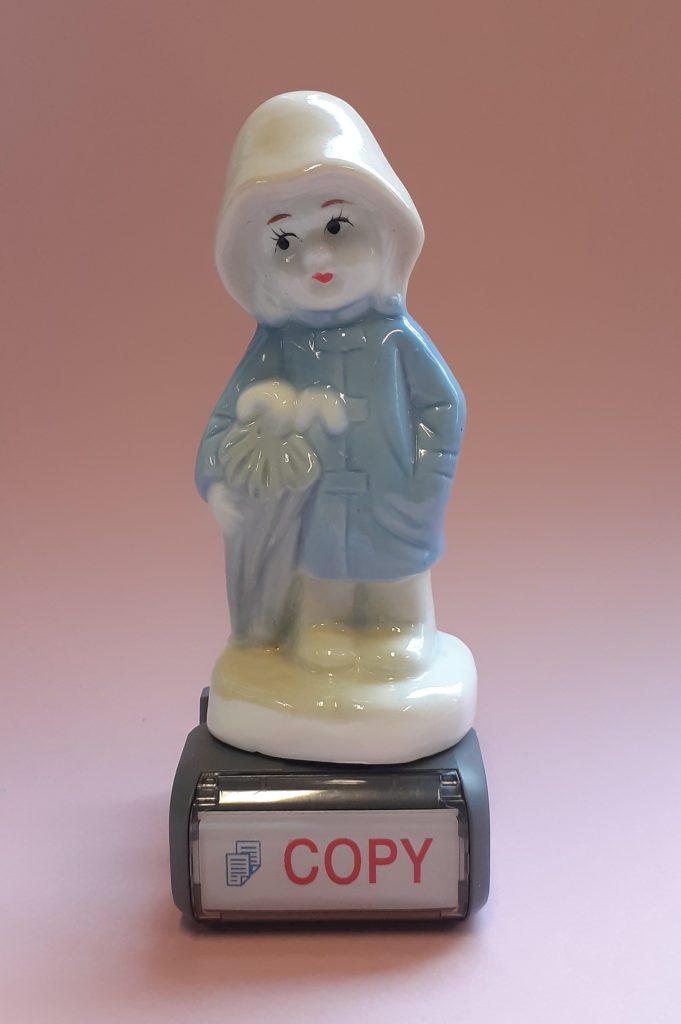
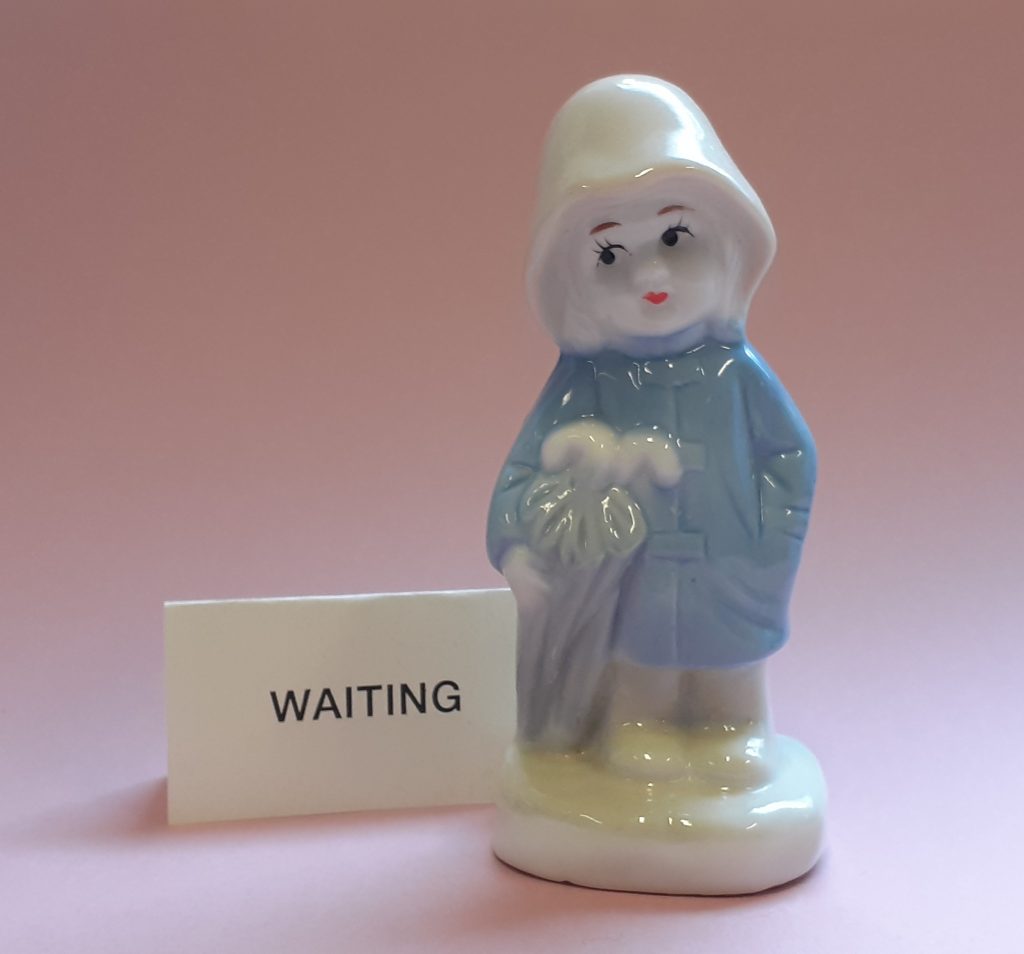
I then thought of words I could associate with my chosen object, The Raincoat Girl:

I cut out the labels and placed them next to the figurine. I wanted to see the effect of adding words and what I could be signifying, with the addition of these words.

The sign ‘Waiting’ suggests a narrative. The figurine is holding 2 umbrellas. The viewer can add together these 2 signs and decide that The Raincoat Girl is waiting for somebody to arrive.

I noticed that I saw the figurine in a different light depending on these captions. For instance, her expression looked more bored when she was placed next to the ‘Waiting’ sign and looked defiant when placed next to the sign that says ‘Unbreakable’. Am I imagining this? What do you think?

001 Journals

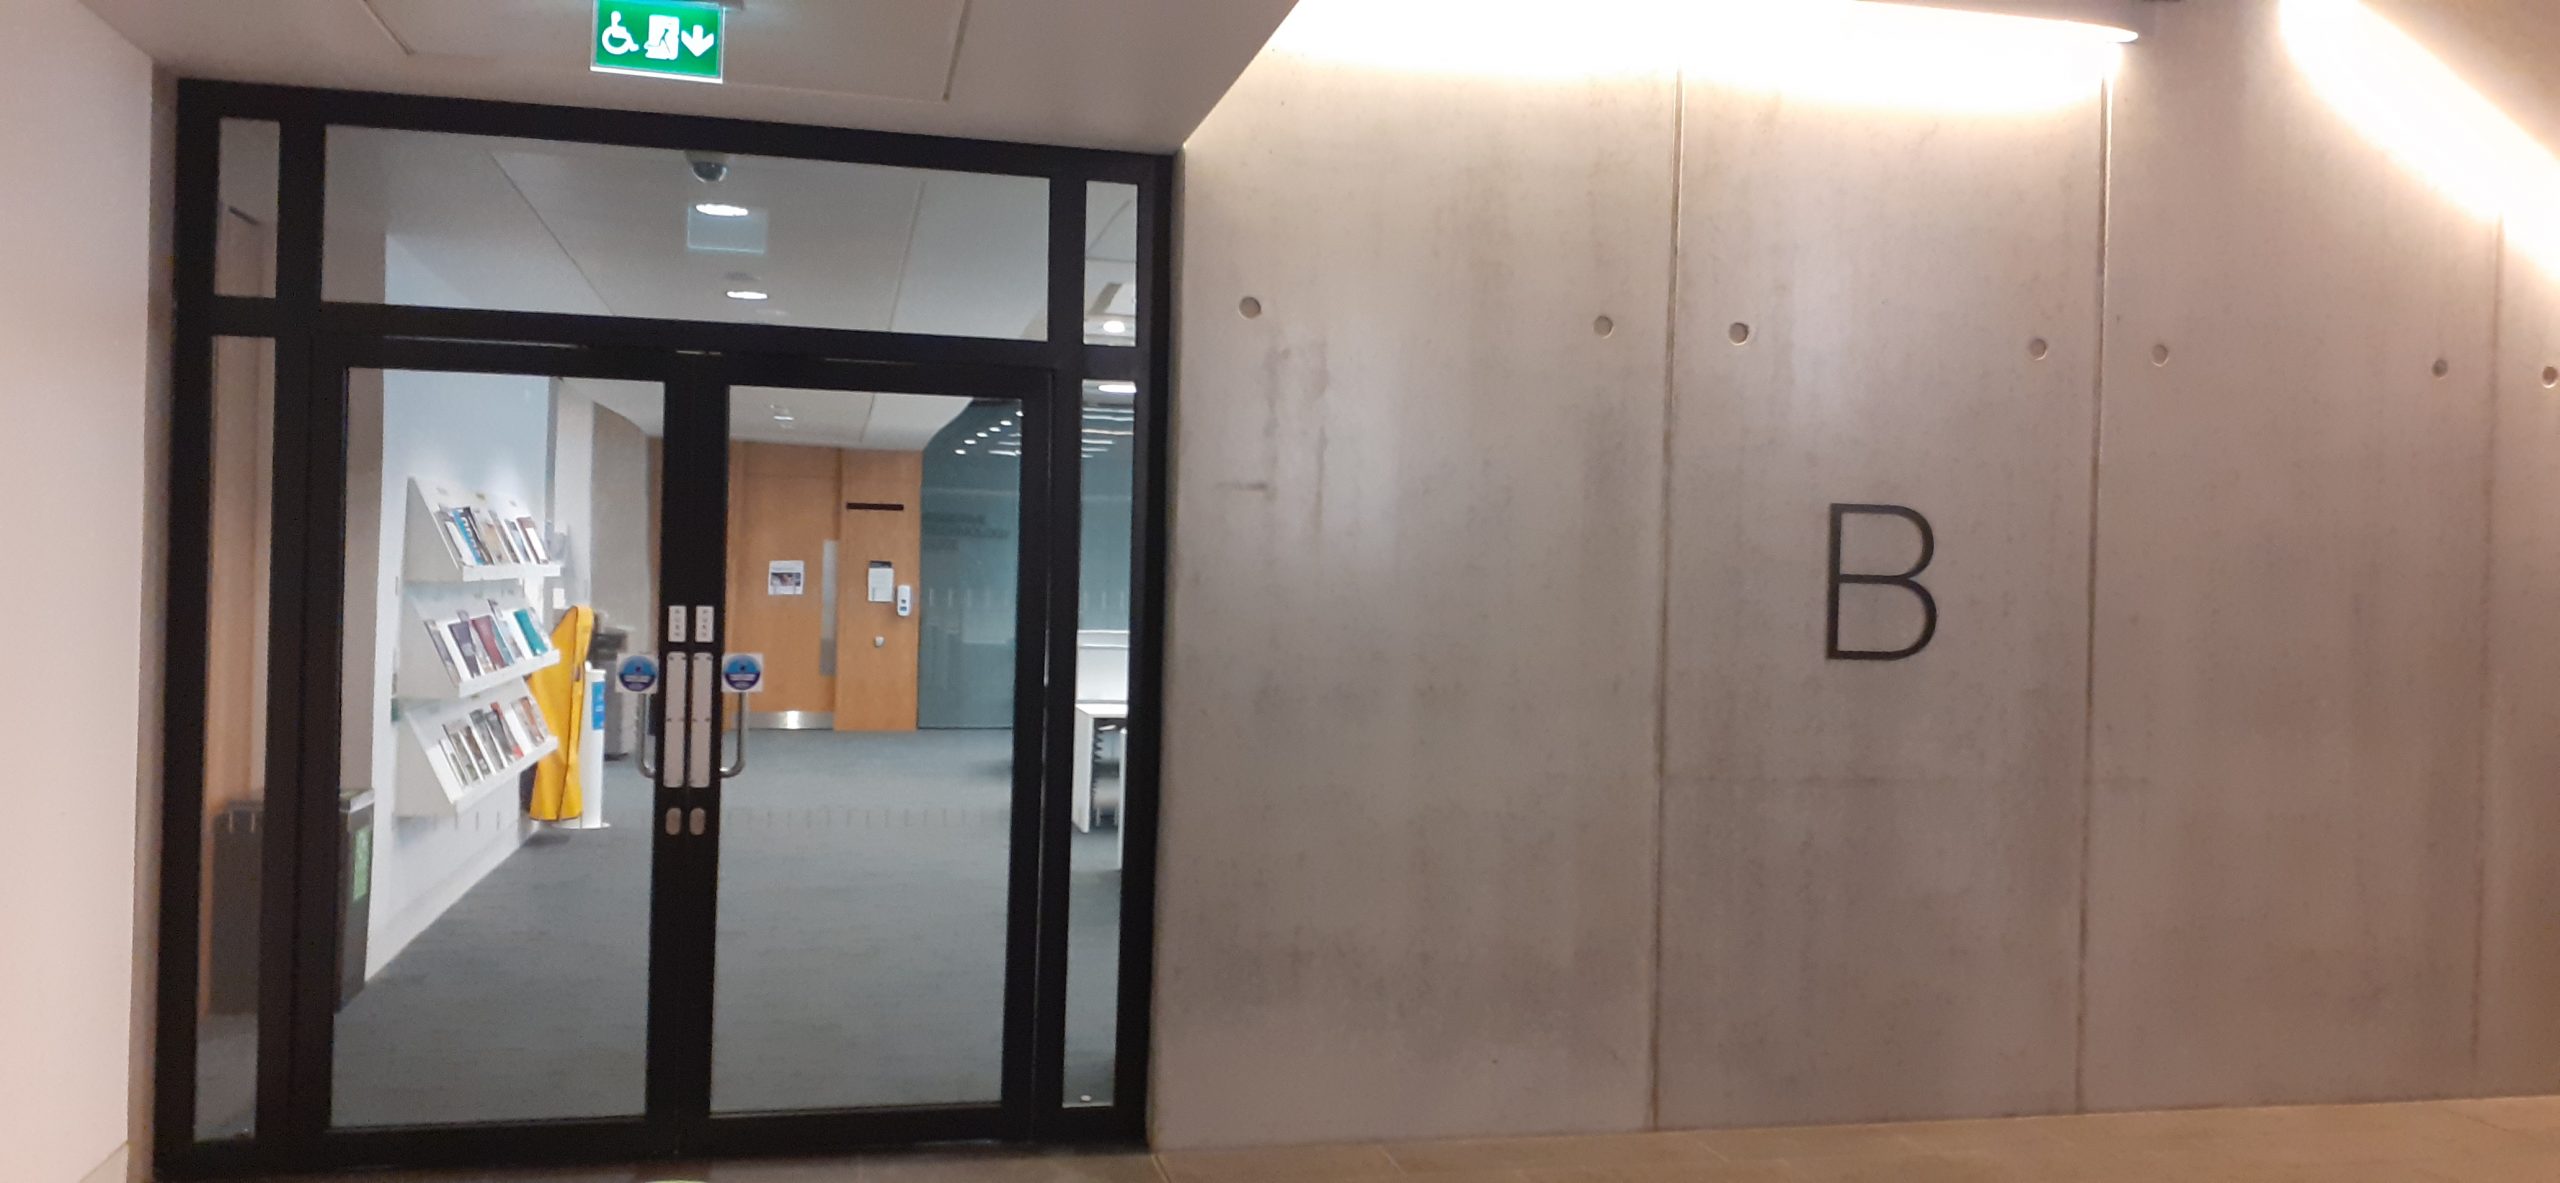
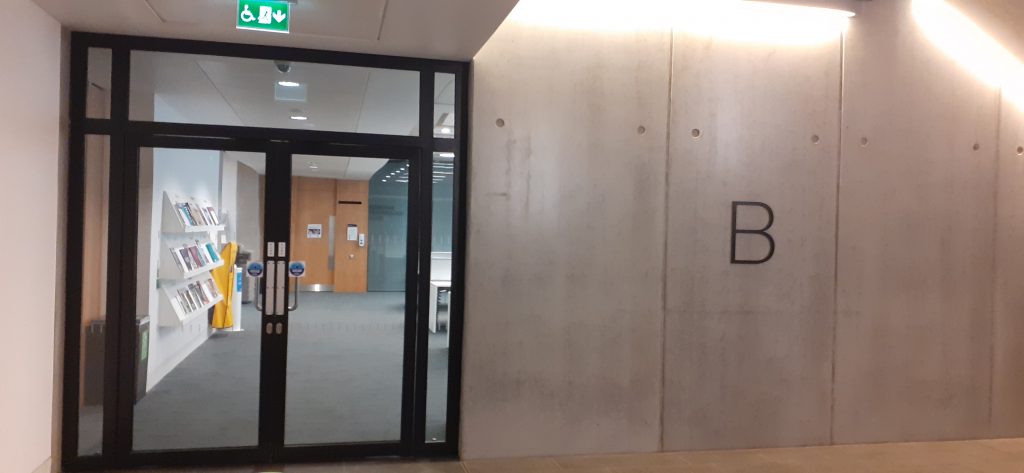
Oxford Brookes library basement, Headington Campus

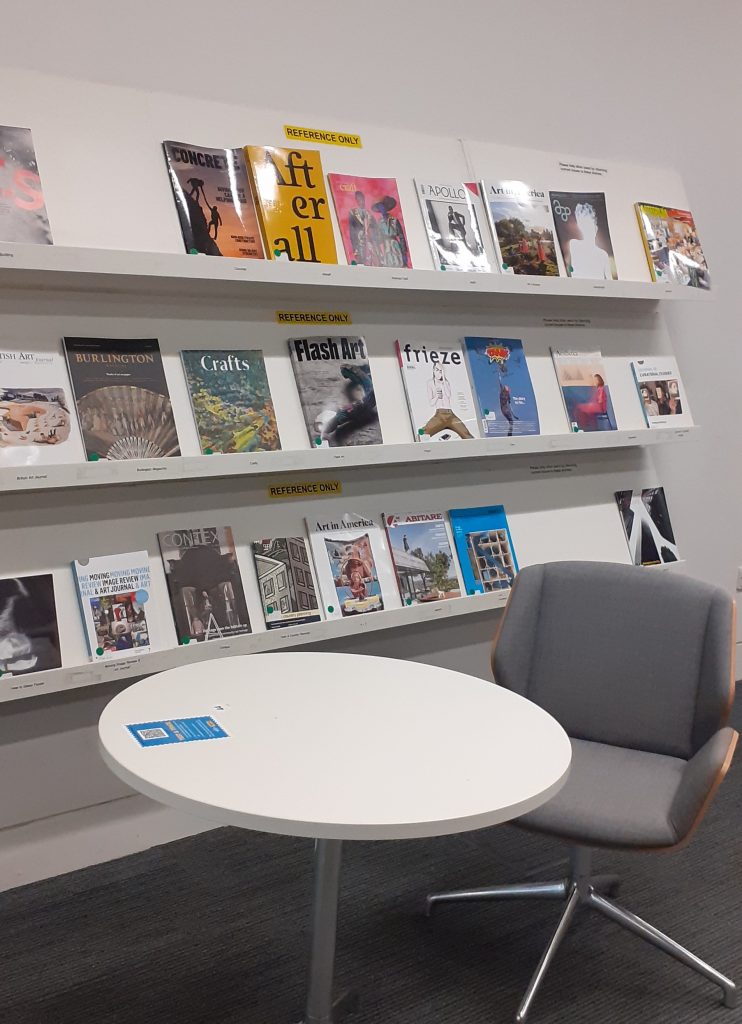
Brookes University have a collection of journals available to browse. They can be found on the basement floor of the library. In this space, the range of journals are displayed on shelves. This enables me to view the covers all together. From business to architecture, politics, to the arts. I decided to pick up 2 magazines that first drew me in. This may be due to the visual language of the covers, or the appeal of the subject.

Shelves of journals, Brookes library
Journal 1 Crafts

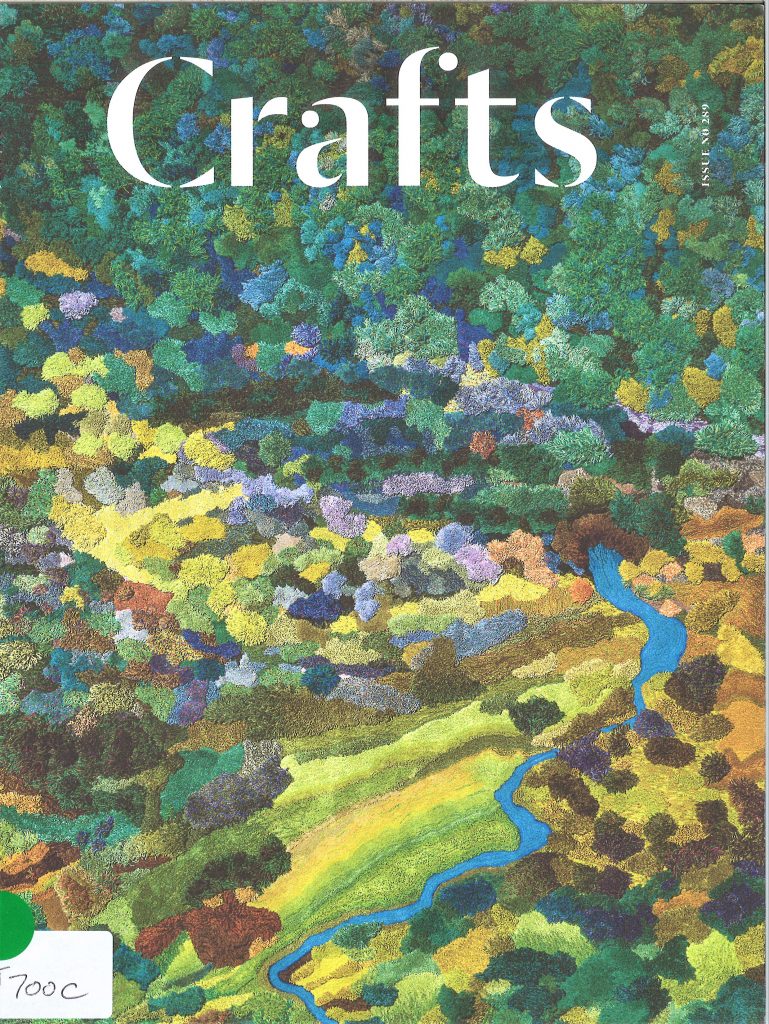
I was first drawn to the magazine ‘Crafts’. The image used on the cover is soft-looking. I did not immediately recognise it as a textile image, seeing it as a landscape first, but I quickly recognised it as a textile material, due to the name of the magazine. The white text against the dark green of the background is very effective. The typeface used for ‘Crafts’ relates nicely to the subject matter, since crafts are seen as a traditional art form. I generally like clear in titles. Here, the title speaks for itself and means that no extra text is needed to explain the contents. This means that the image can be busy instead. I was drawn to a craft magazine, as I have always worked with traditional techniques.

Crafts, issue no. 289

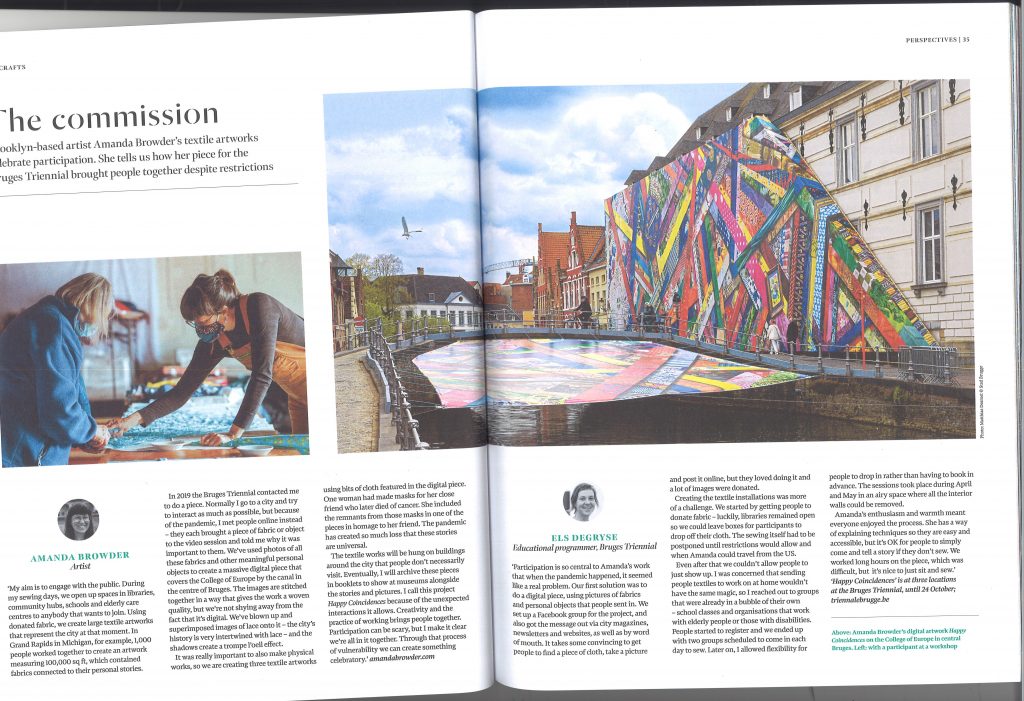
I looked at an article in this magazine, titled ‘The Commission’. Being a calm subject matter, an active design layout was not necessary. For example, the use of symmetry in the double page spread creates visual balance. (Both pages contain 3 columns of text with a small photo of the author of the text). Turquoise of the sub-headings (authors names) ties in with the turquoise of the fabric in the left image. The use of a strong image at the centre acts as the visual draw and unifies the composition.

The design of this double page spread expresses the subject matter well by using an image of artists working. Crafts are very hands on, so it is helpful to have a visual representation of the physical process. The figure’s arms in the left photo, are reaching to the bottom-left of the photo, this points to the start of the text.

The image dominating the right page, being larger than the left image, shows its importance and directs viewer to the left-hand page where the narrative begins. Bright colours first draw our attention then leading lines lead us to the left page. The fence in the image act as Leading lines, drawing the eyes left towards the heading and sub-heading/introduction to the article.

Journal 2 Printmaking Today
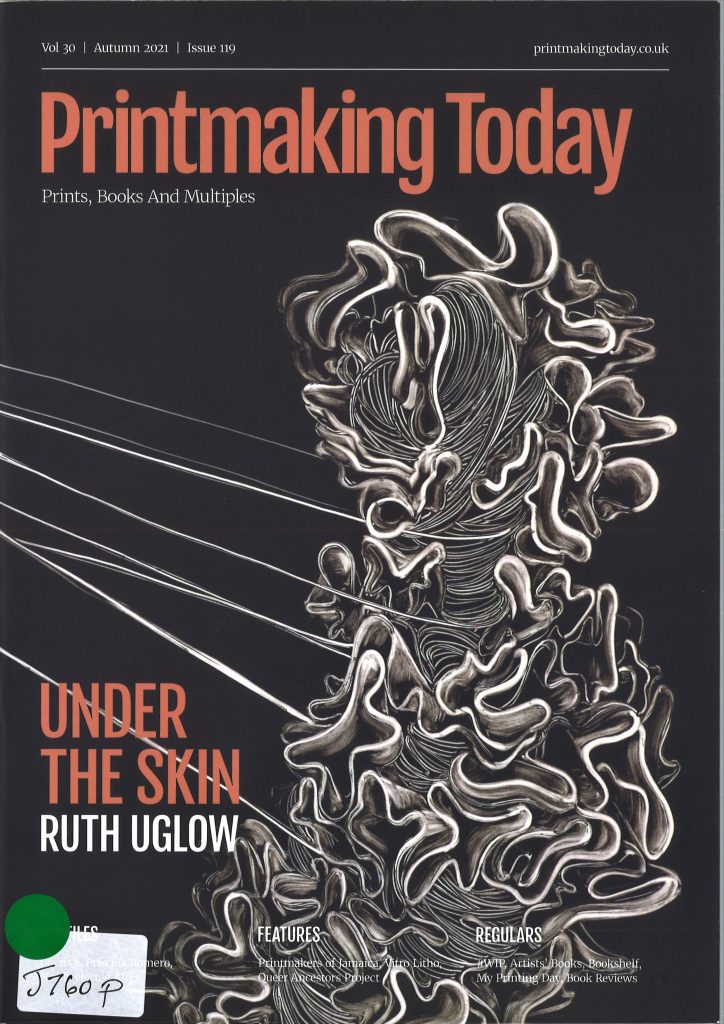
Printmaking Today, Issue 119

I like the straight-forward title of both magazines. They tell me what the content is about without even having to open the journal. Printmaking Today as a title, tells me that the journal is about printmaking and that it is about contemporary work.

The artwork on the cover grabbed my attention. The leading lines drew me into the image as the use of white on black is quite bold. The winding shapes and title colour are fun and energetic, but the muted tones calm it down. If a cover image is too strong or garish this often puts me off. If the cover is shouting at me, I assume the content within will be the same.

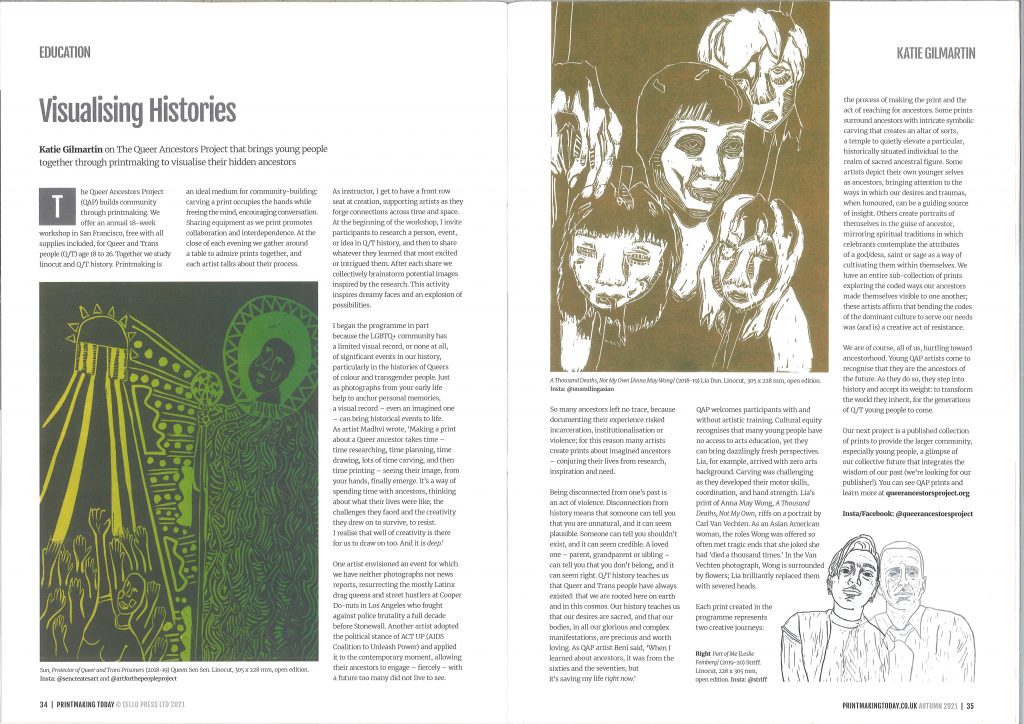
Looking at the double-page spread as a whole, the 3 images are placed in an interesting way. The 2 outer images sit on the bottom line of the layout, and the centre image has been placed at the top of the page. This gives the layout energy, creating movement. The text zigzags around the images, breaking up the text into readable chunks. The colour and line used in the illustrations drew me to this article. Particularly the strong greens in the first image.

I like the lino print at the end of the piece. It emphasises the message of the article, which is about connecting people in the LGBTQ+ community. The way the portraits interlink illustrates this.