Campaign Research/ group work extended project

Today’s lecture started with a talk about the final presentation to the client. I found this interesting because I never knew how an idea is presented to a client.

21st March lecture notes:
  • The PDF for the client contains the final design and content leading up to the design.
  • We need to convince the client by showing off.
  • Putting our work into context helps to explain the idea a bit better.
  • We need to be confident that we can explain our idea behind the concept because the client will ask ‘why have you done that?’ (Have it clearly in mind).
  • We can also present images that help to support the idea.
  • The presentation needs to help validate the idea and put it into context.
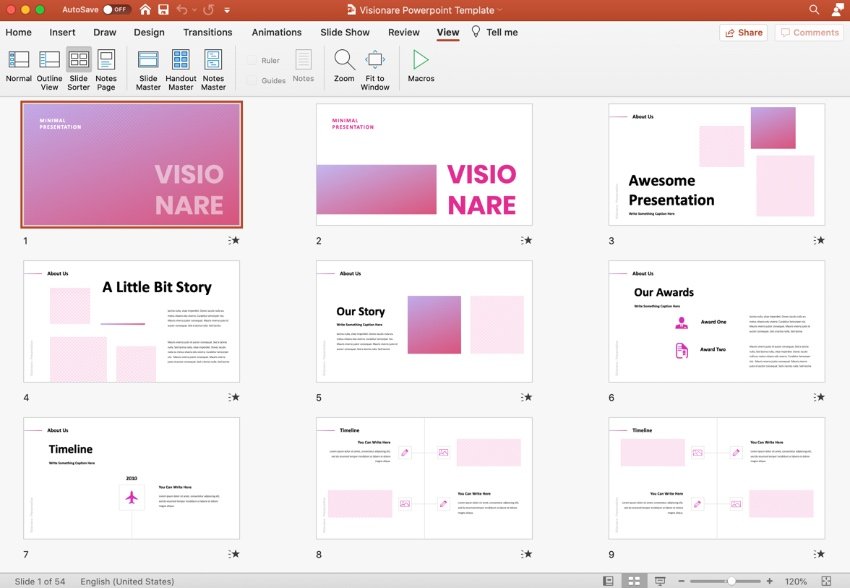
  • ‘A PowerPoint slide deck is a collection of slides that are in the same presentation. You’ll hear “slide deck” used somewhat interchangeably with “presentation.”‘
from https://business.tutsplus.com/tutorials/what-is-a-powerpoint-slide-deck–cms-31129
  • We can present more than one animation and more than one poster if the idea is better expressed as a set of 4 ideas, do it.
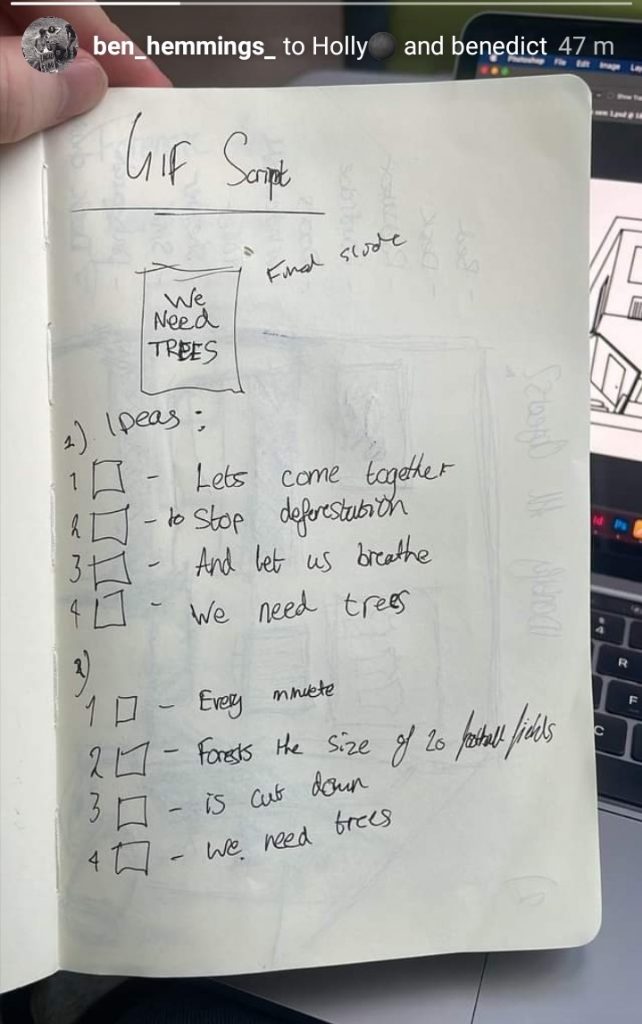
  • Make a list of deliverables then write a script. Tweak list and items so it makes sense.
  • Communication skills so viewer can grasp the concept of your work.
  • Don’t just rely on big impactful visuals- the idea behind it is very important.

Presentation layout

  1. Start with the brief
  2. Aim of the concept- explain the idea supported by images or key words.
  3. Then show off the design through a series of deliverables.

(template on moodle for the basic layout. Make use of a grid for the slides)

  • Cover page: Title (tagline or different title), name of the client and your name.
  • Next slide: explain the brief, give a bit of background.
  • Aim what are the objectives of the work? (short paragraphs)
  • Concepts– what are the ideas behind your visuals? (short paragraph)
  • Slide of images to support/ give background. Why you have approached the problem.
  • Concept board– You came up with the idea because it reminded you of something, for example.
  • Place your poster on an outdoor wall, into context.
  • 1 slide with one poster on its own.
  • Mock up of instagram post. Put your post in it or twitter or facebook etc
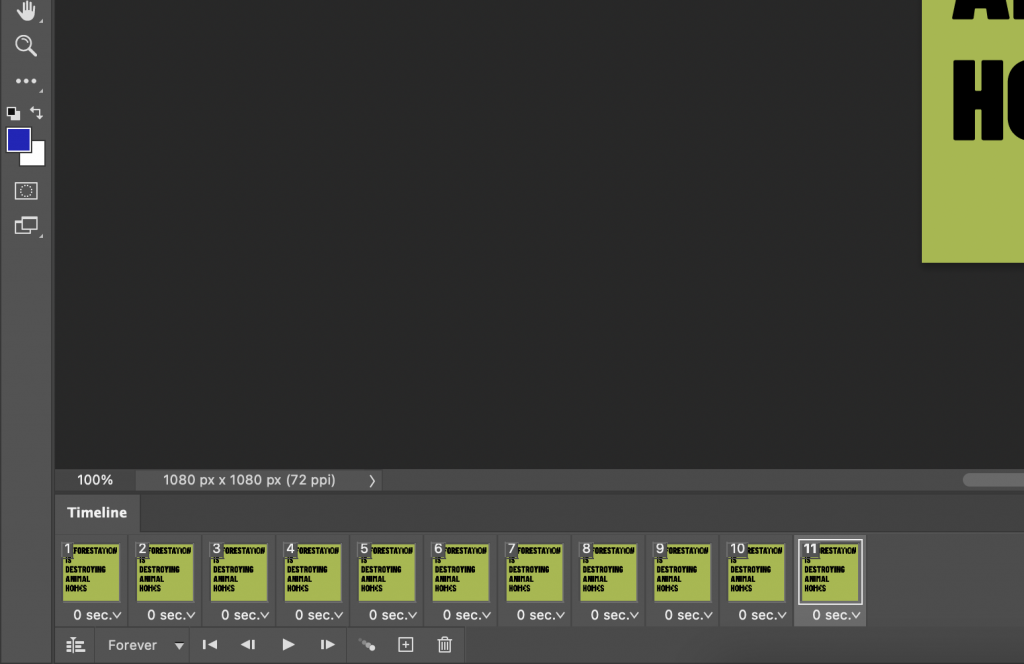
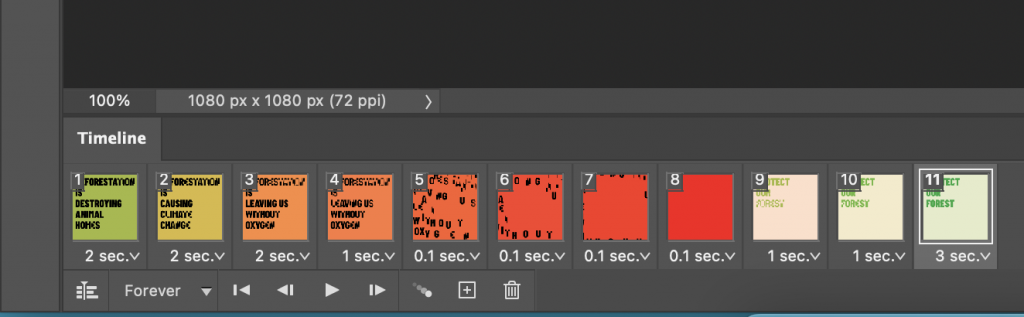
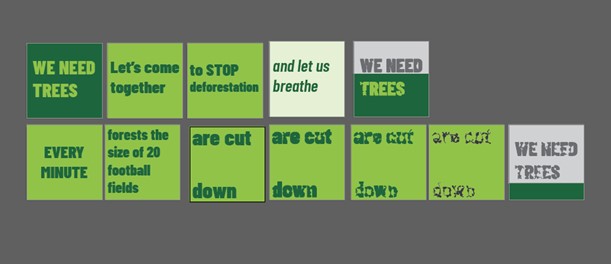
  • Screenshots of animation on one page then play the animation to the client.
  • Then brand attack- photoshopped image or sketch. Can explain with a caption.
  • At the end = summarise
  • Tagline = explain it.
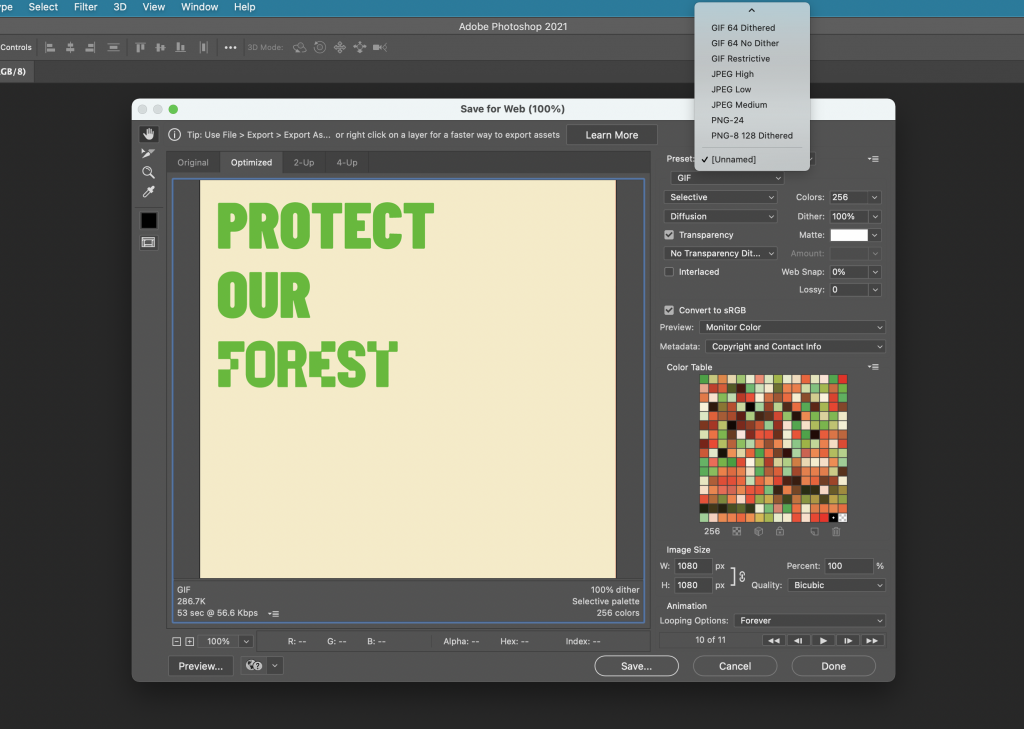
  • One page = colours.
  • Another page = type for headlines, body copy etc
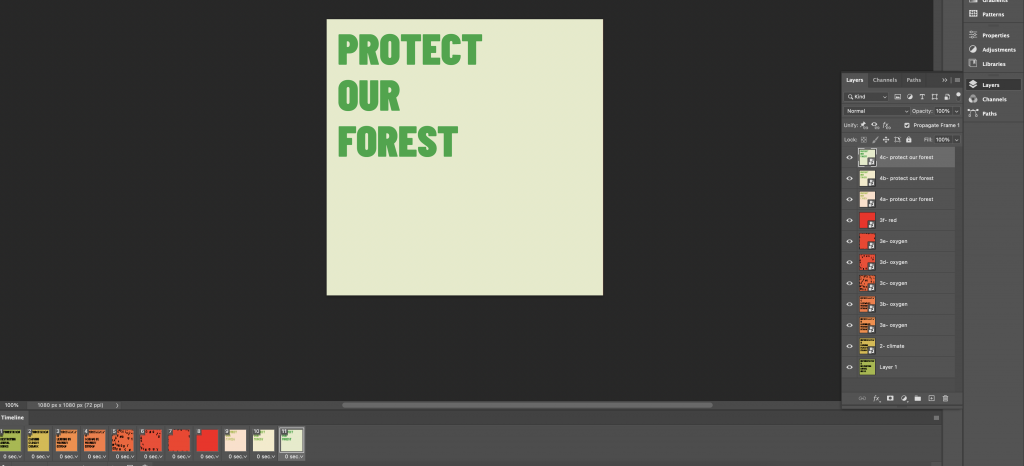
  • Show your illustration
  • Summarise all the elements of your design to the client. at the end of the presentation
  • End – Thankyou

500 words of my contribution to the group. made sure we have breaks, make sure we are in agreement or not. That we get everyone’s opinion. What were my responsibilities? How did we communicate etc.

Blog- include case studies e.g. from the books, sustainable graphic design, cause and effect, design for sustainable change. Write a few posts about the case studies. If I see anything related to the extended project – blog about it.

Reading materials on moodle about individual evaluation- answer questionnaire on moodle before writing evaluation.

Submission into shared drive folder.

Feedback/ group discussion

In the second half of the lecture, we were given feedback on our initial ideas and poster work. Our group meeting was more difficult than it normally is, because we had one group member absent. This meant we couldn’t get her opinion on the direction we are going. To make up for this we need to arrange another meeting. It would be better to communicate this way rather than writing a message which is one-sided.

I started the session by printing the posters we had worked on so far (my 4 posters and 2 from 1 other group member). It was frustrating that not everyone had contributed to the poster work, as it meant we were held up on a step behind. Printing the posters on A3 size meant that we could see the designs with a fresh perspective.

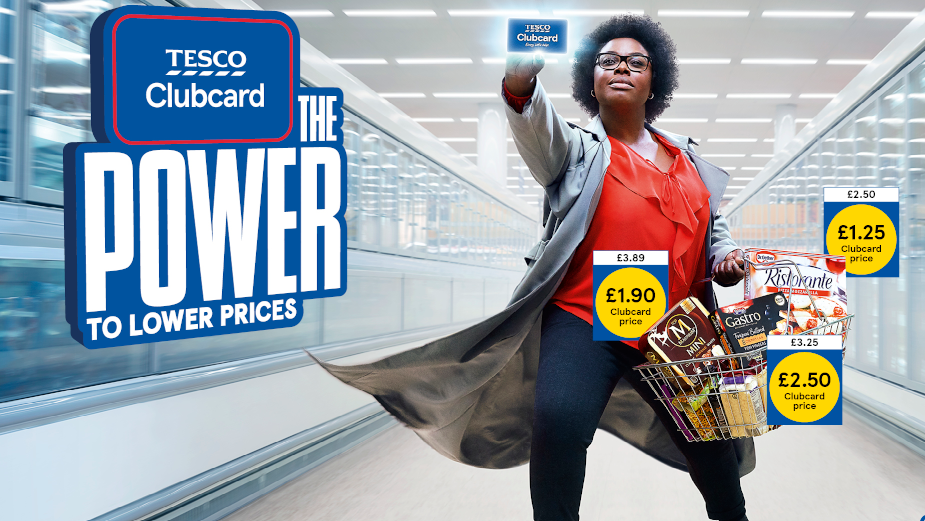
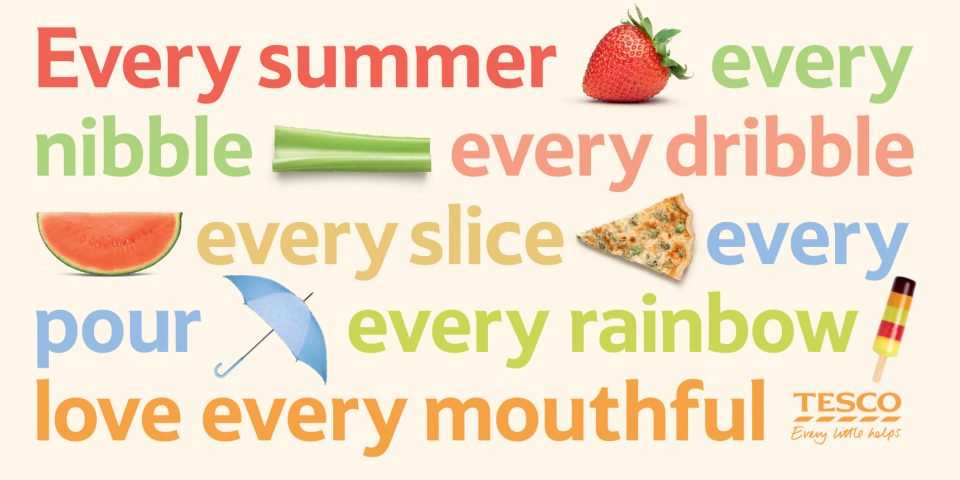
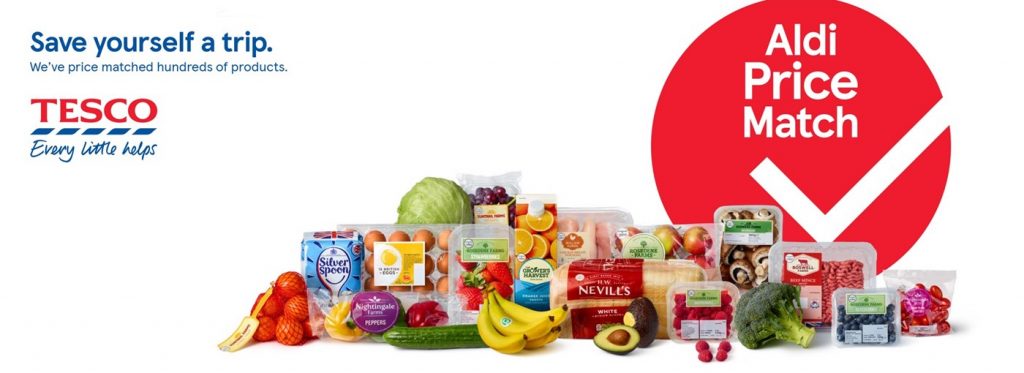
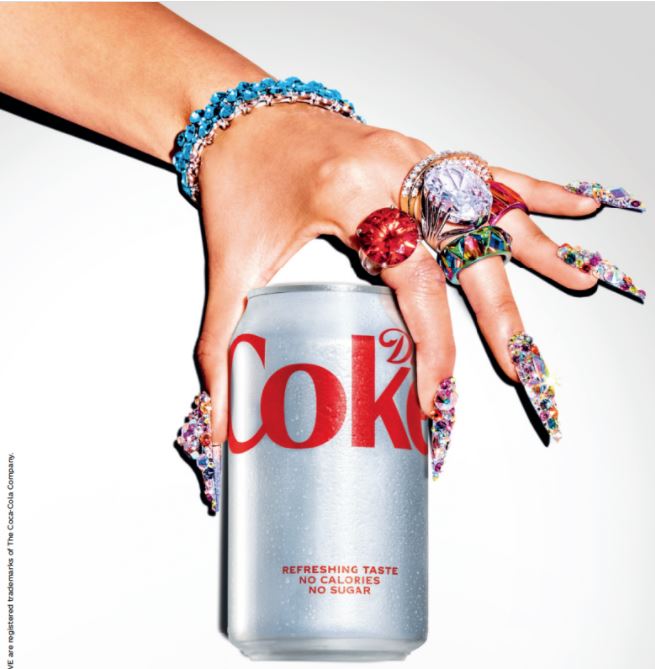
3 of my posters were based around the simple composition, using a plain white space for the background. I have seen this used both in Tesco campaigns and other posters, such as the Diet Coke poster below the Tesco campaign.

https://www.tescoplc.com/news/2020/tesco-aldi-price-match/

The ‘Love What You Love’ Coke campaign uses a white background which brings the focus to the hand covered in gems. This is helped by the brightly lighting used.

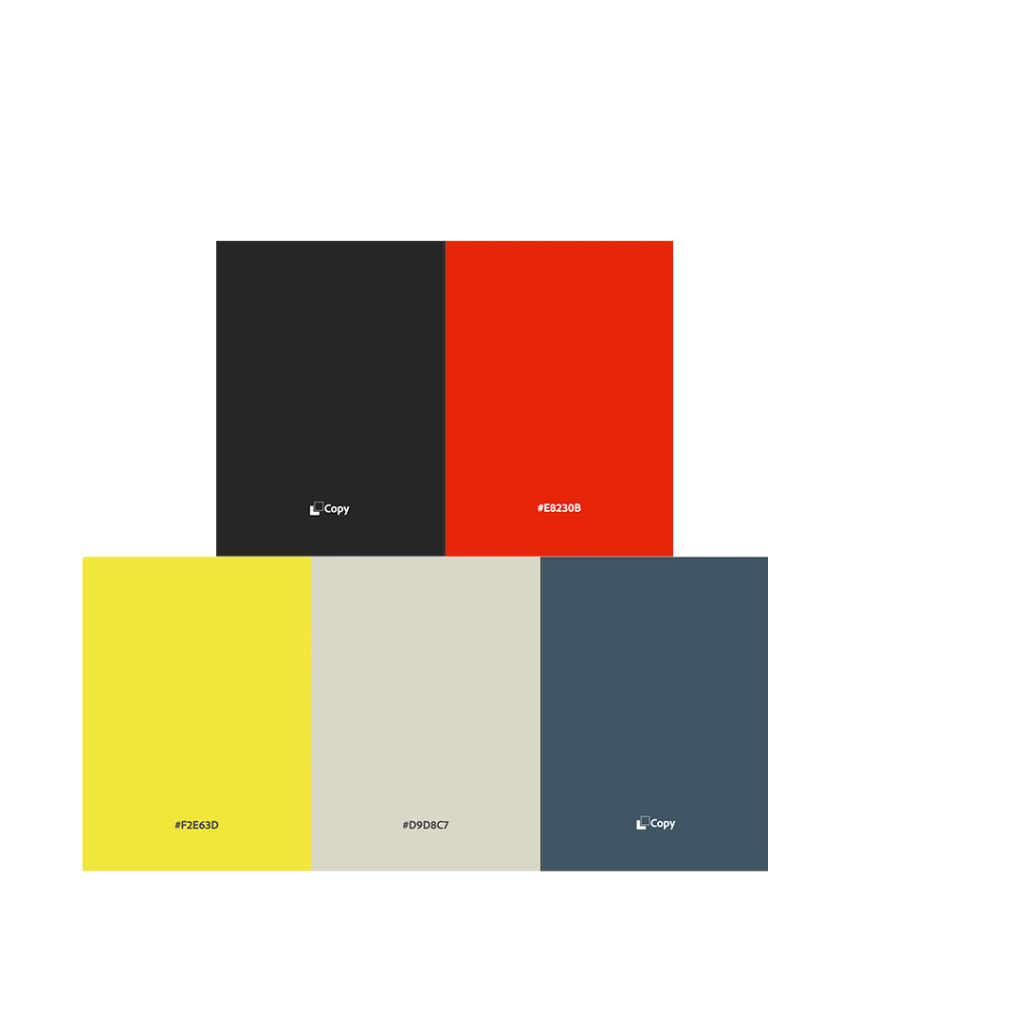
When considering colour, we used Adobe Colour Palette to search for subjects and see what results come up.

This was the first colour palette we considered:

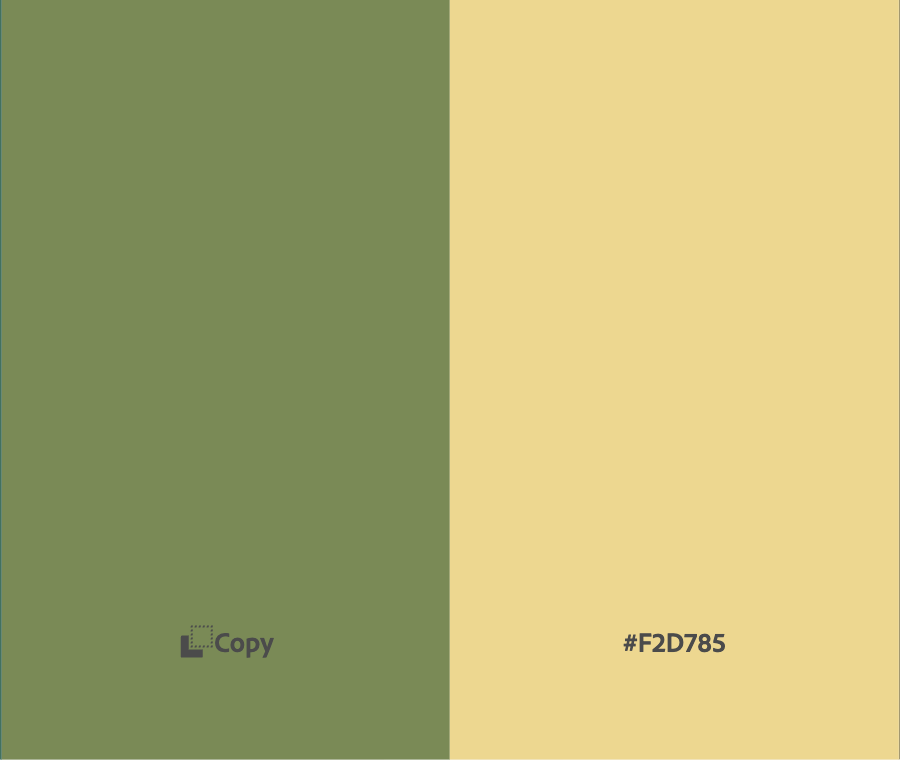
We also considered green, to reference the forests and impact on nature.

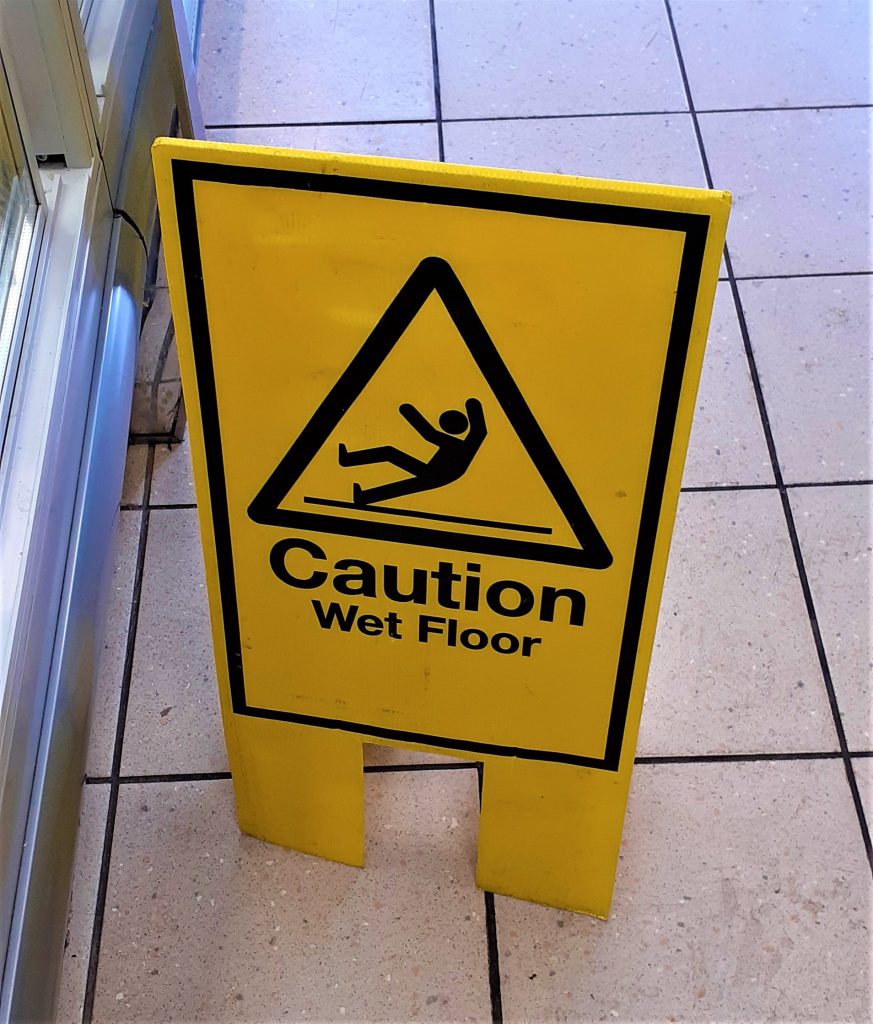
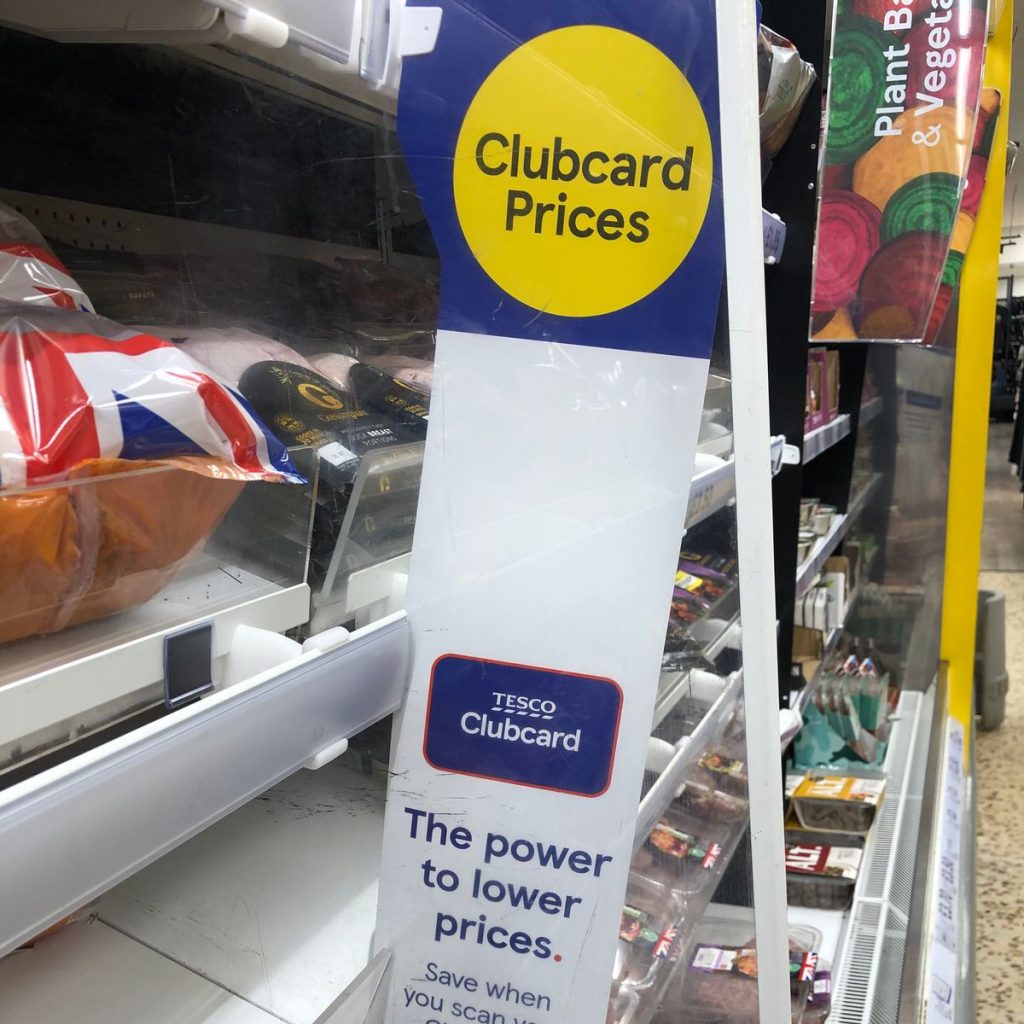
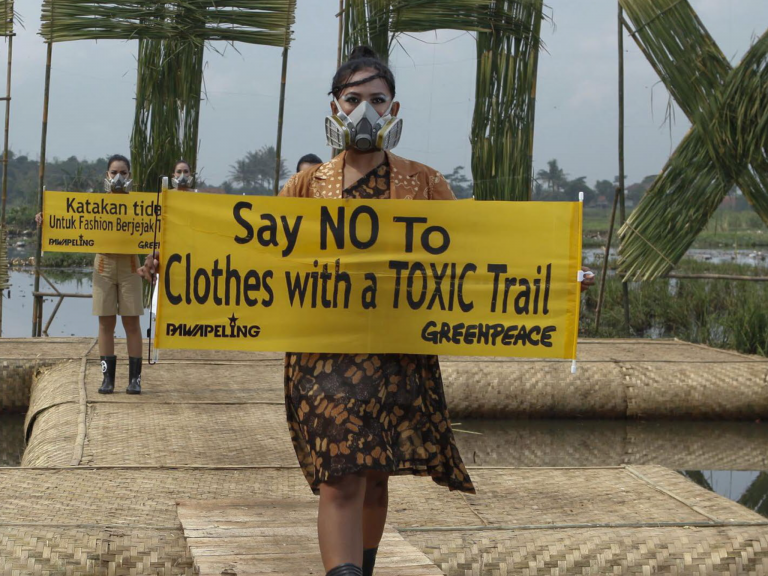
I saw this sign in the supermarket and noticed the impact of yellow and black to warn people of potential danger. Yellow can be sunny and energetic, or used like this to express caution. I felt that this eye-catching quality could make a good colour for our campaign design.

I looked at the book Less Is More by Victor Cheung. This book is a collection of projects, which use limited colour in a simplified way. The 2 designs below are from this book.

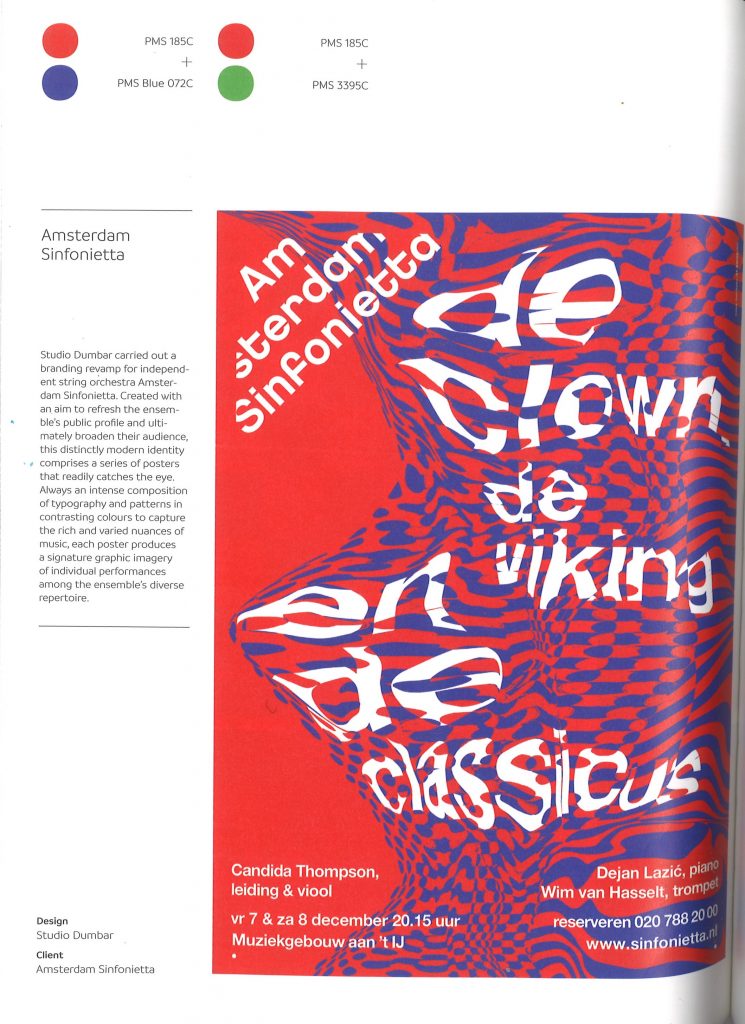
The high impact of red and green is also an appealing choice. It is normally used for a Christmas theme, but here in this image, I saw how these complementary colours can express both nature and danger in one design.

Red and blue also have a strong impact, and are coincidentally the colours of the Tesco brand.

Black and white can also create a strong image in a design and give a serious/sombre tone to the message. I like the idea of using black and white within the design, even if it’s not for the whole poster:

from Sustainable Graphic Design by Pete Claver Fine

The posters I shared with the group:
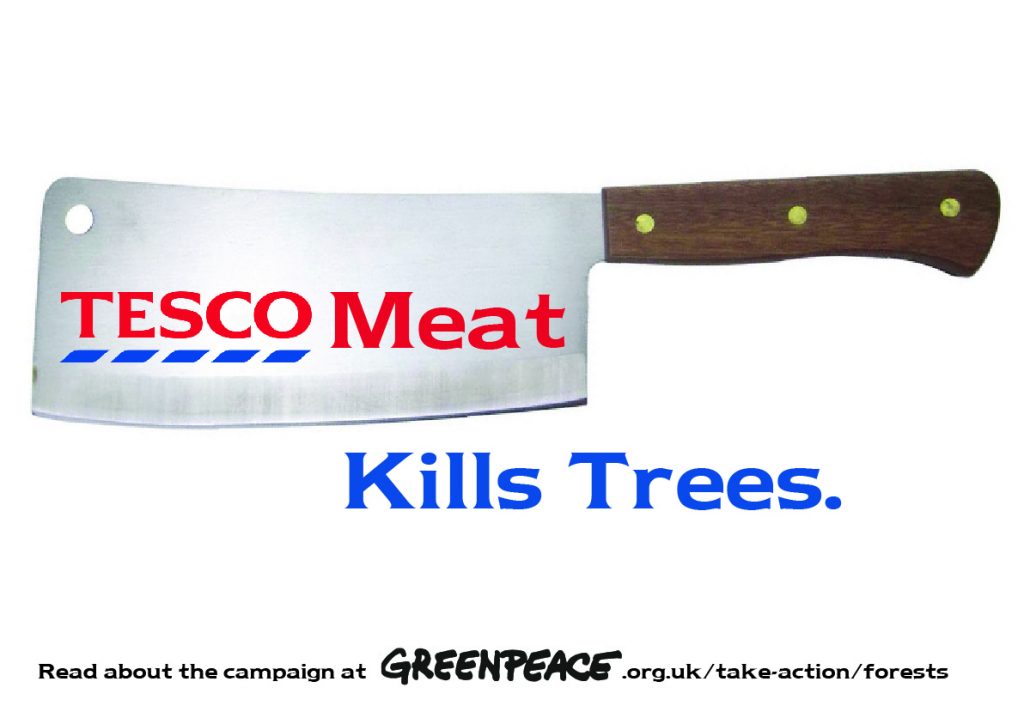
1)

I felt that this poster was maybe too simple, there being no image of trees. I could change this by having the image of trees within the blue text. I could also have used bespoke type instead of the Tesco-style font.
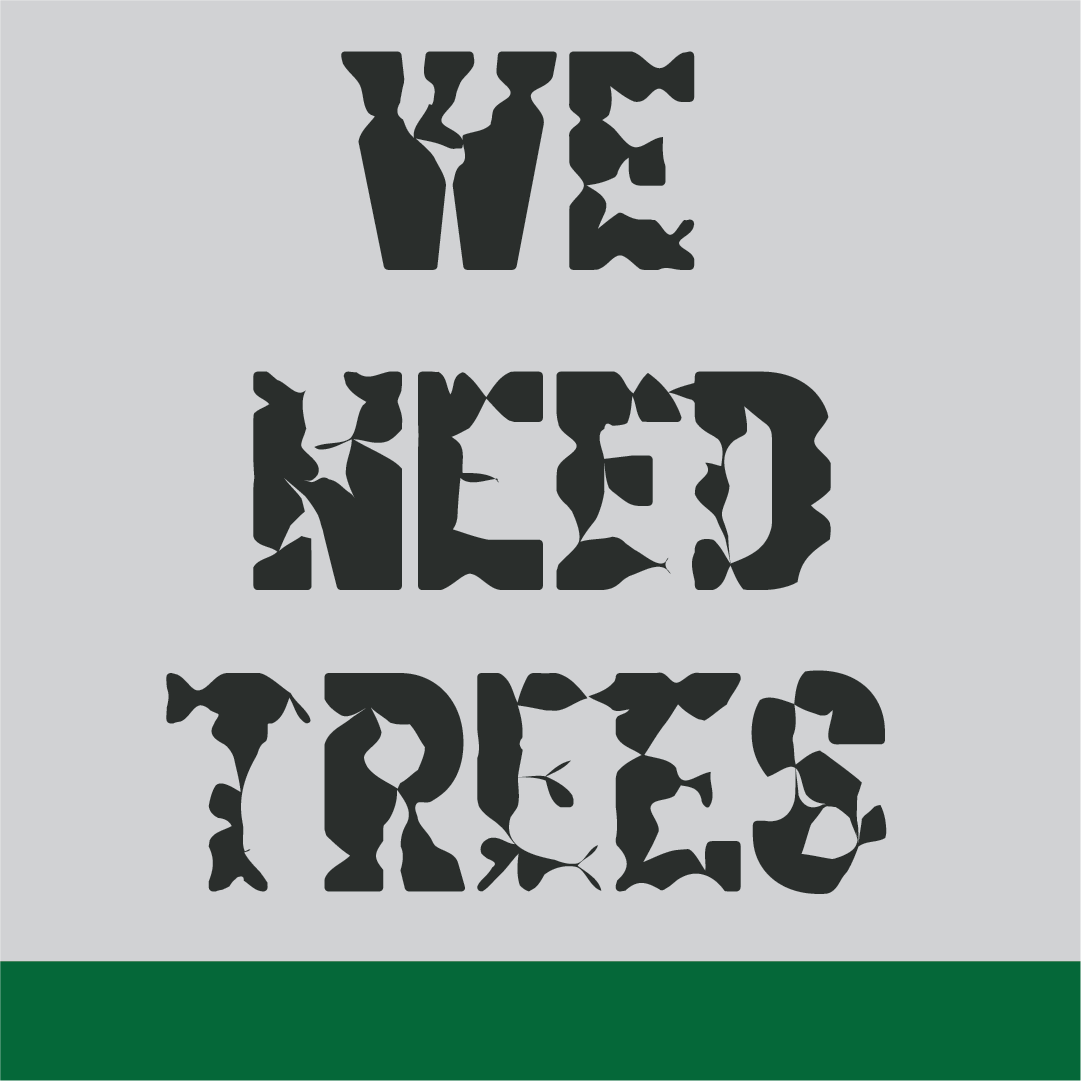
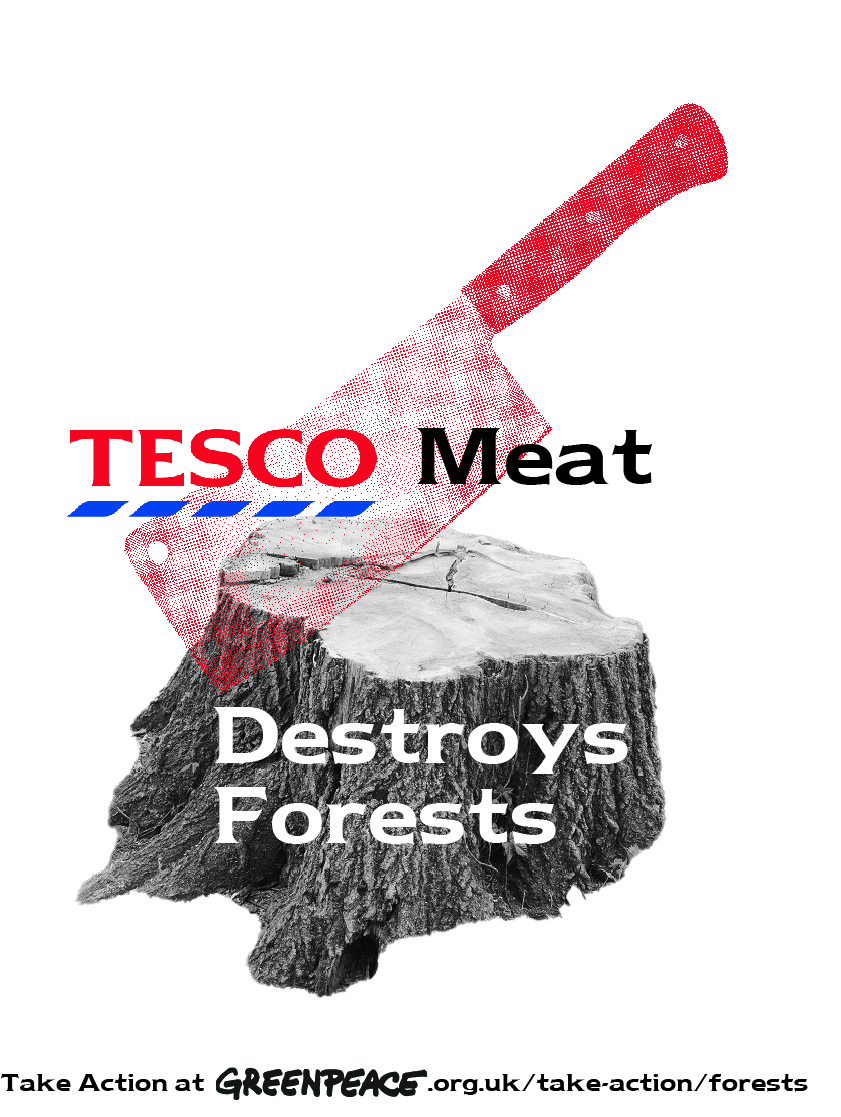
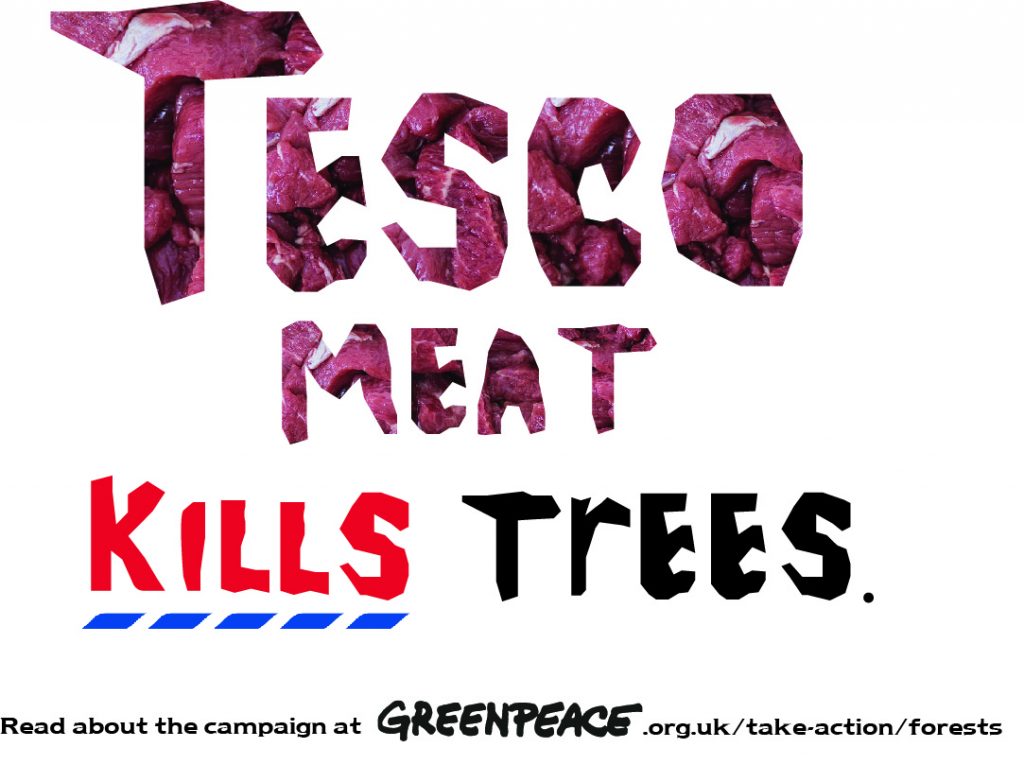
2)

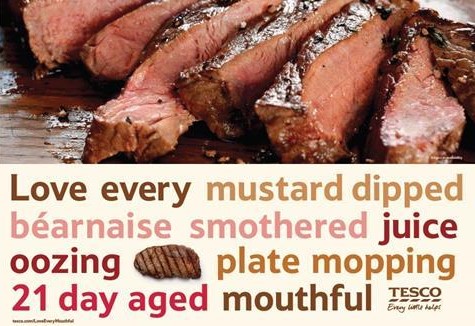
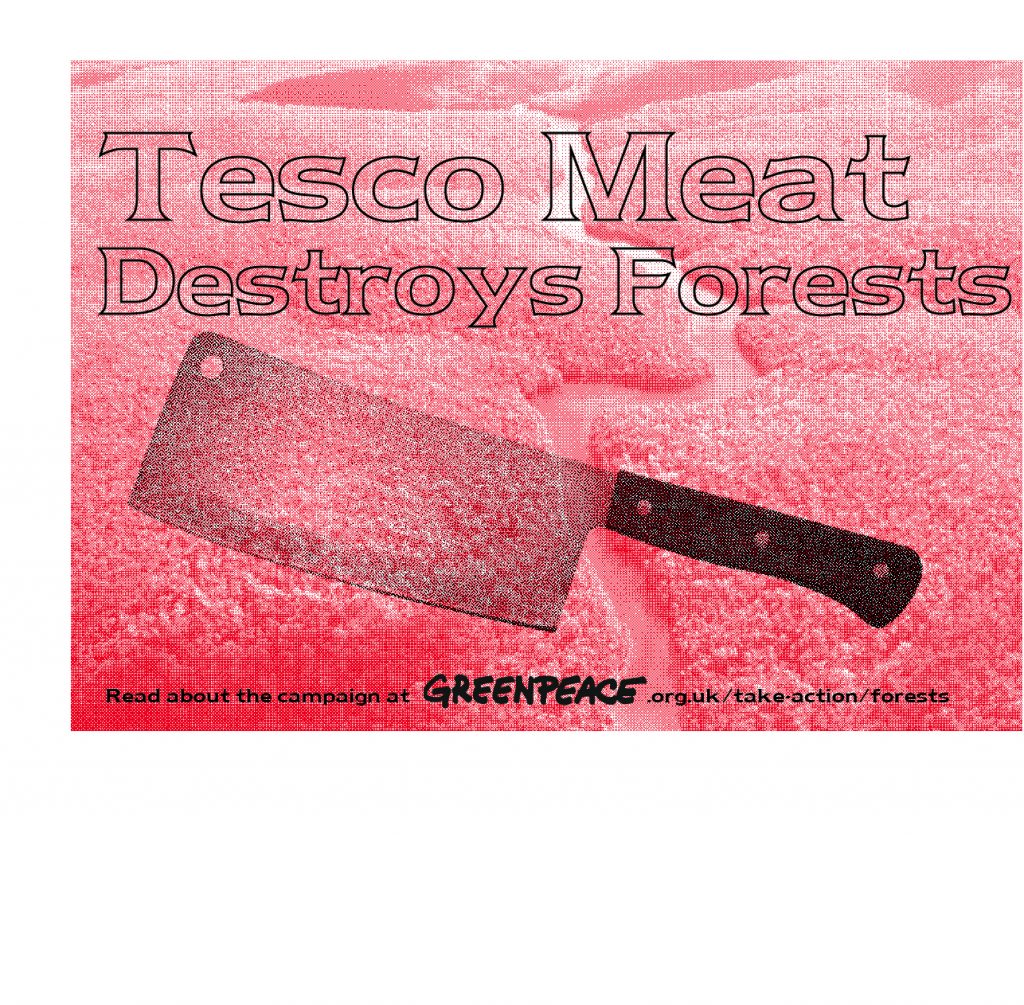
I placed the image of raw meet within the ‘Tesco meat’ type. I felt it has a good shock factor. I drew these letters with the mouse on Illustrator, which is what gives it a ragged look. I didn’t realise that the ‘r’ in trees is lower-case. This was not intentional.

I would next time, change the line ‘Read about the campaign…’ to a different sans serif font.
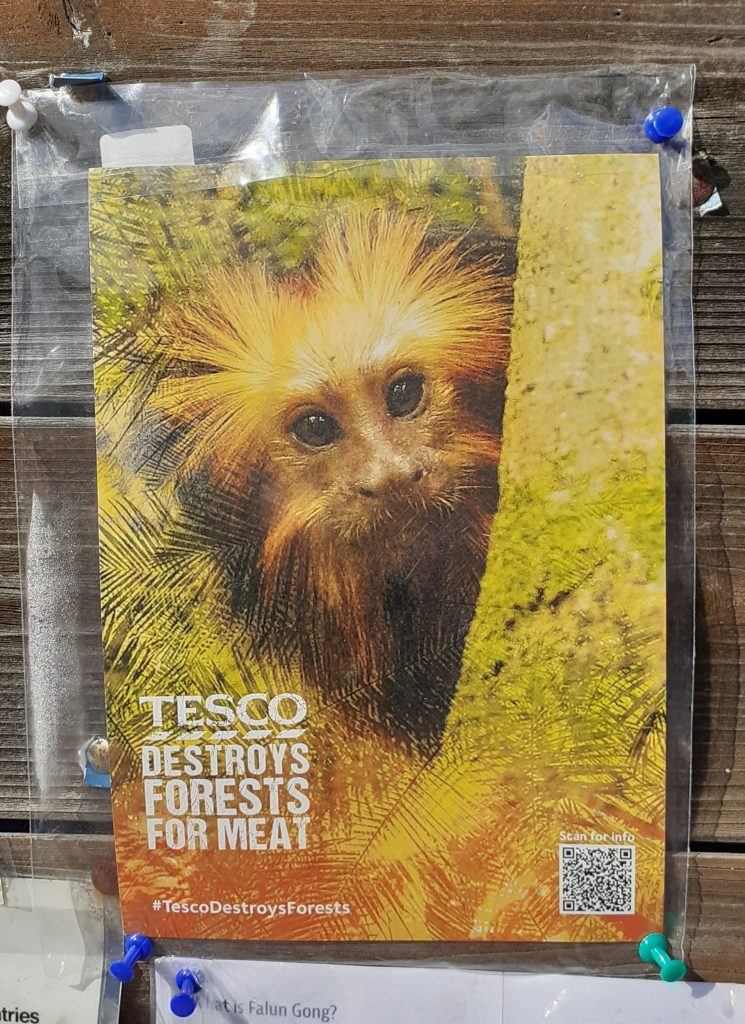
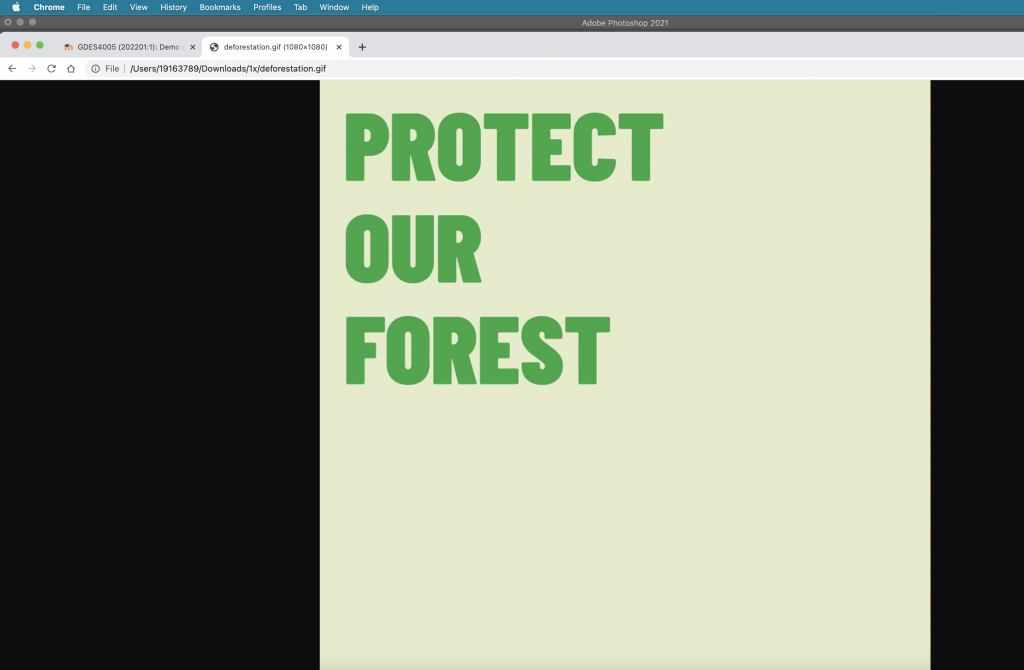
3)

The simplicity of the poster works well. The bitmapped effect was good.

4)

I could keep the river red and make the forest green or greyscale. (My classmate didn’t notice at first that the background image was of the Amazon). Another option is to remove the trees all together and just keep the river.

The text doesn’t work so well, it could be black instead. I could choose to use the bespoke type as well.

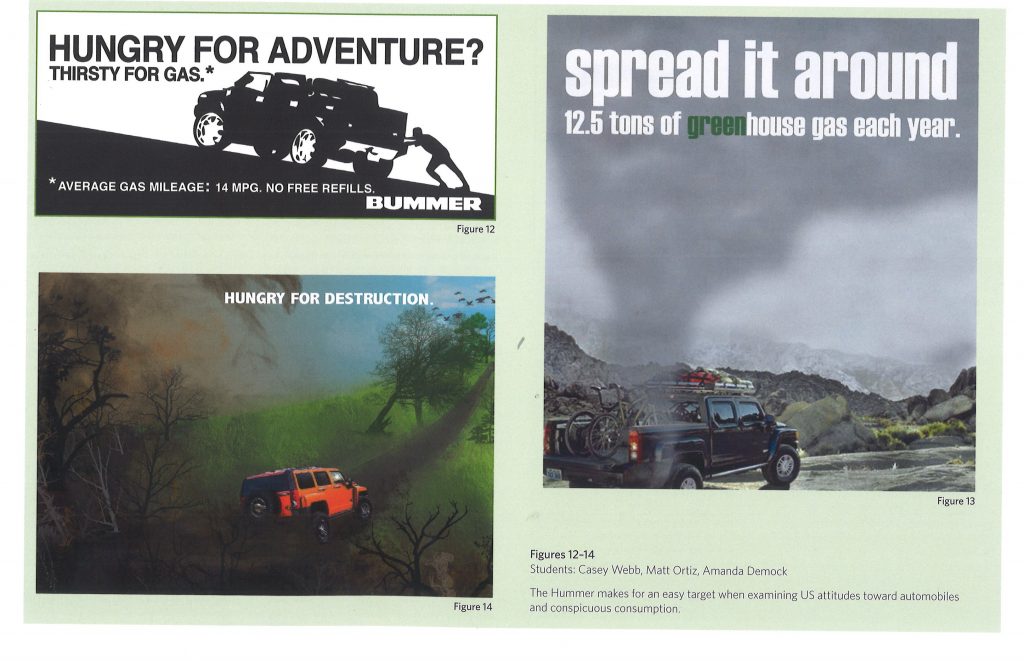
These designs, from students explore the effect of motor vehicles on the planet. The illustration (bottom, left) expresses the message clearly and the tagline supports the image. The simplicity of the right-hand image makes it easy for the viewer to take in.

from Sustainable Graphic Design by Pete Claver Fine

Group work- Project 4

I walked past this poster on the way to campus this morning. The cute monkey image drew me into the poster. I followed the QR code to this webpage:

https://www.greenpeace.org.uk/take-action/forests/#:~:text=Forests%20are%20our%20life%20support,to%20burn%20them%20for%20profit.

Action pack. These posters focus on the animal affected by Tesco’s actions.

We met as a group to discuss the first task of the brief- the poster. Out of the 4 group members, only half of us could be on campus. We worked around this by setting up a zoom meeting and this worked just as well.

The main focus if thus meeting was the Project 4 brief.

The aims of the brief:

  • Write 3 options for the tagline.
  • Choose one of the headlines and put together a poster using this headline and an image. Use 2 colours, 1 for the text and 1 for the image. Could also use greyscale, bitmap or filters.
  • For the 2nd poster, choose more than 1 image and create a photo montage. (Mixing bit and pieces of photos to make a new composition, similar to a collage) An example could be Dada or Constructivist compositions.
  • The 3rd poster asks us to use illustration skills. We could use silhouettes, icons, or work with size/scale in a surrealist way. Can use metaphor, such as with (the global warming postyer). Can use up to 5 colours, for example, 1 colour for the background.

Meeting notes:

Colours

We decided that red should be used in our campaign, since this relates to danger AND the Tesco brand at the same time.

The other colours we considered were black, white, blue and green. Green relates to the nature that is being destroyed. White backgrounds are used often for Tesco posters.

A combination of red, pink and white could symbolise danger and meat.

Taglines

Tesco must go (rhyme), Tesco Kills Trees, Tell Tesco Trees Matter, Don’t Eat Tesco Meat, Tesco Meat Kills Trees

After sharing our ideas with our lecturer, she suggested:

Focus on the animals, not the meat or dairy (Be Wary Tesco Dairy)

Typeface

The typeface used by Tesco is an altered version of Newtext Bold and a humanist sans serif typeface. We want to use this in the poster. We could also include a destroyed text effect.

On the other hand, the poster doesn’t need to reflect the Tesco brand. This method of subverting the brand could be reserved for the guerilla strategy.

Guerilla Marketing Strategy

Clubcard tags. Where the price is placed:

Tesco clubcard. The group shared image in a shared drive.

We could use the yellow icon. ‘The power to lower prices’ could be subverted to ‘The power to stop deforestation’. This could put a positive spin on the poster and ask consumers to do something good. The prices on the right could state the facts we want to get across to the consumer.

Tesco Clubcard campaign, 2020 by MediaCom

Every little helps> Every little consequence/ suffering.

Prices that take you back

‘Tesco Finest’ > not the finest way of producing meat.

(Whatever you’re buying, the forest pays the price) Knock-on-effect damage (medicine comes from rainforest, effect on indigenous communities, animal habitat loss). These facts could be displayed as in the poster below. For example ‘Every tree killed, Every living forest…’

Tesco Love Every Mouthful campaign
Posters

1 poster focusing on meat, 1 for dairy?

Poster 1: Red and white. Maybe using a white background and tagline written in ‘meat font’.

Poster 2: A Tesco in the forest

Poster 3: The tree and meat

The shape of the meat could reflect a geographical structure. For example, the shape of the Amazon.

Our plan for the week is to design at least 1 poster each. We will then meet up and discuss which we feel are more effective.

Sustainable campaigns & animated GIF

Sustainable campaigns- group presentations

Watching the class’ group presentations, gave me new ideas for how a sustainable campaign can be presented.

Notes:

  • Greenpeace- Detox (guerilla marketing) The use of props gets across the message instantly.
  • Mental health awareness week- get outdoors
  • WWF focuses on 4 animals. I noticed the importance of focusing onto specific aspects of an issue. If these posters tried to cover every animal affected, it would be less punchy.
  • Ocean agency- coral
  • Reimagine by Landrover- electric cars
  • ‘Tomorrow starts tonight’ IKEA – Mother London Creative group (healthy lifestyle)
  • Use of metaphor. Transform by swapping context:
  • ‘steps’ IKEA also Mother London
  • Use of icons- Kiehl’s- formulating a better future- use of colour (green for sustainability)
  • HS2 Rebellion – use of photos from the construction site! This sends a powerful message because we are seeing the actual site of the destruction with our eyes. In terms of the Tesco/Greenpeace campaign we could use this strategy to demonstrate the effect Tesco are having on rainforests.
  • They also use cartoon illustrations to represent the destruction taking place and its potential effect on communities.
  • Texture in the font. Illustration and handmade signs. Different designs for different audiences. Designed for the location or for online.
  • Wild East UK- bold letters:
  • Not looking at the whole problem- by zooming into specific animals
  • Find your way- mindgrowing.org
  • Use of sketches- play on words , colours blue and green relate to Earth. (taking into account the implications behind colour choices.)
  • Quirky/ chunky font=relaxed. Focusing on 1 word instead of the whole title.
  • Design company the lovers
  • Attacking the viewer- questioning their humanity ‘are you a robot?’ targeted at the digital era. (Greenpeace)
  • Nature is speaking- using a different voice for each aspect of nature e.g. ocean, ice, mountains.
  • Extinction Rebellion- photo of house submerged. House designed and built by them to suggest rising sea levels. Strategic placement.
  • Greenpeace and Extinction Rebellion both use shock factor.

Animated GIF workshop

Working in PNG is best for animated GIFs.

We would use Illustrator to create the slides and PhotoShop to animate the separate slides, exporting them into a GIF.

  1. Export for screens
  2. Window > timeline > create frame animation
  3. Clicking the plus adds new frames.
  4. Allow enough time to read the text. e.g. 2 seconds.
  5. Press play to see the animation.
  6. Mp4 file plays on Instagram- can’t upload a GIF on Instagram.
  7. GIF file> export > save for web
  8. Opening the GIF in a new tab, allowed me to view the GIF full page.
The timeline appears at the bottom of the photoshop screen. By clicking the small arrows, I can change the time each slide appears on the screen.
The layers can be viewed in this right-hand window. We needed to click on/off the eyes to hide the layers we didn’t need.
The play button allows me to see a preview of the animation.
The save for web window.
Opening the GIF in a new tab of the browser.

Project 3 – short animation- group work

  • The task for next week is to create a short animation. We are in the same groups as for the expressive type exercise. The aim of the project is to make the GIF extracting key points from the article on deforestation.
  • We must first define the problem (intro), highlight the causes and then conclude the issue. (The CTA of the article).
  • The type must be easy to read and understand, since the purpose is for it to be on social media.
  • We should refer to the demo to get an idea of what helps an animation to flow and be legible.
  • The animation could be longer than 11 frames e.g. 20 secs in total.
  • Don’t overcomplicate it! Stick to just 1 font. Use a font with high legibility- could be from google fonts. Typography style- use the type manipulation that we used in Project 2.
  • Simple, punchy is best.
  • Need to communicate the idea of deforestation. This can be done with the graphics as well as the actual words.
  • Stick to short phrases. Extract some data from the article. Could make the numbers bigger. Some slides could show just one word. Using colours to stress the message. 1080px x 1080px. (size of insta post)
  • present on 28 Feb
  • 1 GIF for the group.
  • Just typography- no images.

Ideas from group discussion:

  1. Ben- forming the script from the text
  2. Demelza- putting these into individual slides with Illustrator
  3. Holly- animating the slides

We considered the use of:

  • Bold to thinner type
  • Bright colours to dull
  • Last phrase blurs into blank page
  • Could disintegrate at the end
  • look at google fonts, send them the options
  • Barlow condensed
  • Could use 3 colours- bright green- to muddy green- to black
  • Keep it simple, use just 1 effect.
On Illustrator, I made a few examples of how we could animate the effect of disappearing or loss. I then consulted the group, to see which effect everyone liked the most. We all agreed on using the pucker tool (top line)

Ben sent his script for the animation.

I transformed the words into slides, on illustrator. (below) I liked the rhyme and rhythm he has used.

From reading the brief, I saw that the GIF needed to include the causes, effects and solution for deforestation.

I therefore, needed to script the rest of the GIF myself, because of time restrictions. (left)

I sent the PNG files of the slides to Holly and the illustrator file to the rest of the group. I invited the group members to change anything they didn’t like before the animation stage.

I shared with the group, the plan for the slides. This would allow Holly to be able to work from the plan with the PNG images.

Feedback for the animated GIF

  • The transitions are a bit too fast
  • The gap in ‘are cut down’ is not immediately obvious
  • Too many effects overall e.g. the black outlines on the word ‘Earth’s’