This week, I had a go at editing my photos on Adobe Photoshop. Being new to the program, this was a case of experimenting with the tools. My focus was on improving the images as best as I could.
Unfortunately, I did not use the layers tool within Photoshop. This meant that the changes I was making were being made to the photo itself. After saving the document, I was unable to see my previous steps in the history toolbar.
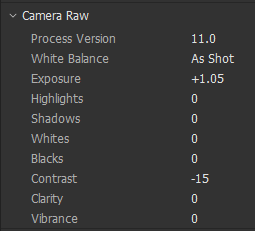
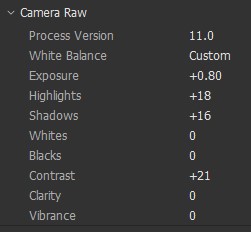
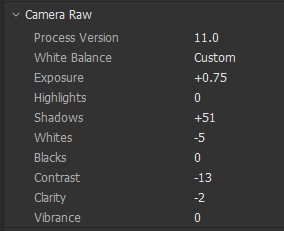
I opened the photos in camera RAW. This allowed me to make changes to the photo before making further adjustments in Photoshop. By then opening the final image in Adobe Bridge, I was able to see the adjustments I made in camera RAW.
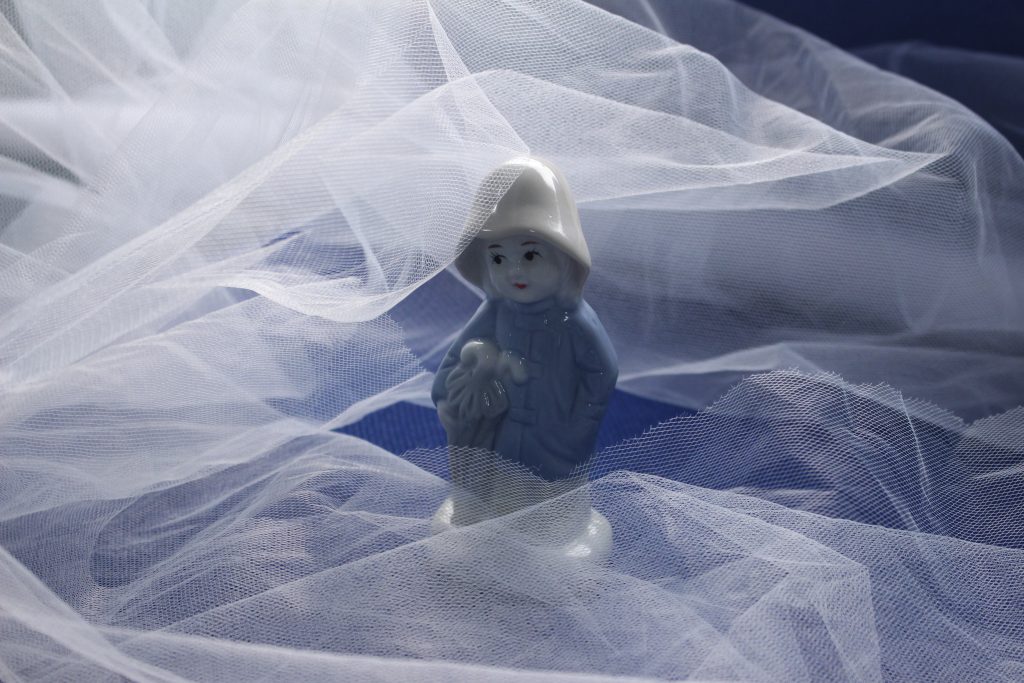
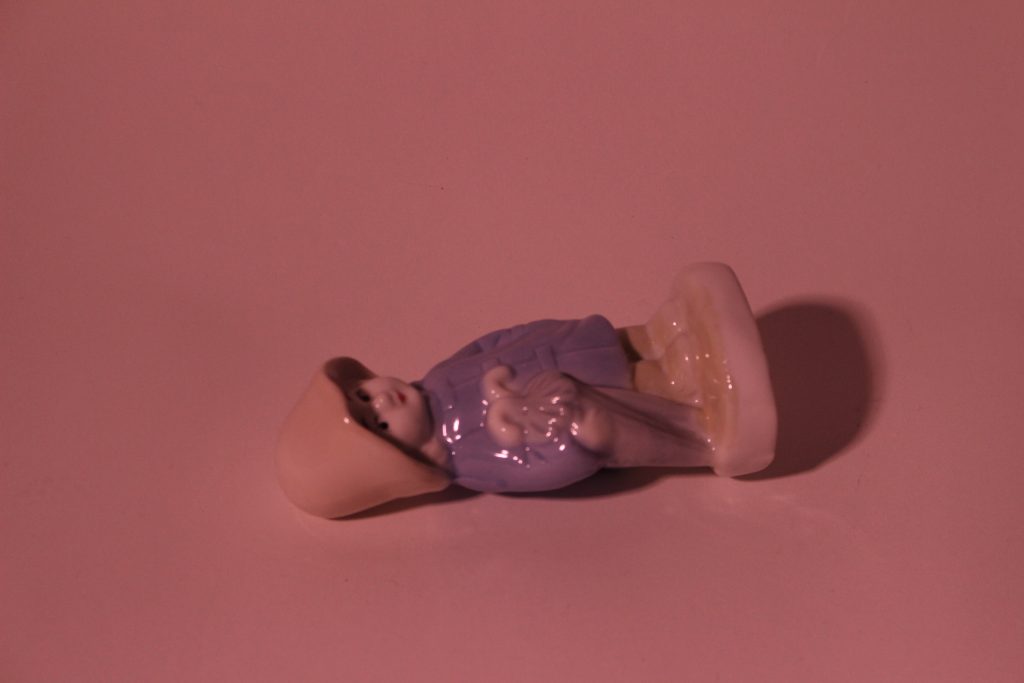
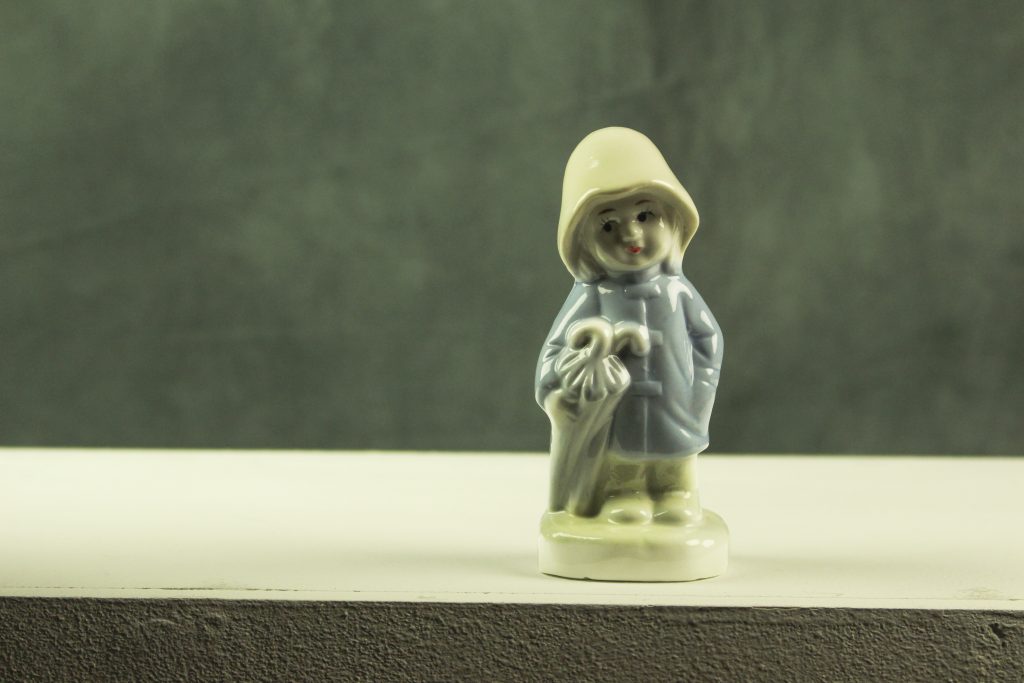
Before
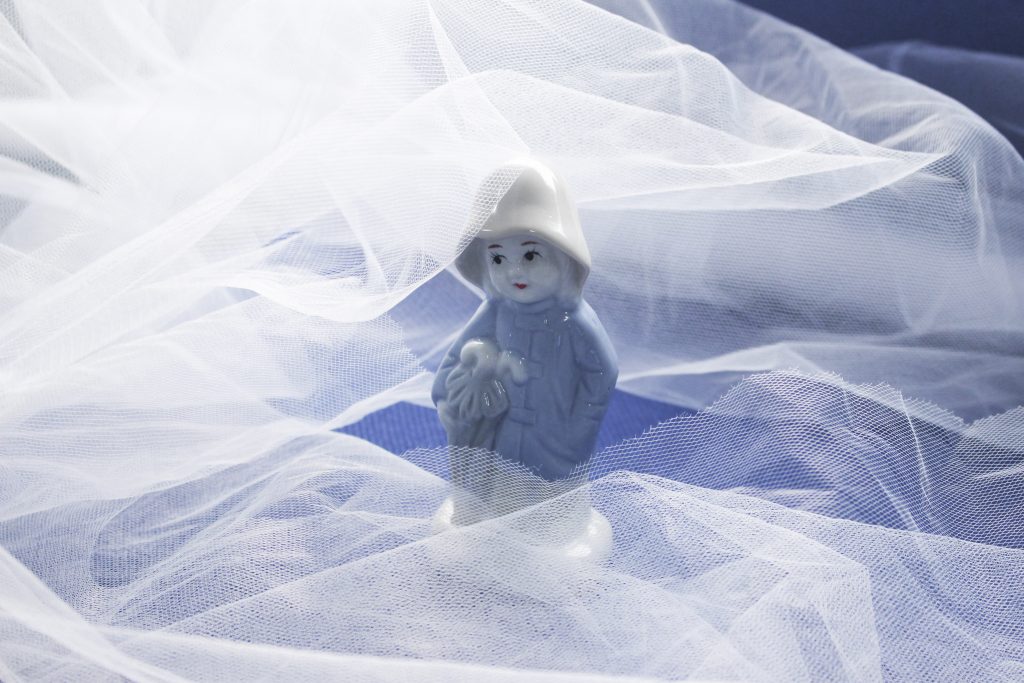
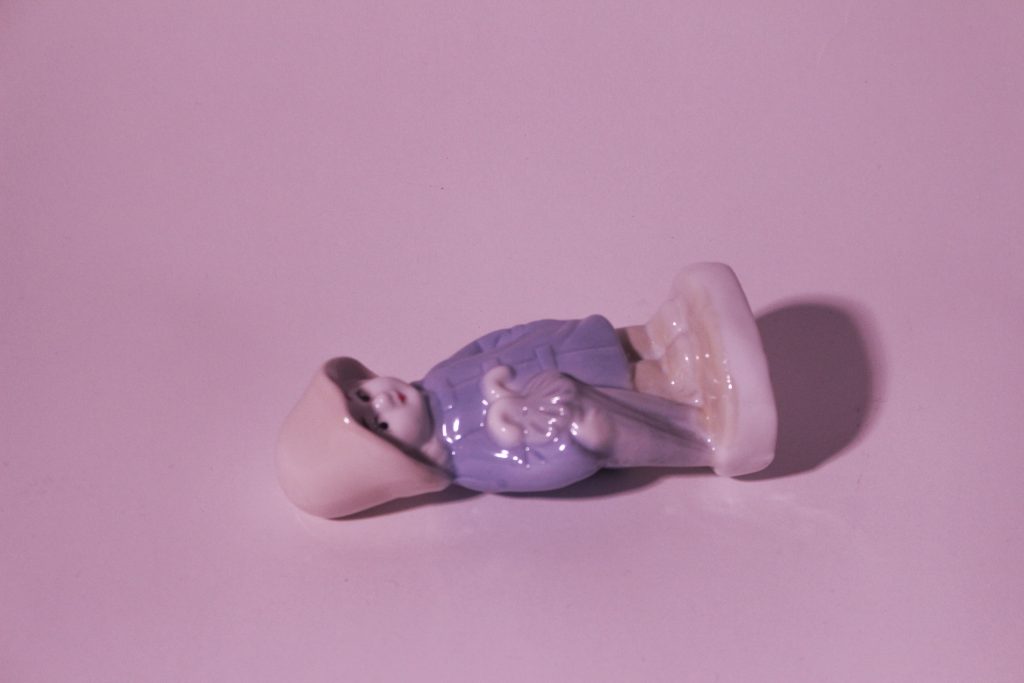
After
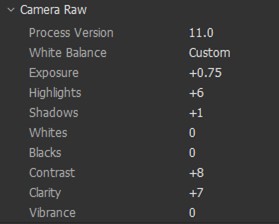
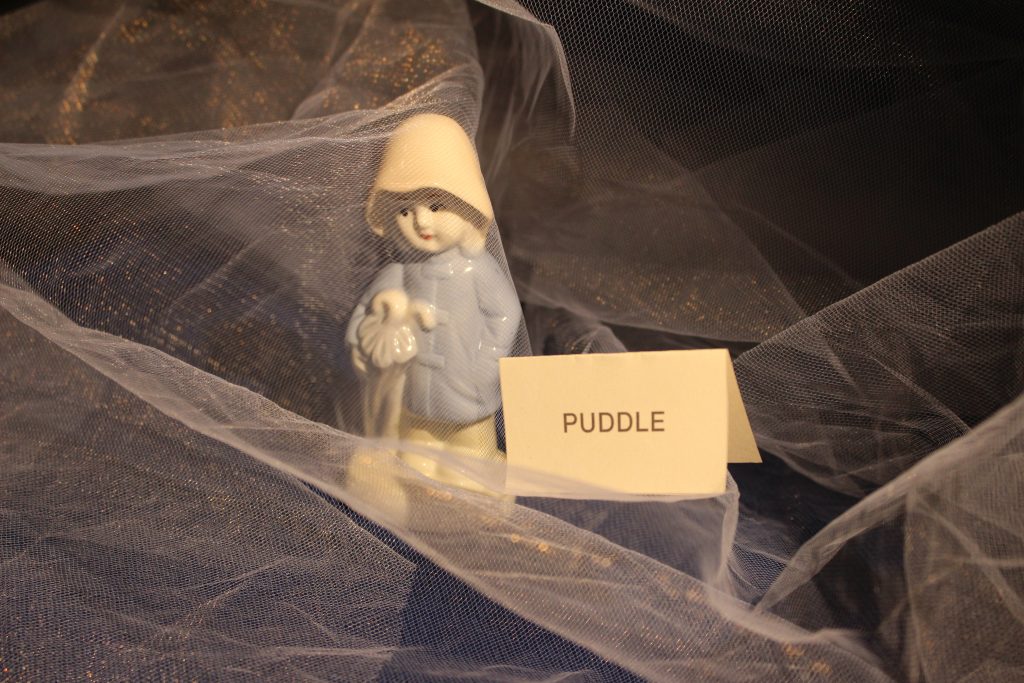
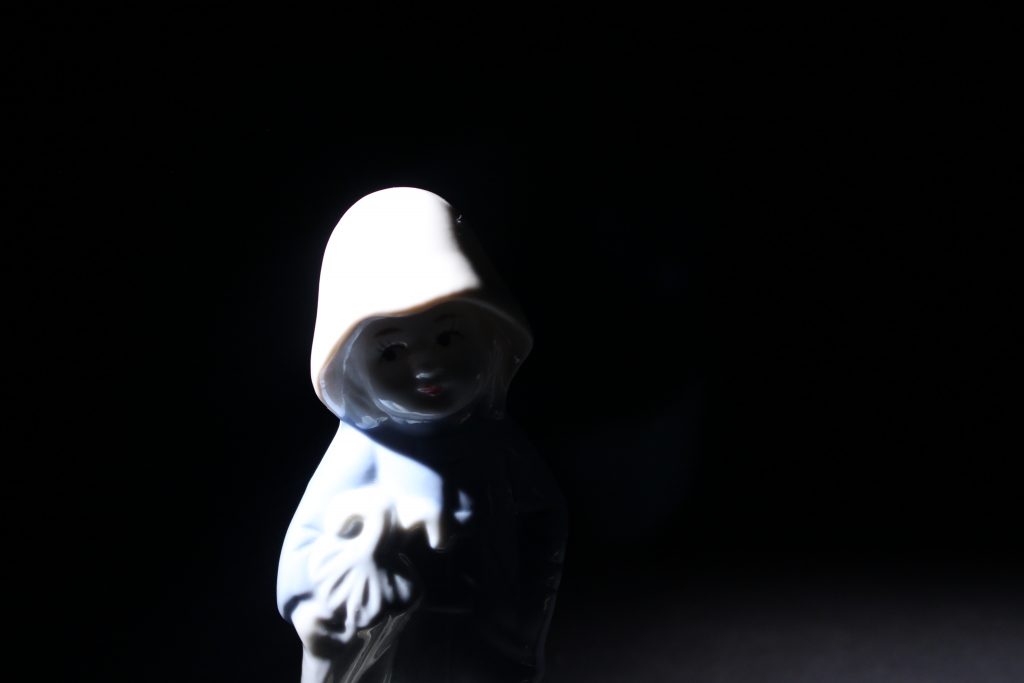
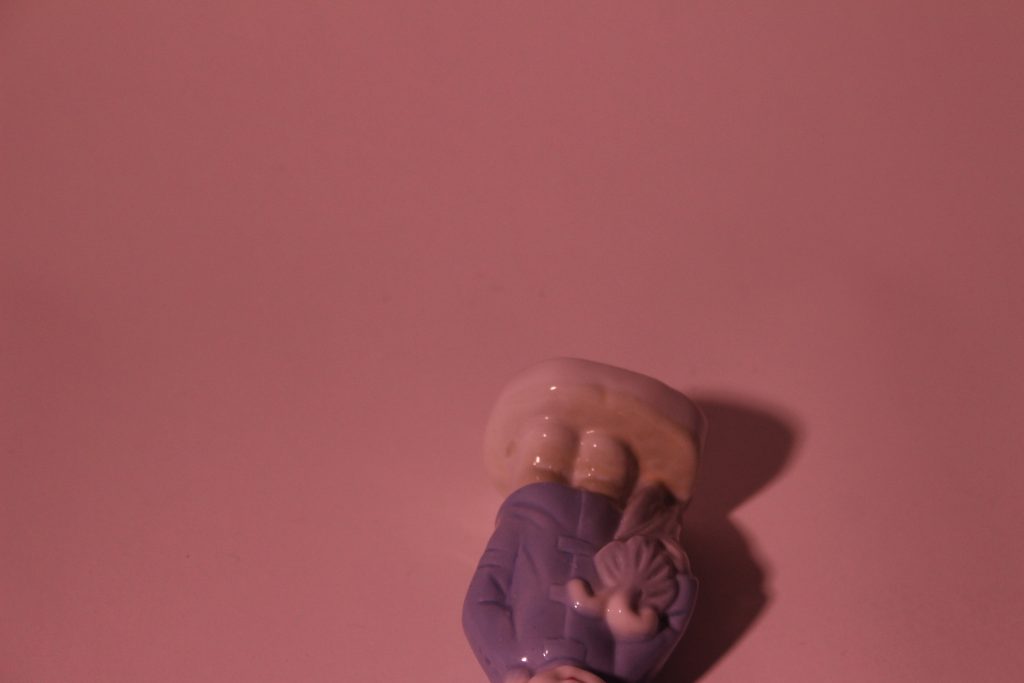
I lowered the contrast to give a softer feel and made the over all image brighter. I wanted to create a dream-like image, like the figure is in the clouds.
Before
After
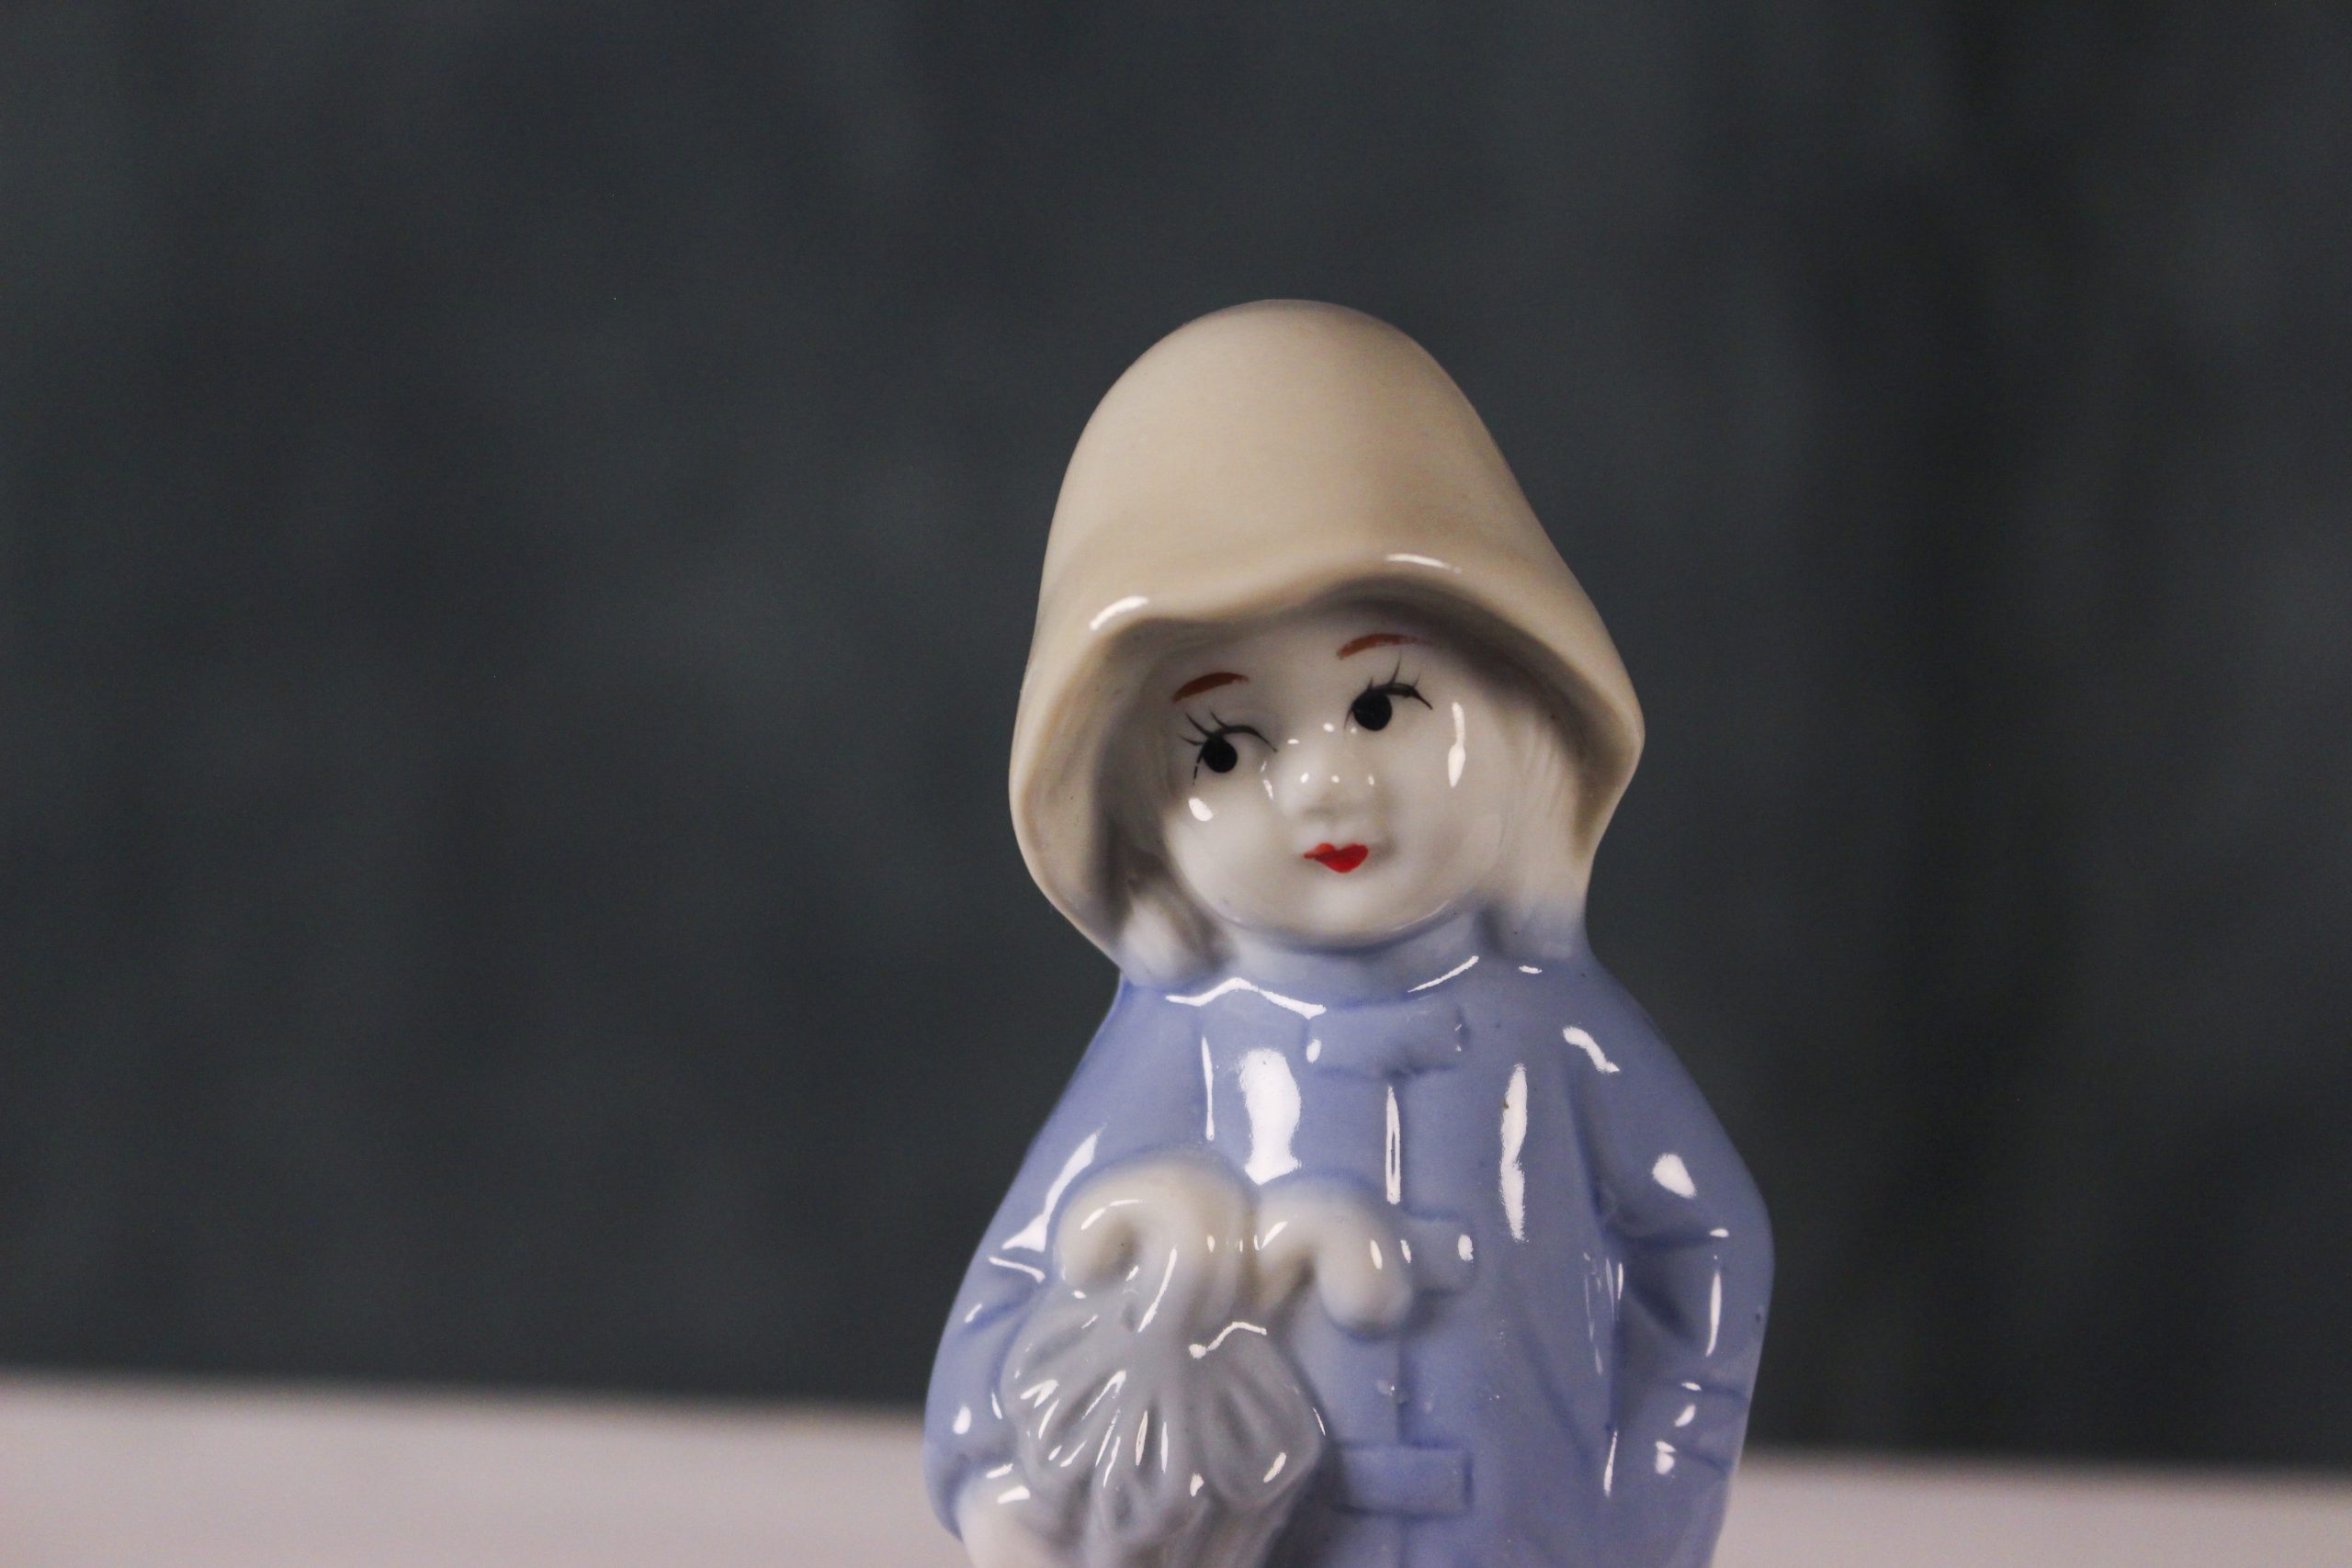
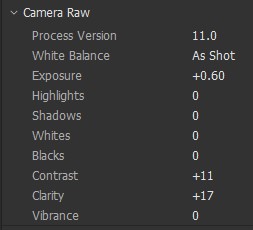
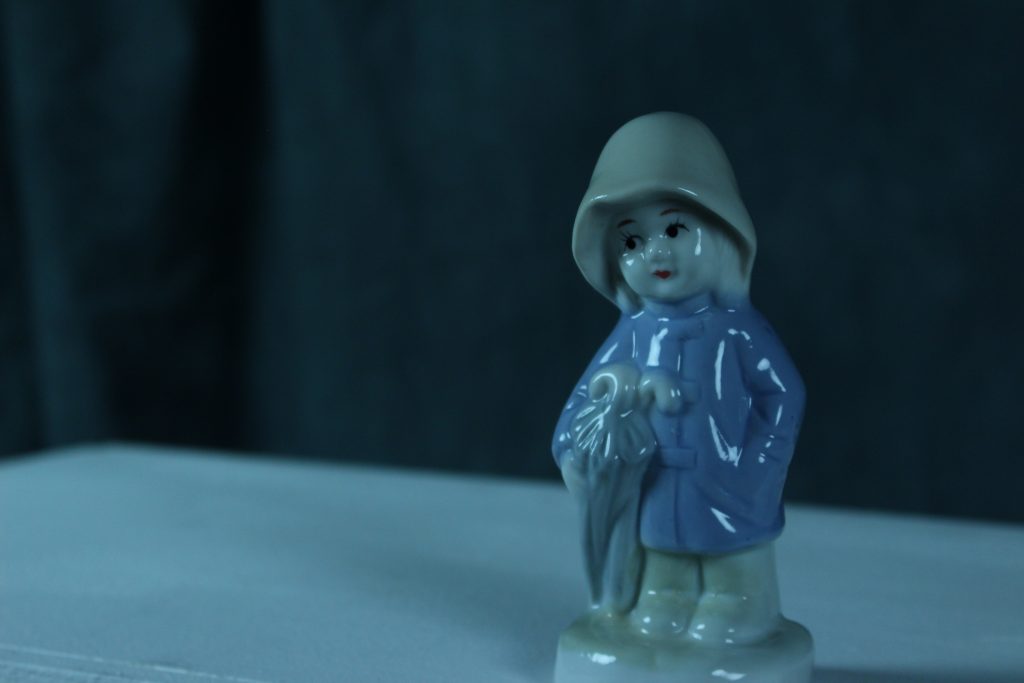
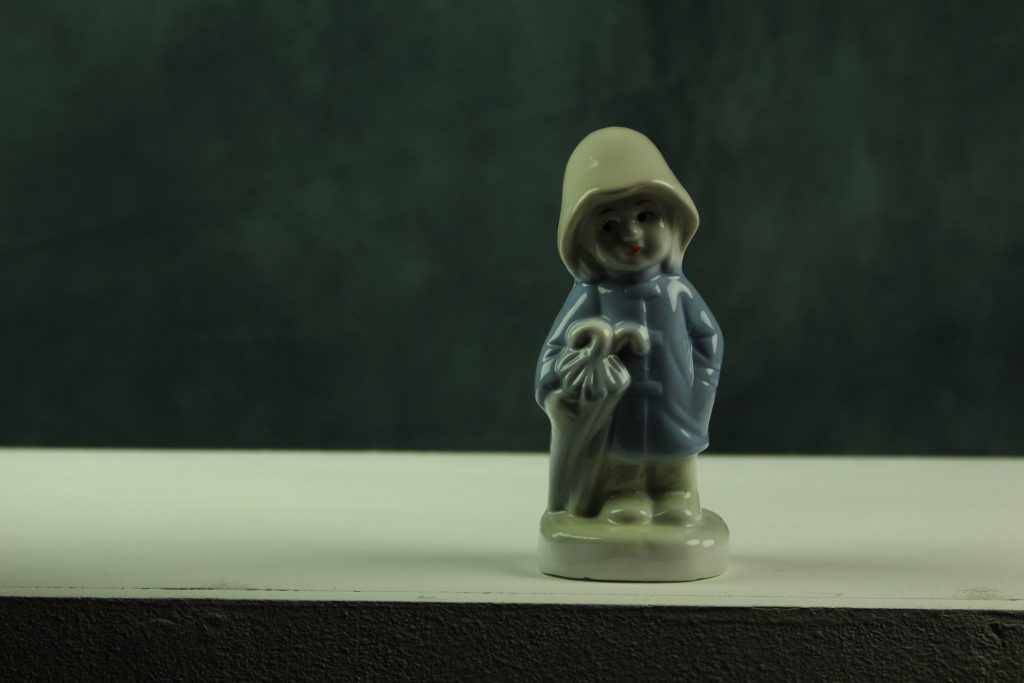
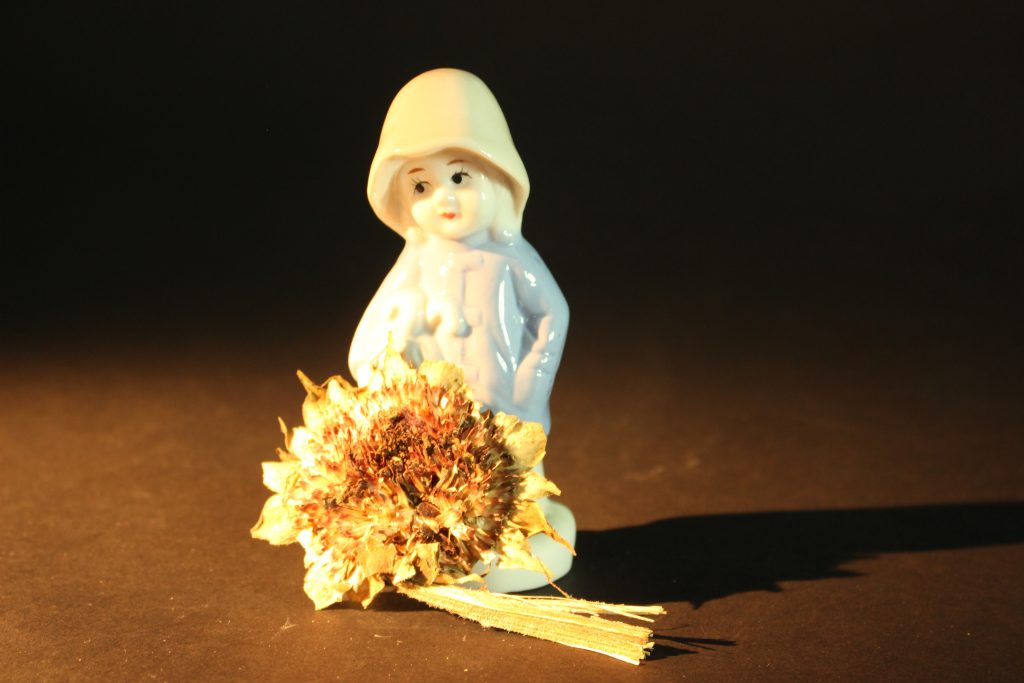
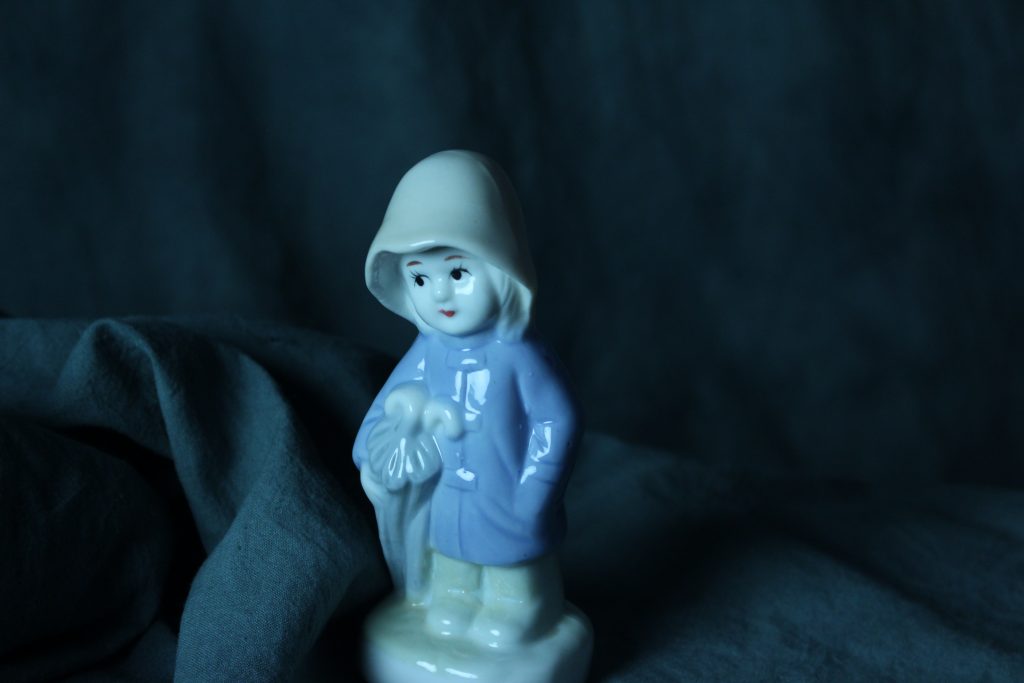
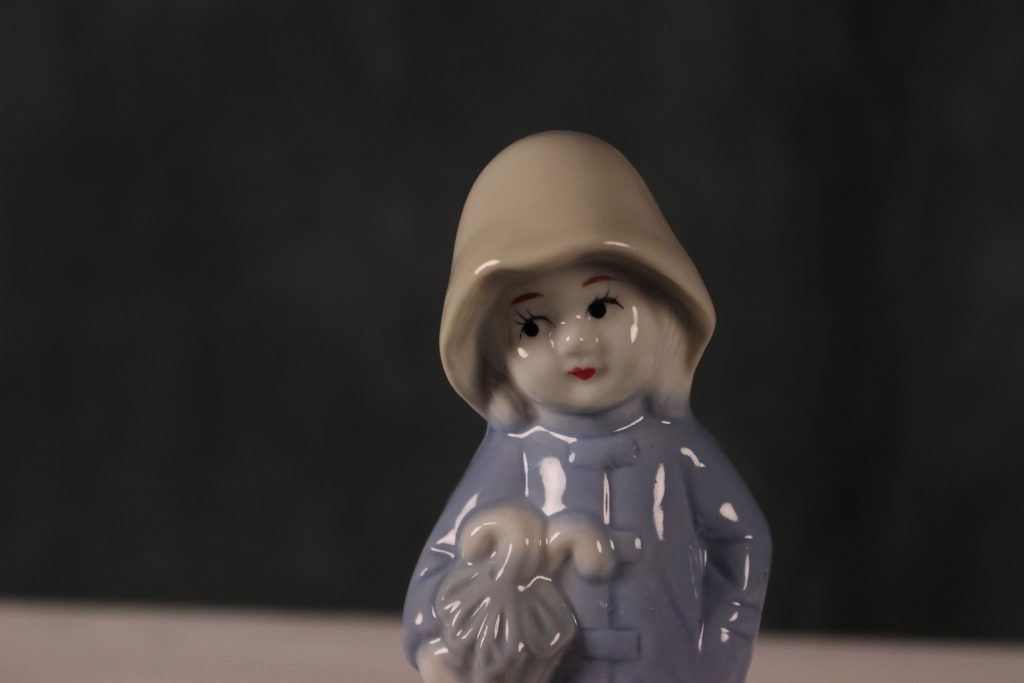
I found the original image too dark. I didn’t like how the background was contrasted against the figurine. After adjusting the image in photoshop, the background had more texture and the colours of the Raincoat Girl popped.
Before
After
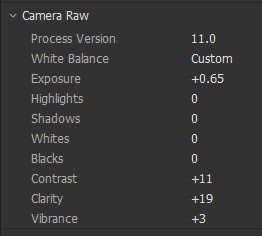
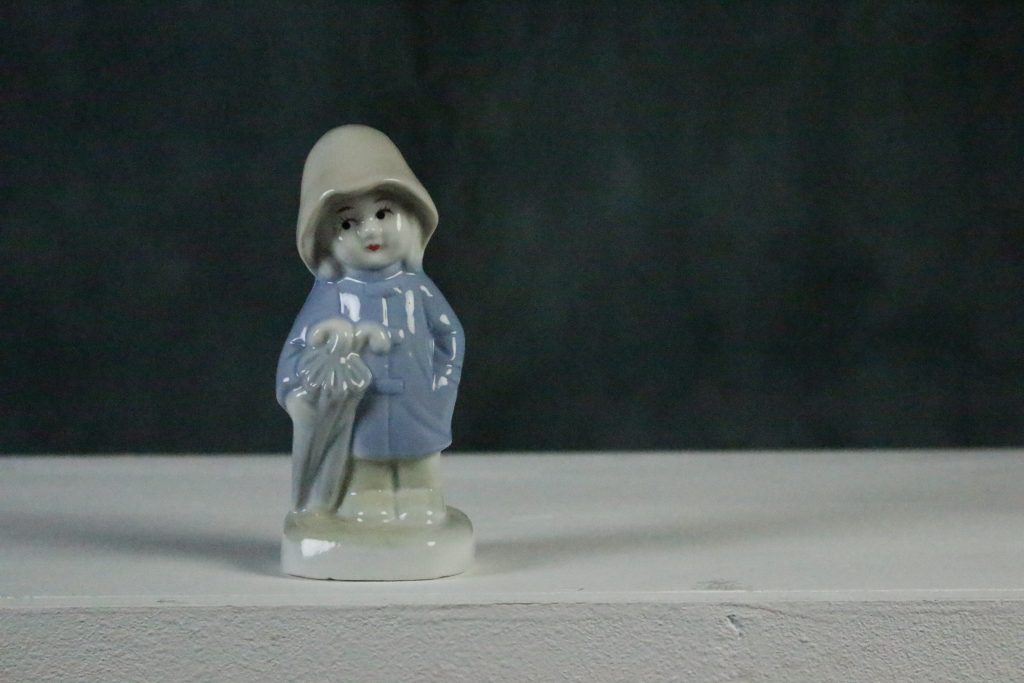
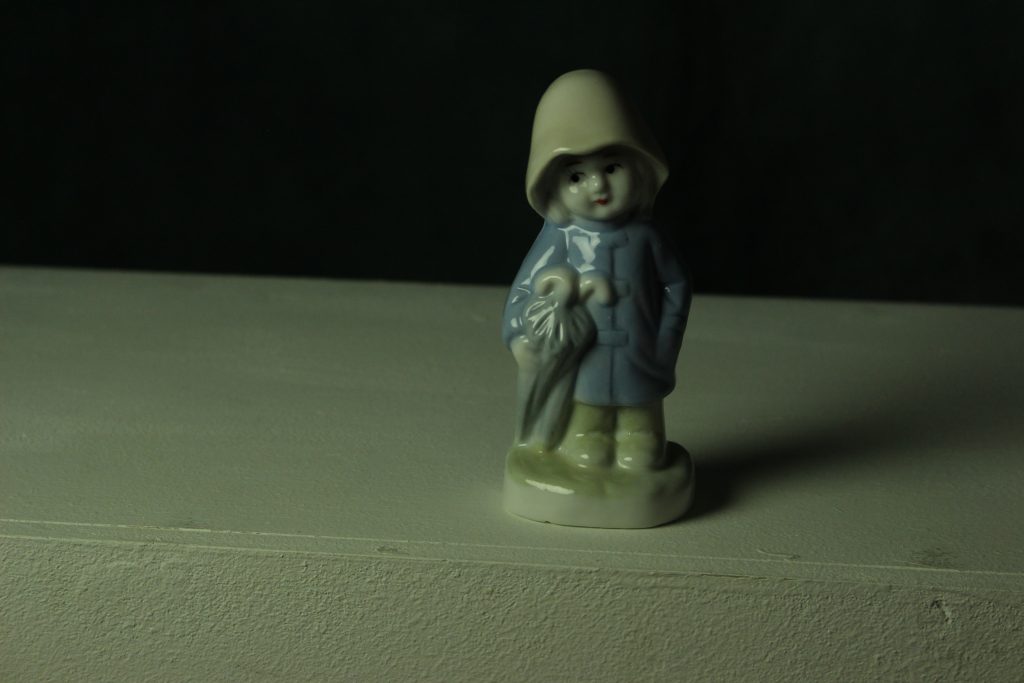
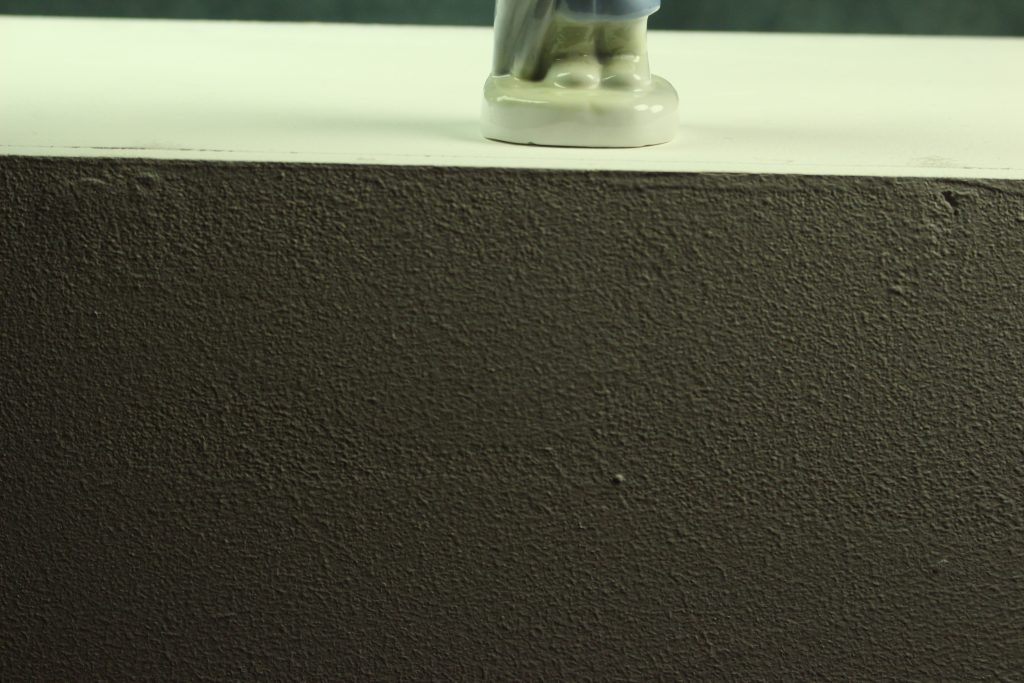
I used the quick selection tool to select the figurine in this photo. I then added contrast so that the boots were more defined. Brightening the wall in the foreground, shows more texture and made the image more interesting.
Before
After
I liked the way I composed this photo and how the figure gazes into the distance. I felt it looked too dark and gloomy. I lifted the brightness in the image. However, I would like to add more saturation to lift the colour in this image.
Before
After
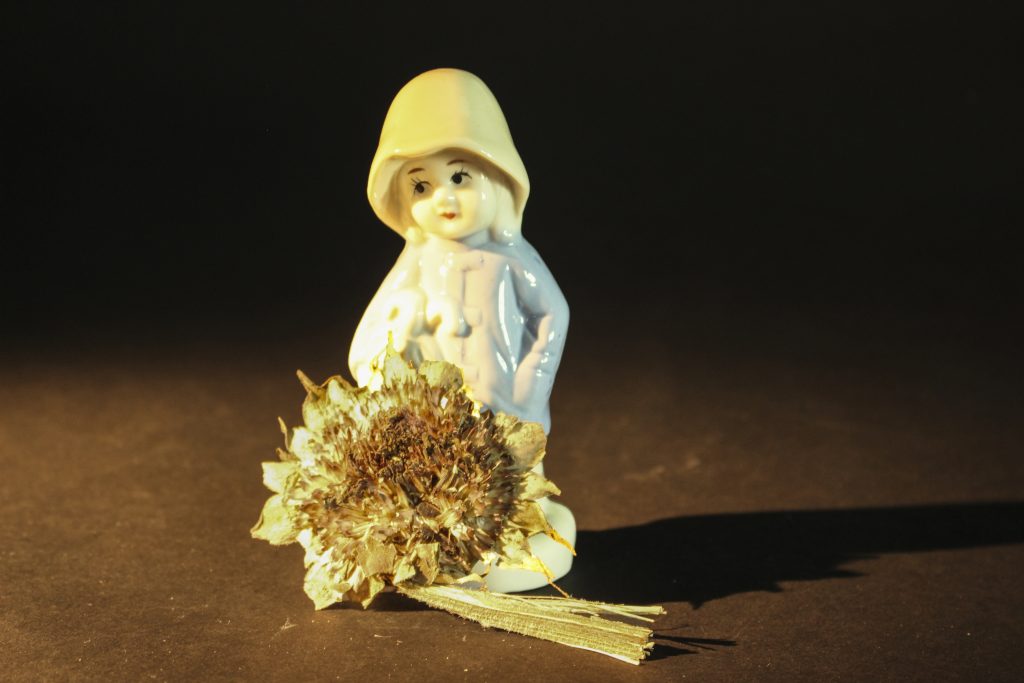
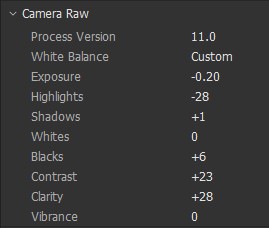
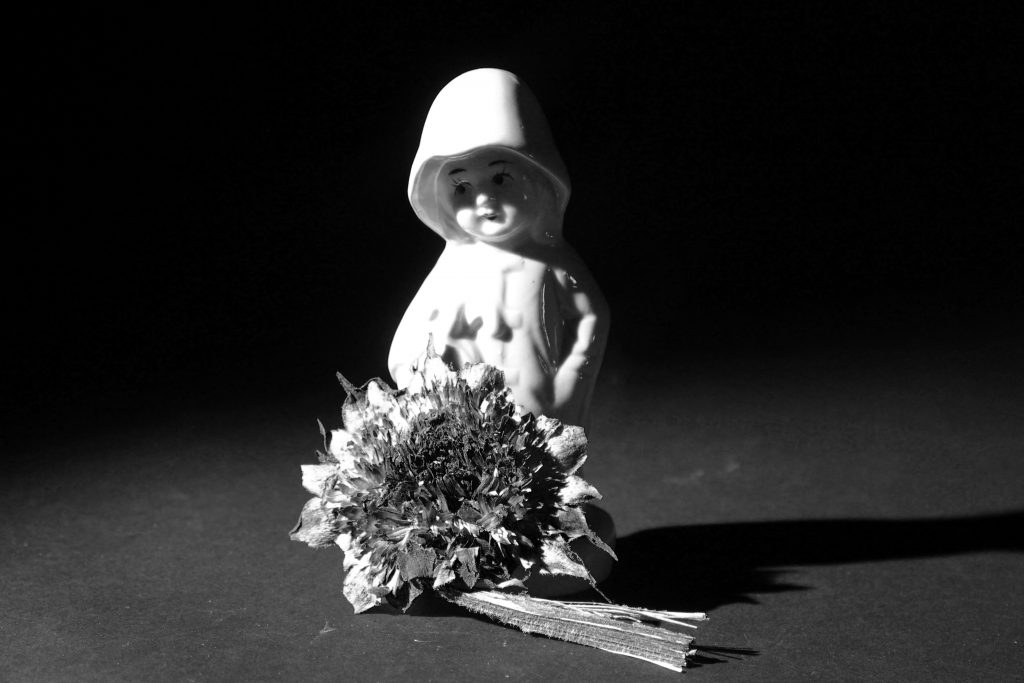
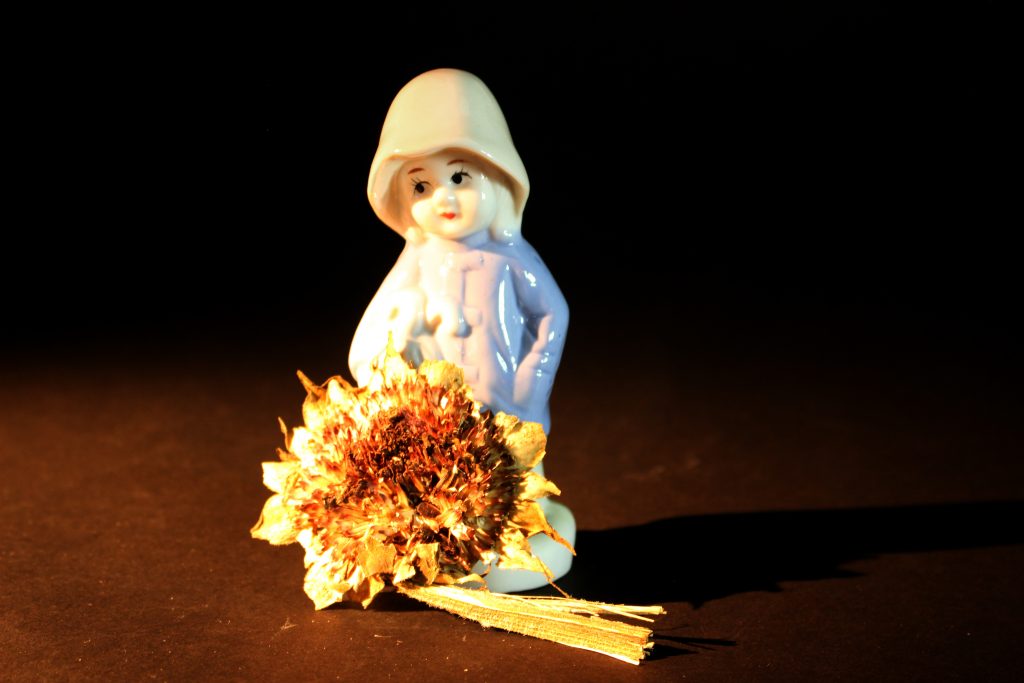
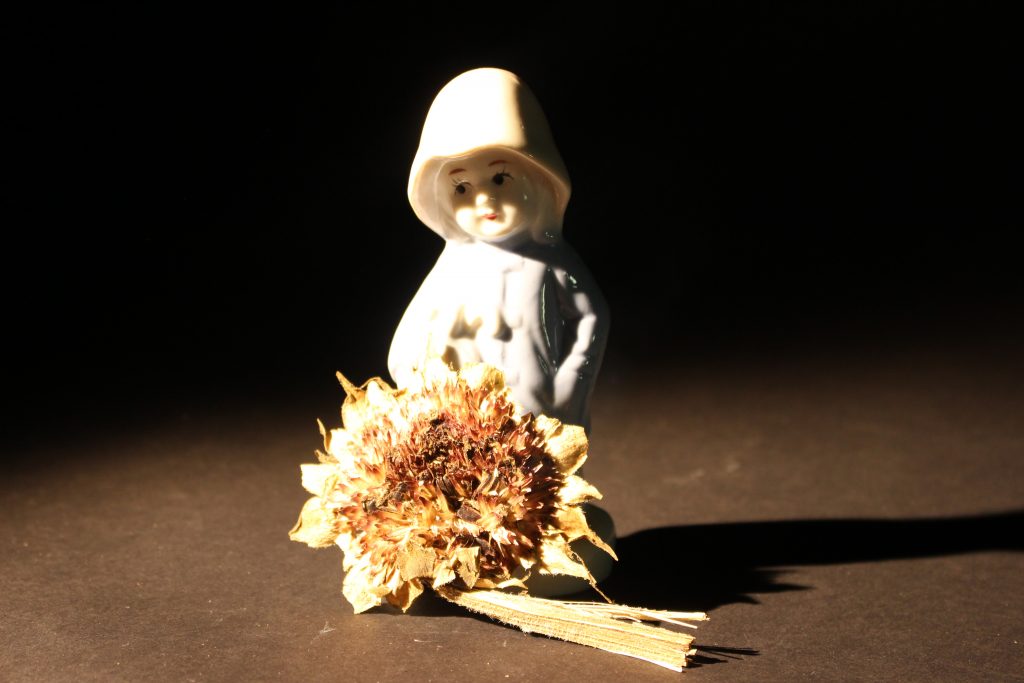
I added more contrast/ shadows to define the figure’s face. I toned down the colours and softened the sharpness of the sunflower.
Before
After
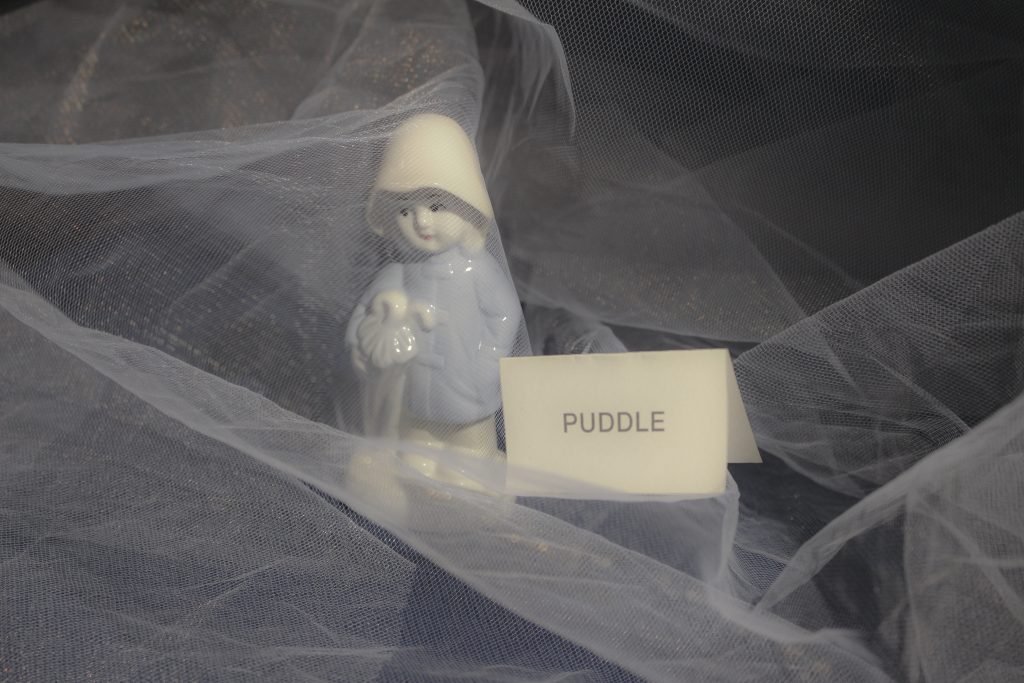
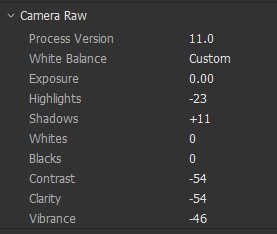
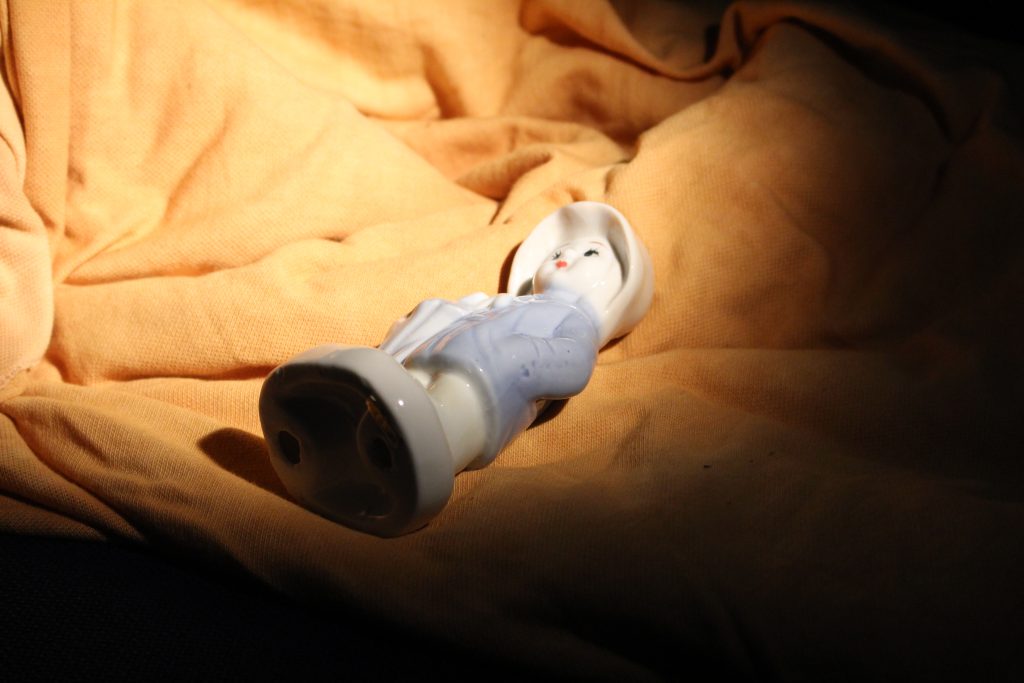
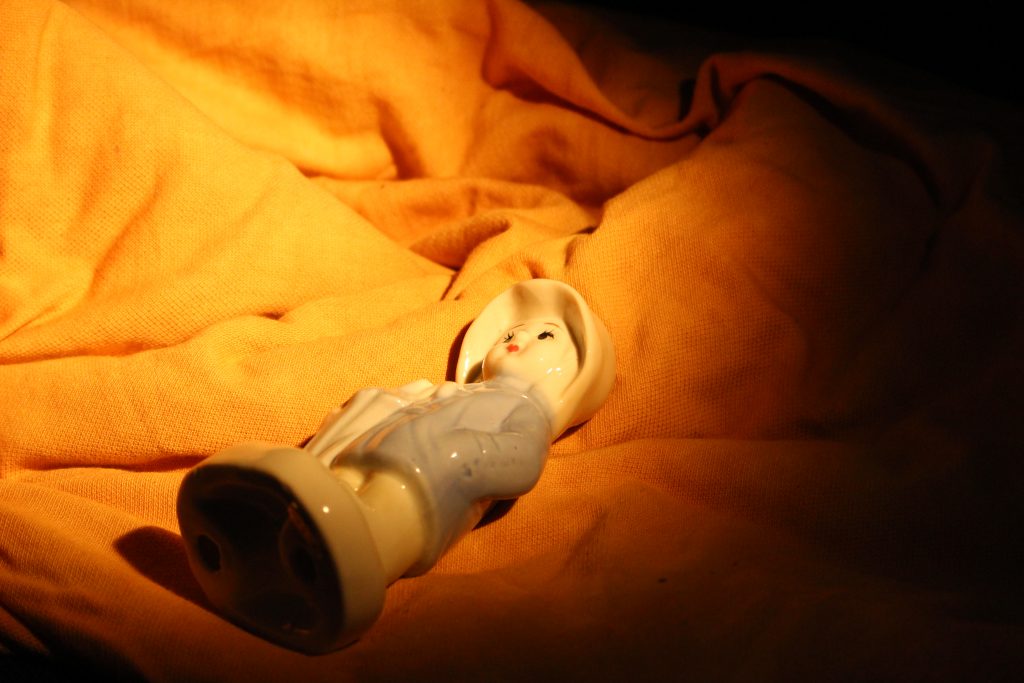
The original photo contained a lot of yellow. This is due to the warm toned lights reflecting off of the material. I could turn the colour temperature down using the camera RAW program.
Before
After
This image is not in focus, so the end result is not perfect, but I wanted to try editing a coloured image like this. I increased the depth of the shadows and improved the overall colour.
Before
After
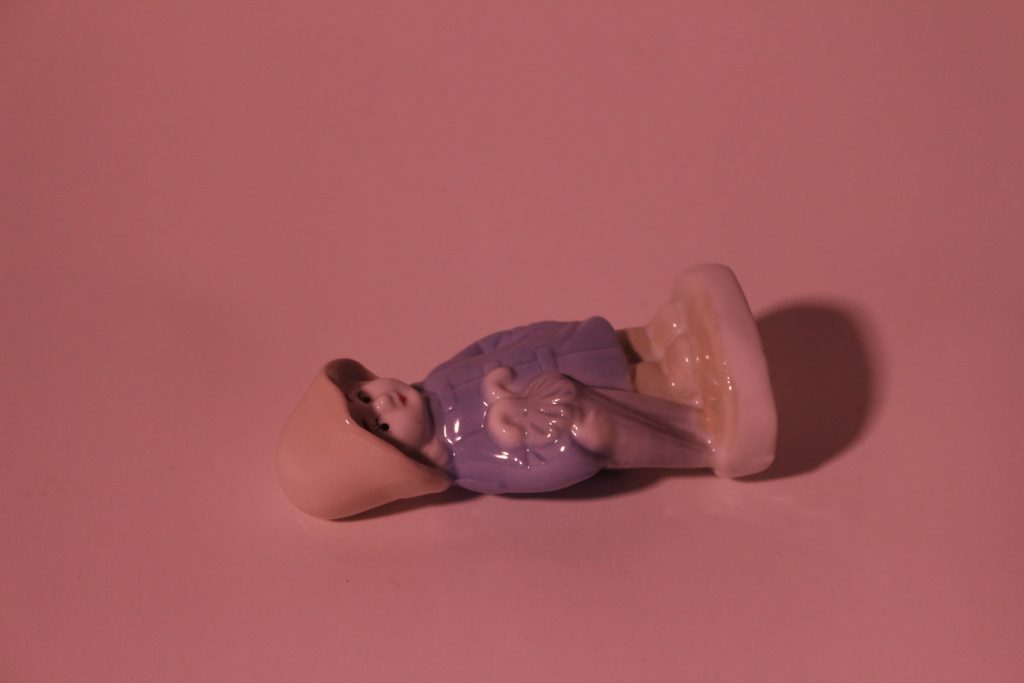
Increasing the exposure greatly improved this image, as the face became more visible. There is now more balance across the picture.
In this week’s workshop, we learned how to use Adobe PhotoShop to edit photographs. We practiced by editing the photos we took of our objects in last week’s photography workshop.
The Process:
First, I opened my photograph in photoshop. An easy way to do this on a MAC, is to save the image to the desktop then drag and drop the image from the desktop into photoshop. You can also drag and drop several images into photoshop at the same time.
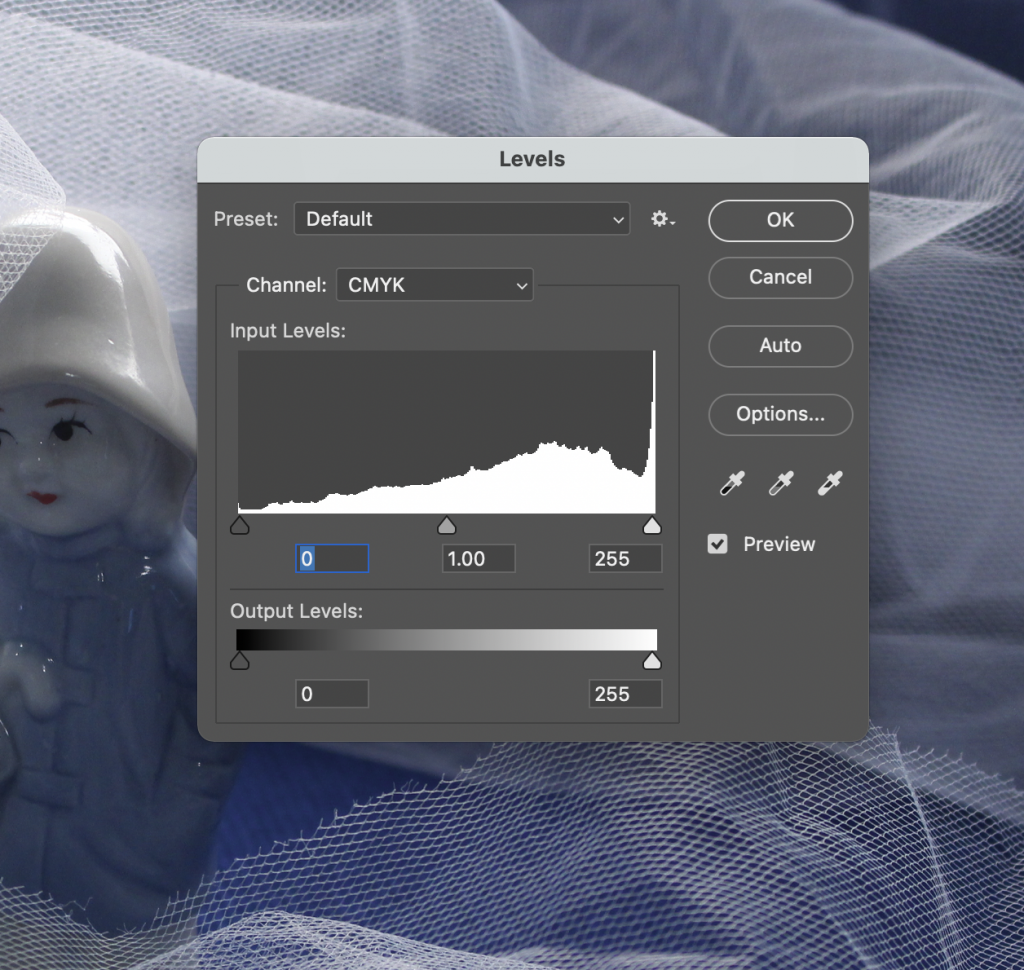
Selecting Image> adjustments> levels, brings up a histogram. It shows us what colour the pixels are. The shortcut for levels is Command + L.
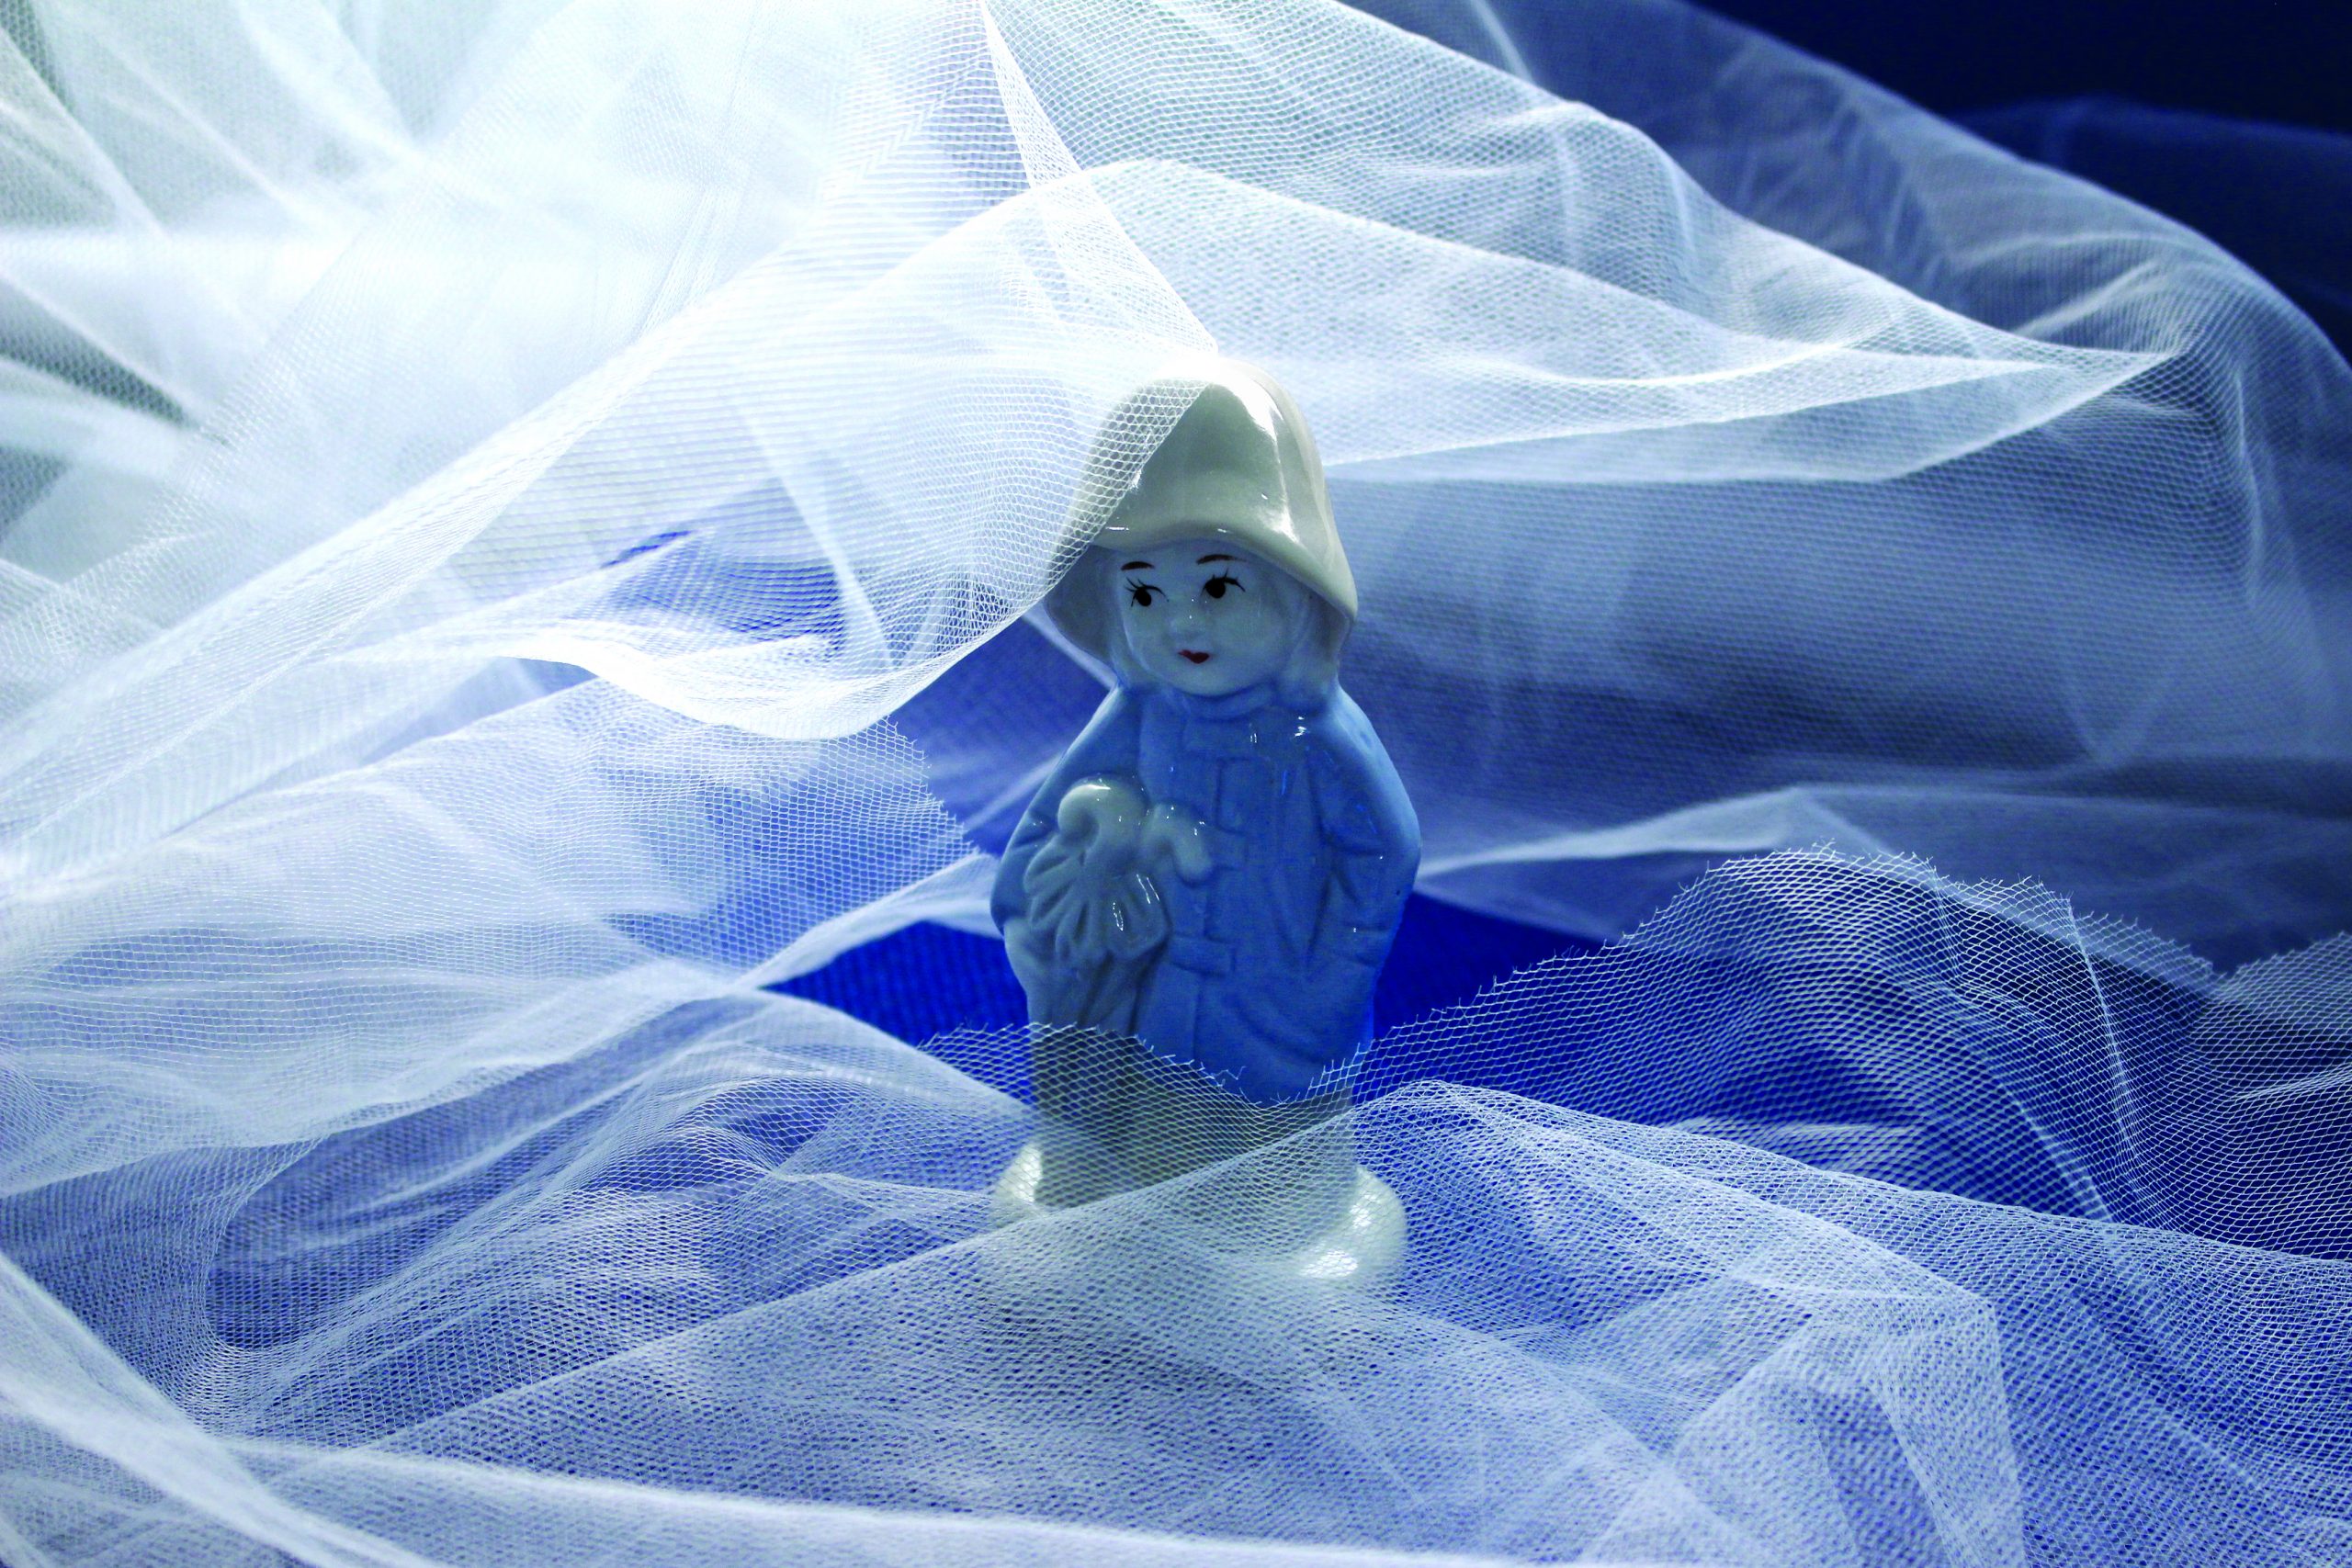
The resolution is the pixels per inch, known as DPI.
The lowest resolution is 72 DPI. This is good for images to be uploaded quickly, but they would be of a lower quality. The image could be suitable for images to be viewed on a phone- 72 is good for internet images.
180 DPI is suitable for a good print quality. Increasing the DPI to 180 means that the size of the image needs to be changed, otherwise you are stretching the image.
300 DPI would have a very good quality, but you would need to half the width of the image.
Selecting Image> mode> RGB (Red, Green,Blue) would be the option you would choose for screen production.
For an image that you want to print, CMYK (Cyan, Magenta, Yellow and Black) might be a better option. CMYK could correlate more with InDesign, as InDesign works in CMYK.
The 3 areas describe black on the left, mid-tones at the centre and highlights on the right. You might need to move the markers inwards to say where the histogram starts and ends. This would probably be the case if you had an image that was very light or very light. You can use these pointers to brighten or darken an image and make slight adjustments. Taking note of the slider number is useful.
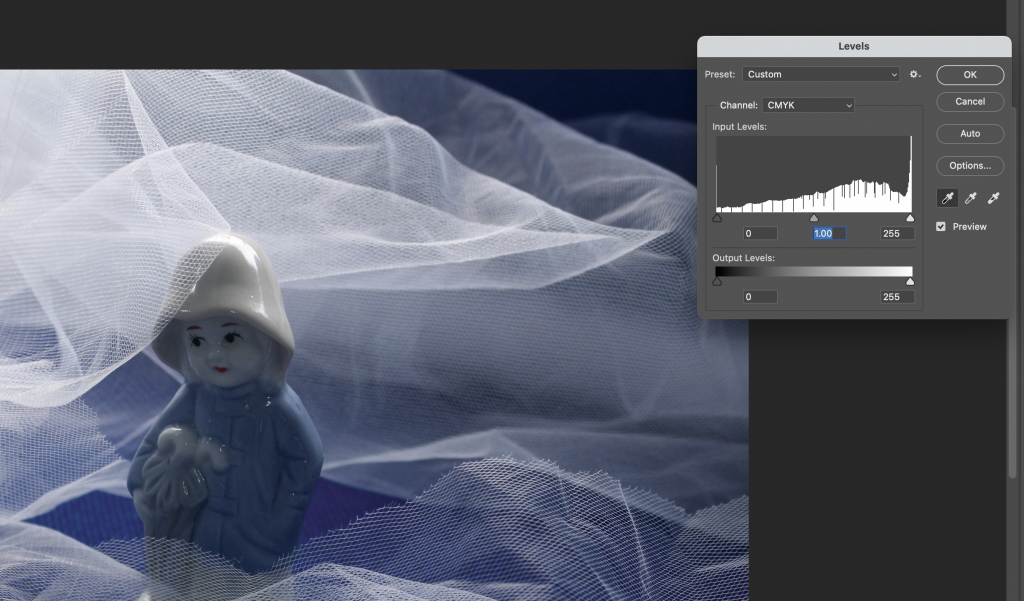
You can use the pipette to show where you want the darkest dark or whitest white to be. The middle pipette can be used to unify the colours on a series of photos.
Holding down alt to brings up the option for reset. This can be used on the levels window to undo anything you have done to the image. (This works on any menu and replaces the ‘cancel’ option.)
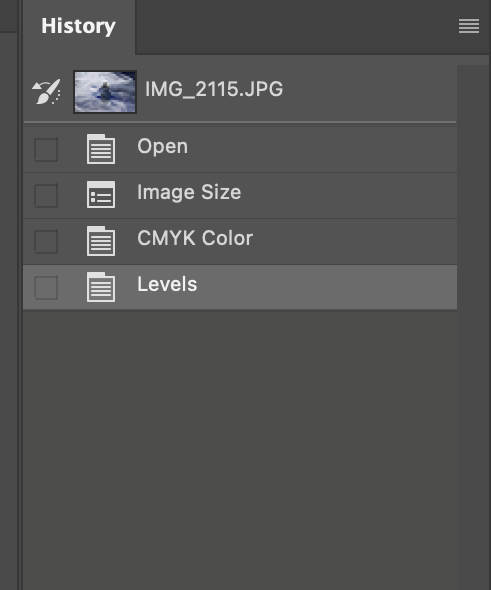
The history toolbar shows a record of your previous adjustments step-by-step. To bring up this tool, you can select Window> history to open it up.
The magnetic lasso tool is used to select certain areas of your image. You can use the back space key to remove an anchor point, for instance if you have accidently gone out of the way.
The brightness/ contrast tool can be used to make adjustments. Using contrast can define the shadows. Our lecturer Hannah advised us not to use the brightness tool here, because the more refined way of brightening an image looks better.
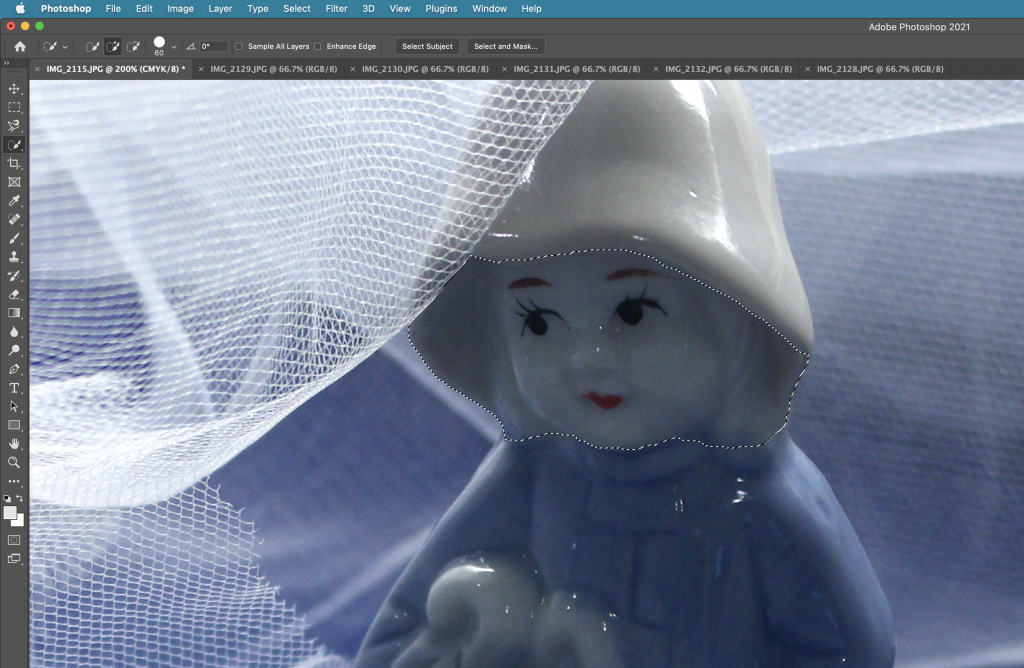
The quick selection tool is another useful tool for selecting an area. It is used like a brush and like with a brush, the size can be increased and decreased. The easiest way to do this is to use the bracket keys make the brush bigger or smaller.
Select> deselect. This deselects the area you have selected.
Pressing V gets the curser back to an arrow.
Command +0 brings the image back to full screen.
Space bar, click and drag moves your focus around the page.
Command +/ Command- zooms in and out.
Selecting Helps > hands on tutorials brings up tutorials.
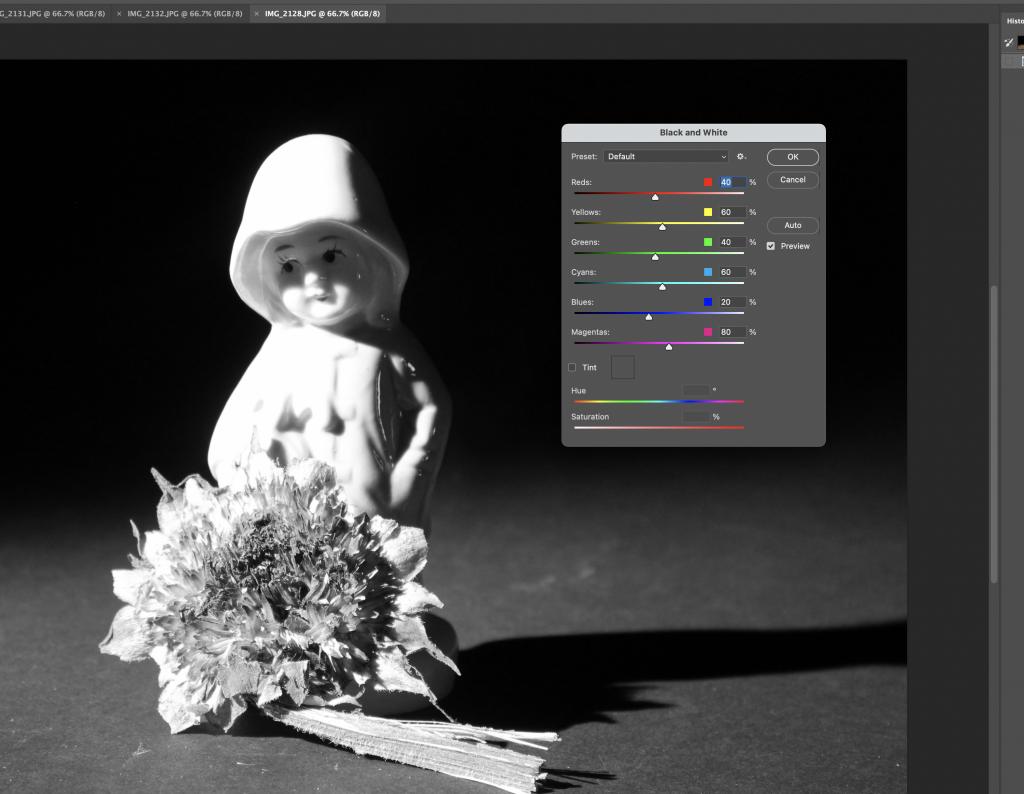
To convert your image to black and white, I can select Image> adjustments> black and white.
The colours of the sliders correspond to the colours in your original images. Changing these has an effect on your black and white image.
Green is more defined by the yellow channel than the green channel e.g. grass in an image.
I chose ‘full black’ then lowered the contrast on the contrast and brighten tool for the above image.
When working with layers, clicking the eye switches the layer on and off. Meaning that you are able to see the image with and without that layer with the click of a button.
Only at the end of the process would you sharpen your photo. This can be good for an image that is very slightly out of focus, or ‘blurry’. To do this , I can select filter> sharpen > unsharp mask, and use the following numbers:
Radius 1.0
Amount 100
Threshold 8
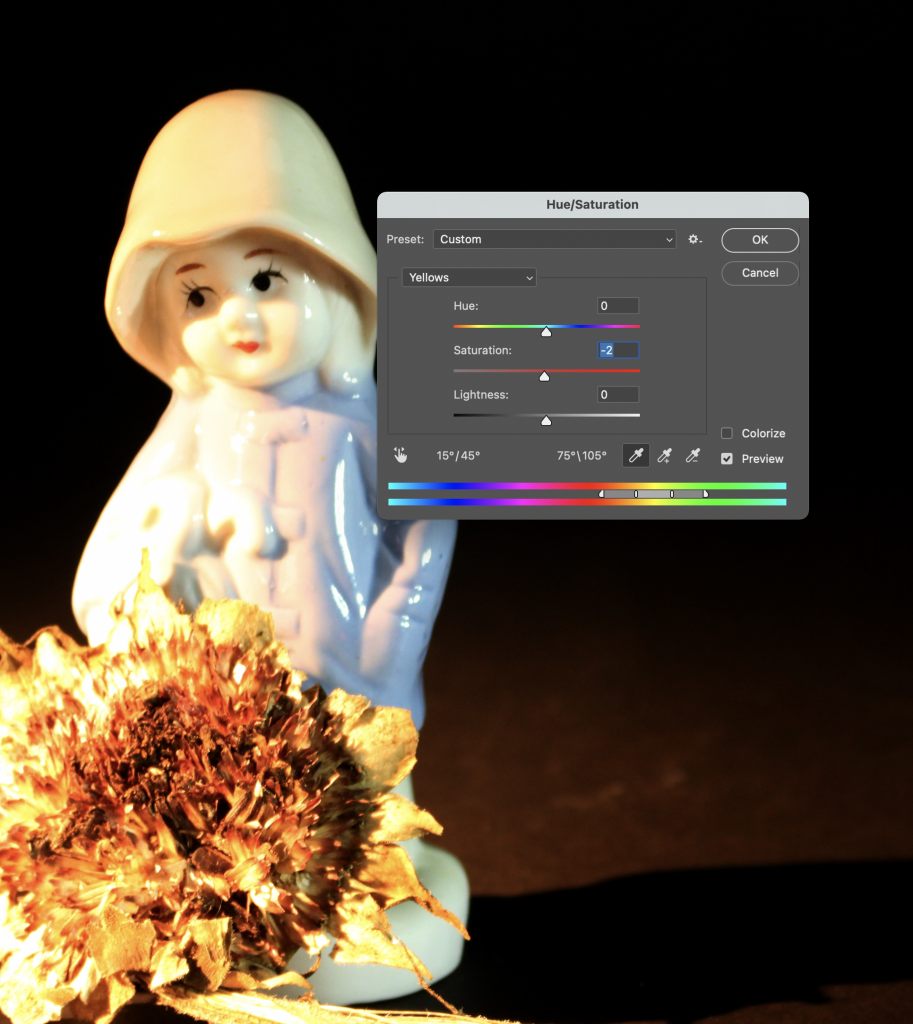
The Hue/Saturation window allows you to alter the hue and saturation of a group of colours within the image.
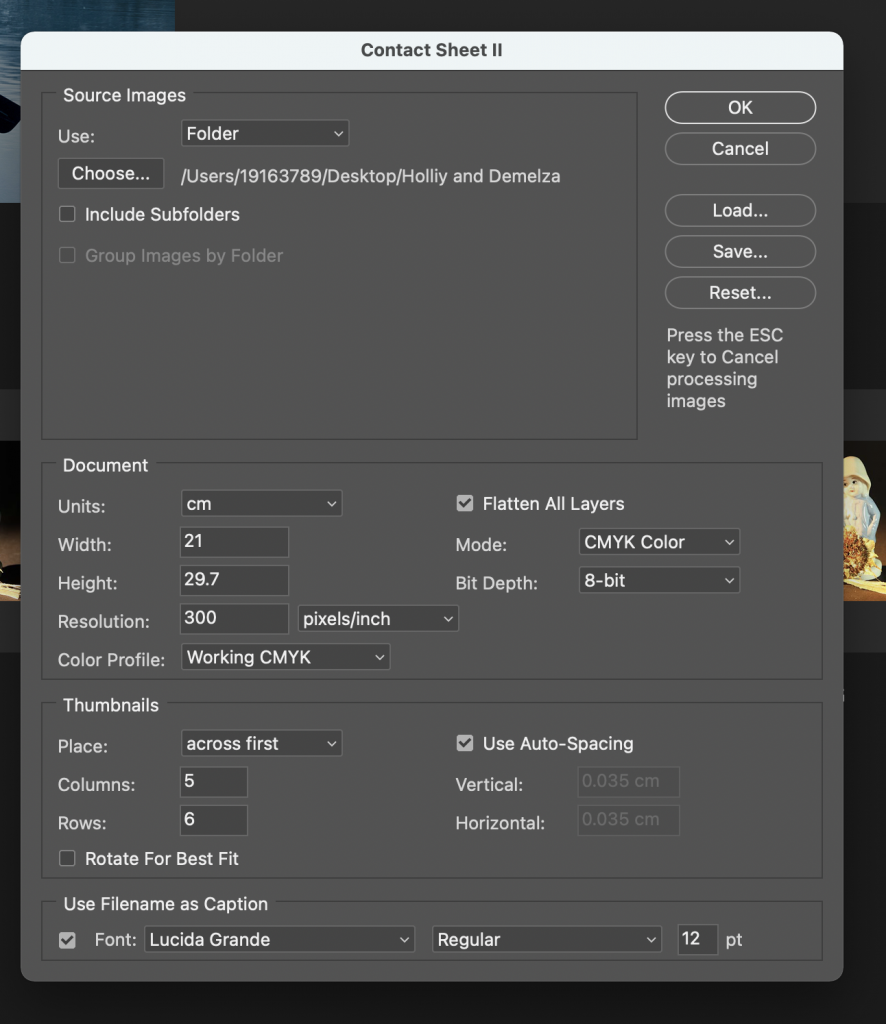
To create a contact sheet of all my photos from the workshop, I selected File> automate>contact sheet II. The photos will appear on the contact sheet in the alphabetical order they were in within the folder. Choosing the measurements means I can tell the computer whether I want the contact sheet to be landscape or portrait. I needed to know the measurements of A4 paper to do this.
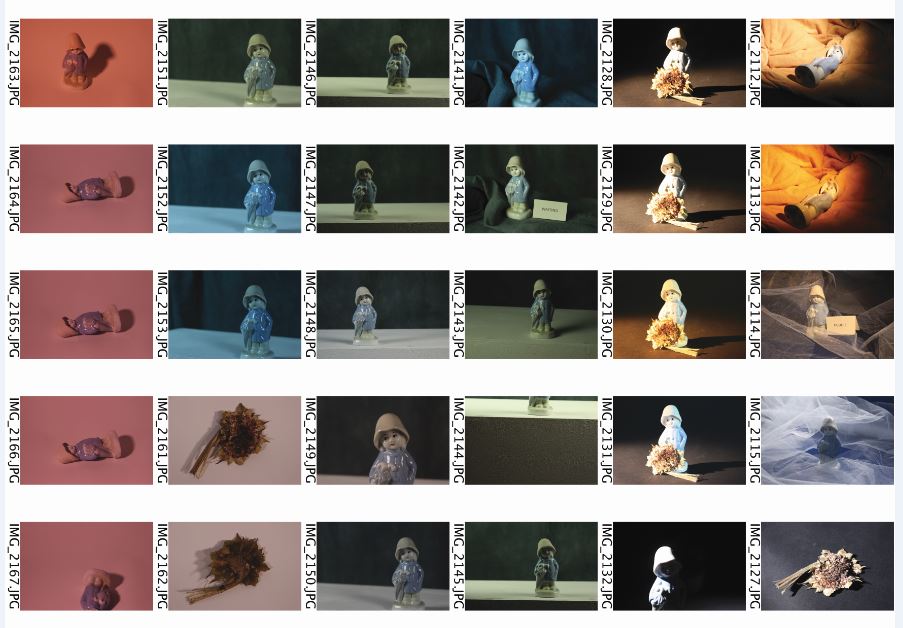
Contact Sheet
A contact sheet is useful to be able to view all your photos together. (In this case, all the photos from one workshop.)
These were the 3 images I was able to edit during our PhotoShop workshop:
Part 2 of the photography workshop blog is , of course, the photos!
These were all taken on the Canon 600D digital camera. I have not edited any of these. My next step will be to edit them in PhotoShop and see how I can improve them and in some cases, maybe create a different effect to give them a new meaning.
I was pleasantly surprised with the difference in quality between my phone camera and the DSLR camera. These photos need to be edited to get the best out of them, but already I can see a depth that just is not possible with a phone camera.
We use cookies on our website to give you the most relevant experience by remembering your preferences and repeat visits. By clicking “Accept All”, you consent to the use of ALL the cookies. However, you may visit "Cookie Settings" to provide a controlled consent.
This website uses cookies to improve your experience while you navigate through the website. Out of these, the cookies that are categorized as necessary are stored on your browser as they are essential for the working of basic functionalities of the website. We also use third-party cookies that help us analyze and understand how you use this website. These cookies will be stored in your browser only with your consent. You also have the option to opt-out of these cookies. But opting out of some of these cookies may affect your browsing experience.
Necessary cookies are absolutely essential for the website to function properly. These cookies ensure basic functionalities and security features of the website, anonymously.
Cookie
Duration
Description
cookielawinfo-checkbox-analytics
11 months
This cookie is set by GDPR Cookie Consent plugin. The cookie is used to store the user consent for the cookies in the category "Analytics".
cookielawinfo-checkbox-functional
11 months
The cookie is set by GDPR cookie consent to record the user consent for the cookies in the category "Functional".
cookielawinfo-checkbox-necessary
11 months
This cookie is set by GDPR Cookie Consent plugin. The cookies is used to store the user consent for the cookies in the category "Necessary".
cookielawinfo-checkbox-others
11 months
This cookie is set by GDPR Cookie Consent plugin. The cookie is used to store the user consent for the cookies in the category "Other.
cookielawinfo-checkbox-performance
11 months
This cookie is set by GDPR Cookie Consent plugin. The cookie is used to store the user consent for the cookies in the category "Performance".
viewed_cookie_policy
11 months
The cookie is set by the GDPR Cookie Consent plugin and is used to store whether or not user has consented to the use of cookies. It does not store any personal data.
Functional cookies help to perform certain functionalities like sharing the content of the website on social media platforms, collect feedbacks, and other third-party features.
Performance cookies are used to understand and analyze the key performance indexes of the website which helps in delivering a better user experience for the visitors.
Analytical cookies are used to understand how visitors interact with the website. These cookies help provide information on metrics the number of visitors, bounce rate, traffic source, etc.
Advertisement cookies are used to provide visitors with relevant ads and marketing campaigns. These cookies track visitors across websites and collect information to provide customized ads.