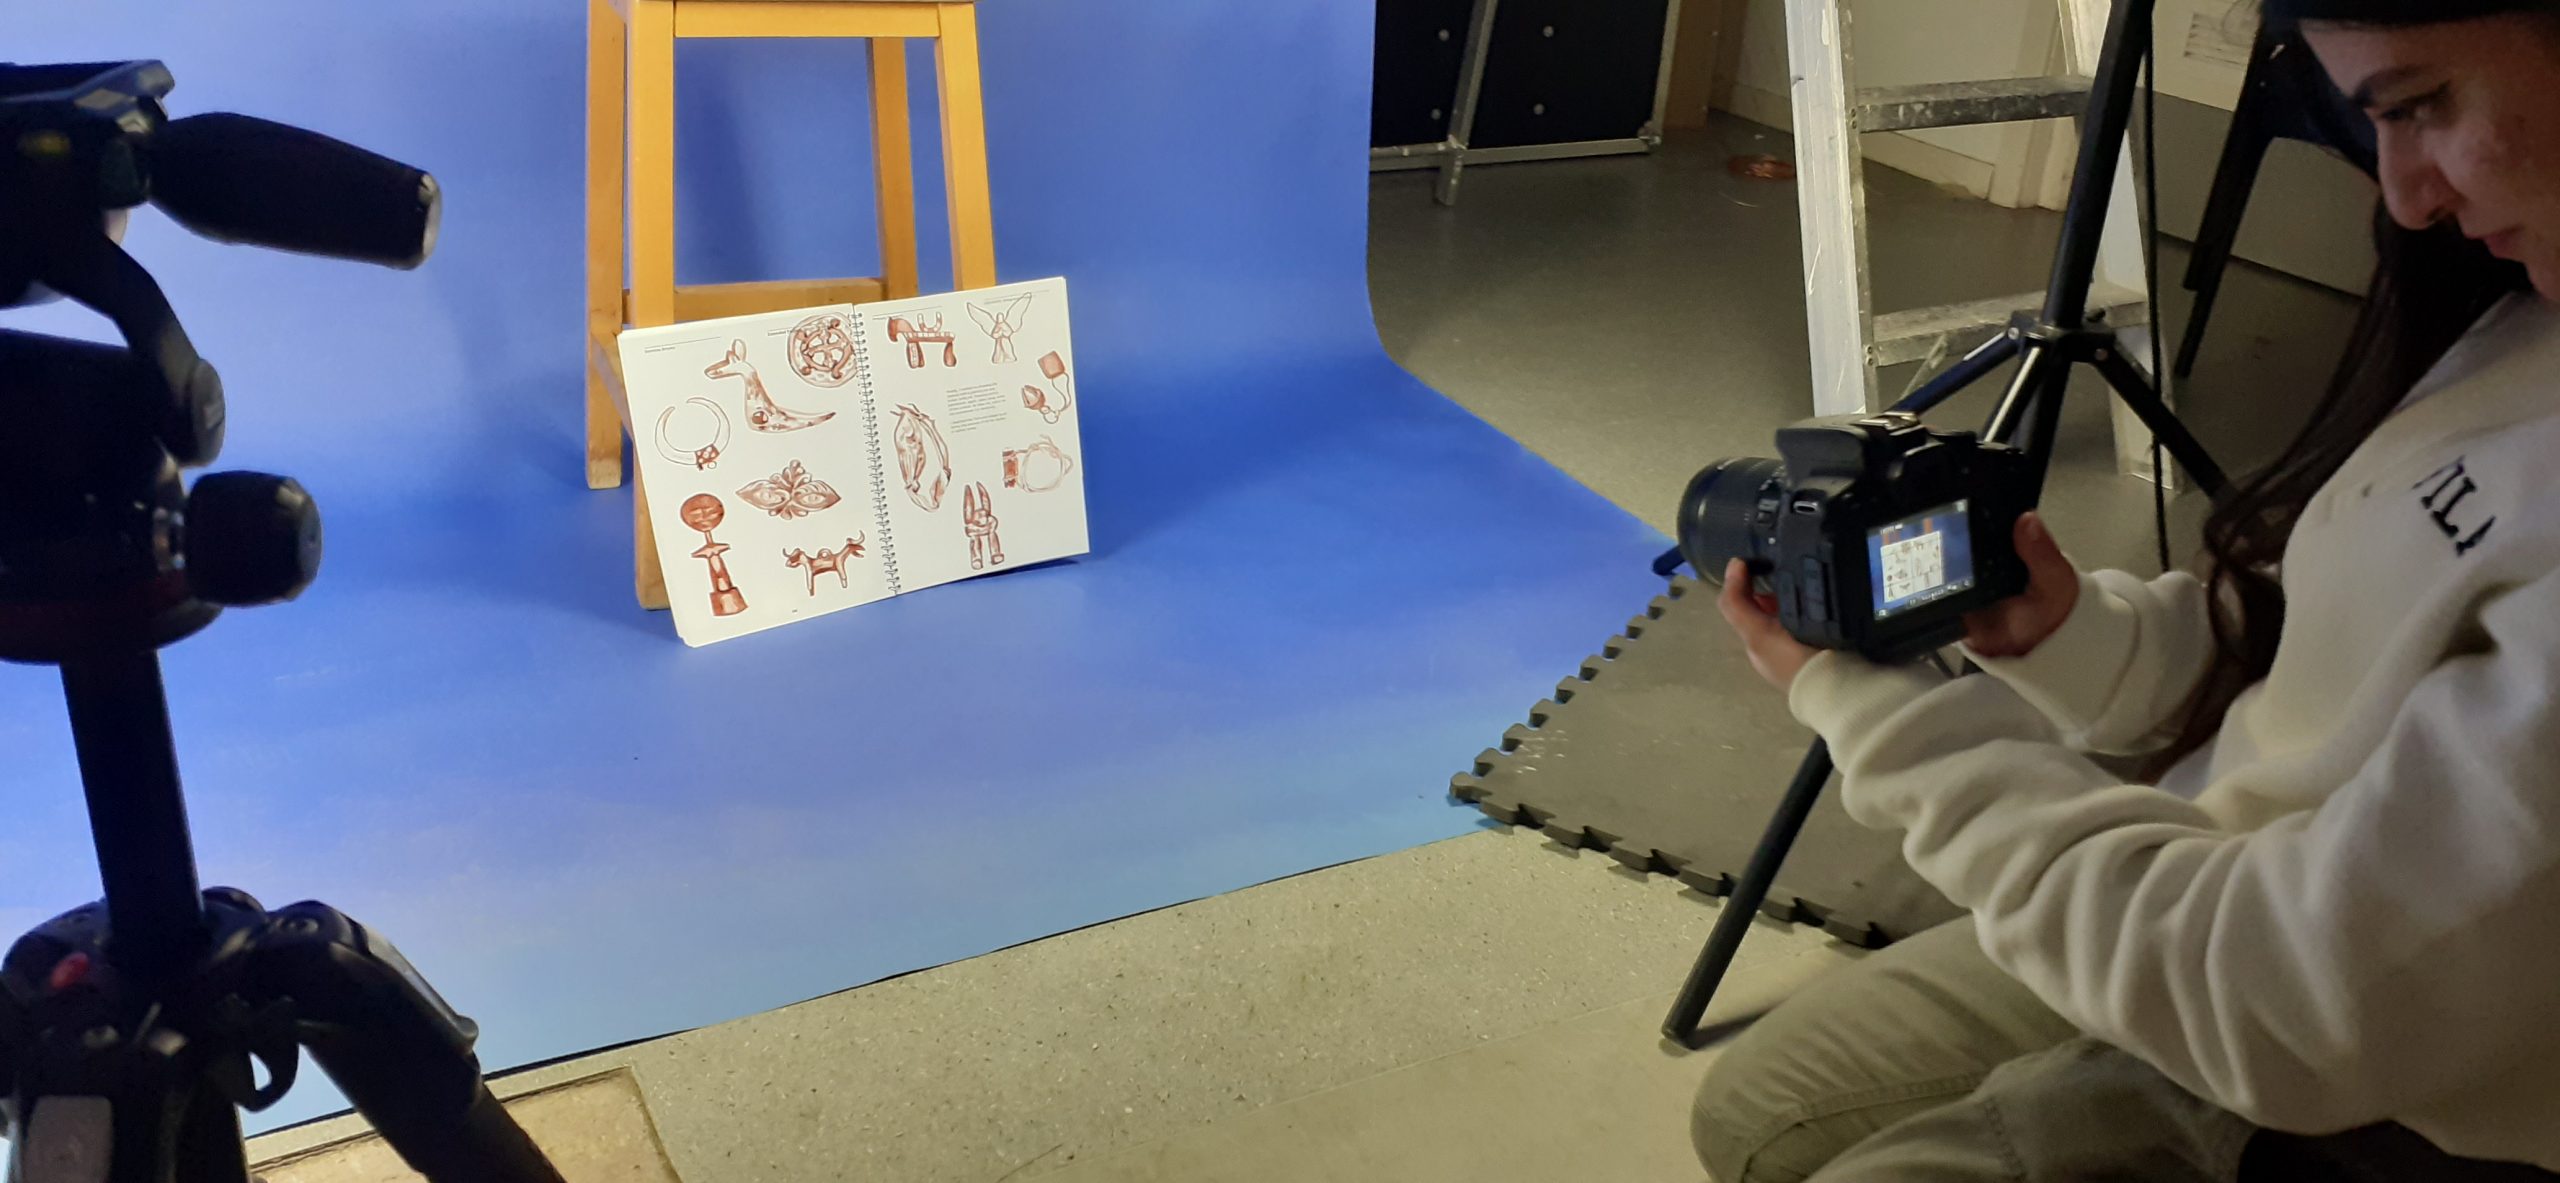
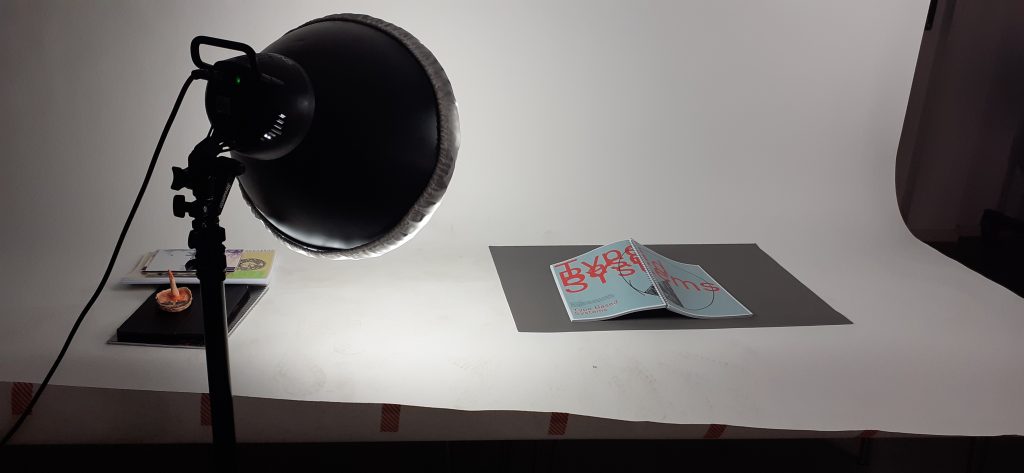
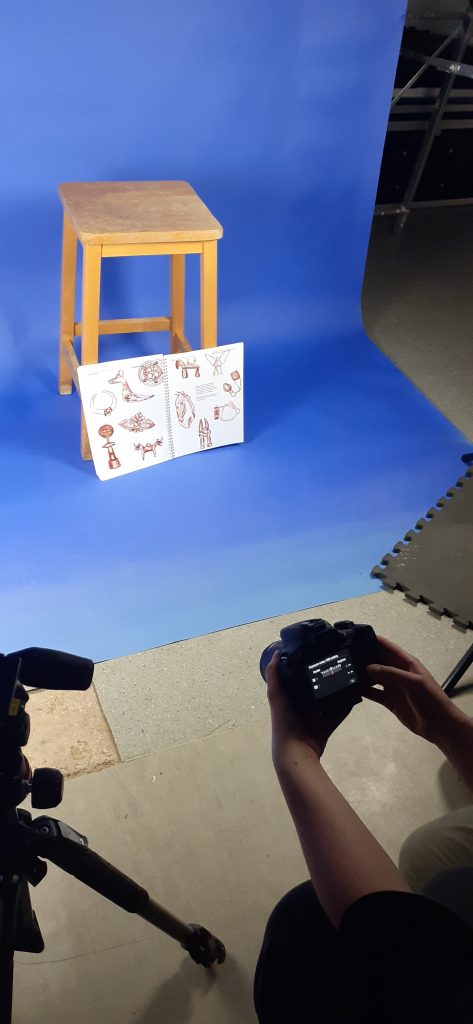
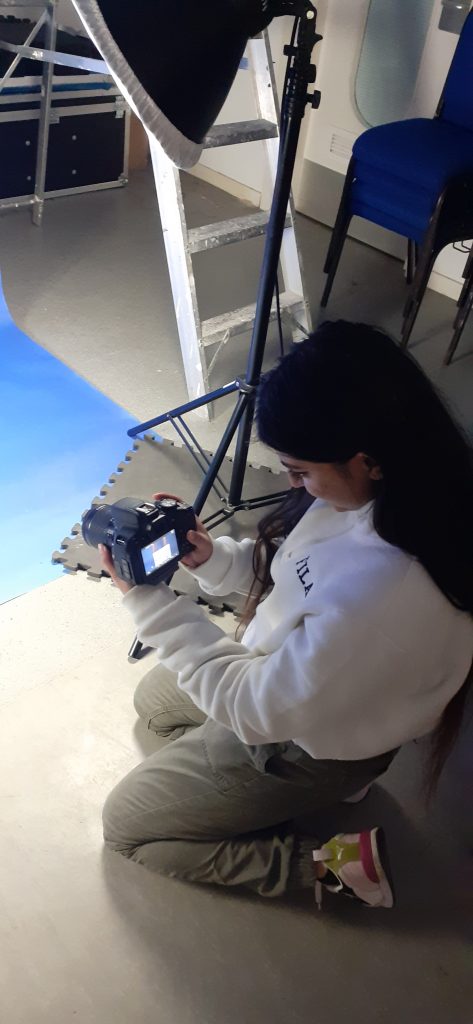
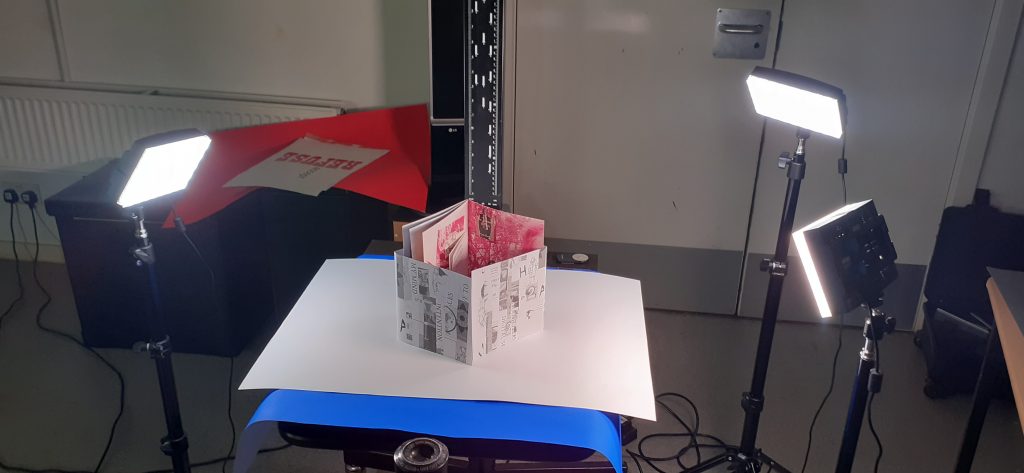
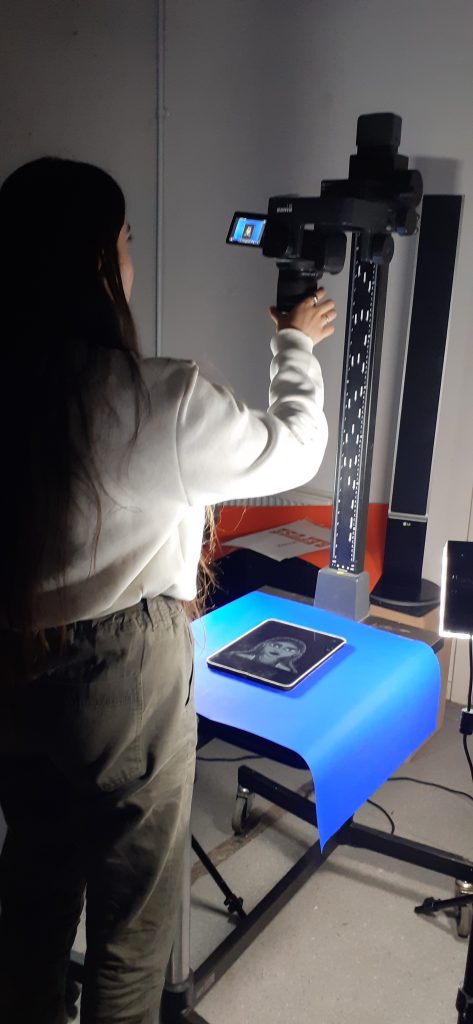
The purpose of today’s workshop was to explore using a DSLR camera to capture the physcial (printed) work we have made during this course. The focus was on how to be creative when taking the photos. I approached the images differently depending on the work in front of me. Working in pairs made the work easier as there was another mind to help problem solve, both with technical problems and creative ones.
- We used an ISO of 100, as this is suitable for shooting indoors.
- We shot in aperture priority (AV) mode, so that we could focus on the compositions rather than the technicality of a camera. This was useful to me since I have not used a DSLR camera in perhaps a year and needed to re-familiarise myself with it.
- The aperture relates to the lens openeing being wider or smaller. A wider gap/lower aperture lets in more light, this is useful for portrait photography. It puts the focus on the foreground and gives a softer background.
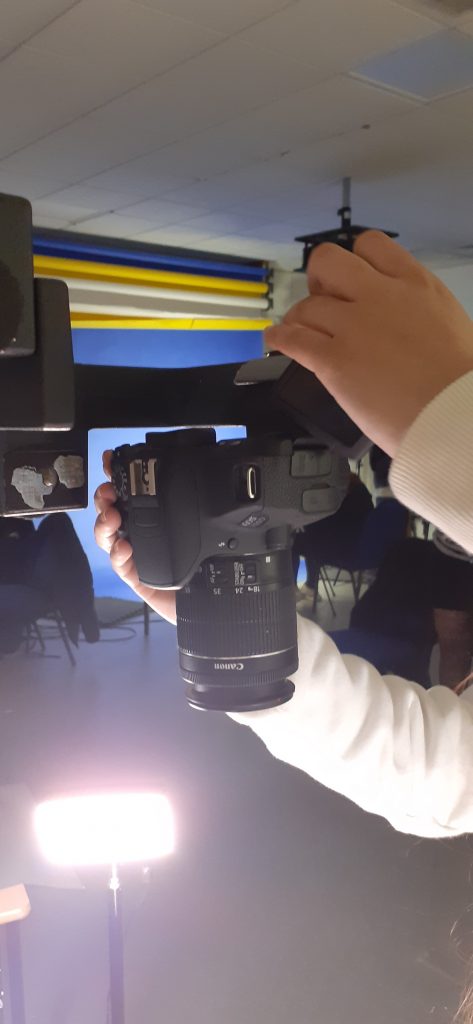
- We used a Canon 600D camera.
- The shutter button can be used to demi-press and take full shots. The demi-press allows us to check our focus.
- Using the screen on the camera means we can take angle shots without needing to use the view finder.
- We need to format the card before using the camera. This ensures connection between the SD card and camera. It also empties the card before you use it.
- The ‘Q’ button allows us to navigate the screen to change the ISO settings for example.
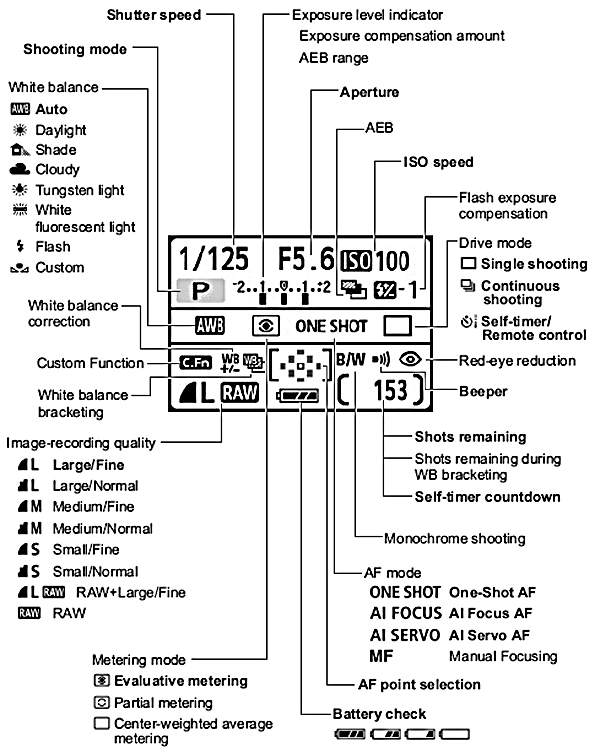
- We selected ‘large quality image’ (not raw). The symbol for this (shown above) looks like a ‘DL’.
- 0 exposure compensation
- Spinning the wheel changes the aperture
- Shooting in raw is required when working with really big, high quality images. They are however, a slow doc to work with. The colouring is more precise than a jpeg.
- A photo taken on a DSLR camera will always be a higher quality image than one taken on a smartphone.
- AWB = automatic white balance. White balance helps to colour correct any temperatures you’re working with. We can change the settings to tell the camera you are working with sunlight for example. To correct yellow light tungsten for example.
- We can create creative filters using just white balance.
- AF = automatic focus
- MF = manual focus
- Live screen view mode allows you to see how your settings are applying.
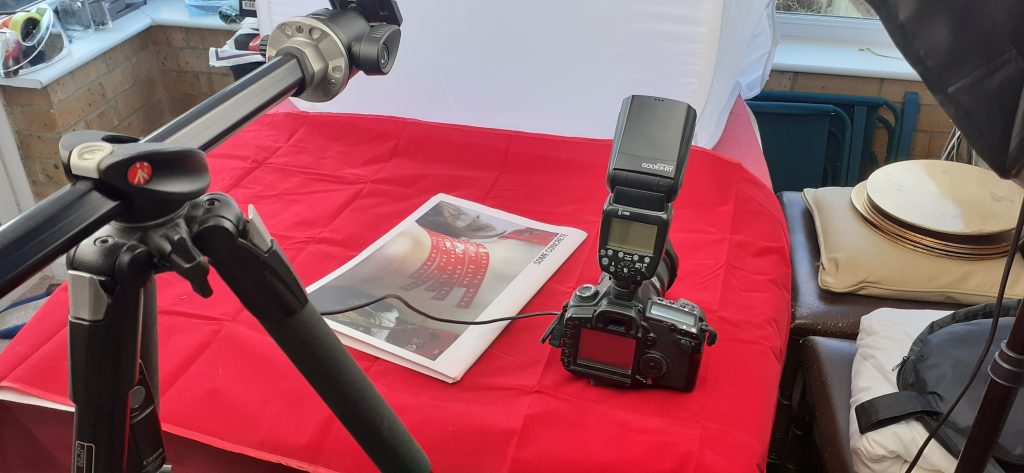
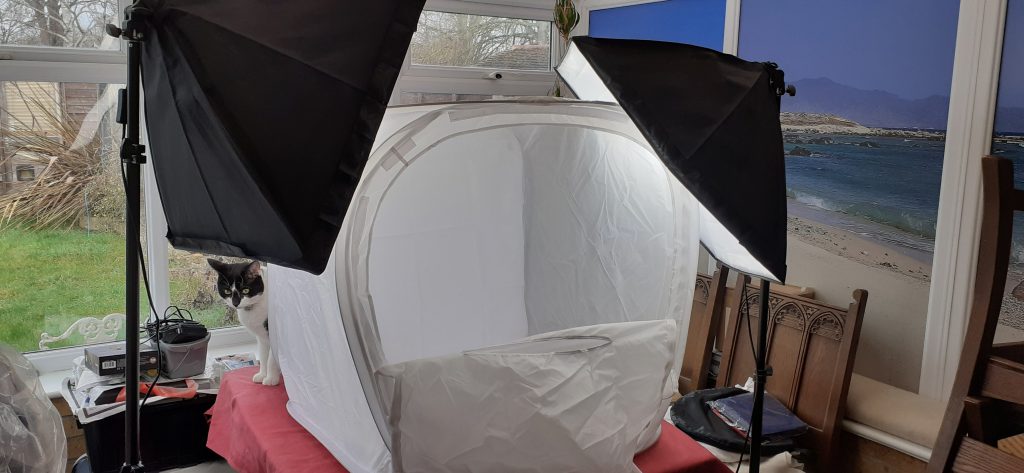
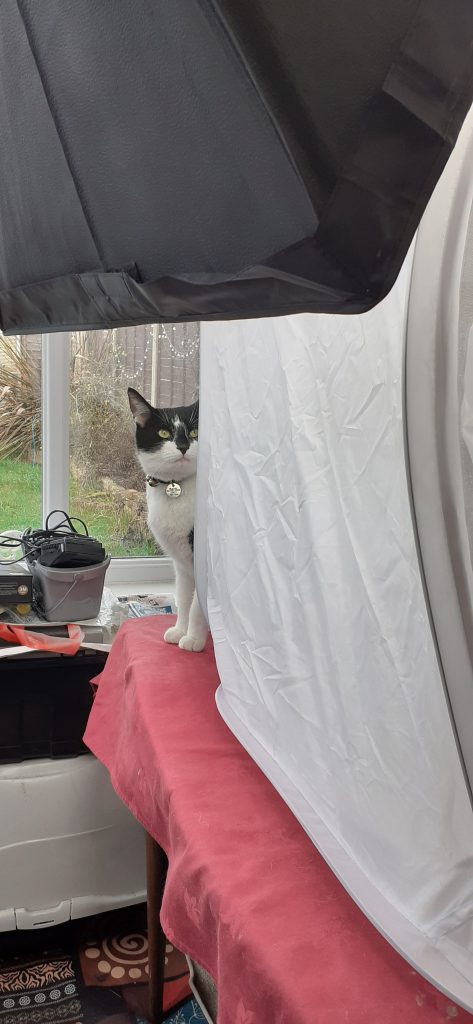
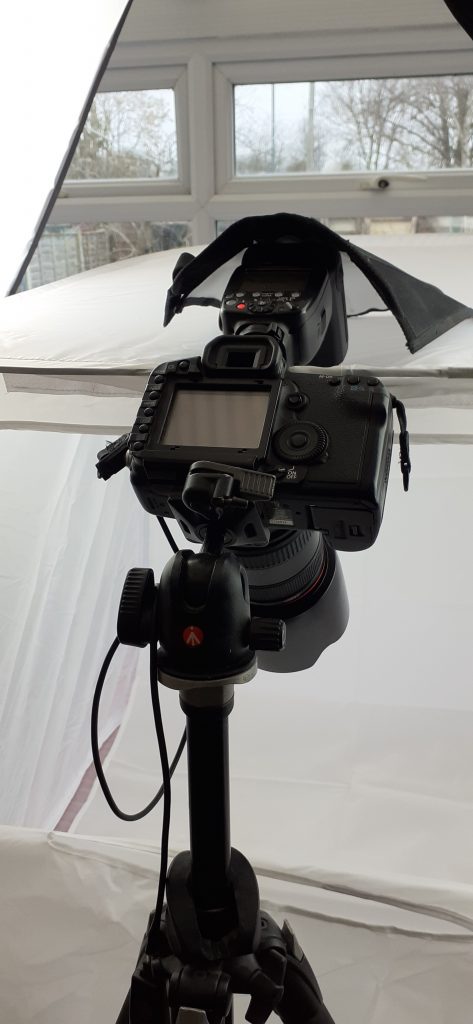
Photos from the workshop:
Continuing photography at home…