Collage Inspiration

This week, I have been given the challenge of making a series of collages based around The Raincoat Girl. I needed to first find inspiration. I looked at collage work by both artists and designers, from past to contemporary. This opened my mind to the infinite possibilities of cutting and pasting.

I’ve been wanting to read this book for a while and now I had the perfect excuse.
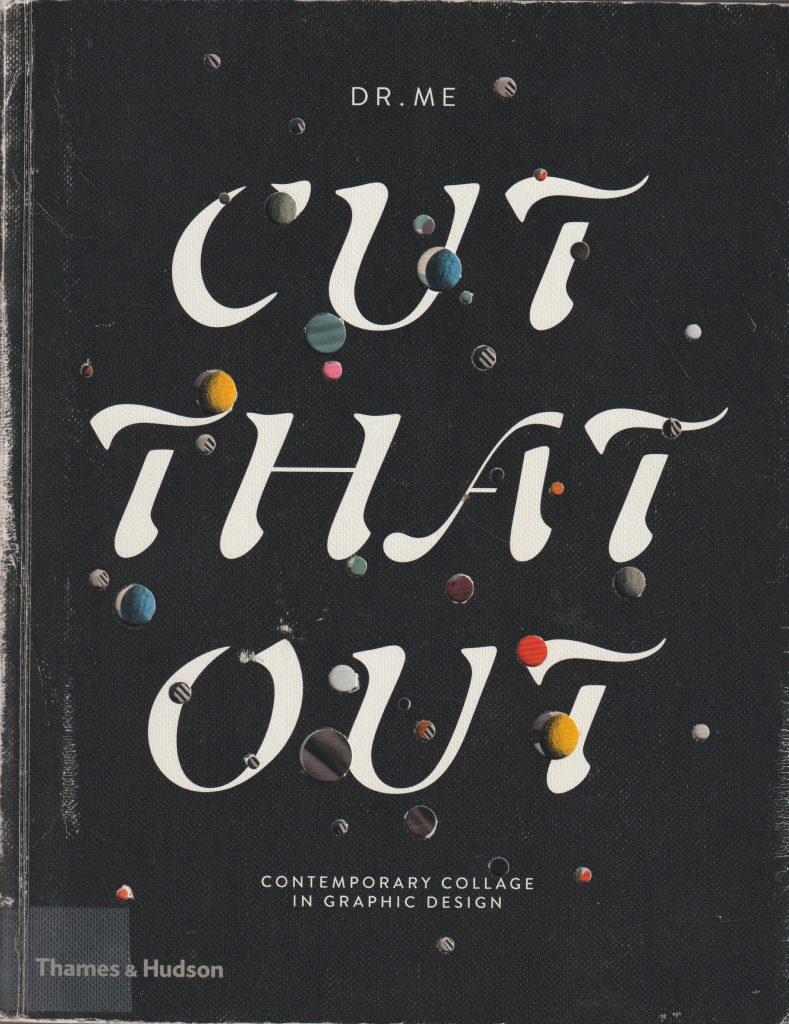
Cut That Out by Ryan Doyle
Jelle Martens

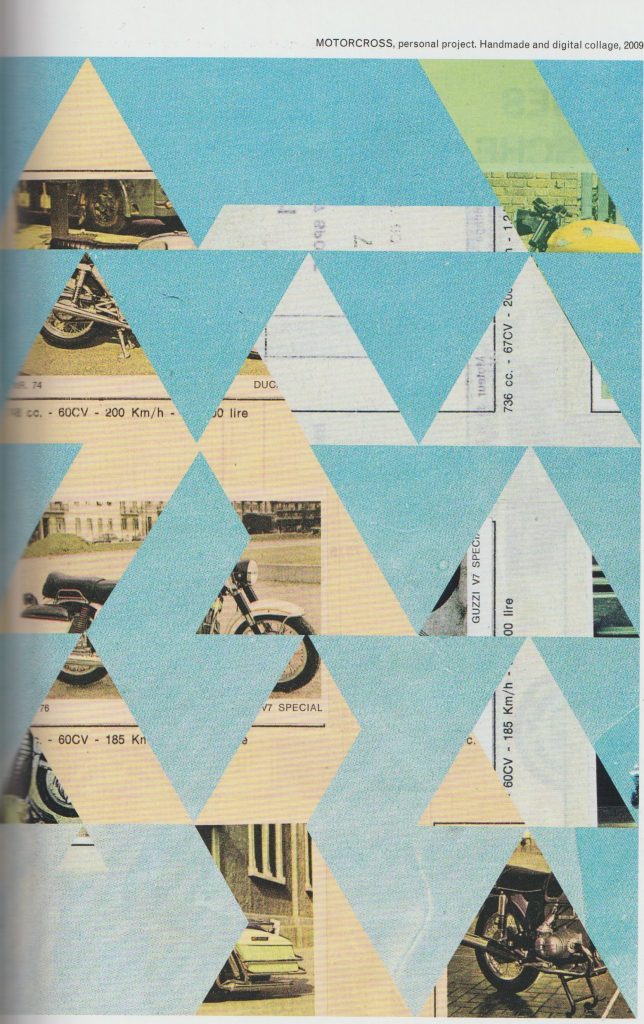
I looked at the artist Jelle Martens. He uses a mixture of traditional collage techniques and digital skills within his work. He is a fan of Collage with squares arranged according to the laws of chance, which is a series of work by Dadaist Jean Arp. In that series, Arp used cut-up pieces of paper, thrown into the air, he then glued them where they landed.

Martens takes images from a variety of sources. For instance, he used images from his father’s scrapbooks in the collage entitled Motocross.

I was drawn to the use of geometric shapes within his work. In Motocross, the background images are obscured from view. As the viewer, we see glimpses of photos and text. These act as visual clues. This ambiguity, I feel makes the work interesting. We can almost piece together our own stories of what is going on behind the triangular shapes in the foreground.

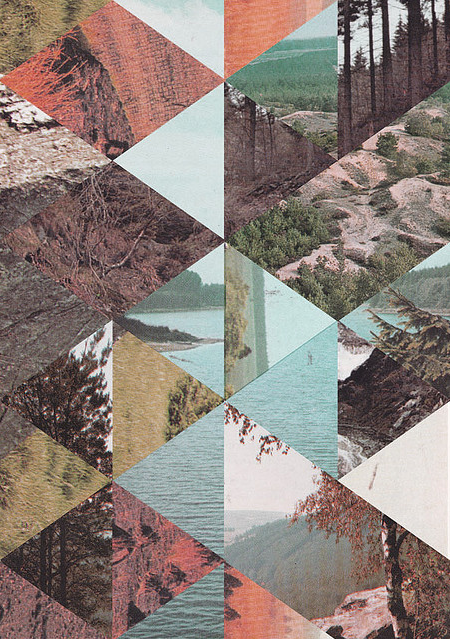
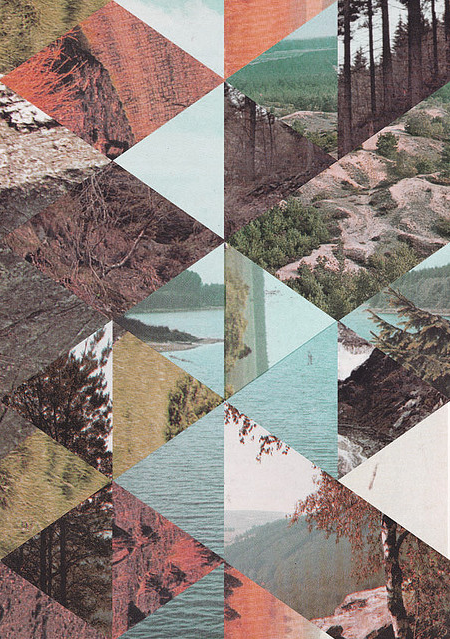
Another of Marten’s methods is to cut up several images into geometric shapes and re-arrange them into new compositions:

Ellery James Roberts
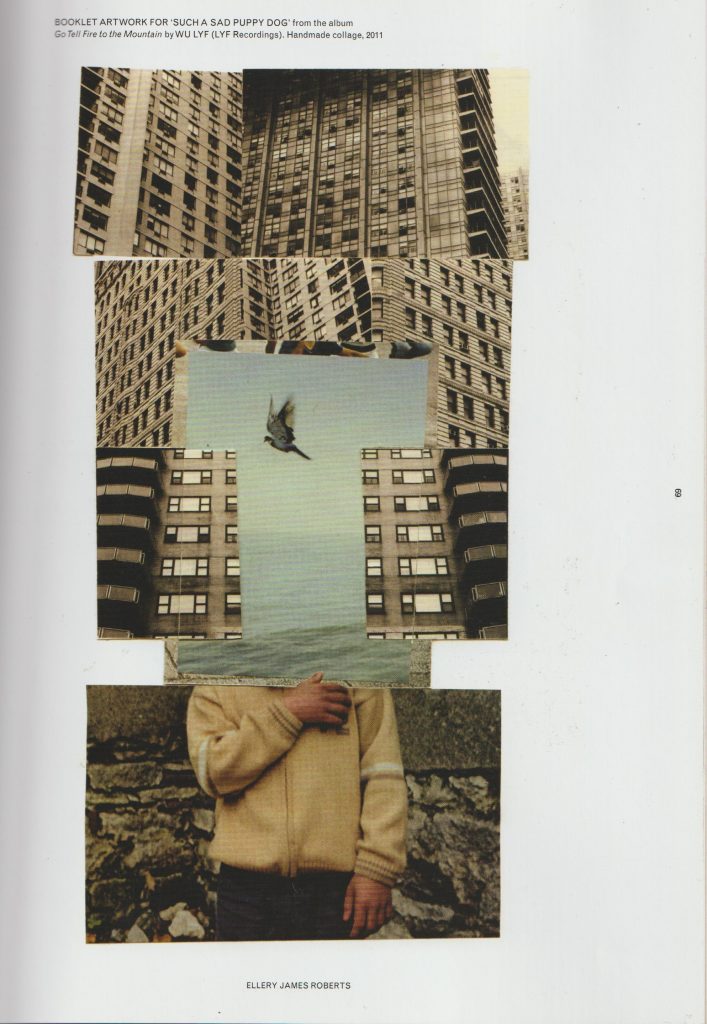
Another contemporary artist I looked at, is Ellery James Roberts. I particularly like his collage Booklet artwork for such sad puppy dog from the album go tell fire to the mountains by Wu life. I like the way he has combined three separate scenes and merged them to create one picture. The boy and the bird are surrounded by geometric, ugly looking grey skyscrapers. But within this environment, the boy finds freedom or sense of peace, symbolised by the third bird in flight at the centre of the collage.

The thing I love about collage is that artists create an image that is readable but at the same time impossible.  Collage allows us to use realistic images and merge them to create something surreal. This piece is arranged into thirds foreground section, midsection, and the backgrounds. This collage looks neat and tidy but also interesting and imaginative.

Damien Tran

Damien Tran is a designer and printmaker based in Berlin. He combines collage with screen printing in his designs. He uses his own photographs within his work.
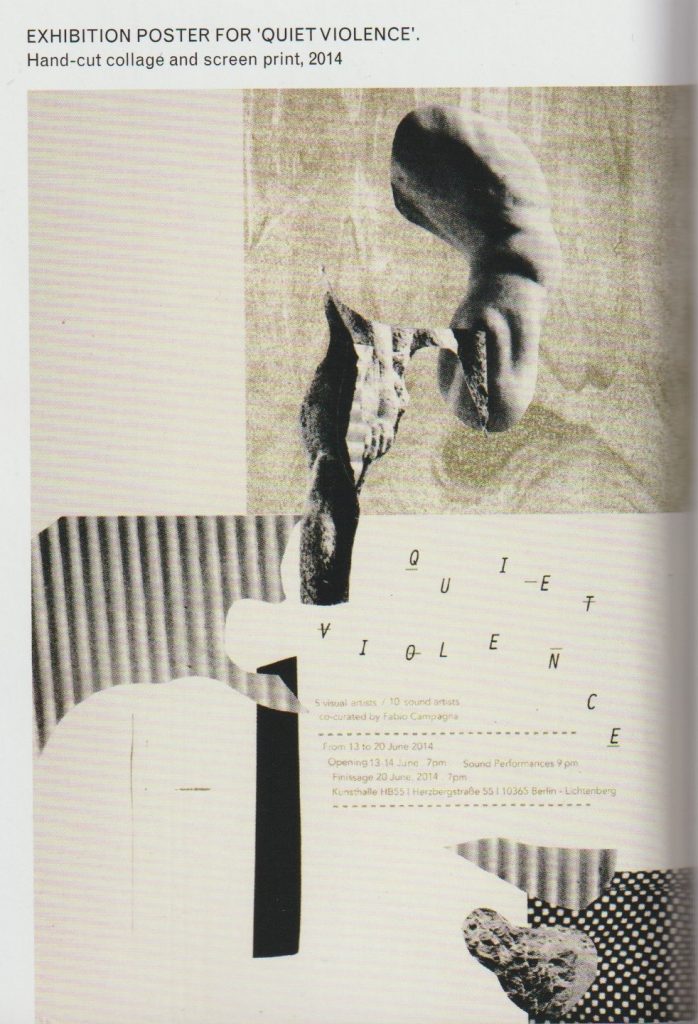
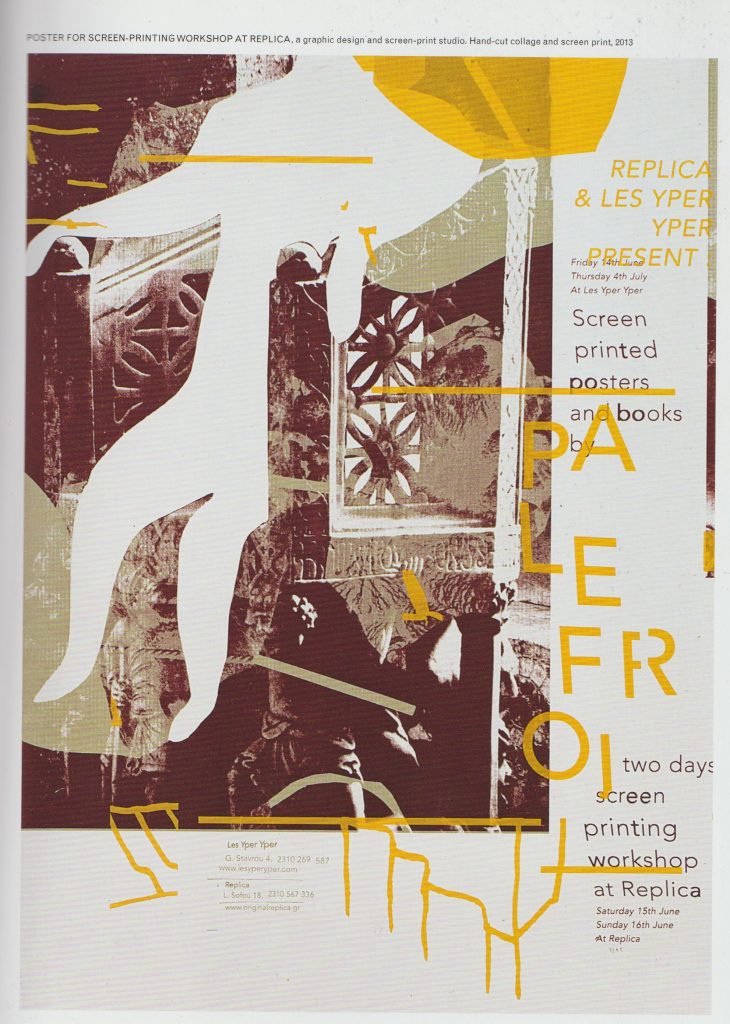
Images from Cut That Out by Ryan Doyle

I really like the collage pieces cut from around an image. The shapes are ambiguous and left to interpretation while creating a path for the eye to follow across the piece. I like text in the composition, used as a visual element. His limited use of colour makes his work easy to read and his use of white space is pleasing. In his Exhibition poster for Quiet Violence, there is a clear background and foreground. I like the variety of implied textures. Each collage piece is something abstract, he may have cut one piece out from a magazine, a pattern from somebody’s dress.

John Stezaker

I looked at work by contemporary artist, John Stezaker. He uses old imagery in his collages, such as photos of film stars from a past era. This makes his work look like it was made in the early 20th century. He creates depth by layering collage pieces. Some pieces almost seem like optical illusions, where they can be viewed in several ways. He uses silhouettes and outlines. For example, in the piece Untitled, we see a moth, a woman, and a man simultaneously. By layering them in such a way, he creates a different meaning. Each element, being within each other, combines them together. Characteristics of a moth are within a man, characteristics of both are within a woman. Is this all taking place within the mind of the woman? These compositions lead the viewer to ask questions.
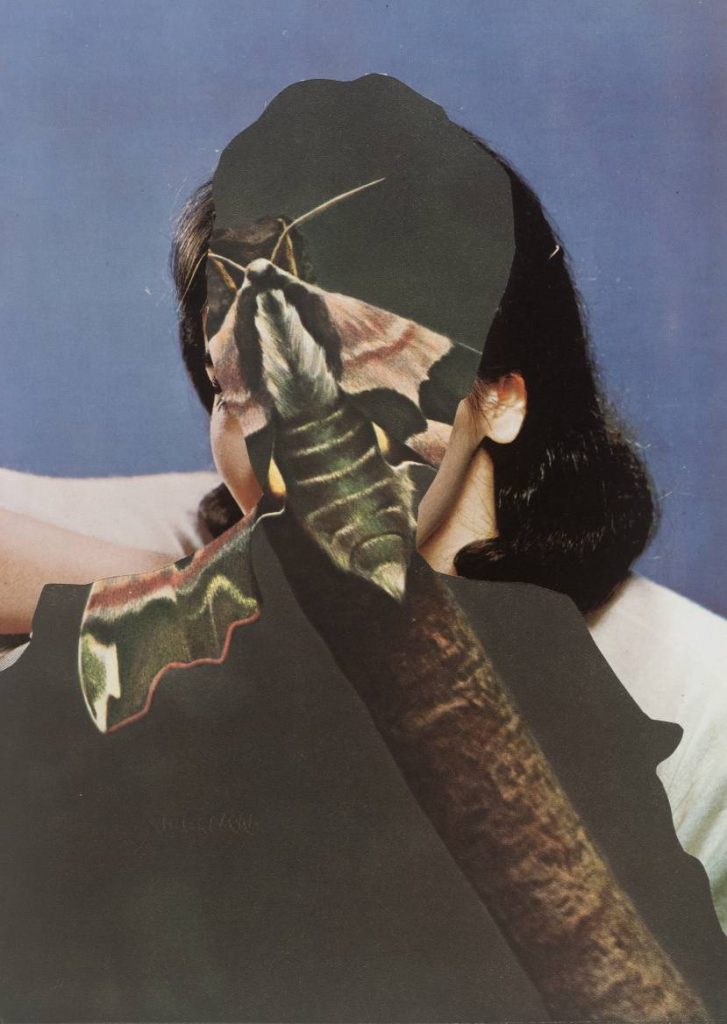
Untitled 1989 John Stezaker born 1949 Purchased 2007 http://www.tate.org.uk/art/work/T12344
Dada
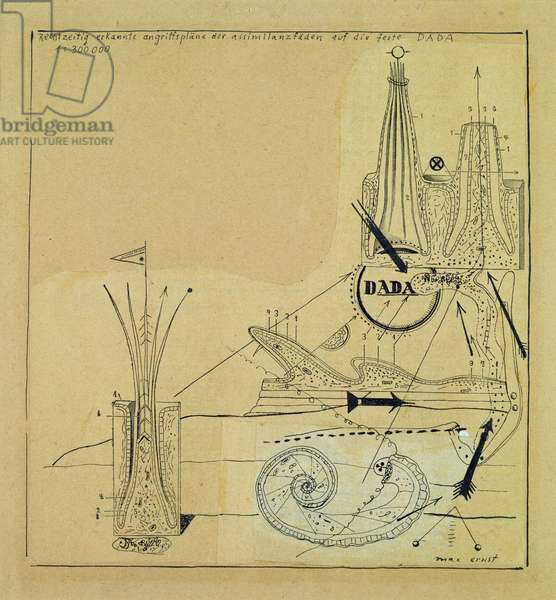
Max Ernst, Rechtzeitig erkannte Angriffsplane, c.1920 (collage, indian ink and pen) (bridgemanimages.com)

Hannah Höch Broken, 1925 (rotogravure on Japan paper) (bridgemanimages.com)

The conditions that gave rise to dadaism were a protest against the war. The Dadaists were the group of artists who revolutionised collage making in their artwork. This was in the time when photographs were just starting to be published in print. Hannah Höch worked for a newspaper company and had access to these images first hand. The movement began in 1920 in Berlin. Three artists present were Max Ernst, John Heartfield and Hannah Höch. The artists had a variety of motives. Some wanted to re-establish a sense of community in the aftermath of the war, some were activists and others wanted to develop their career. They each collaborated on exhibitions and publications. Dada was stage on the way to Surrealism.

Max Ernst combined images from medical books, catalogues for industrial equipment and botanical biological course books. His work invokes a sense of timelessness and a dreamlike quality.

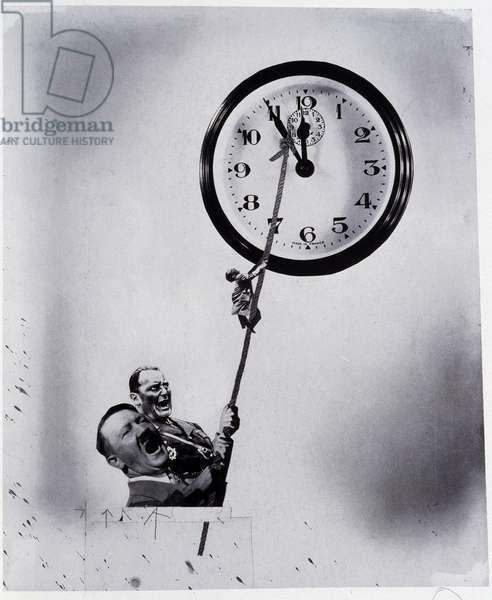
This is different to the photomontage style of John heart field. John Heartfield was interested in getting across a political message within his collages. He was interested in creating a message that could communicate through mass media. His work was used to critique the abuse of power, which he felt passionate about. Both artists were not content to show images of the raw cut and paste style, for example, used by the Dadaist Kurt Schwitters. They used fragments of collage to create whole looking images, which are neat and believable. Ernst was interested in the world of the psyche, Heartfield, the political environment around him, and Hannah Höch liked to overlay elements of both within her work.

Höch used images from mass media, transforming them into images that conveyed personal meanings. She explored issues of gender roles, such as the image of the “new woman”. (This image created an expectation of women and was directly linked to consumerism and social agendas.)
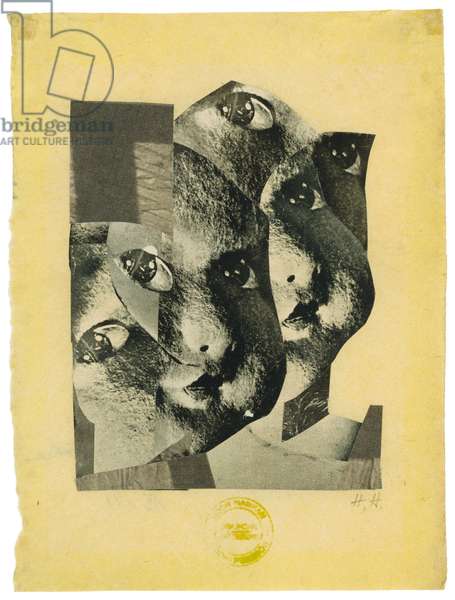
I like Hannah Höch’s use of repetition and re-assemblage in this piece. By repeating elements of the baby doll face, she creates a visual rhythm across the picture that is almost pattern like. The shapes are flowing and organic each face or fragments moves into the next.
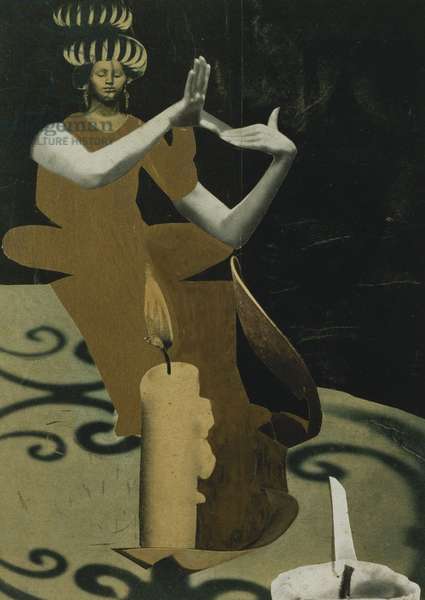
She has taken images from a variety of sources and piece them together into this figure of the priestess. She has played with scale, placing an ordinary candle side beside the figure of the women. This has dwarfed the women or enlarged the candle by its relative scale. This gives a playful feeling. The use of shadows and lights are what make this image convincing. We have a light source, and we have shadows, therefore it is believable. I like the abstract and flat form of the woman’s dress. It contrasts with the realistically formed arms.

Priestess; Priesterin, c.1930-1934 (collage with gold and wash heightening laid down on card) (bridgemanimages.com)

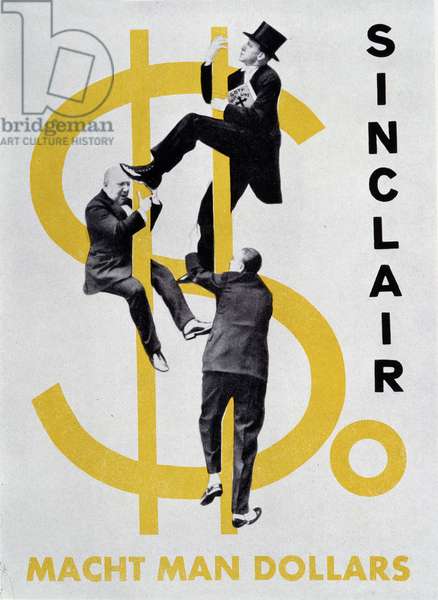
Heartfield has used something similar within his collage, where he combines a 2D dollar sign with realistically formed figures. The result is surprising and amusing.
Digital Workshop- (Week 3) Working with Colour

From week 1, our digital workshops have been spent building up process books. These books give us somewhere to record the new skills we are learning in module 002. (Skills in screen-printing, bookbinding and in digital design software.) I have a feeling these 3 areas will soon come together…

In this weeks’ workshop, we focused on colour. I’ve learnt a bit about colour swatches in Adobe InDesign. Colour swatches are similar to the painter’s palette I am used to, only digital. I have found this process satisfying and much easier than I thought it would be! Computers have improved a lot since I left school 10 years ago.

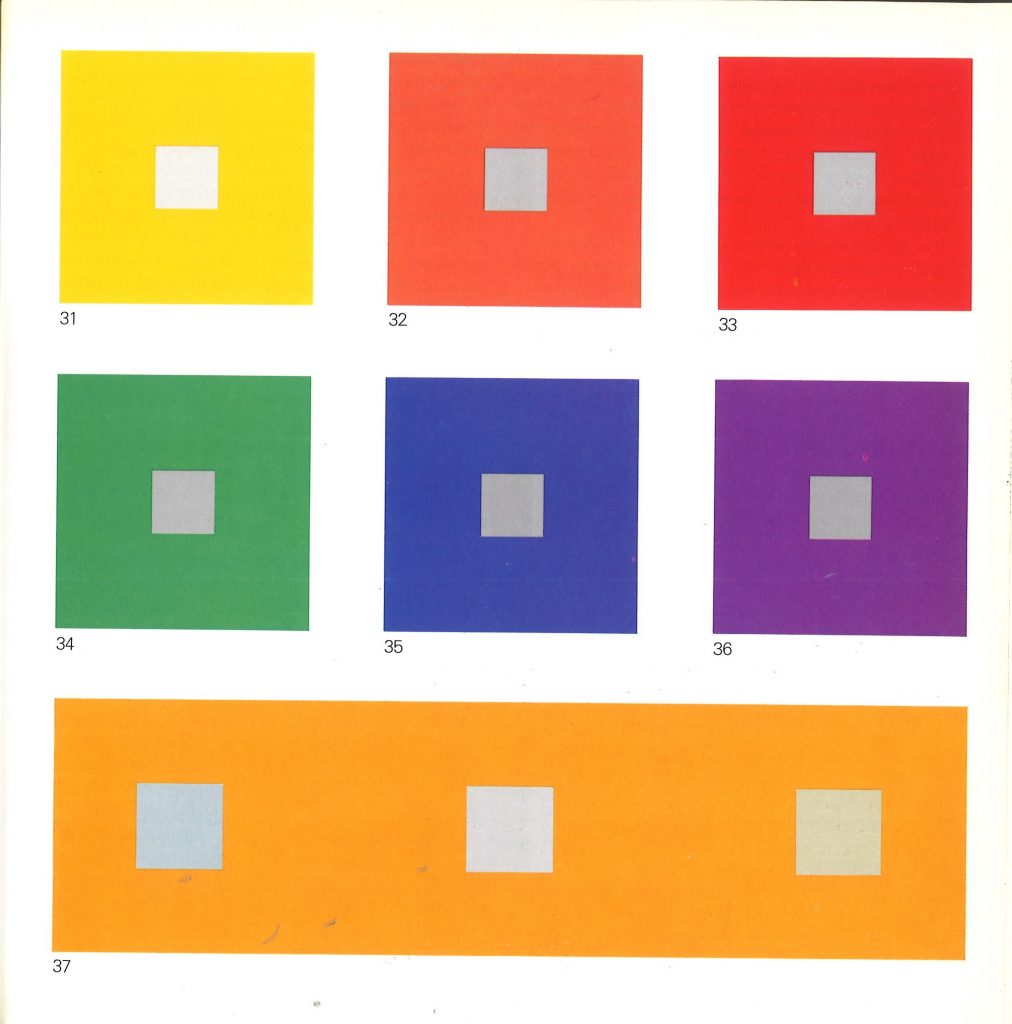
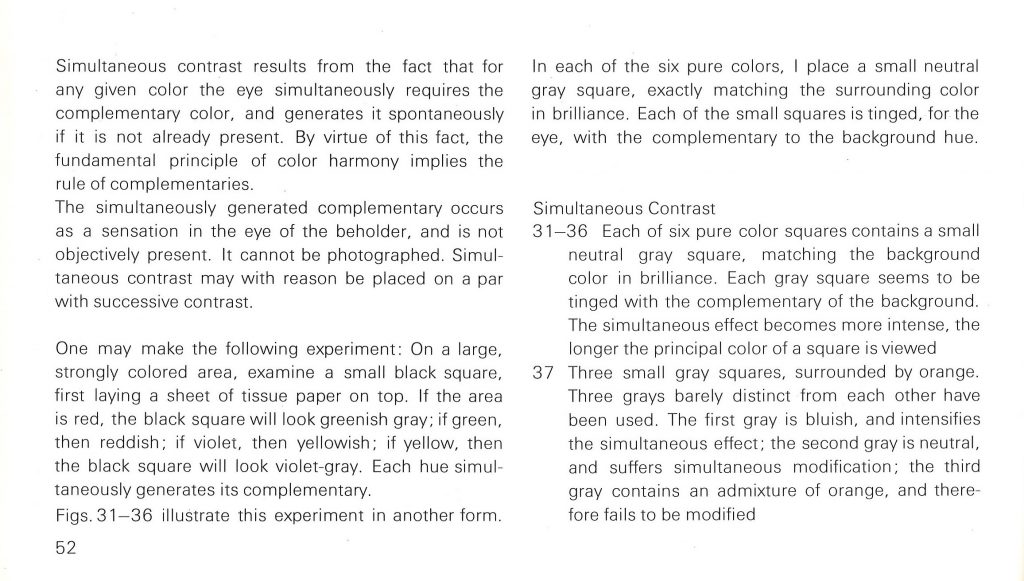
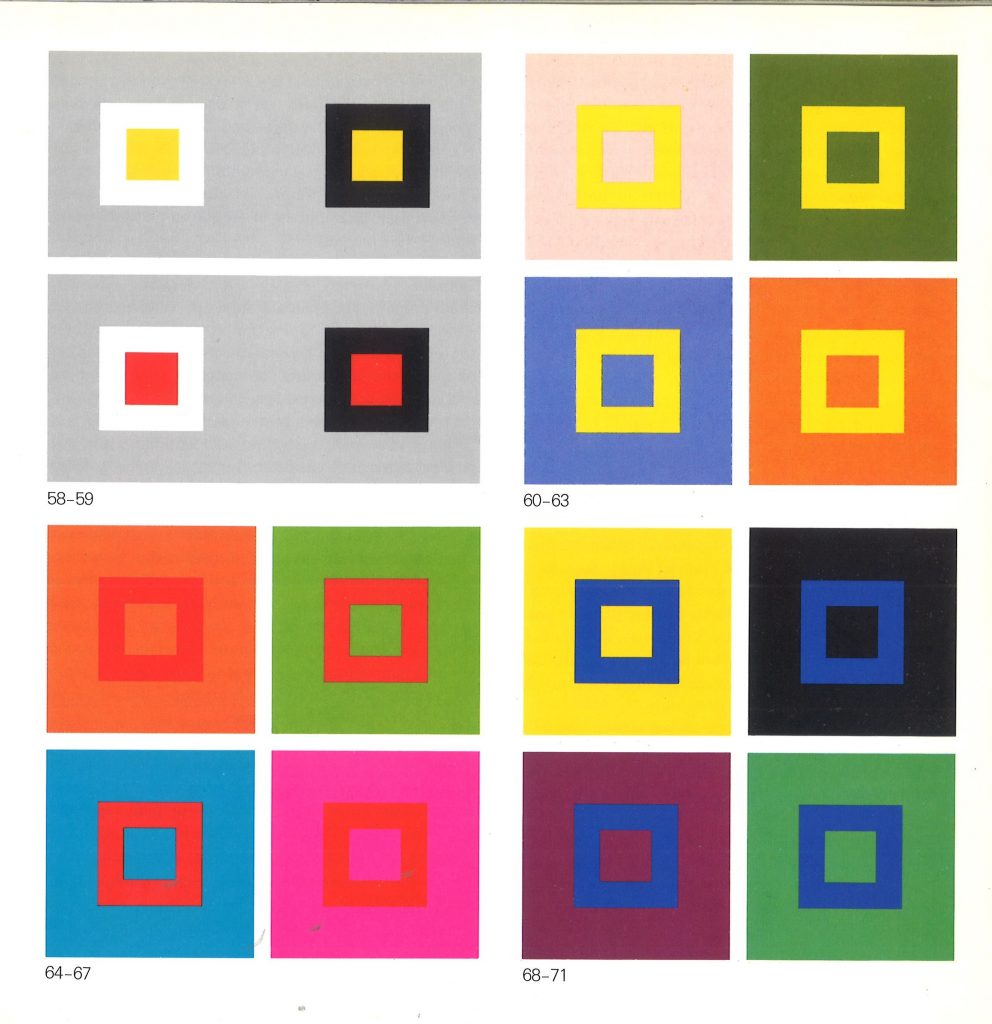
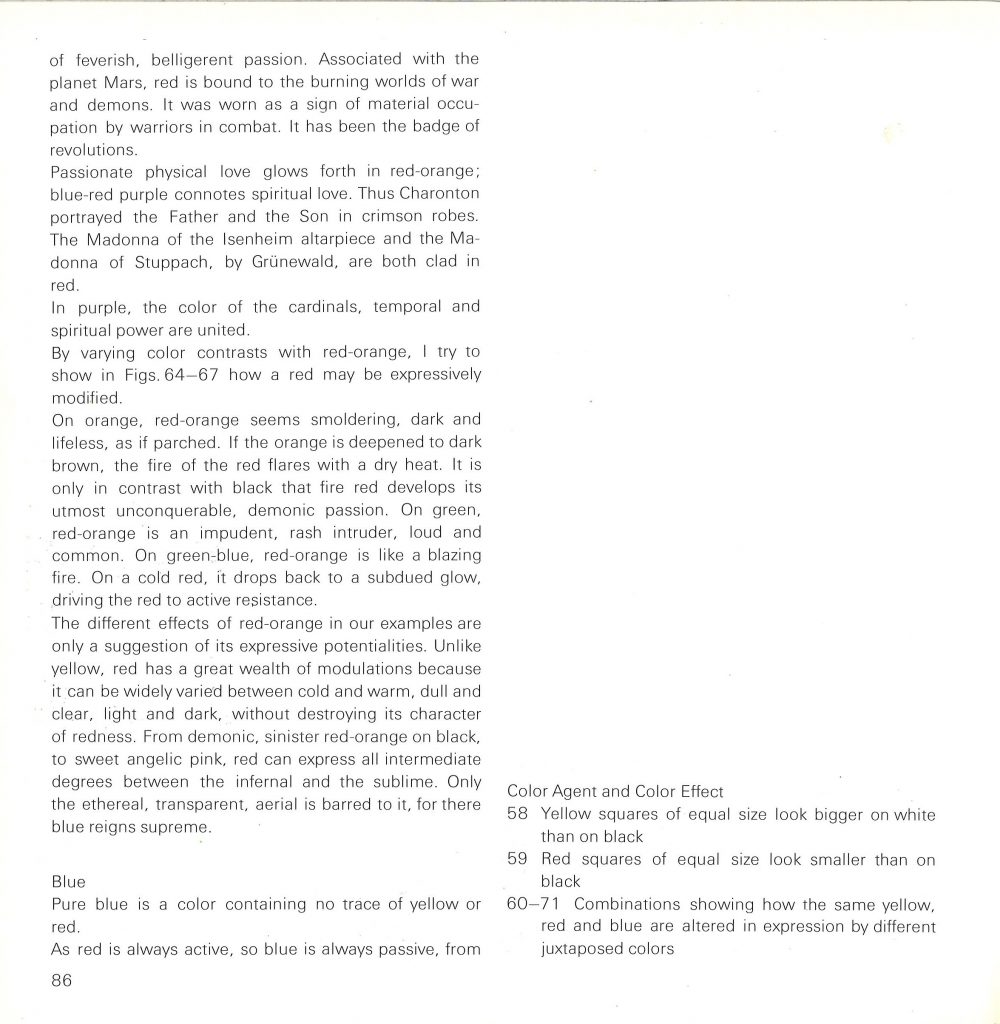
Our lecturer Adam mentioned colour relativity. At college last year, I completed a project based on the work of Josef Albers, famous colour theorist and fine artist. He spent his life exploring the relationship between colours. I took a trip to the library and came across The ELements of Color by Johannes Itten. It is a handy paperback book that explains colour relativity in simple terms:

From The ELements of Color. The grey square at the centre appears different depending on which colour it is placed against.
The same colour is placed on a series of coloured squares. The result is the illusion of a variety of depths.
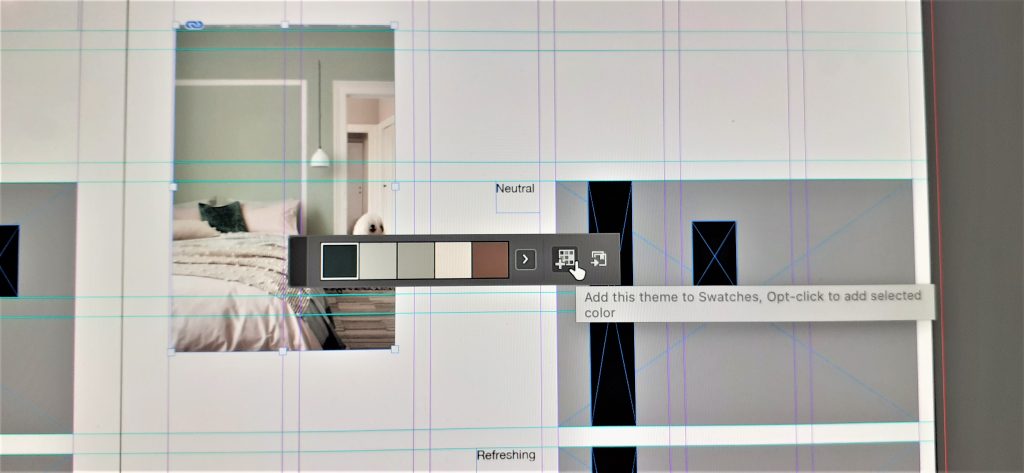
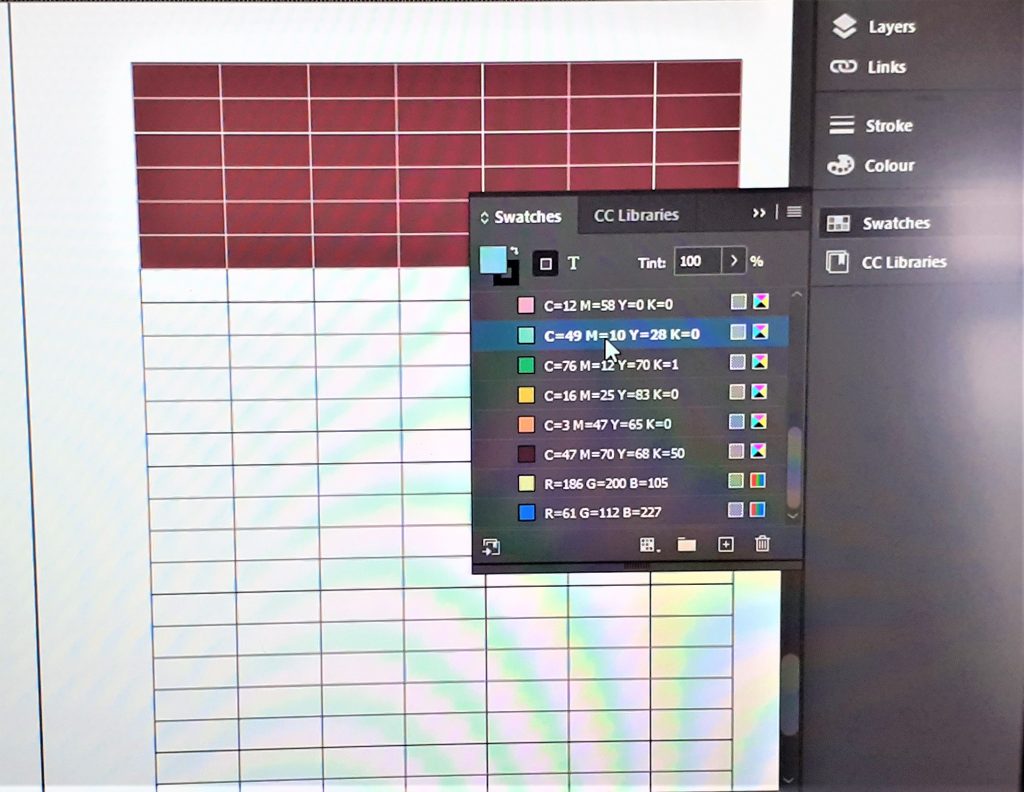
(In InDesign) The colour theme tool allows me to create colour swatches from the colours within any image.
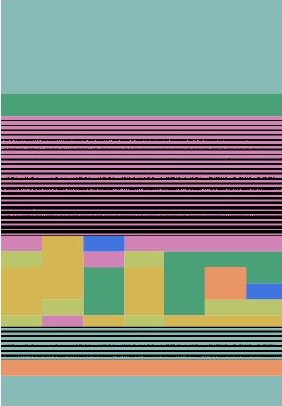
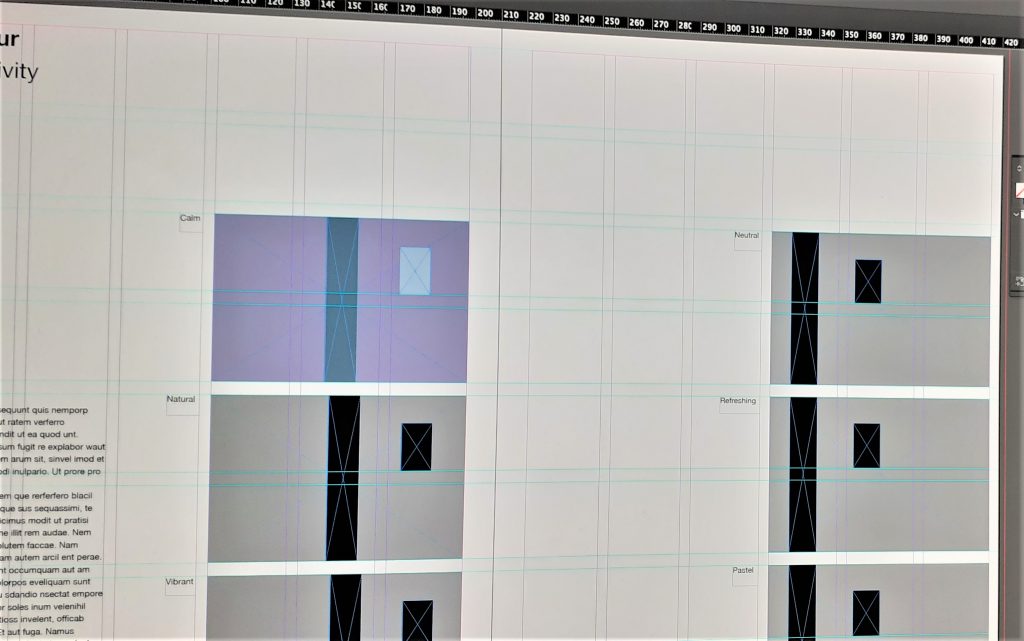
I was then able to add these colours to the process book, taking them from my swatches. I created different themes such as ‘calm’, ‘neutral’ and ‘vibrant’. I placed them within rectangles that I drew using the rectangle tool.

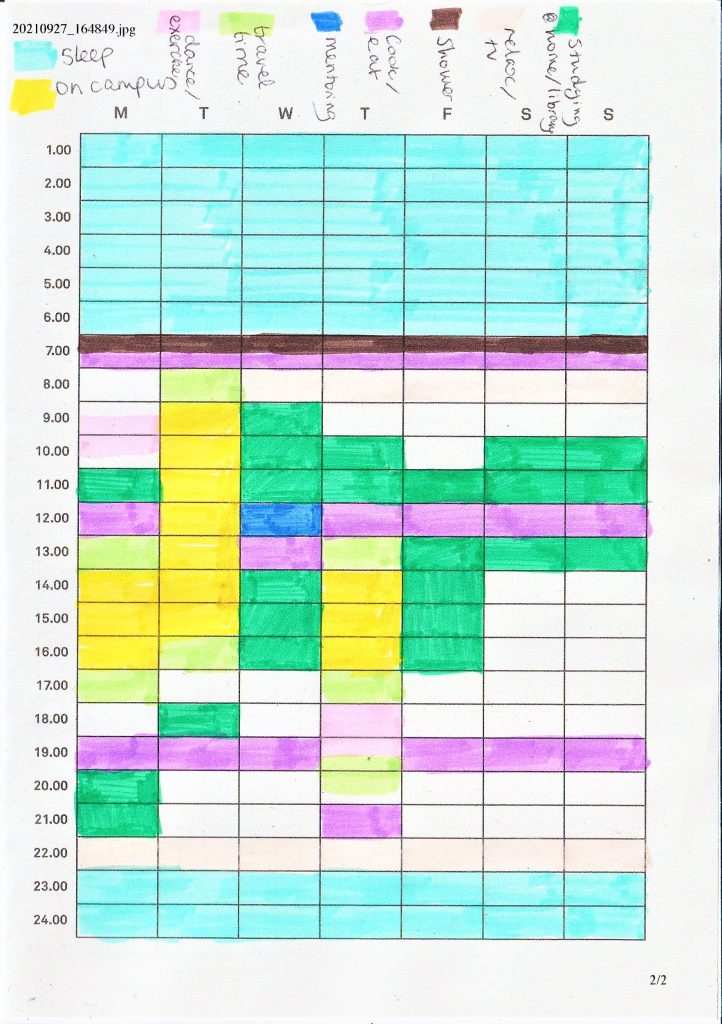
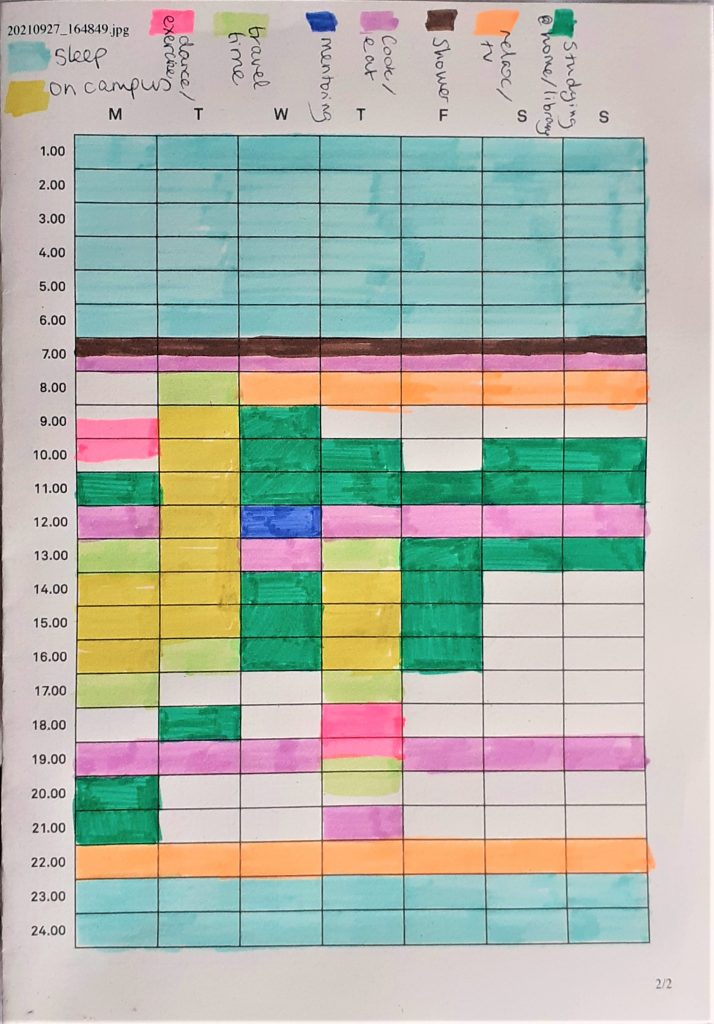
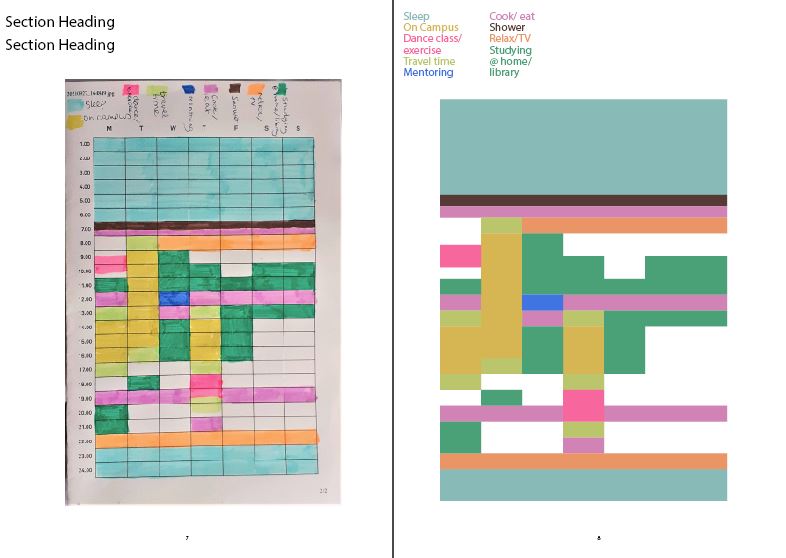
For the next task, Adam asked us to experiment with a scanned image. We coloured in timetables of our week and scanned them onto the computer:

The scanner washed out the fluorescent colour from my highlight pen. Therefore, I needed to take a photo of the timetable instead.

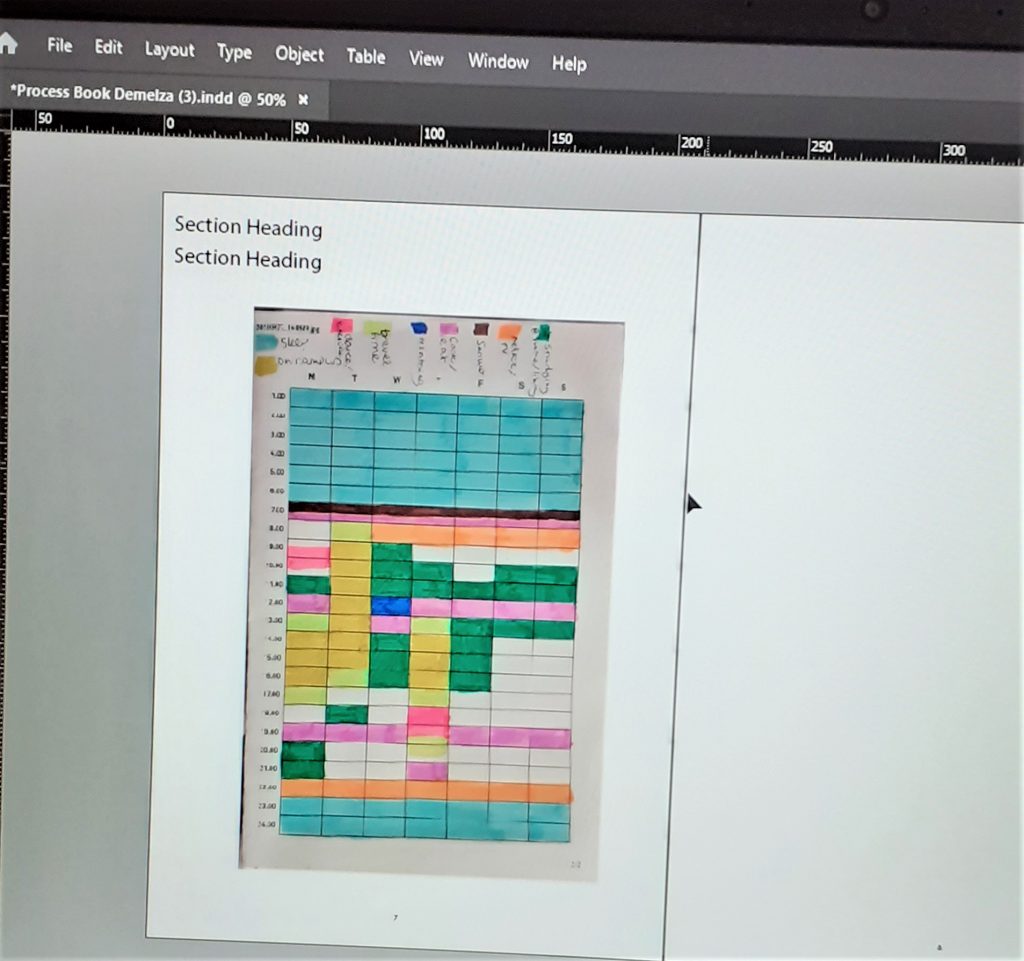
I inserted the photo into the document by pressing Command+D (Ctrl+D on Windows) and selecting the file.

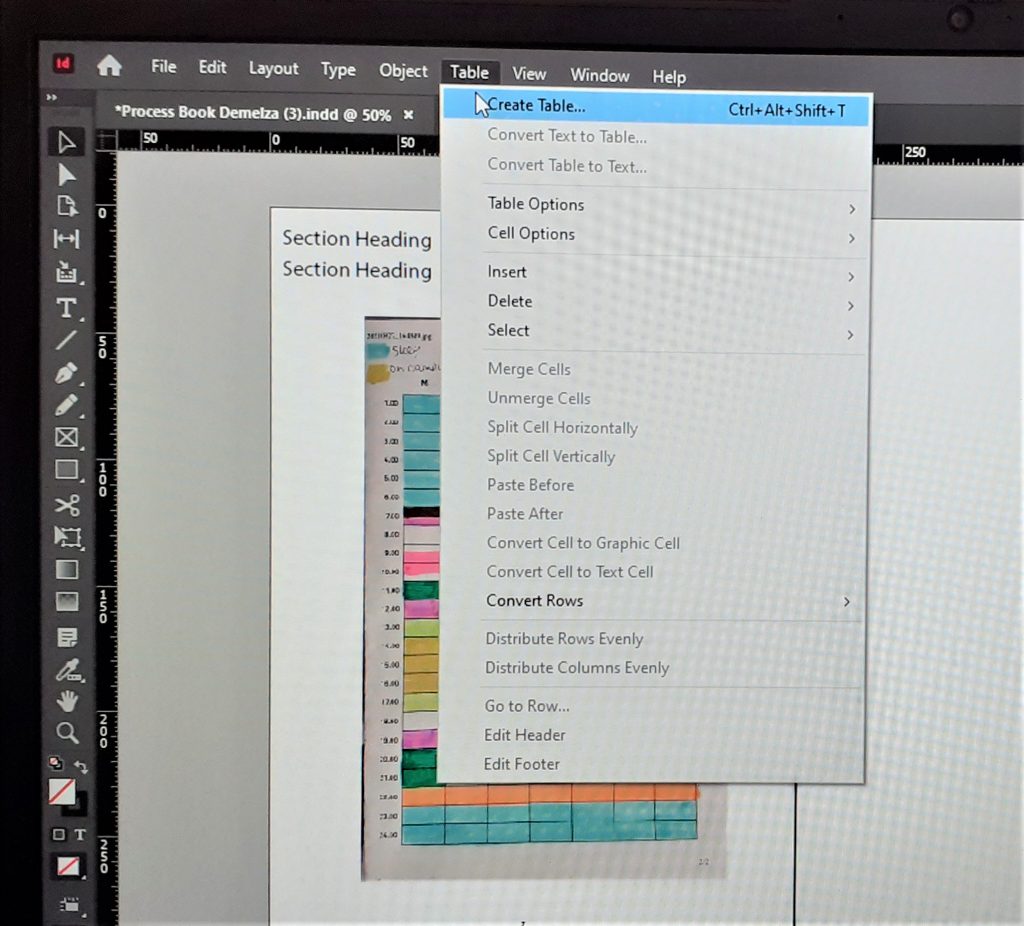
The first task was to replicate the timetable on InDesign, using the colours from the scan. I clicked ‘Table’ > ‘Create Table’.

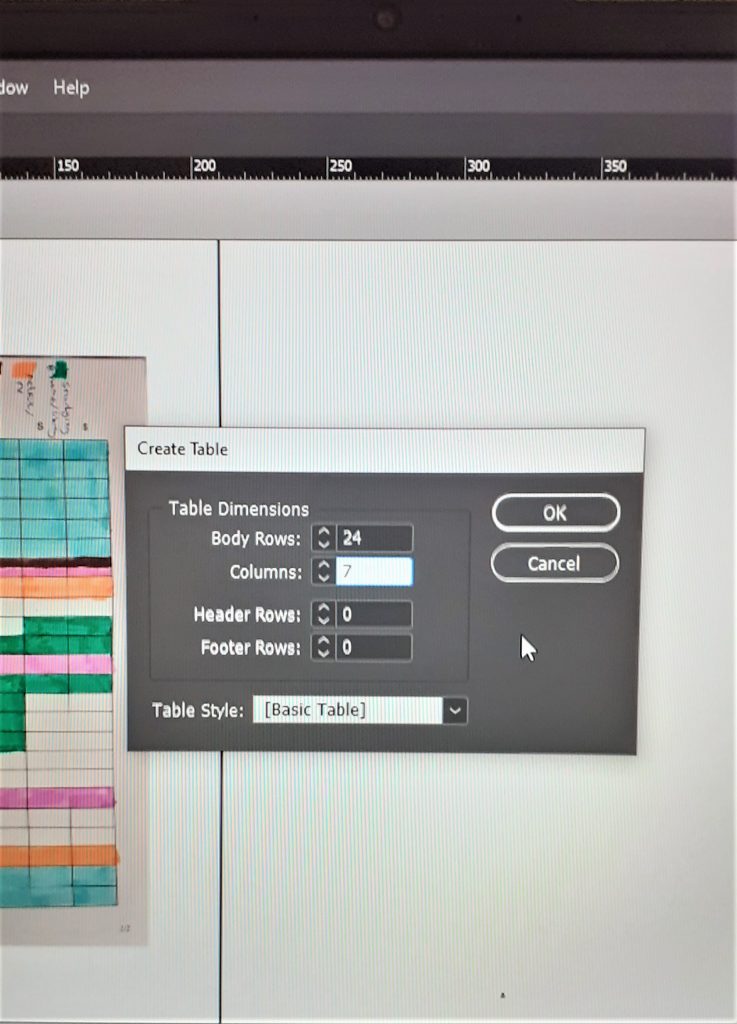
I chose 24 rows for the 24 hours of the day, and 7 columns for the days of the week. After clicking ‘OK’, I needed to click and drag the table onto the page.

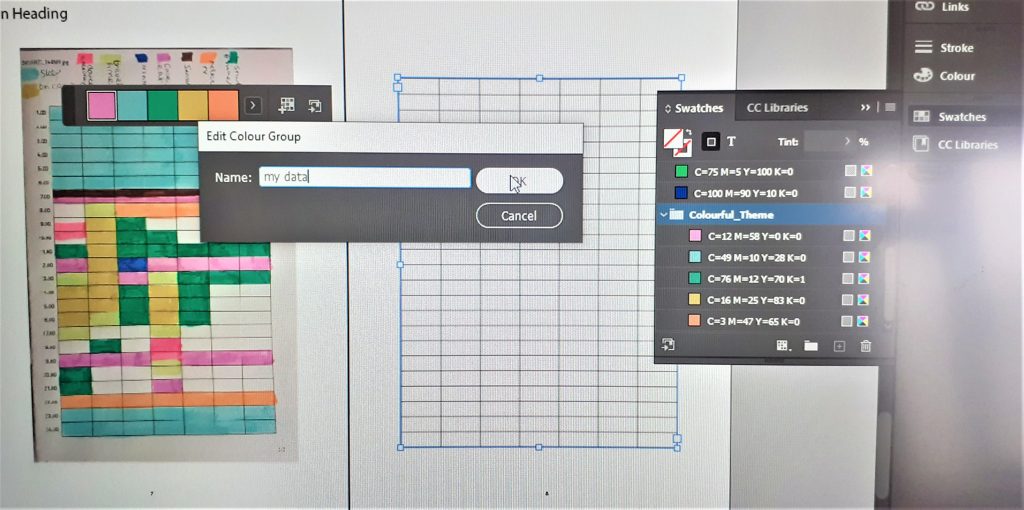
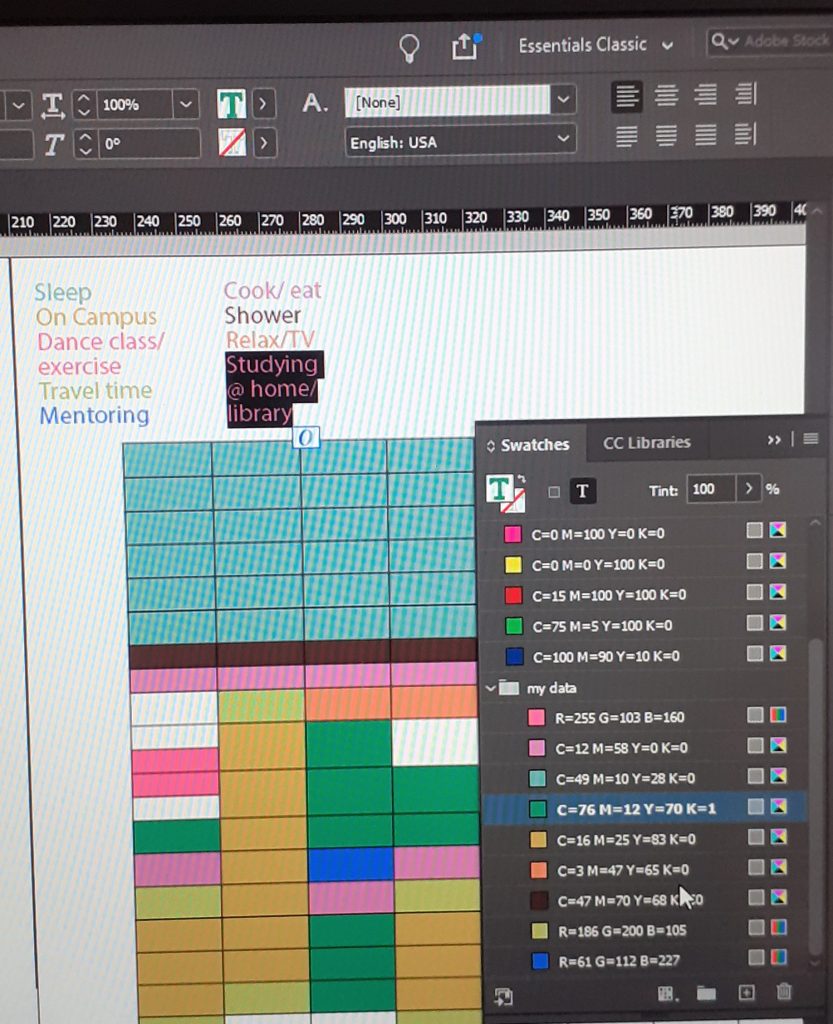
I used the colour theme tool to grab the colours from my scanned image. I added this to my swatches and named the group of colours ‘My Data’. This would allow me to find them easily.

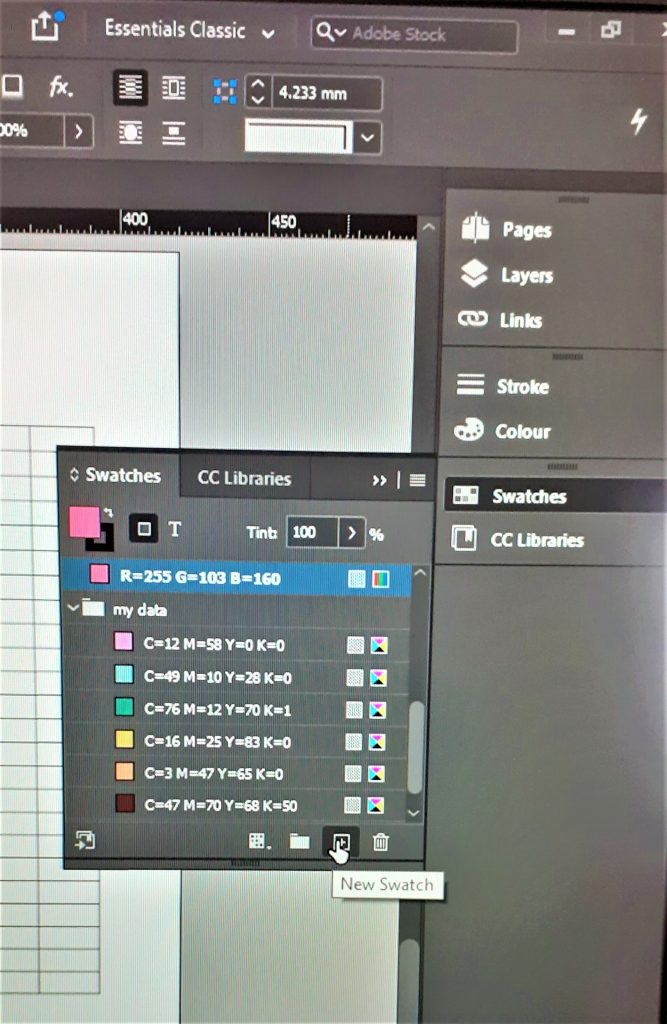
The colour theme tool picks out a limited selection of the colours within your image. Since my image has many colours, I needed to add a few of them individually to my group of swatches.

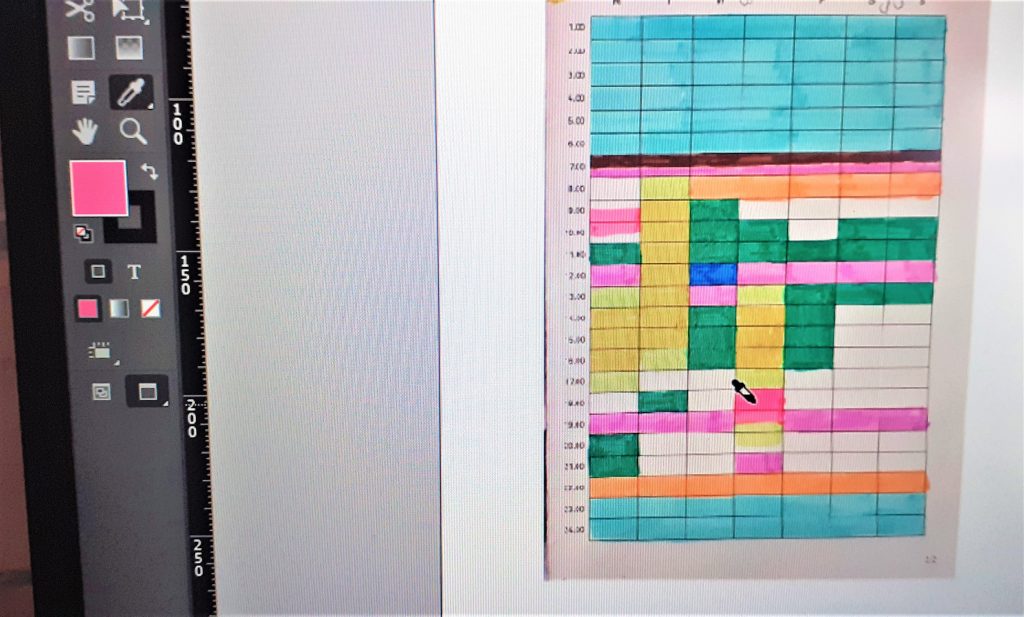
I needed to use the eyedropper tool to select the colours from my scanned image.

I added this colour to the swatches by selecting ‘New Swatch’.

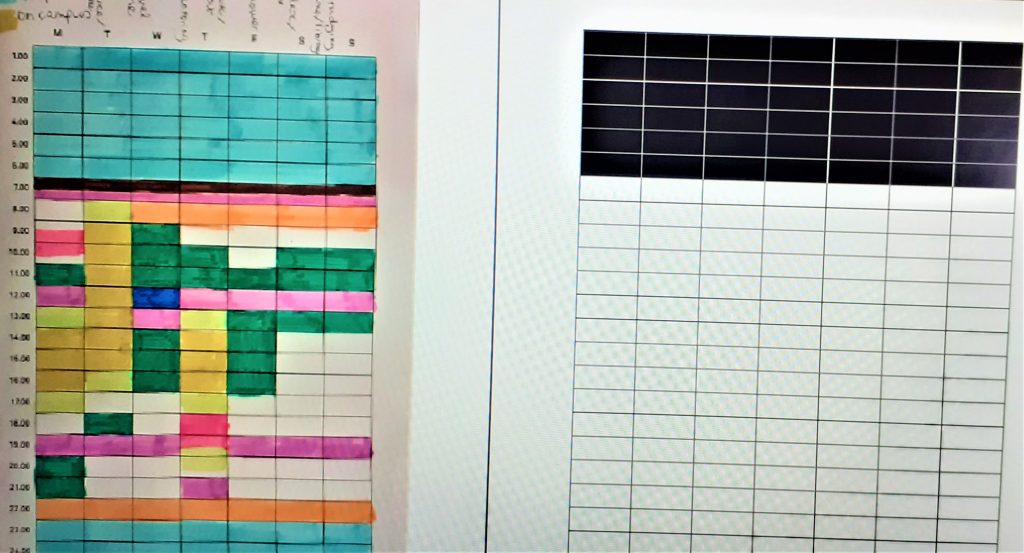
Adding colours to the table is simple! I highlighted the area I wanted to colour in by clicking and dragging. (The black area is highlighted) I then clicked on the blue colour within my data swatches:
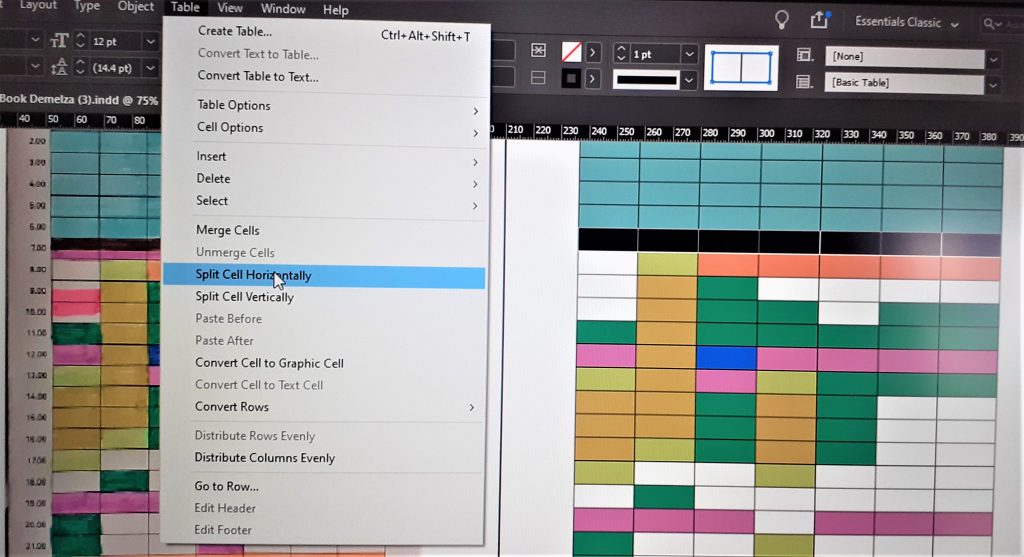
For the areas of half hours, I needed to split the cells horizontally. To do this, I highlighted the cells I wanted to split. I clicked ‘Table’ > ‘Split Cell Horizontally’.

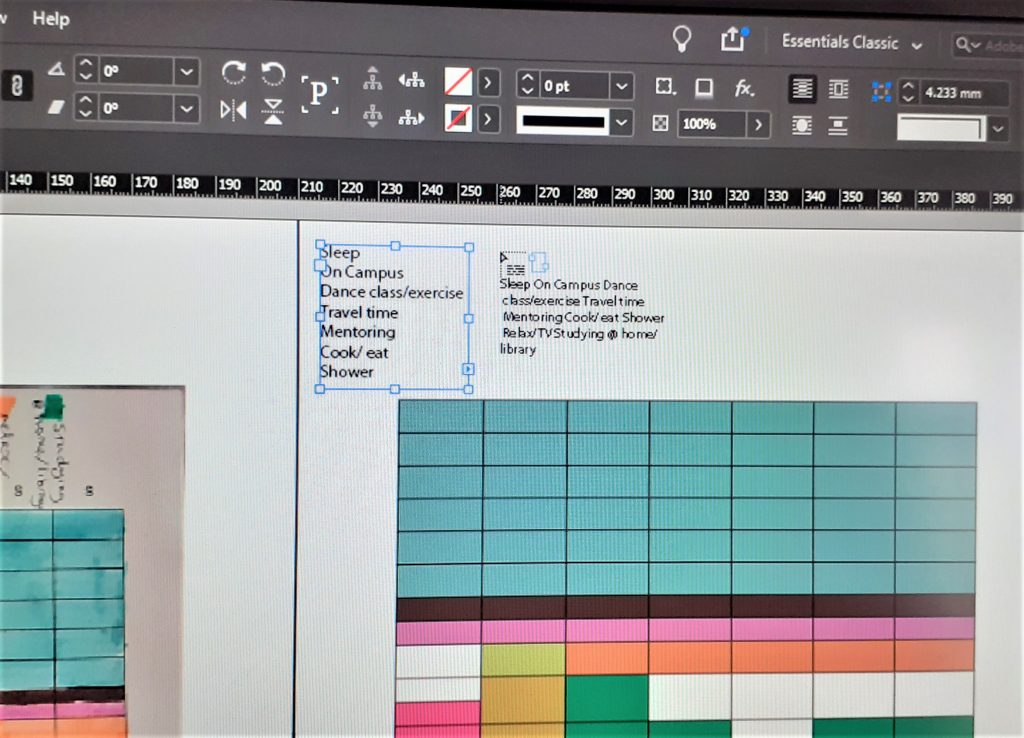
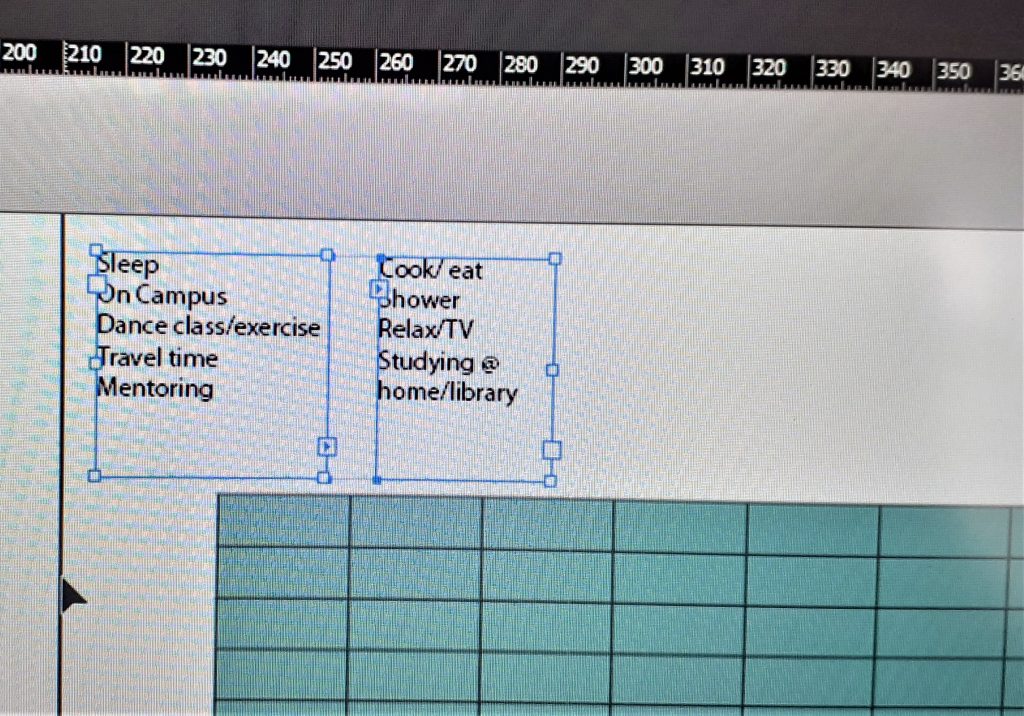
I wanted to add a key to my timetable. I typed the words in a list above the table. The list was too long for the box. This meant that a small red square appeared to tell me there is not enough space for the words. I clicked this red square and selected another area to place the words. I placed them in a box next to the first box.

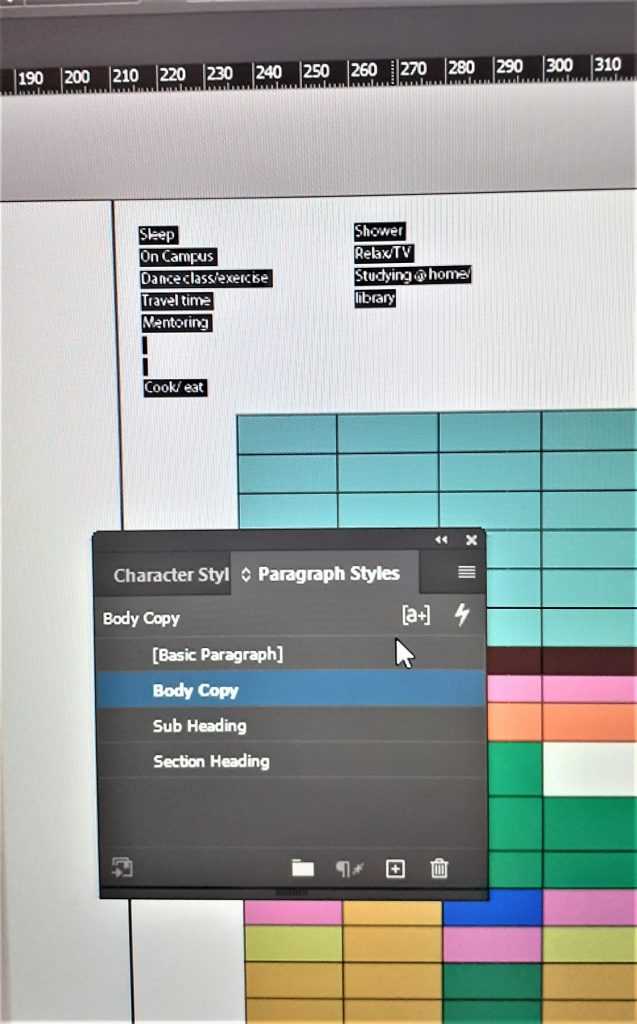
I wanted to change the font to the style I was using for the process book, ‘body copy’. To do this I needed to select the text. I clicked on the first text box, pressed down SHIFT, then clicked the second text box. This meant that both boxes were selected.

With the text highlighted, I opened the ‘Paragraph Styles’ tab and selected ‘body copy’.

I highlight each word, one at a time. I then changed the colours to match the colours they correspond to in the timetable, choosing from the ‘my data’ swatches.

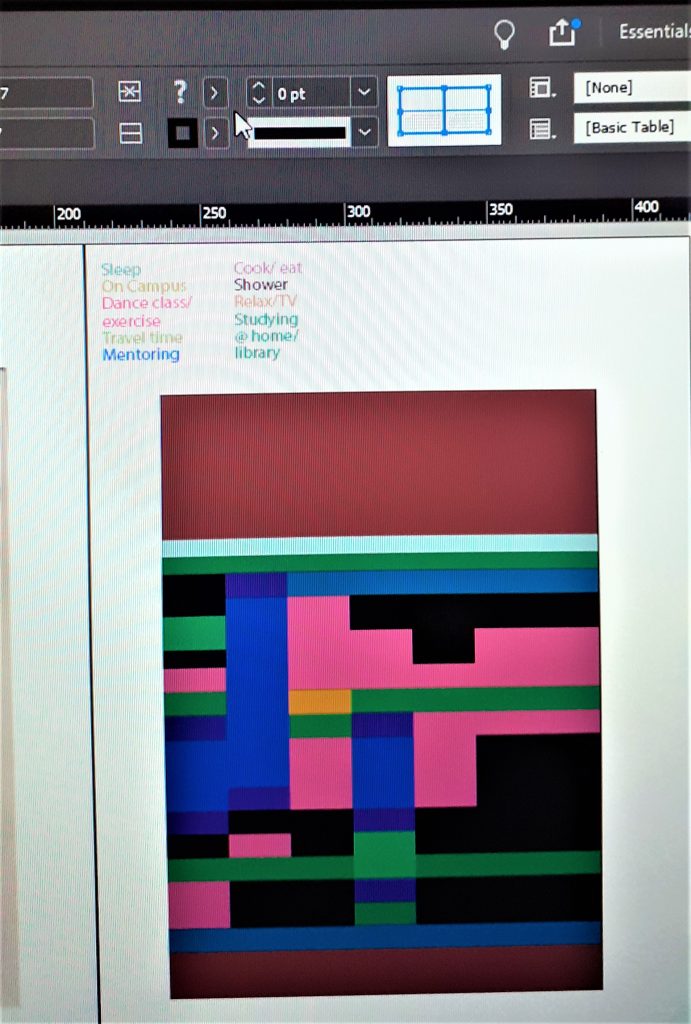
I wanted to remove the lines within the timetable. To do this, I selected the lines by making sure the lines in the square at the top of the page, were blue and changed the thickness of the lines to ‘0 pt’

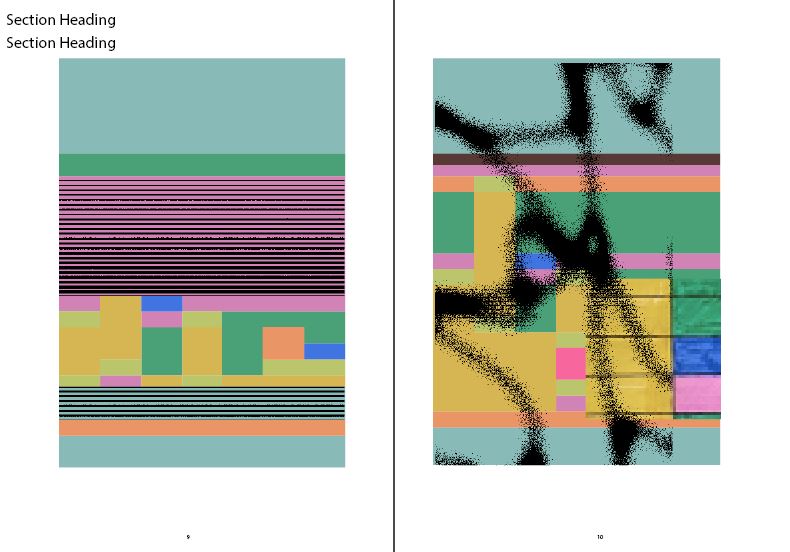
I then used the timetable design as a template for experimentation. I played with merging cells, inserting images, bitmap images and adding colour.

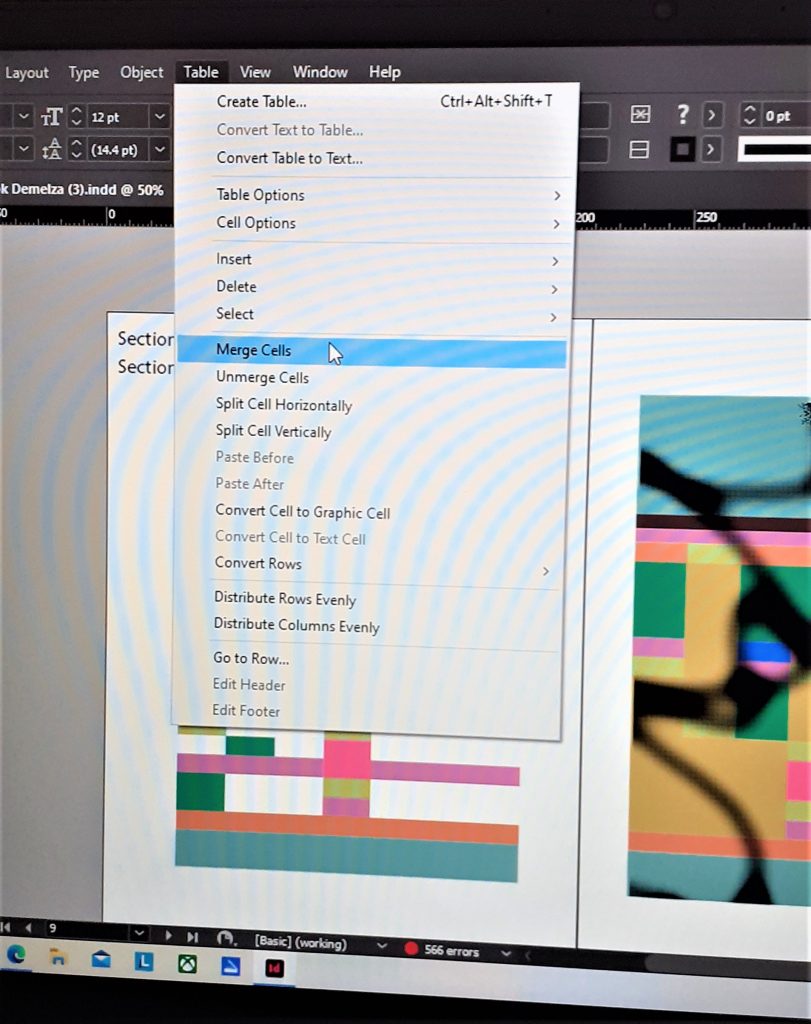
I merged cells to give me a larger area to work in. I highlighted the cells I wanted to merge and clicked ‘Table’ > ‘Merge Cells’
I used the bitmap images from week 1 and 2 to incorporate into these designs.

Writing & Research Skills

Literature Review

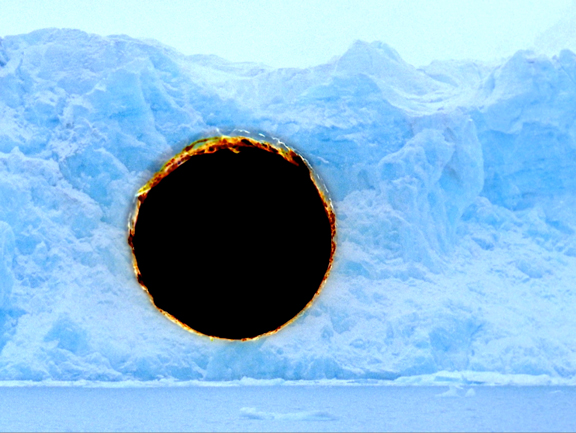
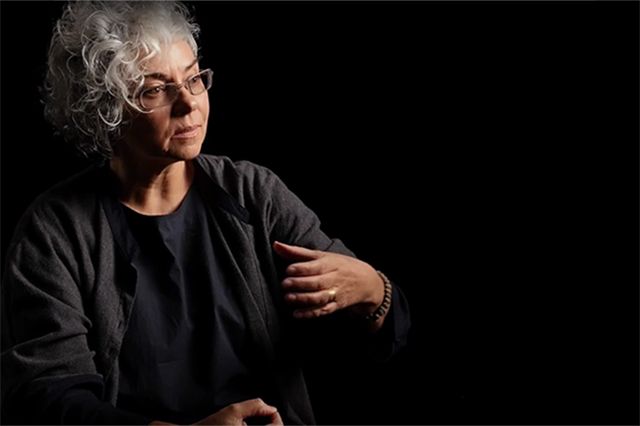
In week 2, our lecturer Luisa assigned each of us a female designer to research. The designer I was given was Rebeca Méndez. She is a contemporary graphic designer and fine artist. Méndez was born in New Mexico in 1962. Within her art, she focuses on environmental subjects, systems, cycles natural and human phenomena. She expresses her concepts through film, photography and installation.

Never Happened Again, Glaciers 2 – artworks: rebeca mendez (rebecamendezstudio.com)
Life is Magnanimous: Rebeca Méndez and I – Alfalfa Studio

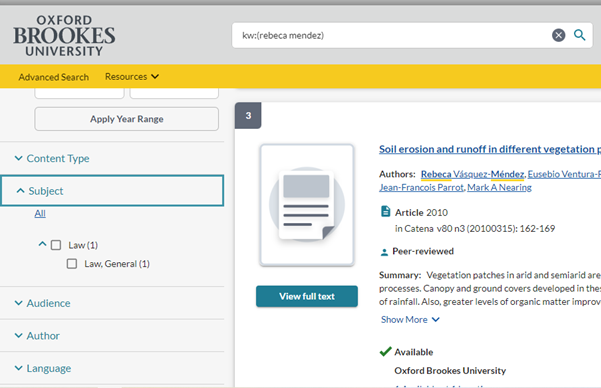
When searching for research material, my first instinct was to go to the Brookes library. ‘Library search’ on the Brookes website searches for journals, ejournals, ebooks, books in print and collections. I typed ‘Rebeca Mendez’ into the search bar.

All the results were for Law books.

I then searched in other places and kept a record of where I had searched.

Search History:

Library search no luck

Oxford Reference no luck

Bridgeman education no luck

Oxford art online no luck

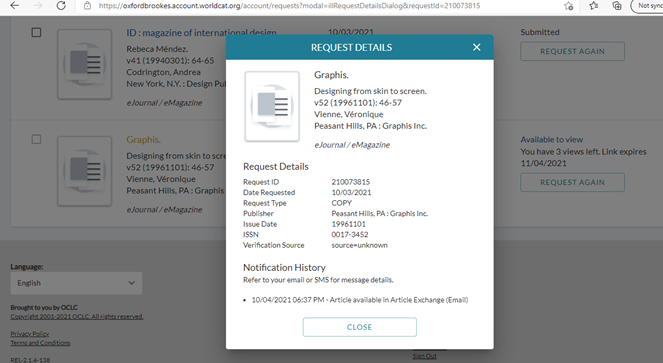
I sourced 2 ejournal articles and was able to request them from the library.
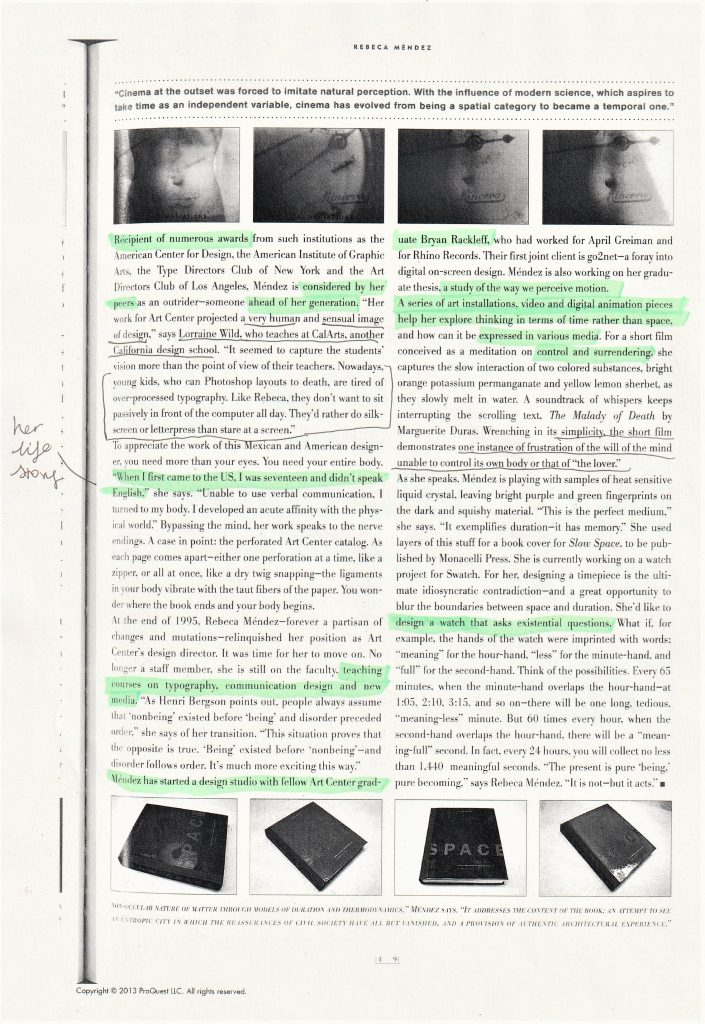
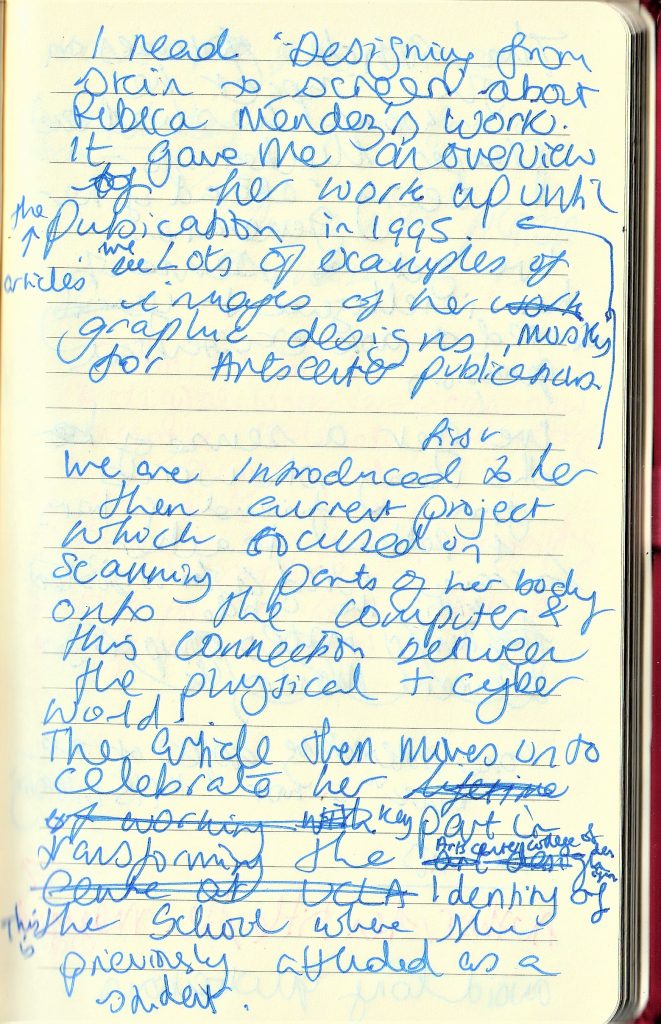
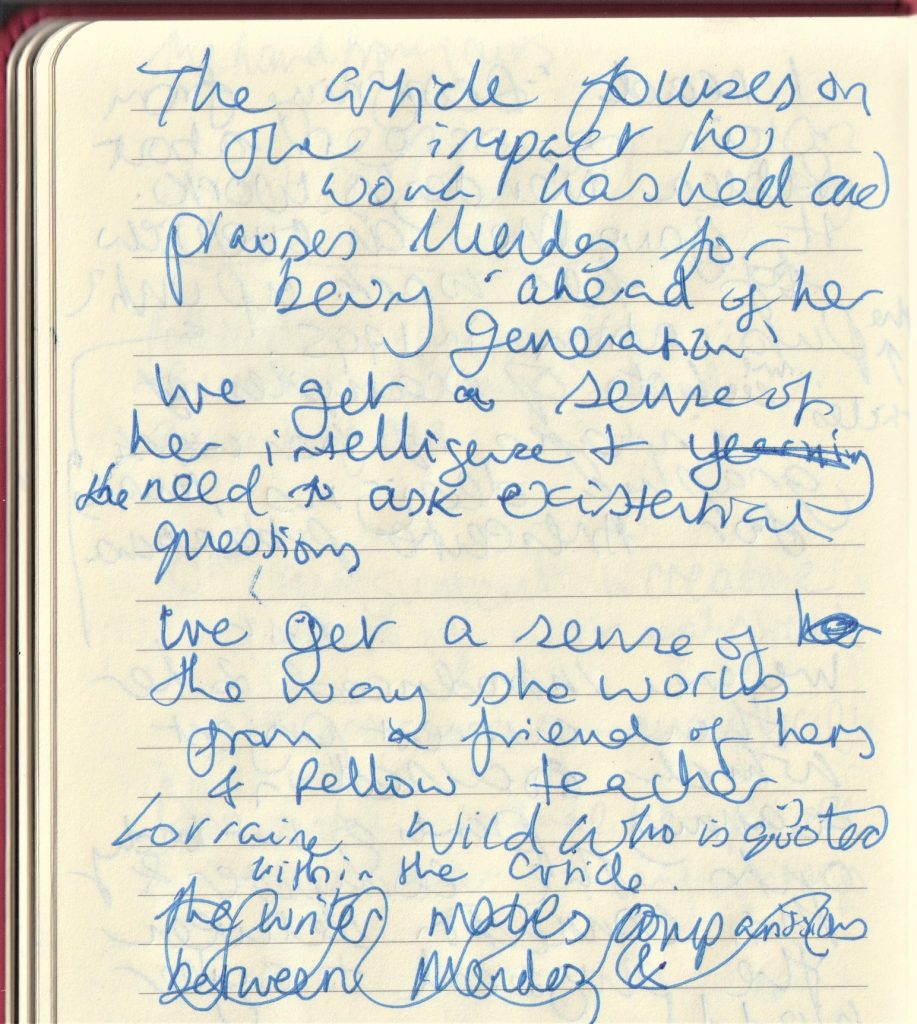
I printed the article and used pens to highlight and annotate.

In week 3’s lecture, we were asked to write the first 100 words of our assignment.

We then shared some of what we wrote and received feedback. It was helpful to hear Luisa’s feedback for my classmate’s work, as I found myself making the same mistakes as them.

For example, a few tips she gave us to think about:

  • “One interesting aspect of the book…” instead of “It’s interesting.”
  • “The author recounts…” instead of “the author says.”
  • Avoid long quotations
  • “The article places emphasis on…”
  • Focus on the core aspects of the interview.

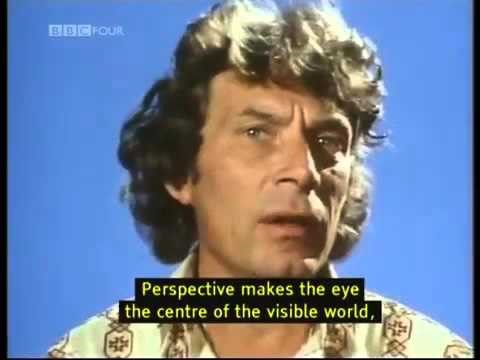
Within this week’s lecture, we began by watching Ways of Seeing. This is a documentary from the 1970’s with John Berger. We watched part 4 and made notes.
John Berger / Ways of Seeing , Episode 4 (1972) – YouTube

This is a BBC documentary, aimed at the wider general public in Britain. Berger delivers the documentary in a didactic style.

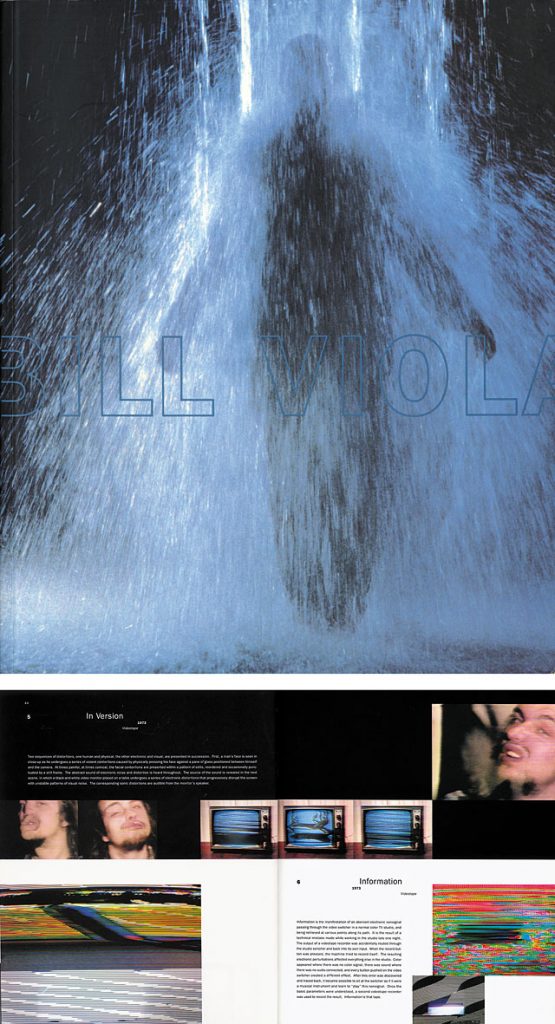
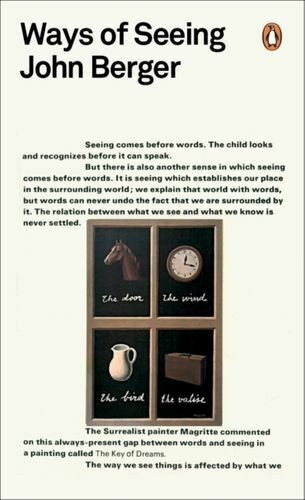
WAYS OF SEEING MINT BERGER JOHN PENGUIN BOOKS LTD PAPERBACK SOFTBACK 9780141035796 | eBay

The series was made into a book, which has interesting design features.

Our lecturer Luisa then asked us to describe in 50 words what the documentary is about:

(my response)

John Berger talks to us about the images we see around us everyday. He uses the phrase ‘publicity’ to talk about images used in advertising, and in the media around us. He makes comparisons between these images and the oil paintings of the past. He explains that the images used in publicity do not relate to our lives, but to an imaginary future that we are encouraged to strive for.

She then asked us what we thought of the format of the video:

He talks to us in a didactic style, like he is revealing something we have not considered before. He is filmed against a blue backdrop throughout the video. The simple background keeps the audience focused on his words. We are shown snapshots throughout that relate to the subject he is talking about. It is effective in helping us make a visual connection by seeing these examples. By showing us the scenes of factory workers, we are forced to see the reality of our lives in direct comparison to the scenes of glamour we are being fed by publicity.

The purpose of this exercise, as well as teaching us design history/theory, was for us to practice our writing skills. We need to learn to write in 2 ways: analytical and fun/interesting. This writing exercise helped me to prepare for the literature review next week. Giving us a word limit of roughly 50 words, encouraged me to think about writing in a concise way.
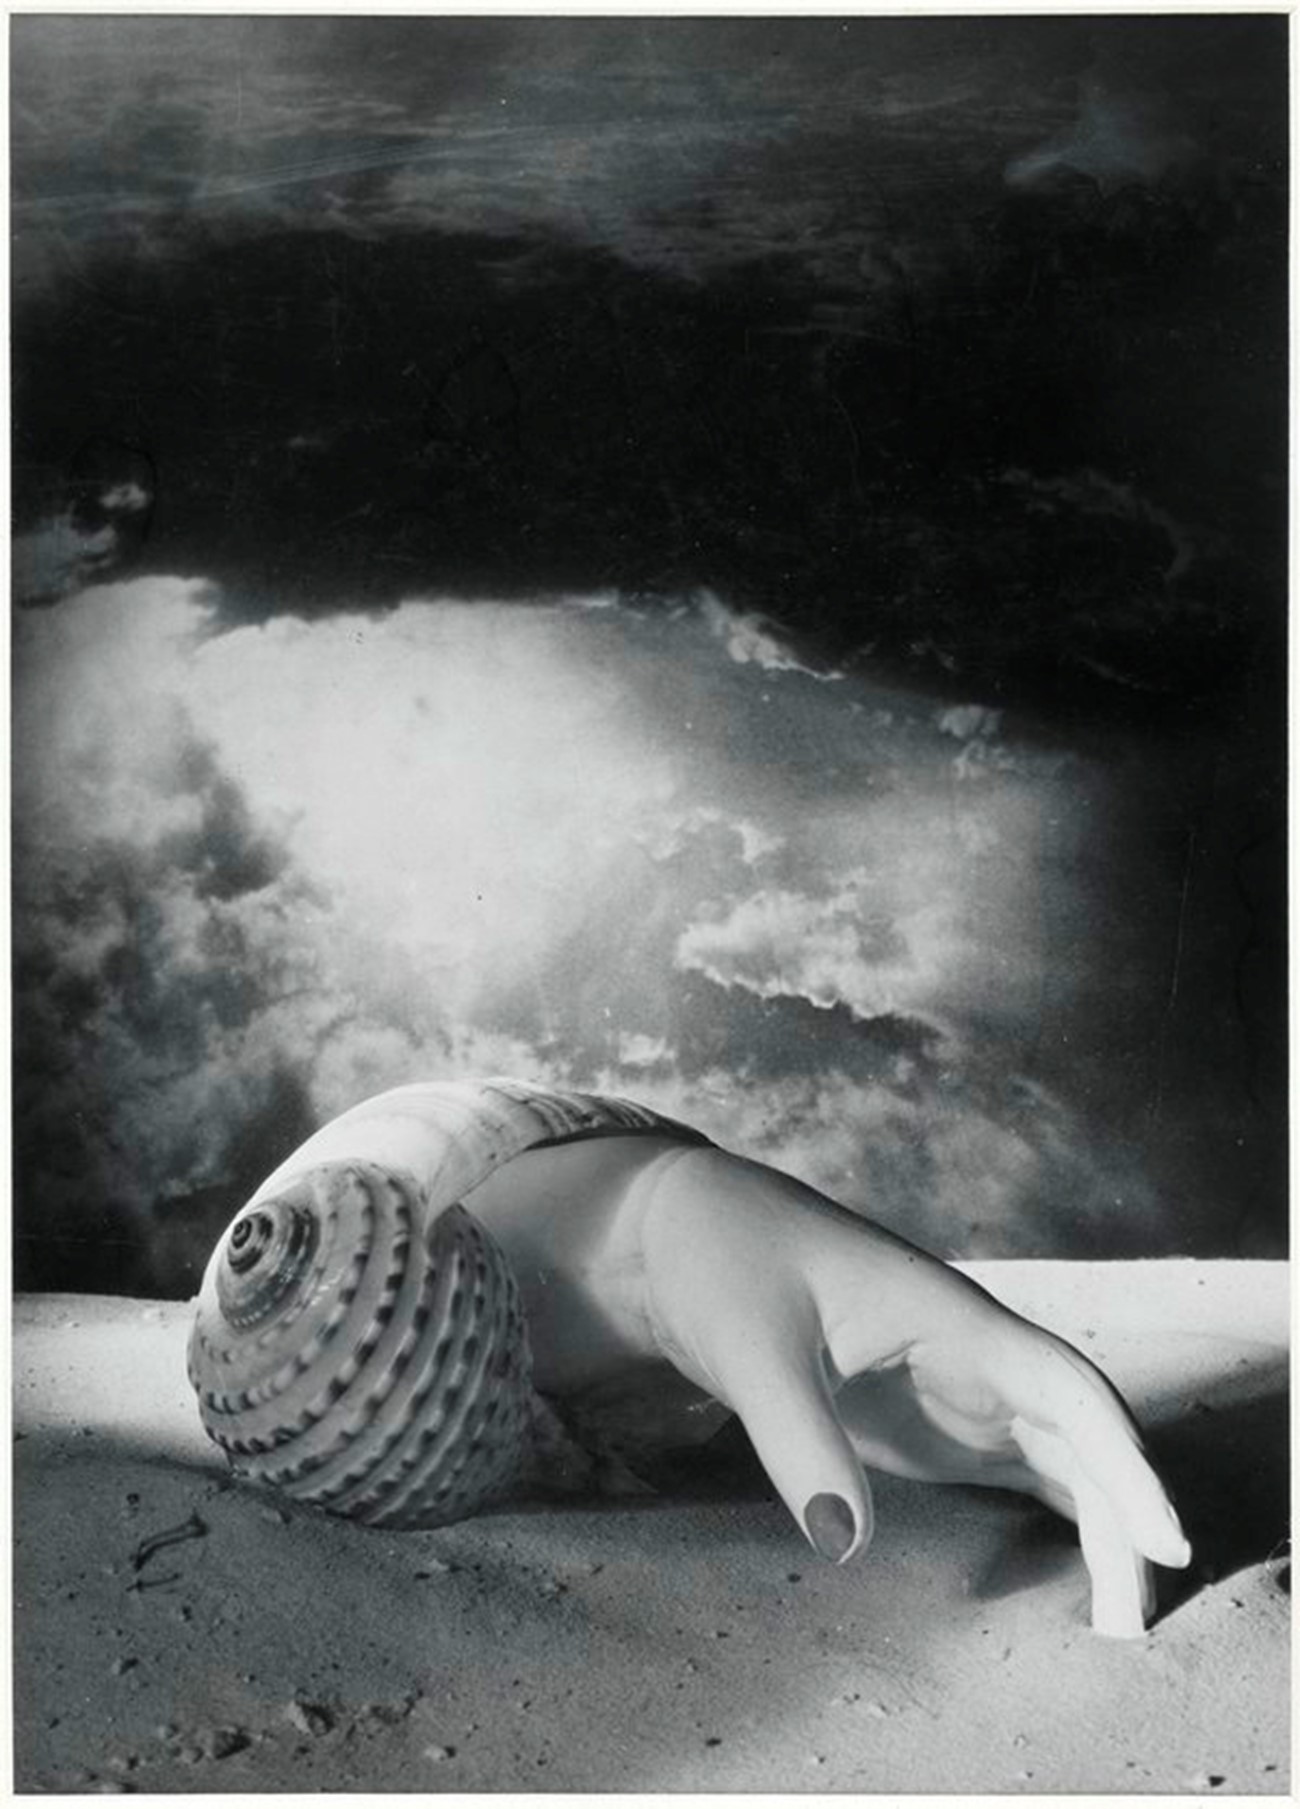
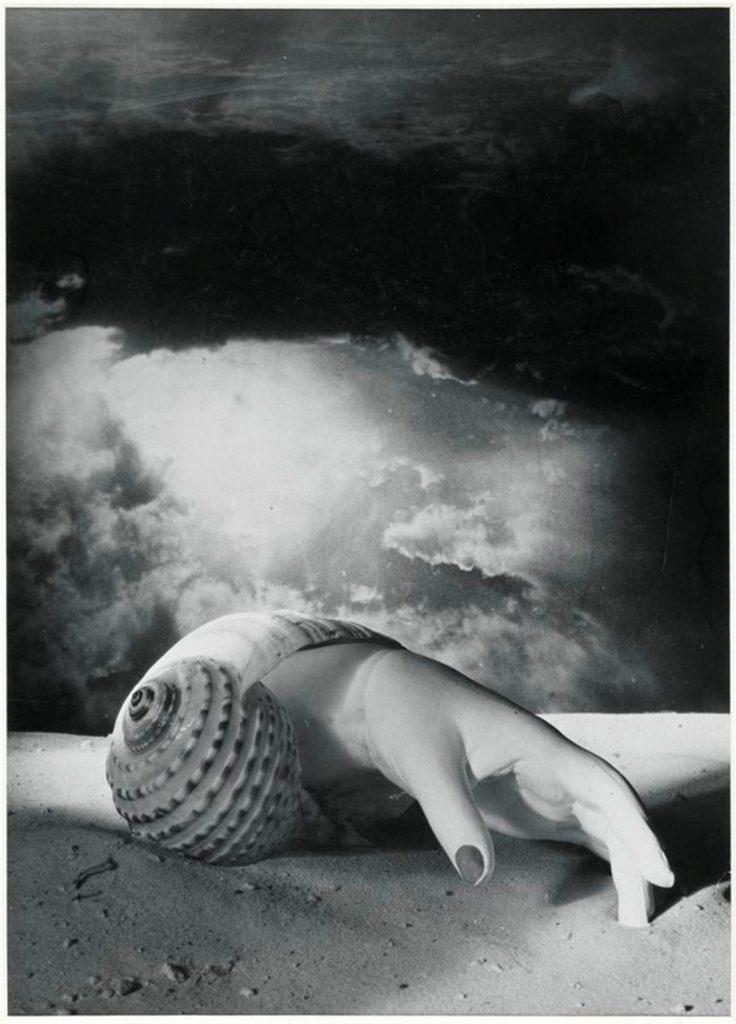
We then looked at artwork by Dora Maar:

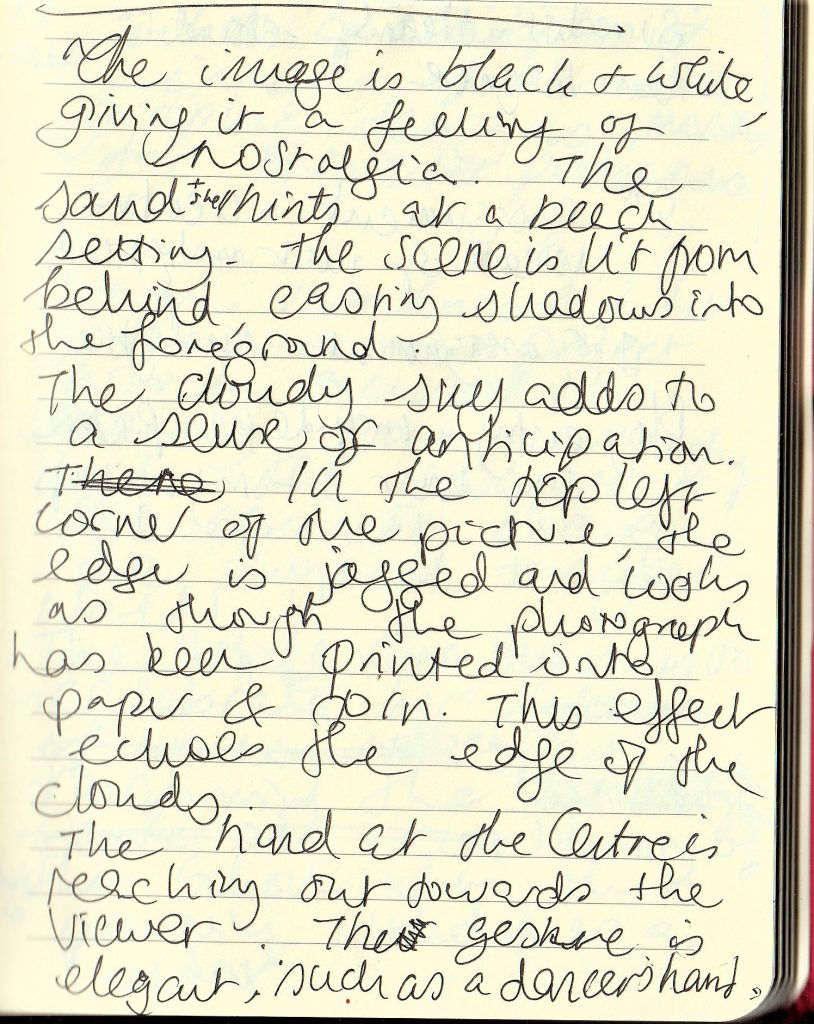
Luisa asked us to write 100 words in response to the image.

The image first reminded me of the hand washed up on the beach at the beginning of the film Jaws (1975). I felt that I was not very imaginative in this exercise. I wrote in the first style I thought of, which is to analyse a piece of artwork. This meant my writing sounded very essay-like. I asked myself ‘How can I tell more of a story within my writing?’