
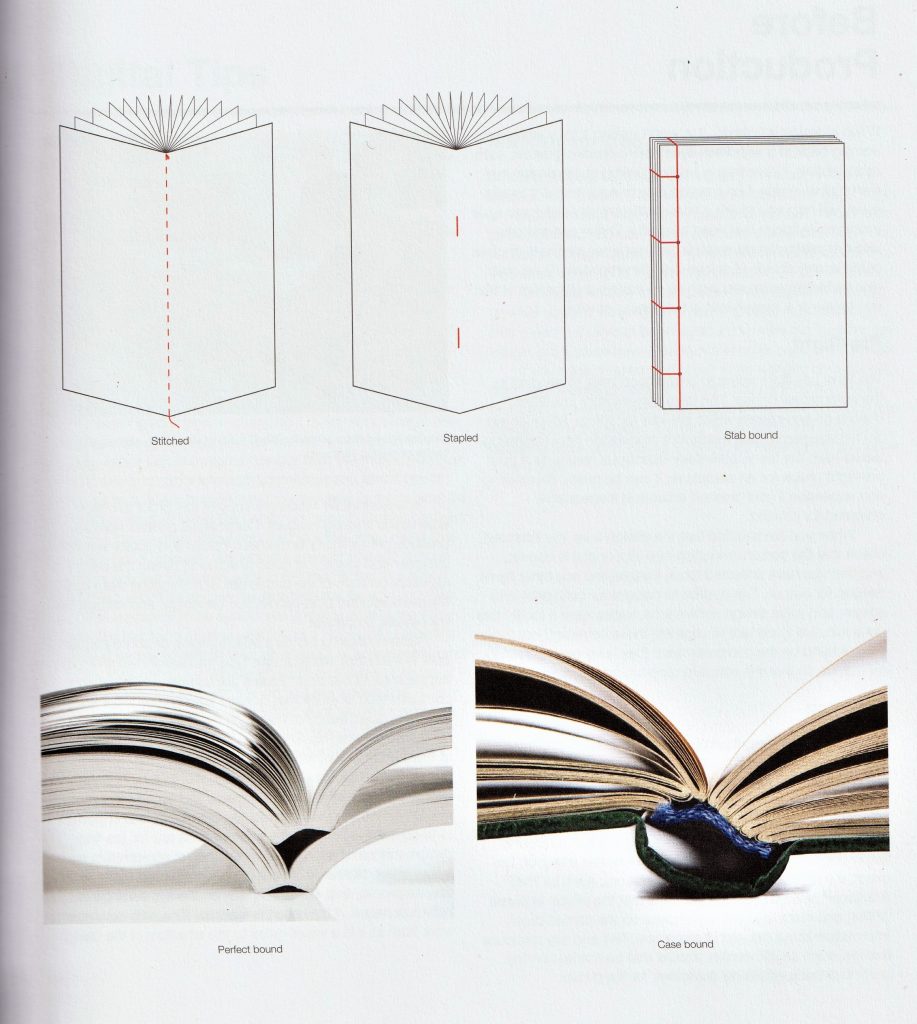
From the book: How to Use Images by Lindsay Marshall and Lester Meachem
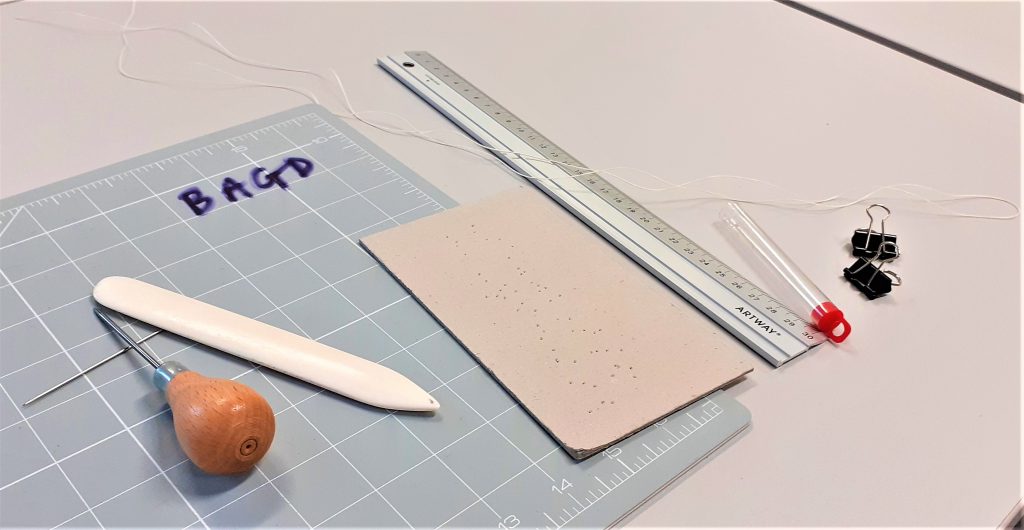
Left to right:
1. Cutting mat with grid
2. Needle
3. Awl
4. Bone folder
5. Carboard
6. Metal ruler
7. Bulldog clips
8. Upholstery thread
9. (not pictured) paper knife
Last year at college, I came across the art of zine making. I used mainly folding techniques and a stapler. Bookbinding has always been a mystery to me.
In week two at Brookes, we were introduced to bookbinding. This is what I got up to in the three-hour workshop…
We can feel the grain of paper by gently bending it and feeling the resistance.
First, we were introduced to the idea of paper grain, paper can be called short grain or long grain this refers to the direction in which the fibres run within a piece of paper.
Our lecturer Ruth gave the example of the way in which newspaper tears better one way than the other. This is because all the fibres are lying in one direction. If you try to tear the paper against the fibres, your torn edge might not be straight.
In a book, the grain should run panel parallel with the spine. Paperbacks usually have the grain going the other way, as his is a cheaper option for production. Paperbacks are not made to last, and therefore the function of the book is considered when making these decisions.
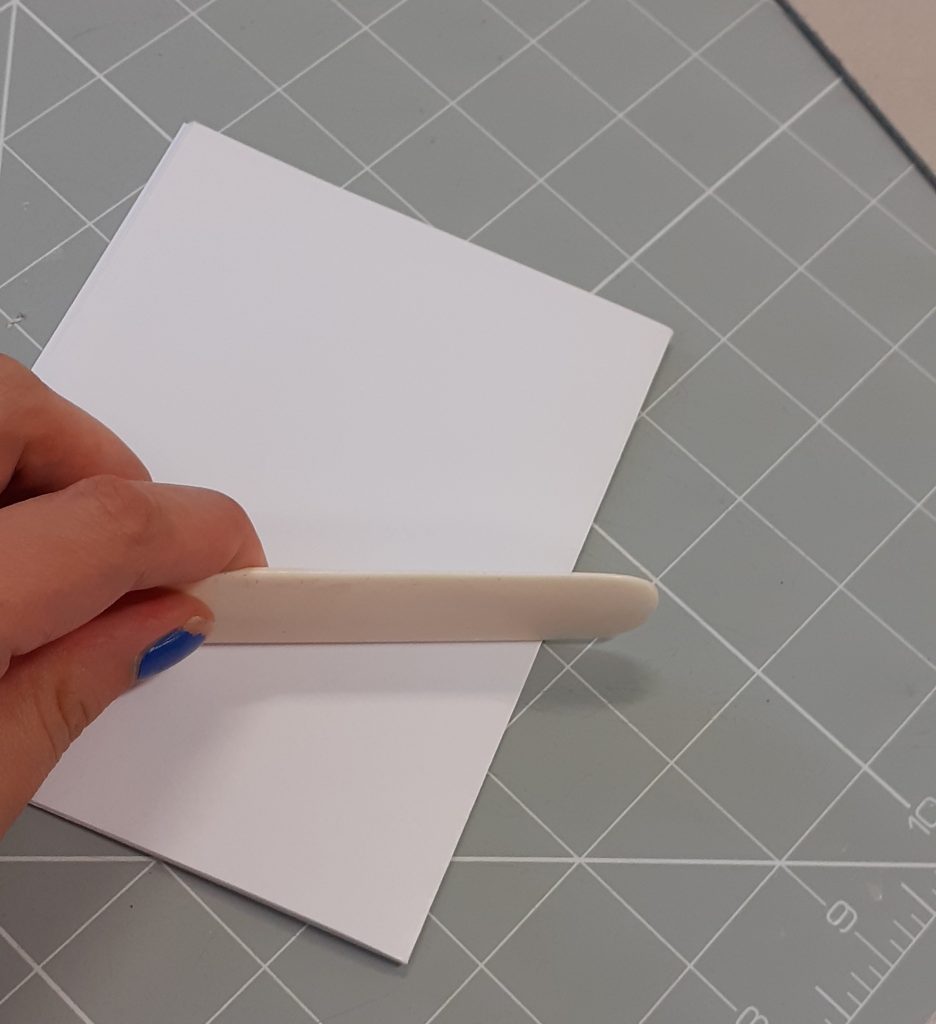
In book making, a section is where you fold a number of pages together in half. We began by using four sheets of paper to make a section. After making sure the pages are correctly aligned, I used a bone folder on the crease to create a tight fold. I found that the bone folder was a very useful tool, and I can imagine myself using it for my work generally.
To start the first book, I folded the sheets of paper into half.
I folded the section within a piece of paper to be used for the cover.
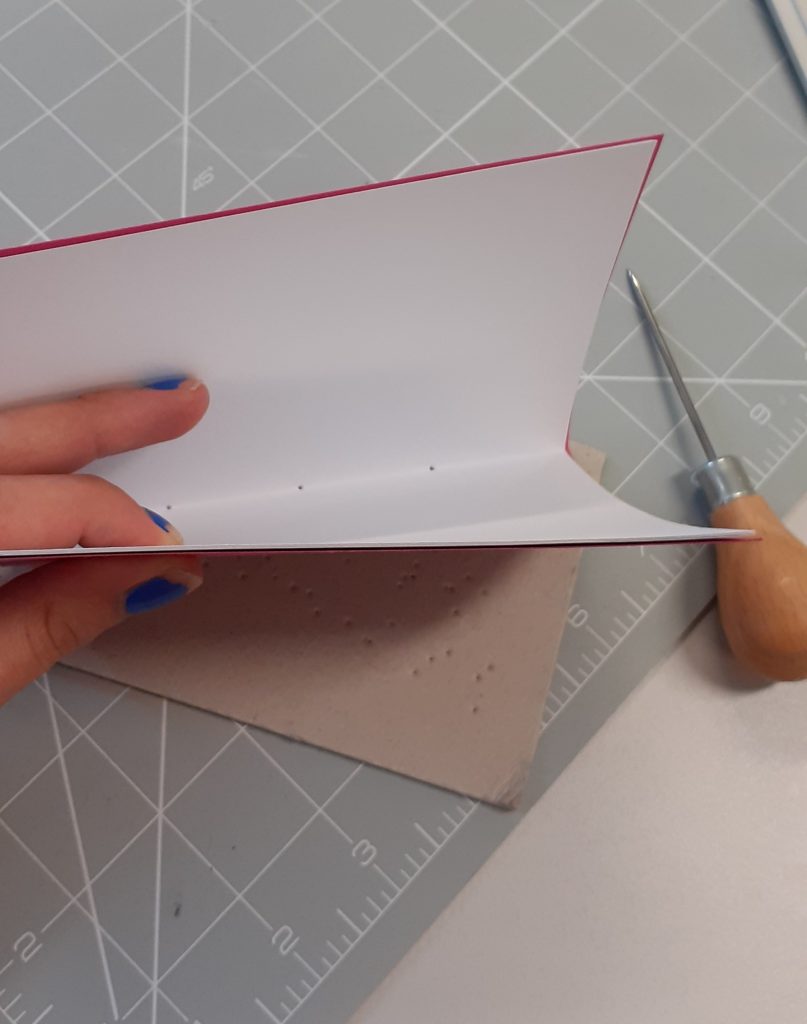
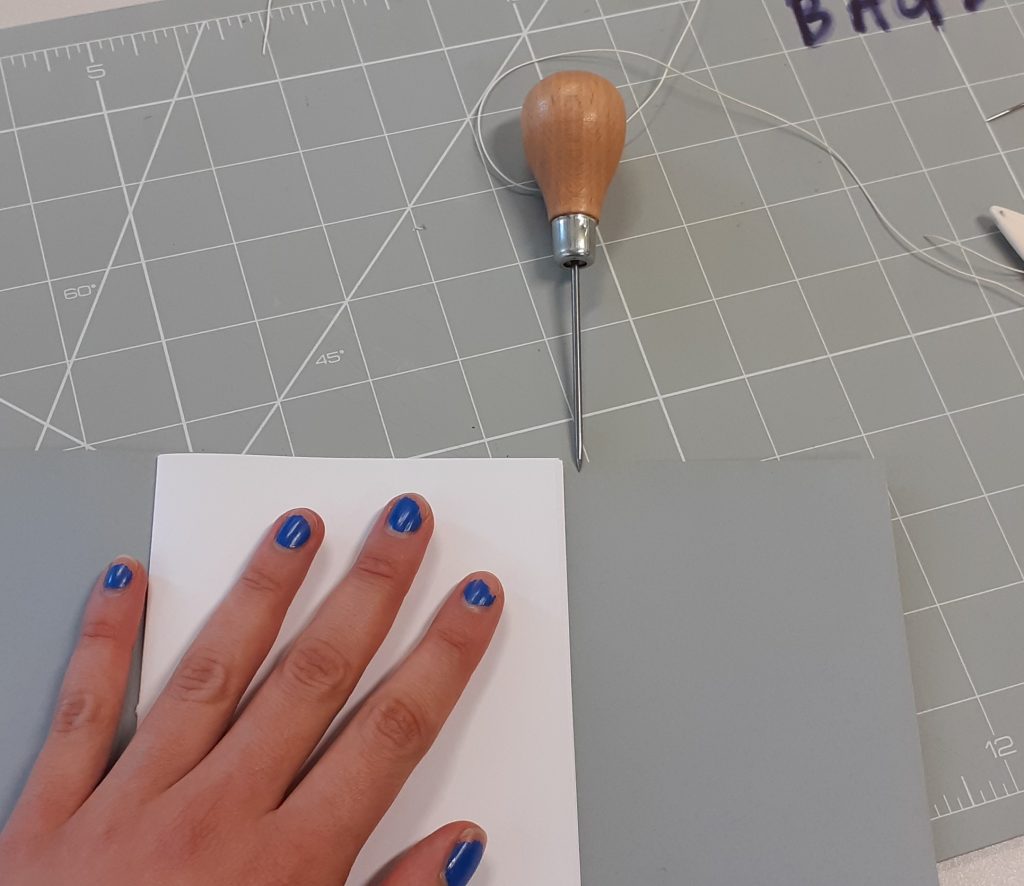
I measured quarter along the inside of the spine and made three marks one at the centre and to either side this. I used the awl to puncture holes into the fold, placing it on a piece of cardboard.
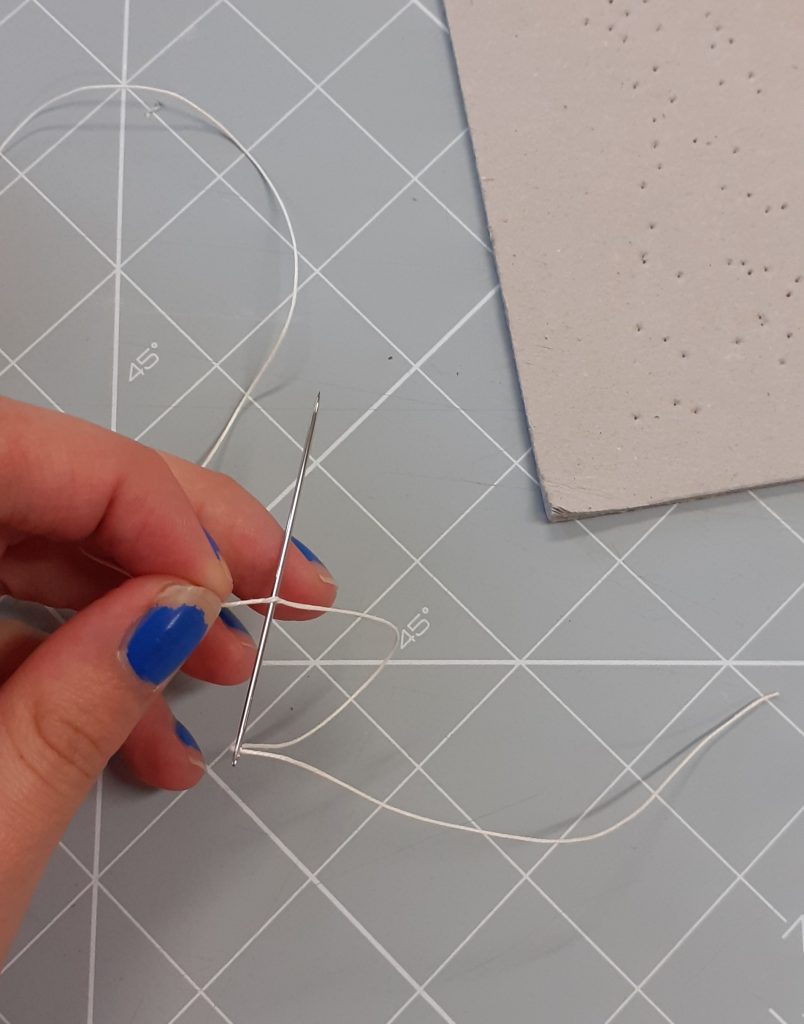
I threaded the needle, using a technique that was new to me. We used upholstery thread because it is stronger. I threaded the needle as I normally would, then used the needle to go back over myself and puncture the thread. When I pulled this through, it ensured that the thread would stay on.
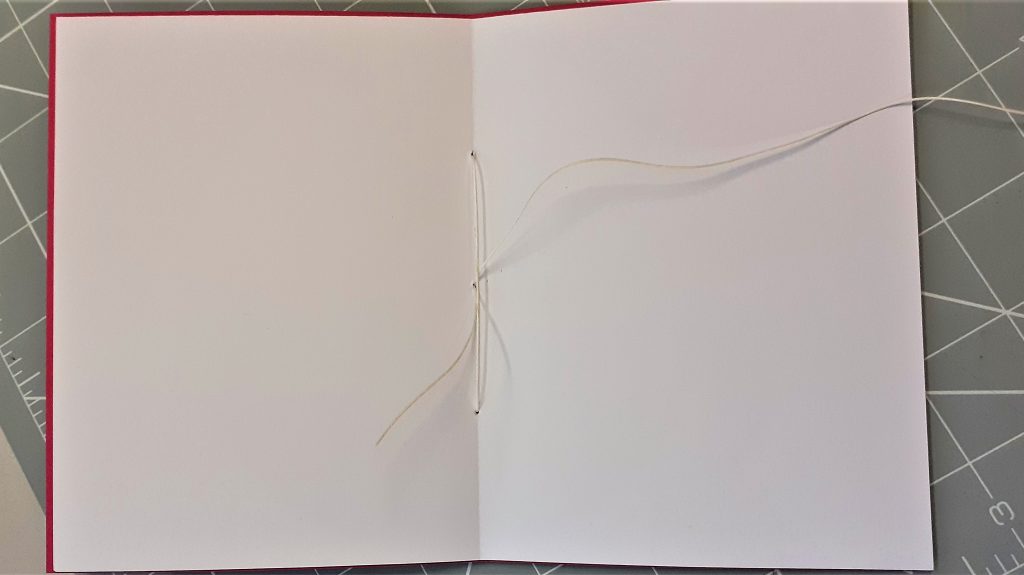
I then threaded the paper together using the holes I had created. In bookmaking, the knot can be on the outside or the inside of the spine. It depends on the look you are trying to achieve. Sometimes it is nicer to have the knot on the inside of the book, so that you can’t see it when the book is being displayed. In this case I wanted the knot to be on the inside. Therefore, I began the stitching inside the book, running the needle through the middle hole first. Then I threaded the needle back through the right-hand hole, then over to the left hole, then back through the middle hole and was then able to pull it tight. I knotted the thread twice for strength, making sure that I was creating the knots around the threads that had been pulled through, as this makes it stronger.
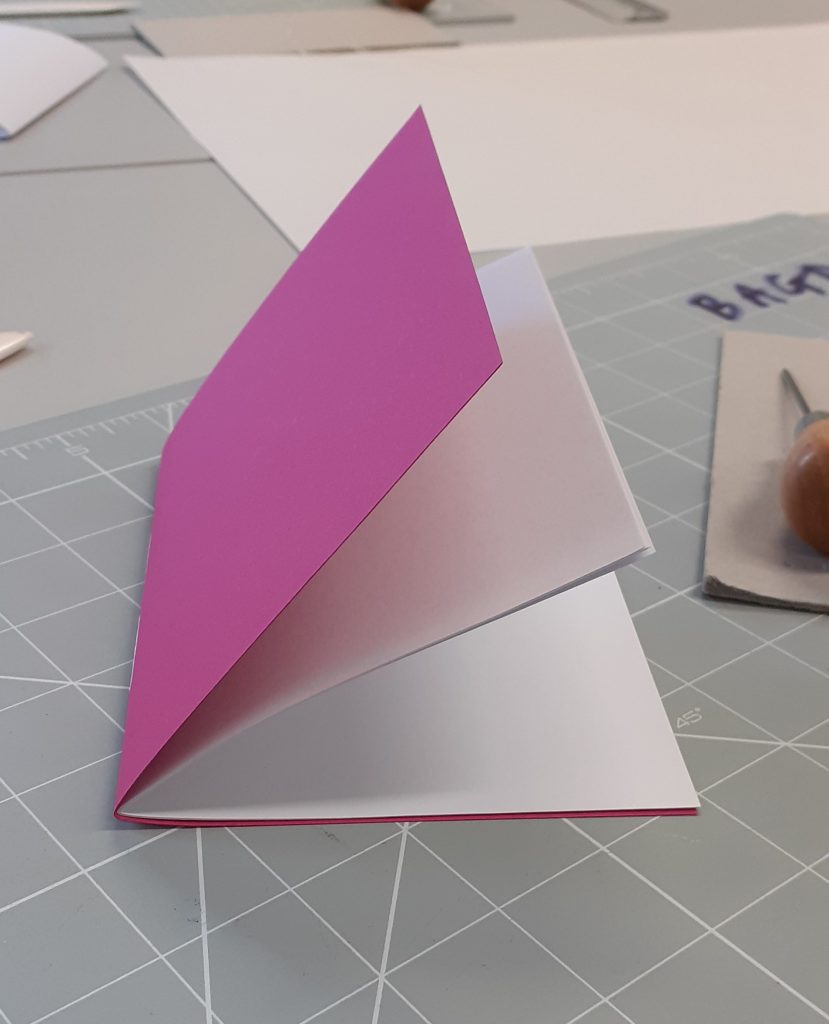
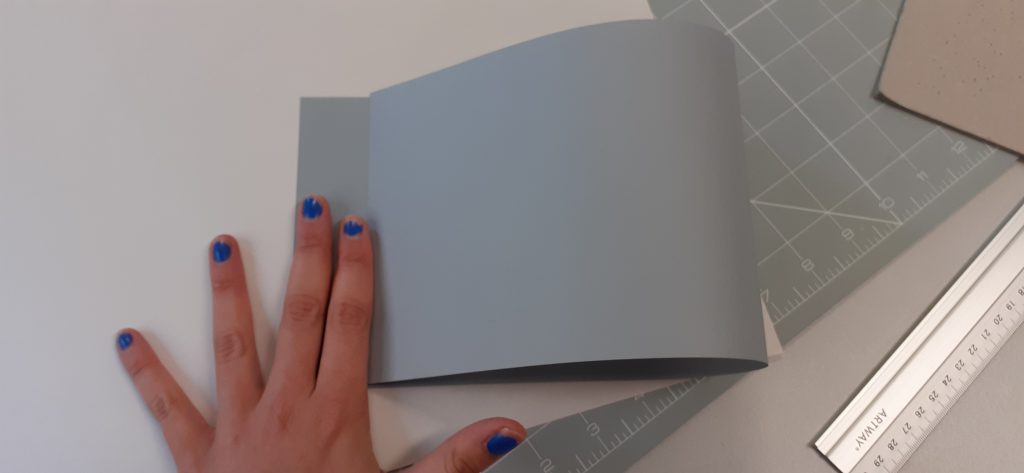
When my book was laying on its side, it naturally wanted to open out.
I could flatten it by using the bone folder. Using the bone folder directly onto the cover of the book, would create some shine. As the paper is soft, the pressure of the bone folder would polish the book. I didn’t want this, therefore I placed a piece of paper onto my book first and used the bone folder over the paper to flatten the spine of my book.
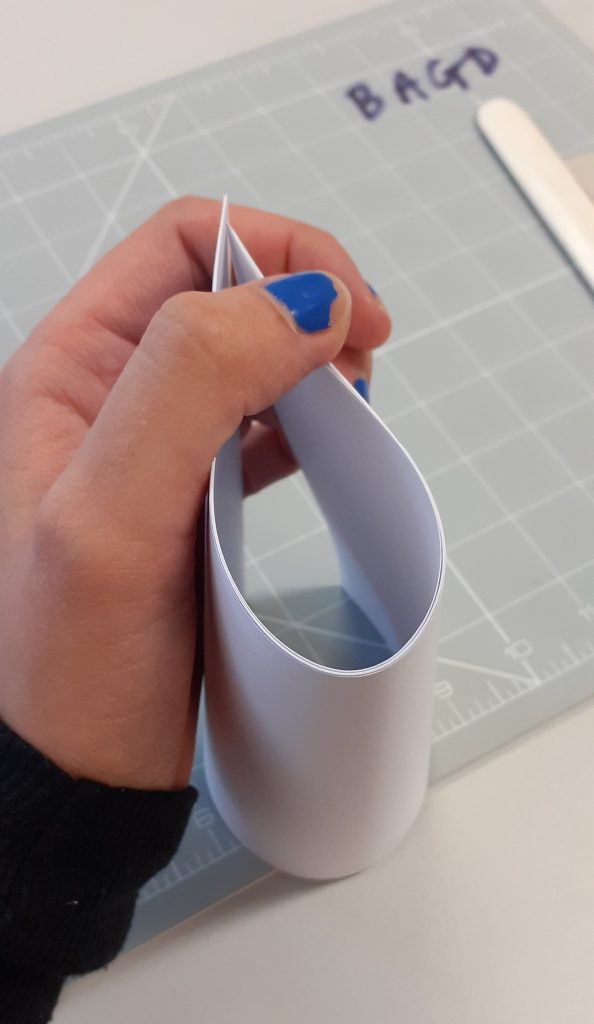
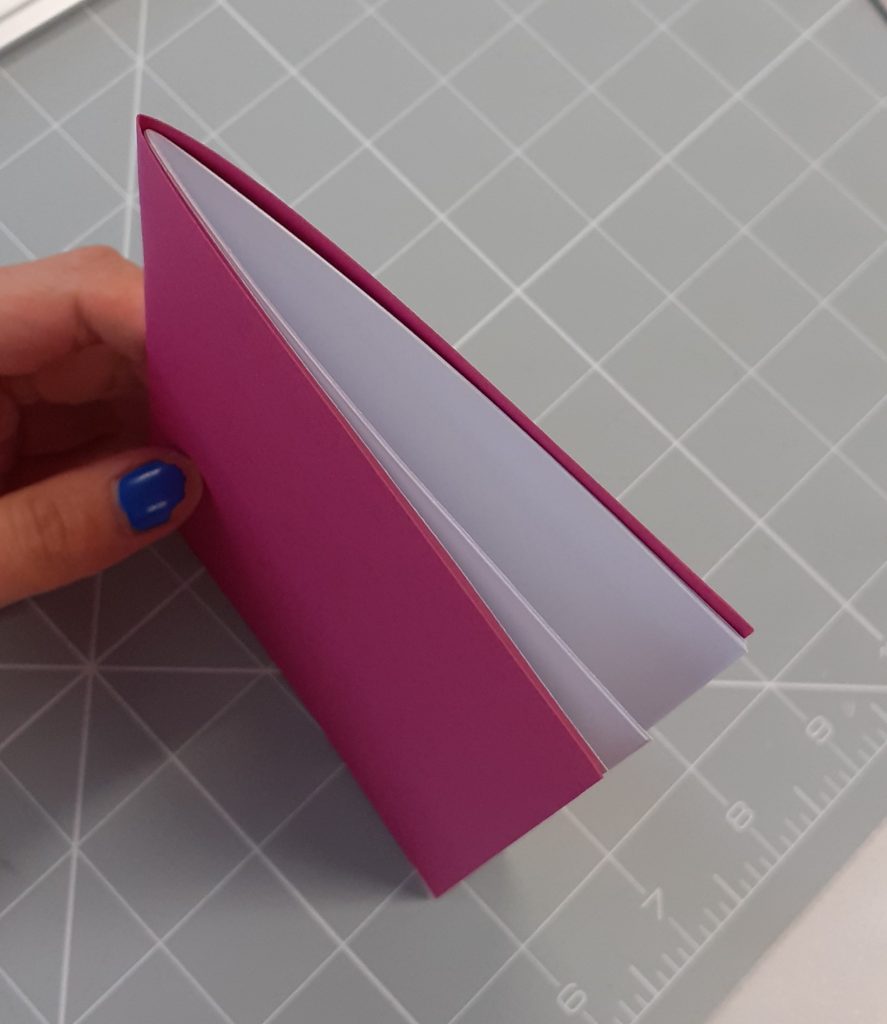
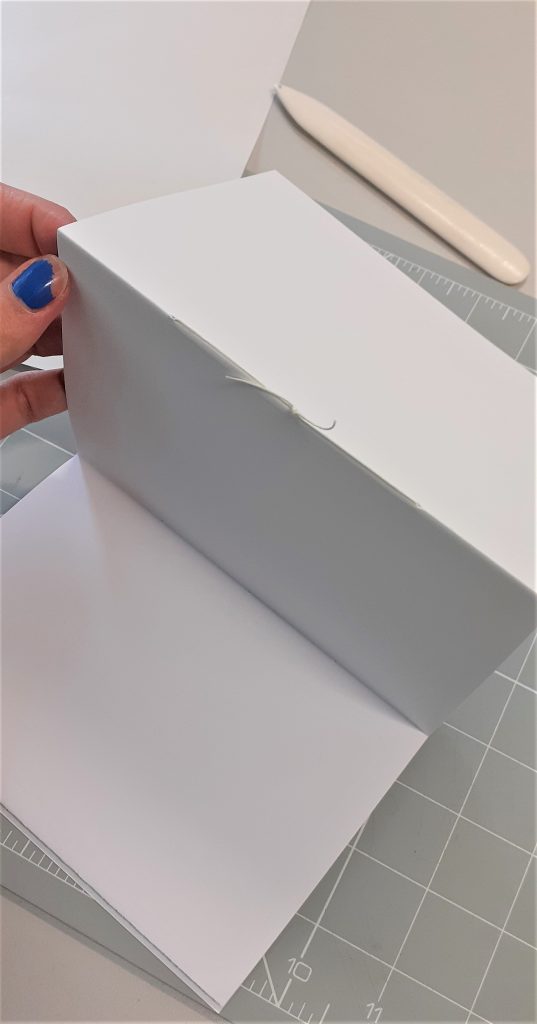
For my second book, I practiced making a hidden spine. The piece of paper I used for the cover needed to be longer than the paper I used for the cover of my standard stitching book.
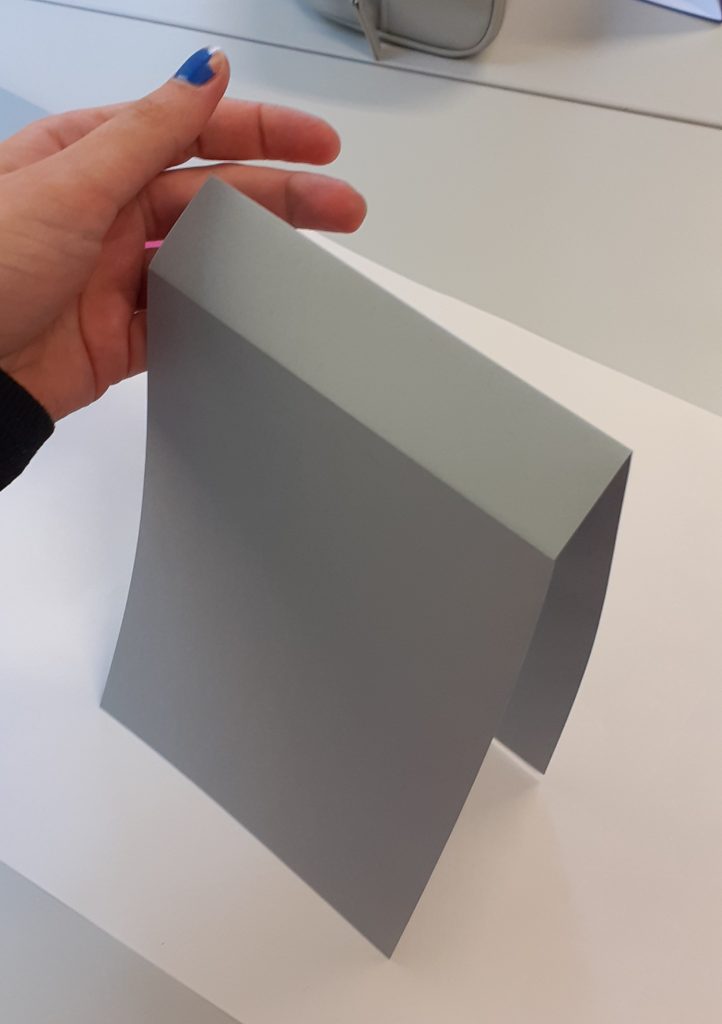
These folds gave me a flat area where the spine of the book was going to be. I then needed to carefully bend this section in words to be able to create a crease at the centre.
This gave me a ‘W’ shape at the spine.
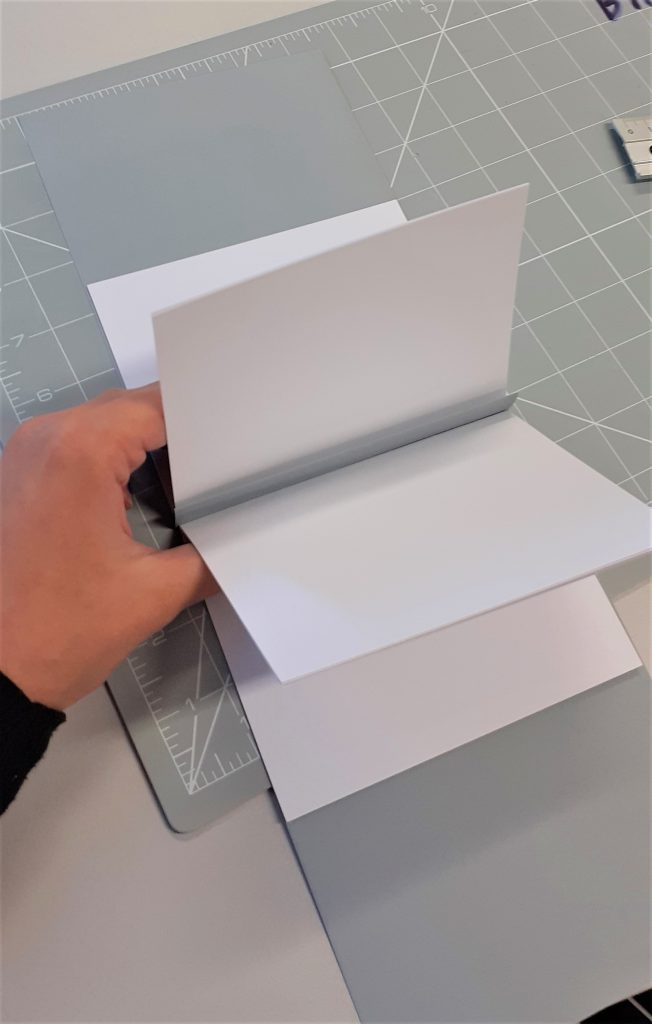
The most tricky part was then to add two sections.
I used 2 bulldog clips to hold the sections in place. I needed to repeat the stitching process that I used on my first book, but this time it was slightly more tricky because of having two sections to place around the inner fold.

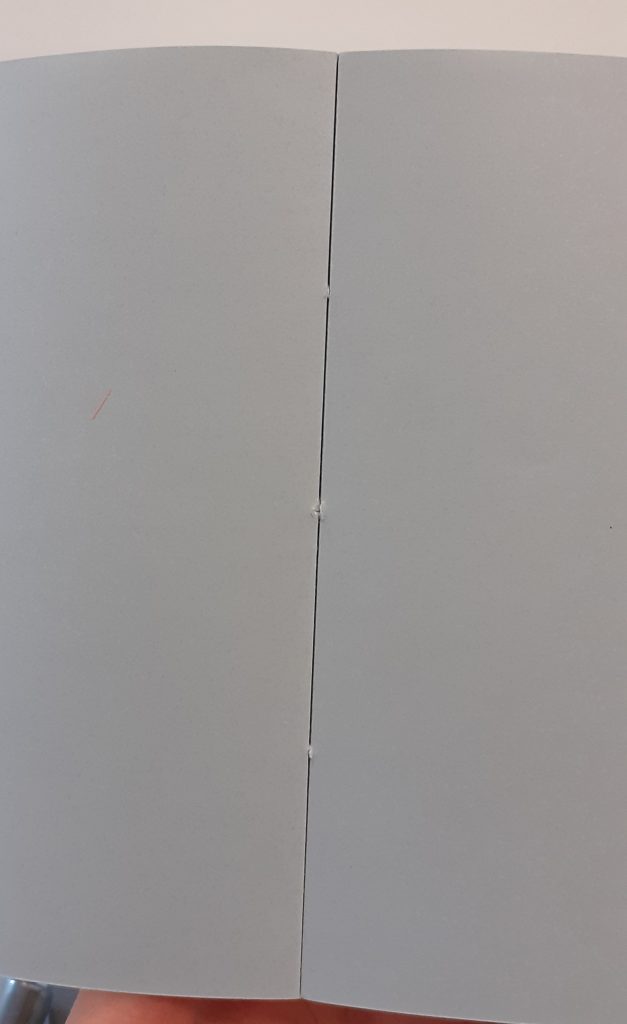
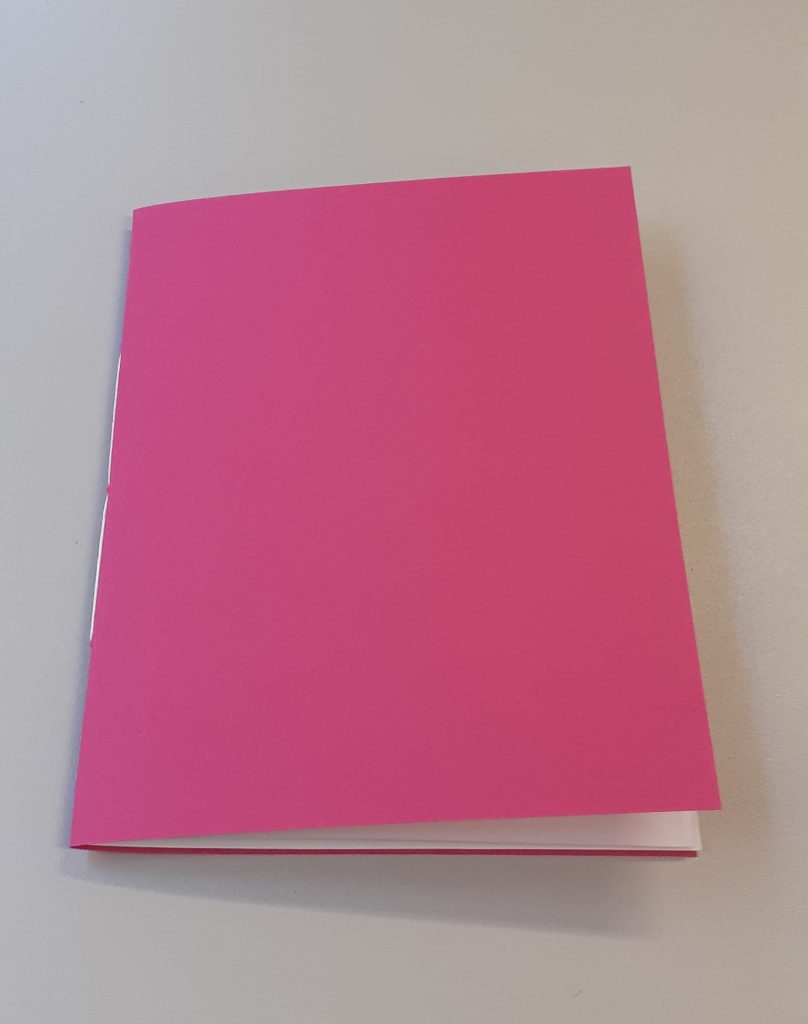
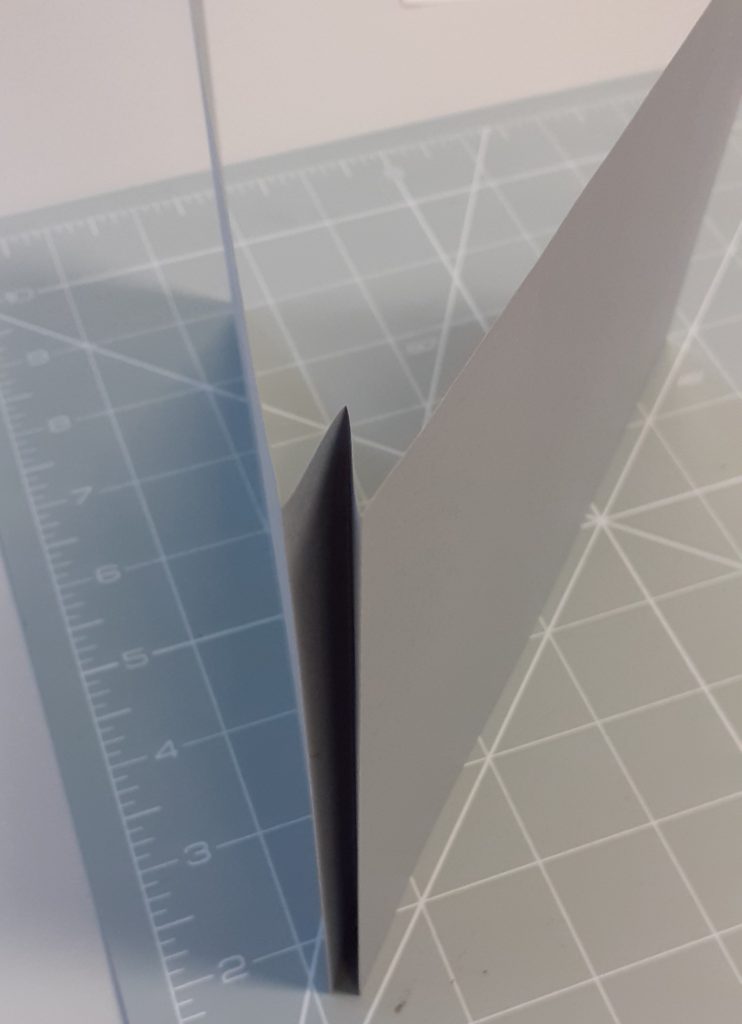
The stitching is hidden!
I then needed to fold in the front and back cover. I marked where the fold would be and repeated the process for both covers. However, the two covers were not even. I had to correct this.

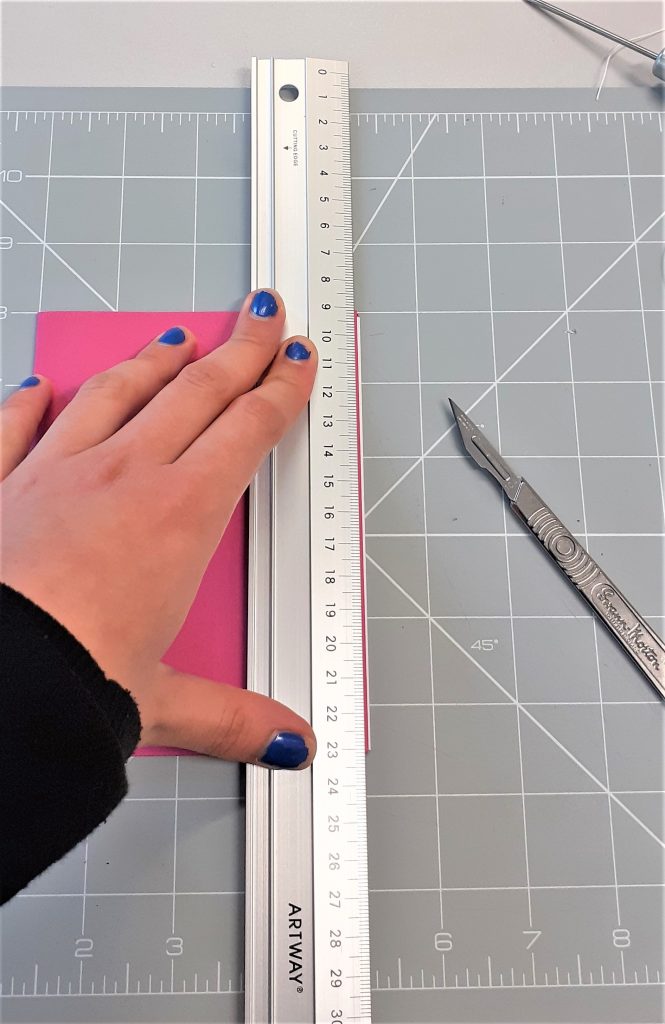
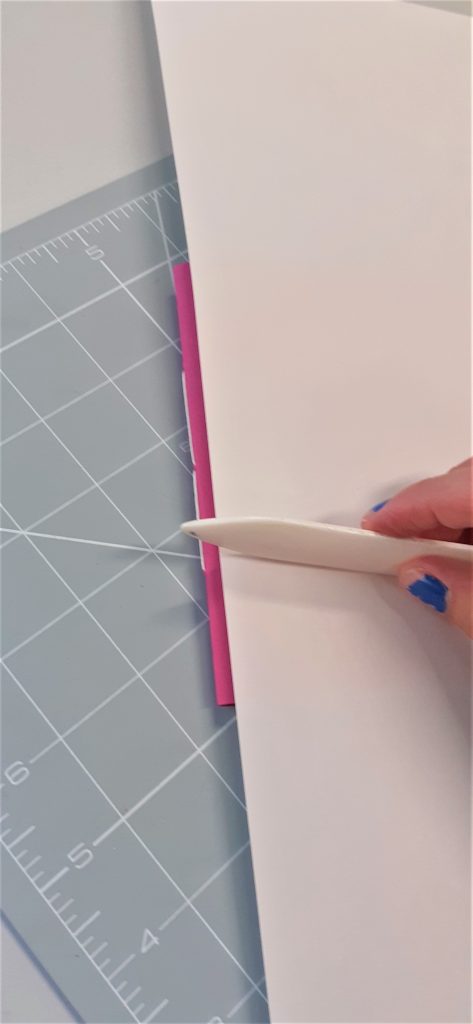
Ruth then taught us the best way to trim down the edge of the book. I use the metal ruler and my scalpel. Because of the layers of paper, it took a few attempts to cut all the way through the pages. The answer to this was using repetition and not force.
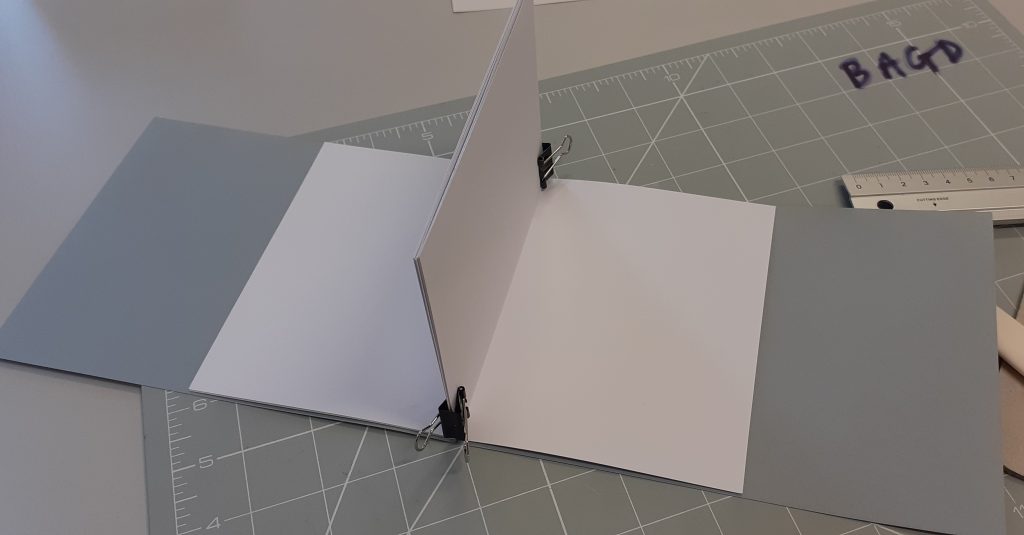
For the final book of the workshop, we made a style of book known as a Dos a Dos. (In French meaning ‘back to back’). I really liked this style of books, it’s fun and I can imagine making a zine in this style. This style of book has two covers and opens in two ways, it is almost like two books glued together. A zine could be based around this format and be used to display work of contrasting ideas.
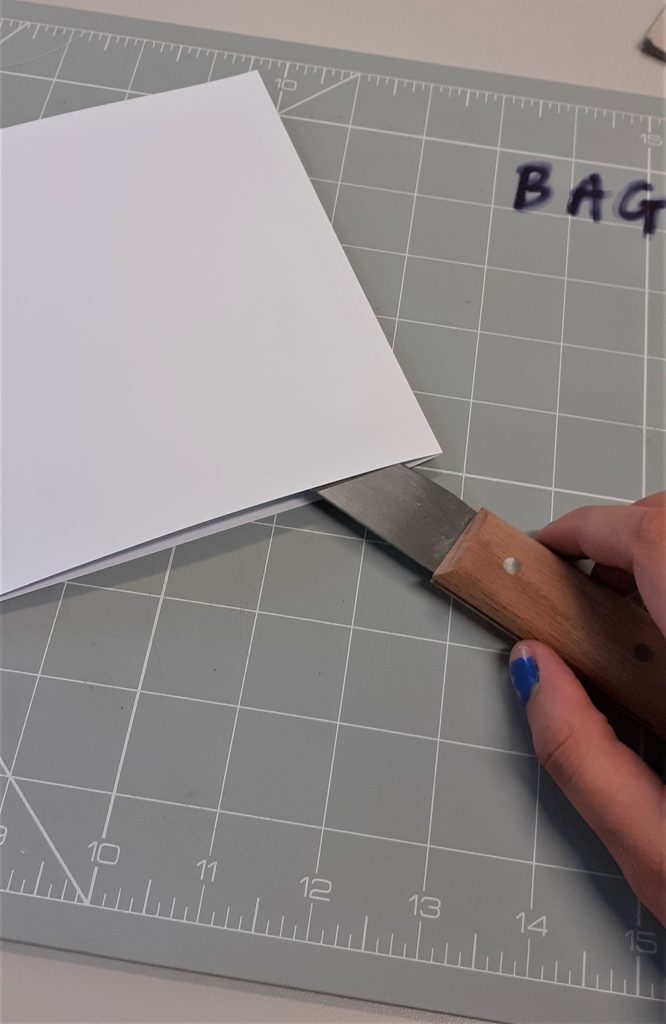
We used a paper knife, also known as a clock knife. This kind of knife is used for many different crafts. Ruth showed us the correct way to use it for cutting paper. It would be tempting to drag the knife through the paper, but this could tear the paper. Instead we folded the paper, place the knife on the inside of the crease, and pulled the knife outwards at an angle. We repeated this technique to cut the paper in half.
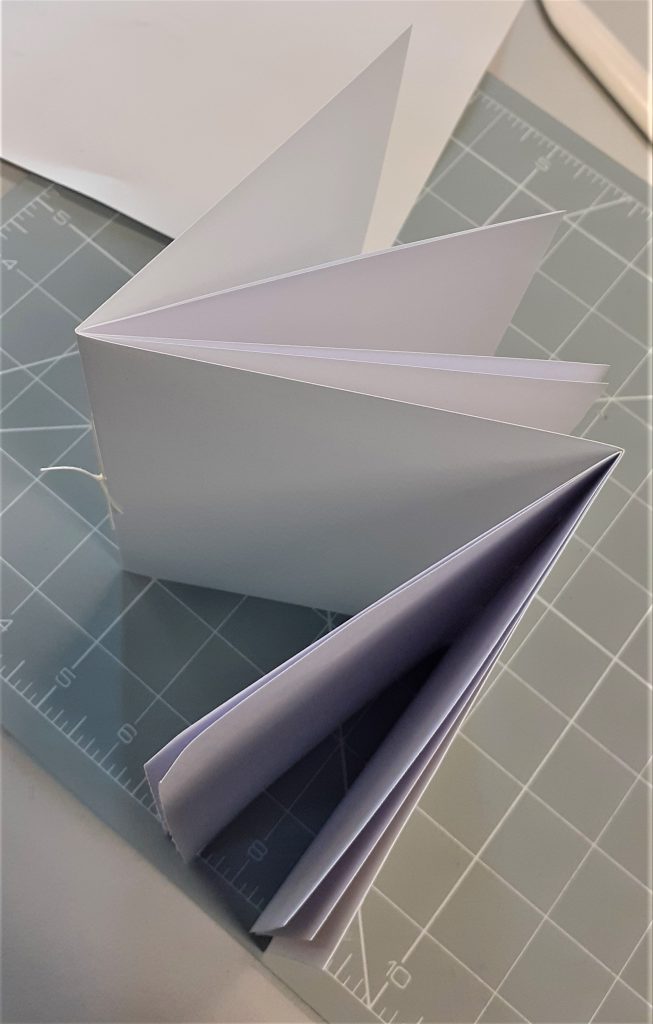
For the cover I used a long piece of card. First, I folded it into a zigzag format. This book needed two sections, one for each spine. I attached the sections to each side of the spine, using the same stitching technique we had been practicing. This time I left the knots on the outside of the spine, just to see the difference aesthetically.
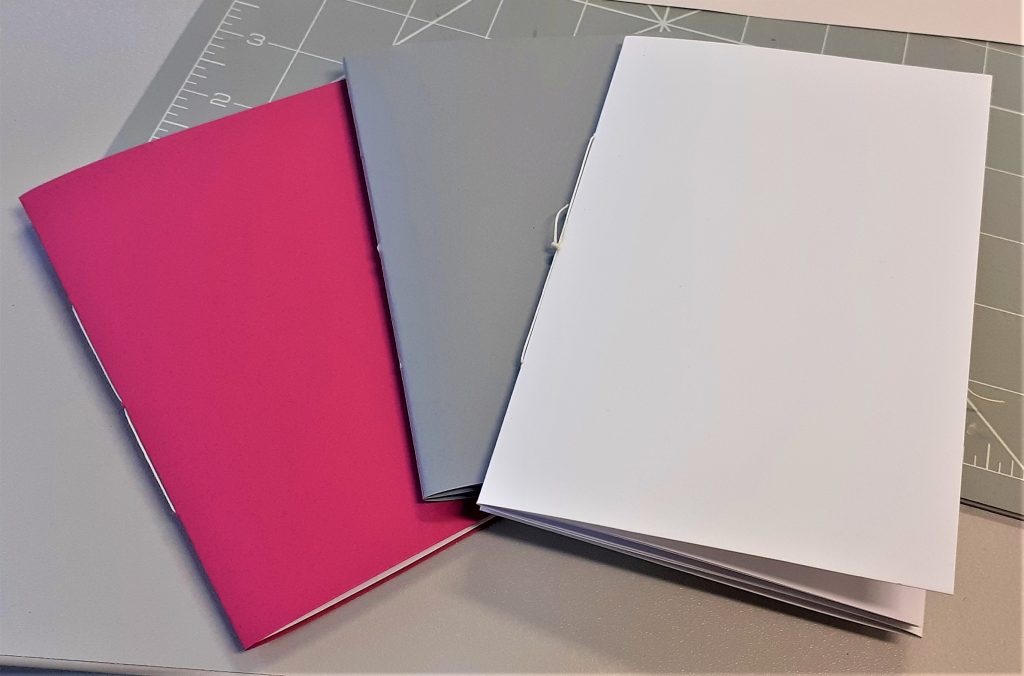
My three books together 1) standard stitching, one section 2) hidden stitching three) Dos a Dos
I really enjoyed this bookbinding session. The second book was the most difficult to make for me. Aligning the paper was also something I found tricky but I think this will improve with practice.