palimpsest
[ˈpalɪm(p)sɛst]
NOUN
a manuscript or piece of writing material on which later writing has been superimposed on effaced earlier writing.
something reused or altered but still bearing visible traces of its earlier form.
(Definition from Google.com)
The Gatekeeper’s Lodge: architectural palimpsest (thegatekeeperslodge.blogspot.com)
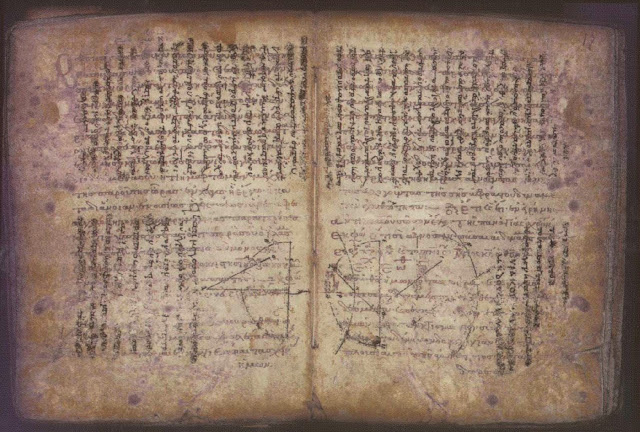
In the times before paper, people would use a writing surface made of wood, stone or wax. These palettes needed to be used and re-used. As a result, marks were left behind from the previous person’s writing. This is what is known as Palimpsest. Palimpsest could also apply to architecture, when it is possible to see old and new structure simultaneously. Old words or structures look ghostly, the new is often bolder.
The combination of these layers can create new meanings within a piece of artwork.
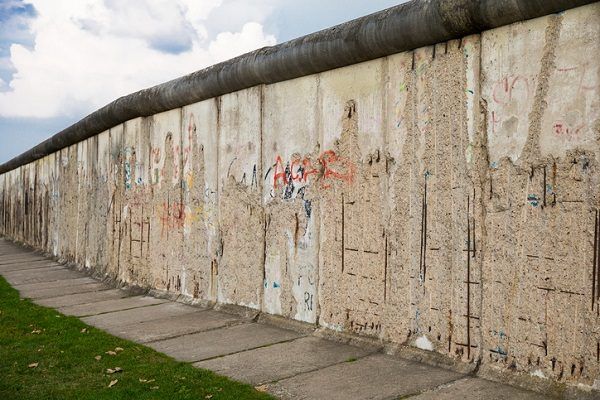
A famous, historical example of palimpsest in the last century, is the Berlin wall. The Berlin wall was a concrete structure built in 1961 to separate the people of West Berlin from East Germany and East Berlin. The Communist Bloc used the wall as a way to block out the fascist influence of the western world from the people inside West Berlin. The wall was in place from 1961 to 1989. During this time, the West side of the wall was graffitied over by people with opinions to express. The East side of the wall remained bare because people were not permitted to get close enough to this side. From the parts of the wall that still remain, it is possible to see remains of the older markings left from the past and newer graffiti layered over the old graffiti.

Dave McKean
Dave McKean is an illustrator known best for illustrating the book Coraline and comic book Sandman by Neil Gaiman. His work has a palimpsest style, as he layers up the visual elements.
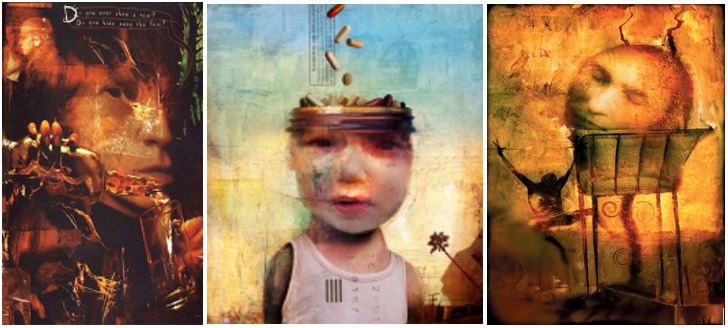
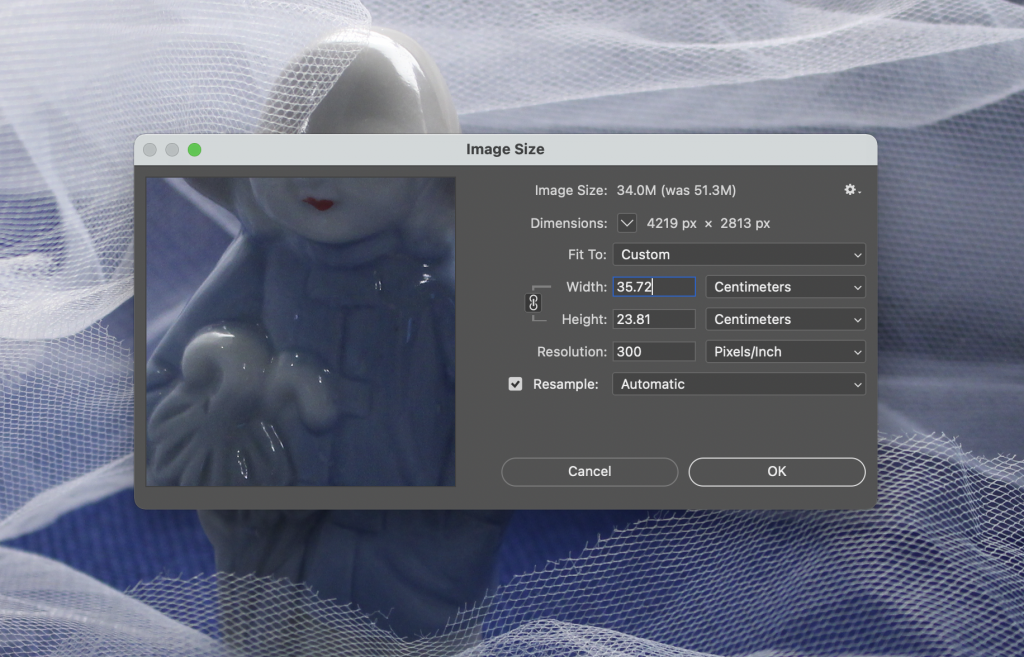
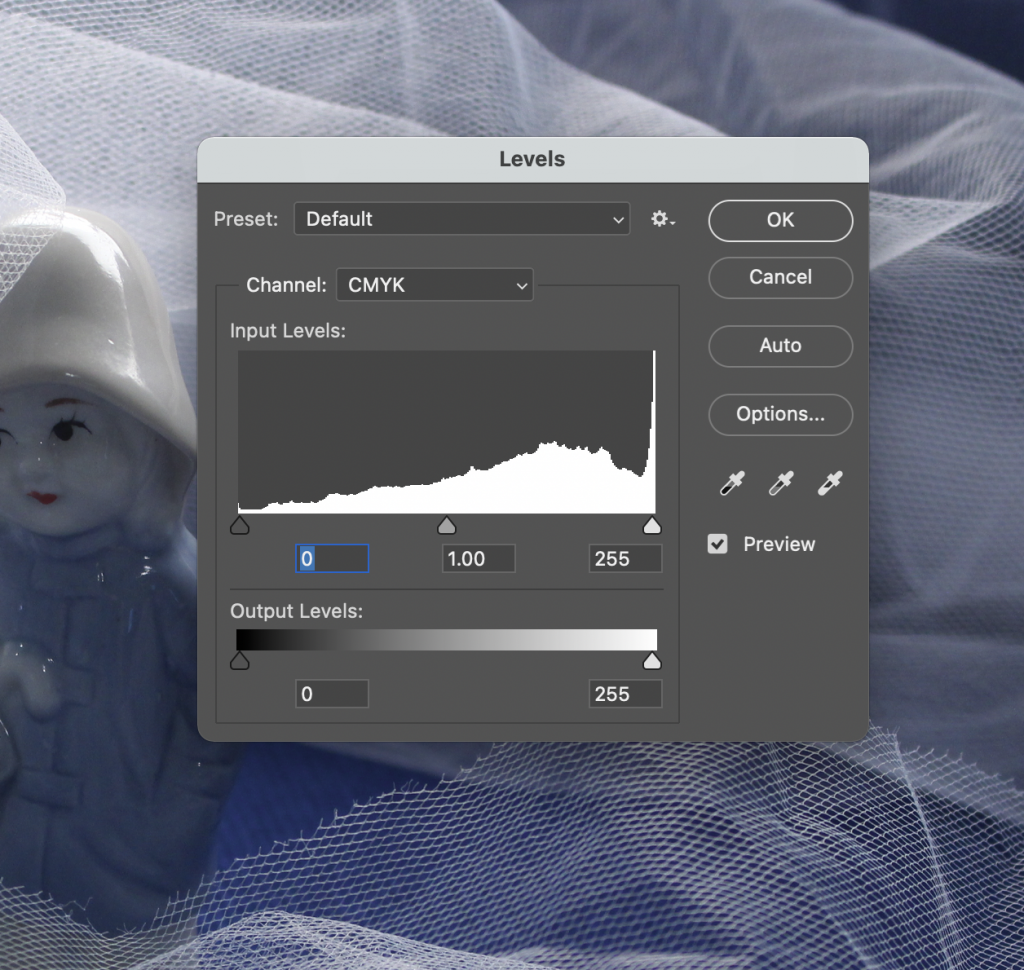
He uses a computer in his process but will always draw on physical paper and create art traditionally. He then scans the images onto the computer and works with them further. Sometimes he will simply clean up the images and correct the density so that a picture is ready for print. Other times, he needs to use more digital tools, for example collaging elements together and reworking them digitally.
His favourite medium to work with is pencil and paper because of the ability to express emotions with pencil and the range of markings that can be achieved. However, he also works with paint, collage and photography. McKean will use whichever media is appropriate for a particular image.
As a young artist, he was inspired by album covers, book covers, comic books, pop culture, fantasy and science fiction. After having written his own book, he learnt the importance of words. ‘Good pictures can’t replace what isn’t in the words.’ He says, when talking about book/comic illustration.
Information sourced from: Through the comic keyhole with… Dave McKean and
Virtual Memories #250 – Dave McKean
on YouTube.com
Jasper Johns
Jasper Johns is an American artist. He specialises in painting, printmaking and sculpture. He is most famous for his paintings of the American flag in the 1950’s.
Racing Thoughts & Ventriloquist include the image of objects. It is interesting to see how he has combined these objects within a piece and what objects he has chosen. In both pieces, we appear to be shown the wall of his studio or a room in his house. The clues to this are paintings on the walls, ceramics and a basket furniture. In the 2 paintings, each of the objects are treated differently. There is a question of believable, we are not totally sure what we are looking at. There is an optical illusion quality to these paintings, that I think makes them particularly interesting to look at.
Let’s first look at Ventriloquist:
This oil painting features pots floating in space on the left side of the image.
The image of flag paintings taped on top of the pots, do not make sense logically. Because of the object’s lack of interaction with the background, we must assume that they are not existing in the same place at the same time. Maybe they belong to 2 different times, like the graffiti on the Berlin wall, the background maybe simply be a memory of what was on the wall before.
The 2-dimensional impression of the vase on the right-hand side is an example that even within the same painting, the ceramics are treated differently. The objects on the left have form.
Placing the image of the hinge suggests a door or cupboard, even if the surface it is placed on has no illusion of depth. We make mental associations to objects. Hinges are only useful in connection to another object and have no use on their own.
Racing Thoughts:
The wall on the left is quite textured but the basket in the foreground looks more flat, for example.
The yellow trousers hanging up, lack detail. This makes them appear unimportant compared to their surroundings, due to how the artist has treated them.
The paint drips of the red wall, unrealistically drip onto the basket in the foreground. This makes the painting appear like a painting, but the poster of the Mona Lisa looks more realistic in comparison and confuses the viewer by the contrasting effect.
In this piece, Johns used ‘Encaustic, screen print and wax crayon on collaged cotton and linen’. The use of different techniques helped to create the contradictory treatment of the different elements within the piece. (Encaustic is a technique where pigment is mixed with hot wax)
In Souvenir, the 3 objects: torch, mirror and plate serve only to guide our eye around the painting. This happens because we know the function of each object. We expect light to pour from the torch and we expect a mirror to reflect this light. These associations are what help us to read the image. The plate can never be used to eat from, but it is instead decorative.
All Jasper Johns images from Jasper Johns: “Take an object. Do something to it. Do something else to it.” | Blog | Royal Academy of Arts
Drawing Exercises
Within this week’s workshop, we completed a drawing exercise, working in pairs. We were asked to describe our object to a classmate, without looking at our object. Sitting back-to-back also meant that we couldn’t use our hands to describe the object. We then swapped over. I found it easier to draw from a description compared to having to explain an object that I couldn’t see.
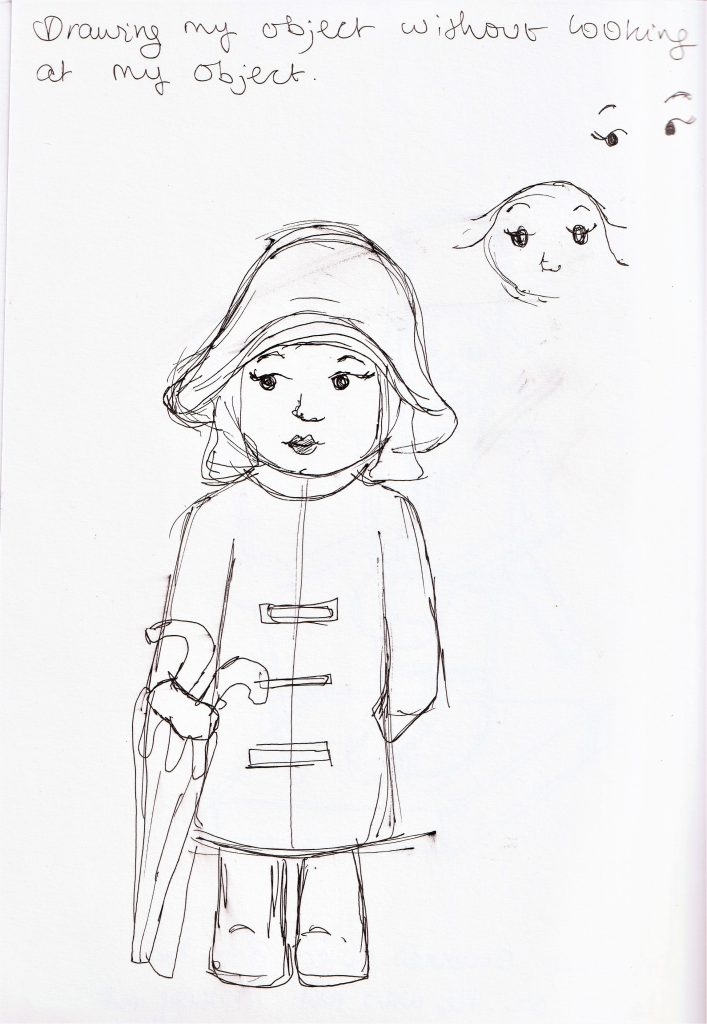
The next task was to draw my own object from memory. I found the proportions difficult to capture.
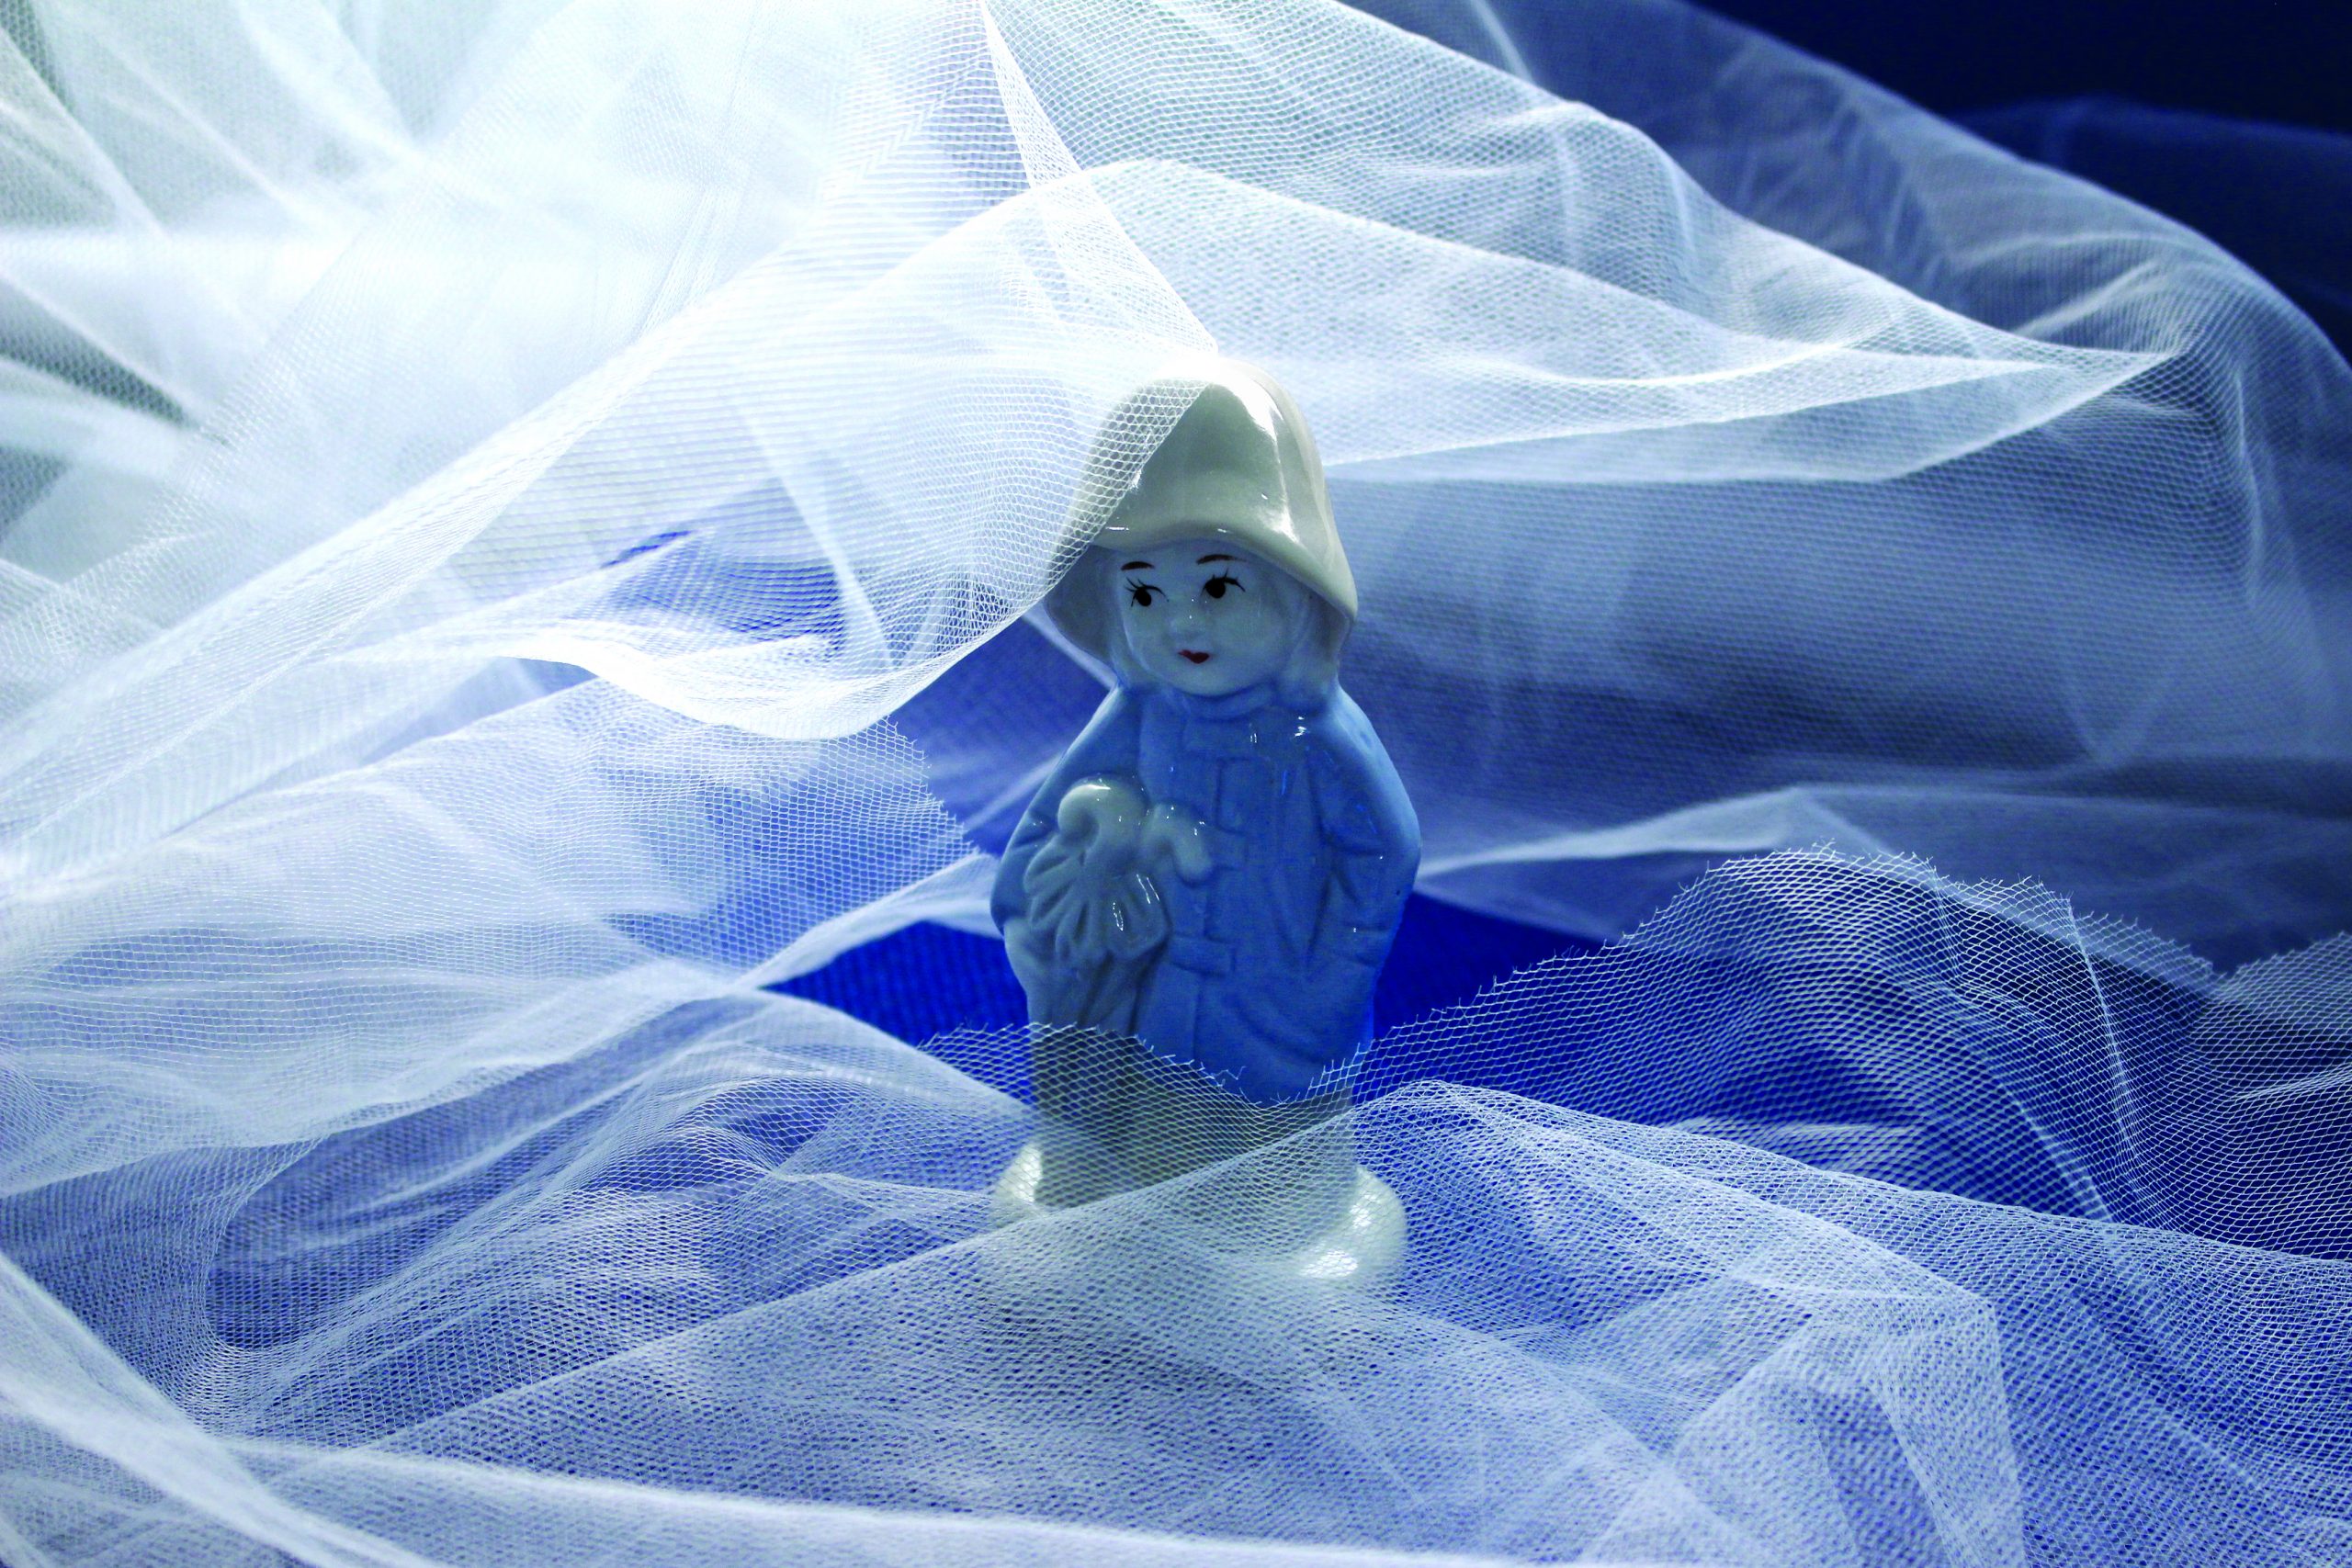
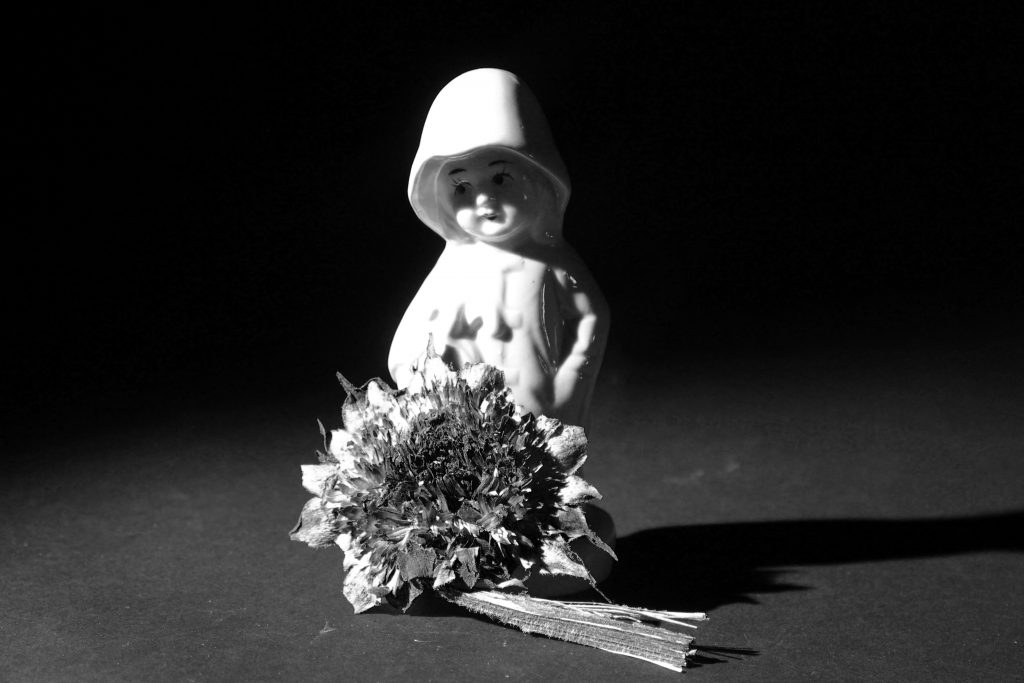
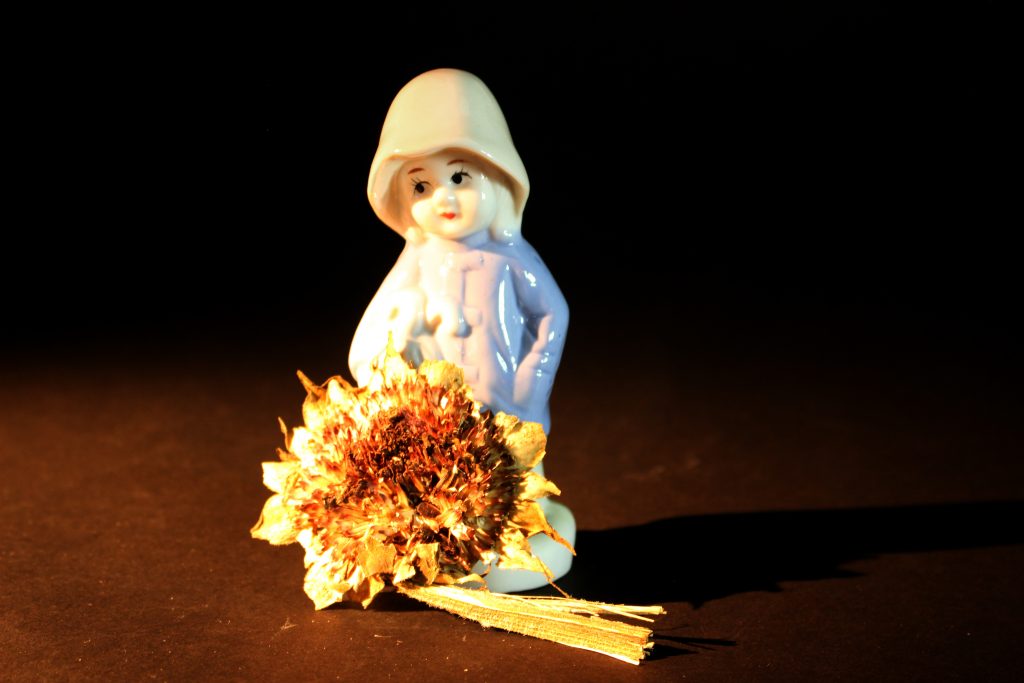
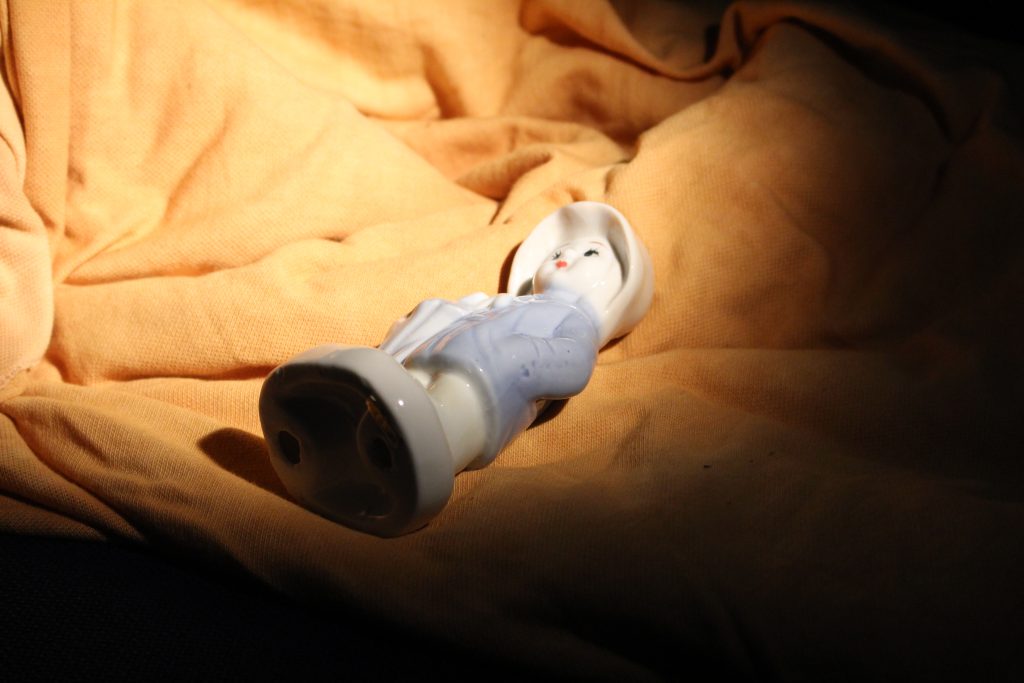
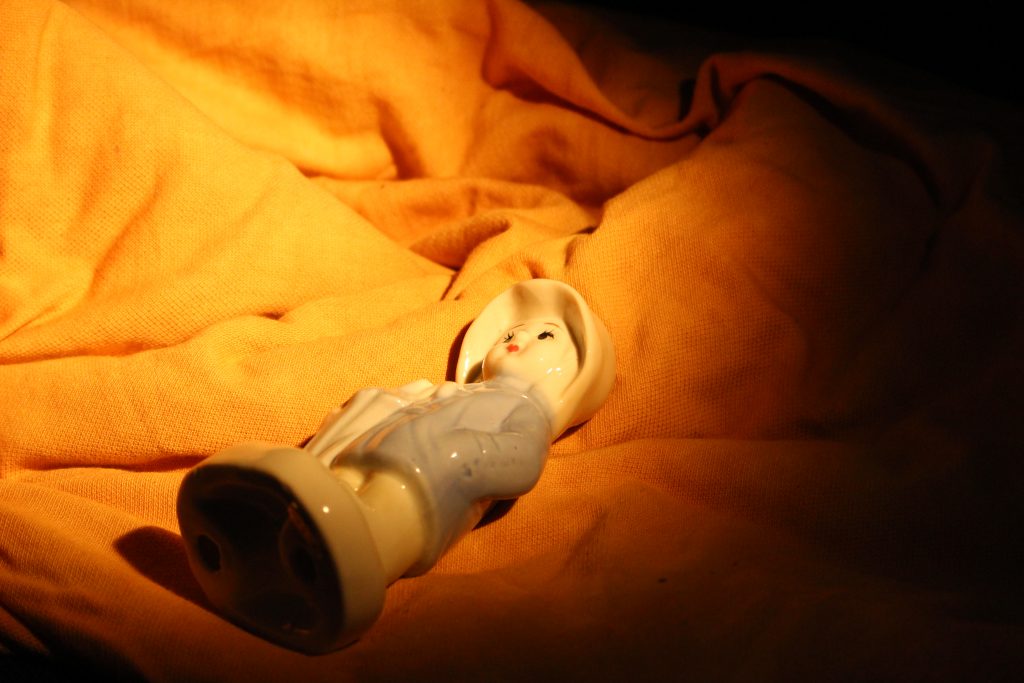
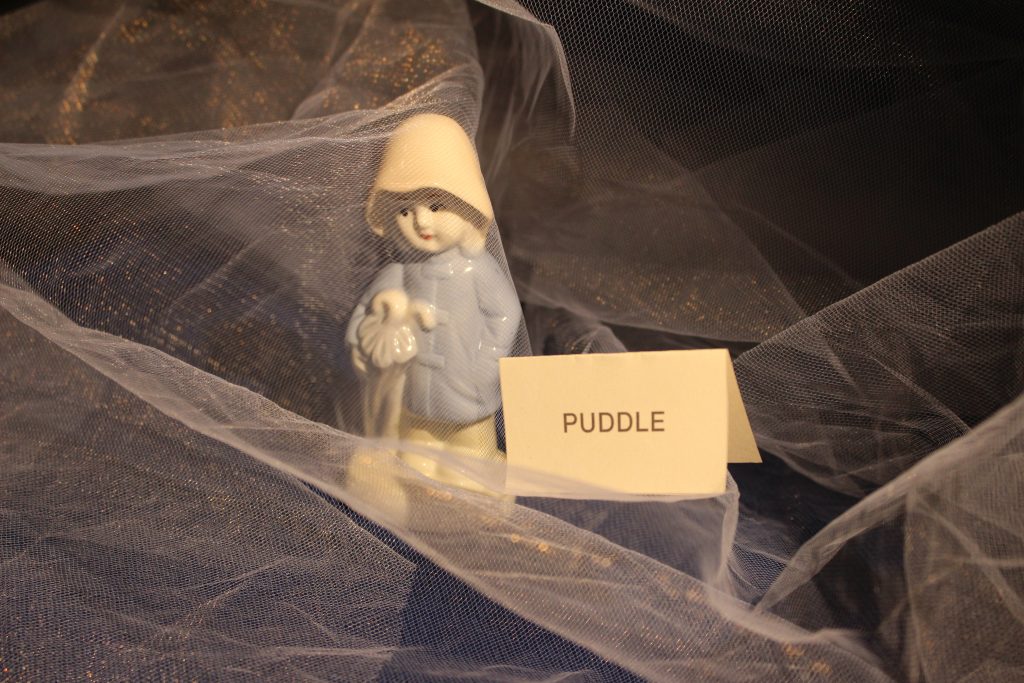
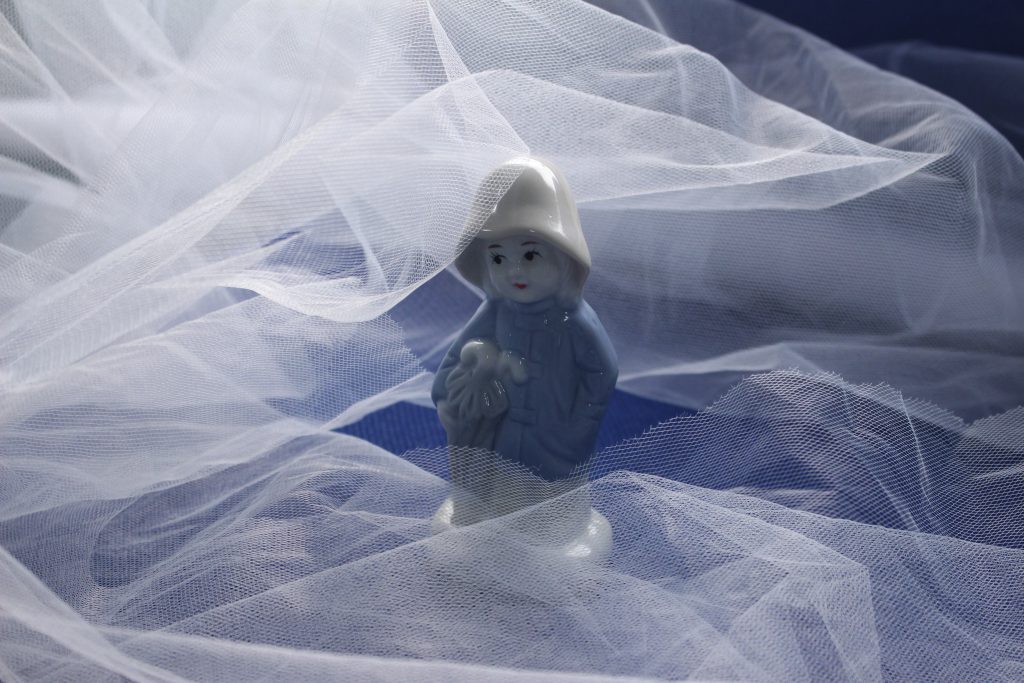
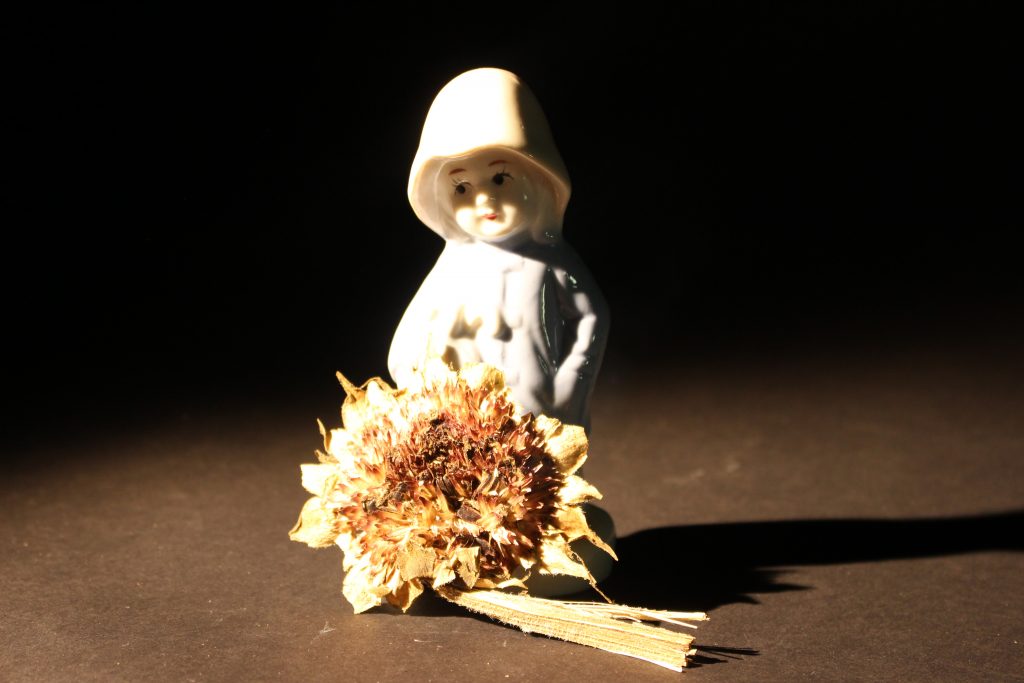
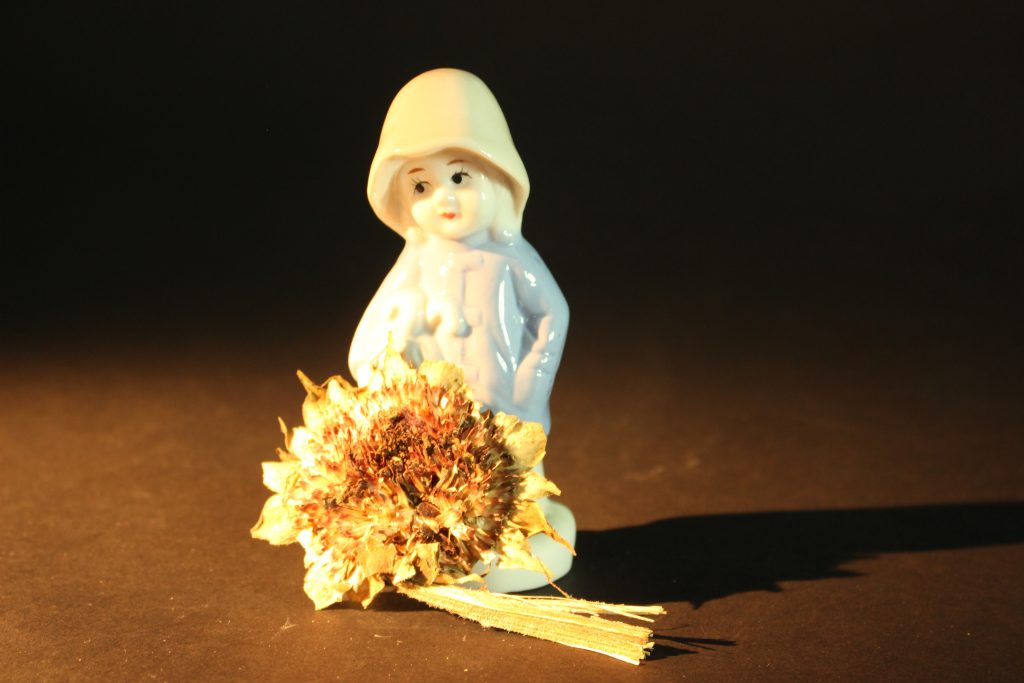
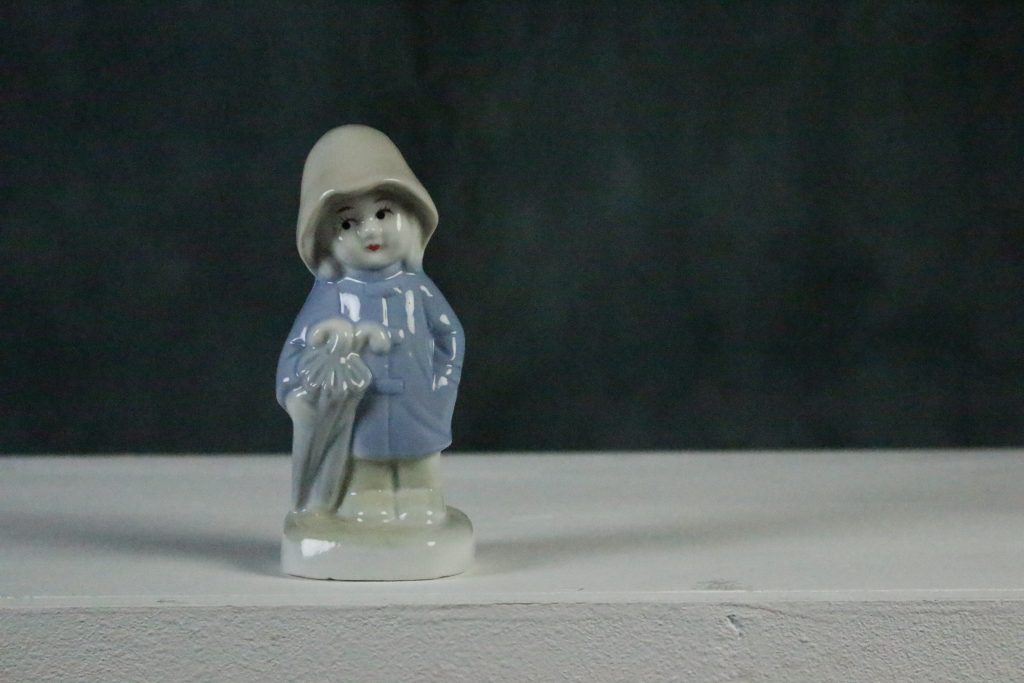
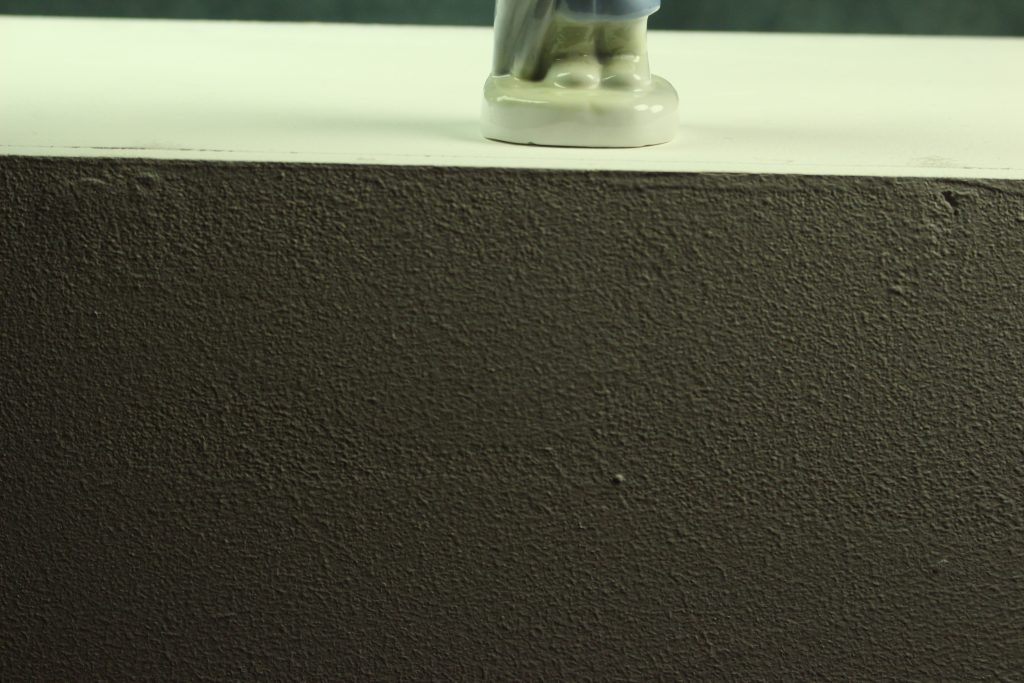
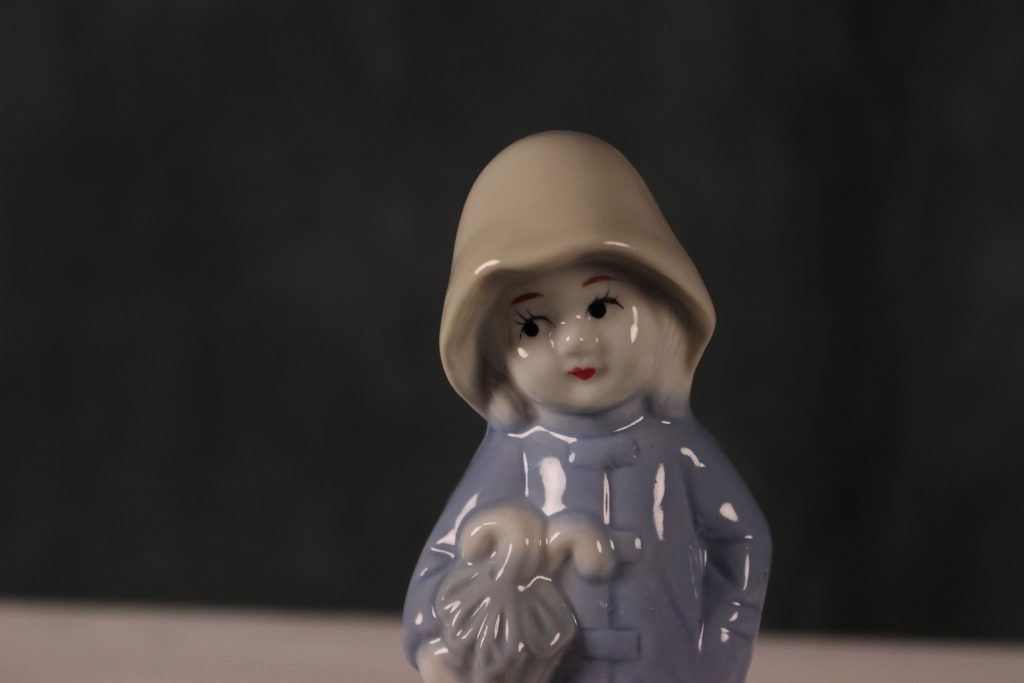
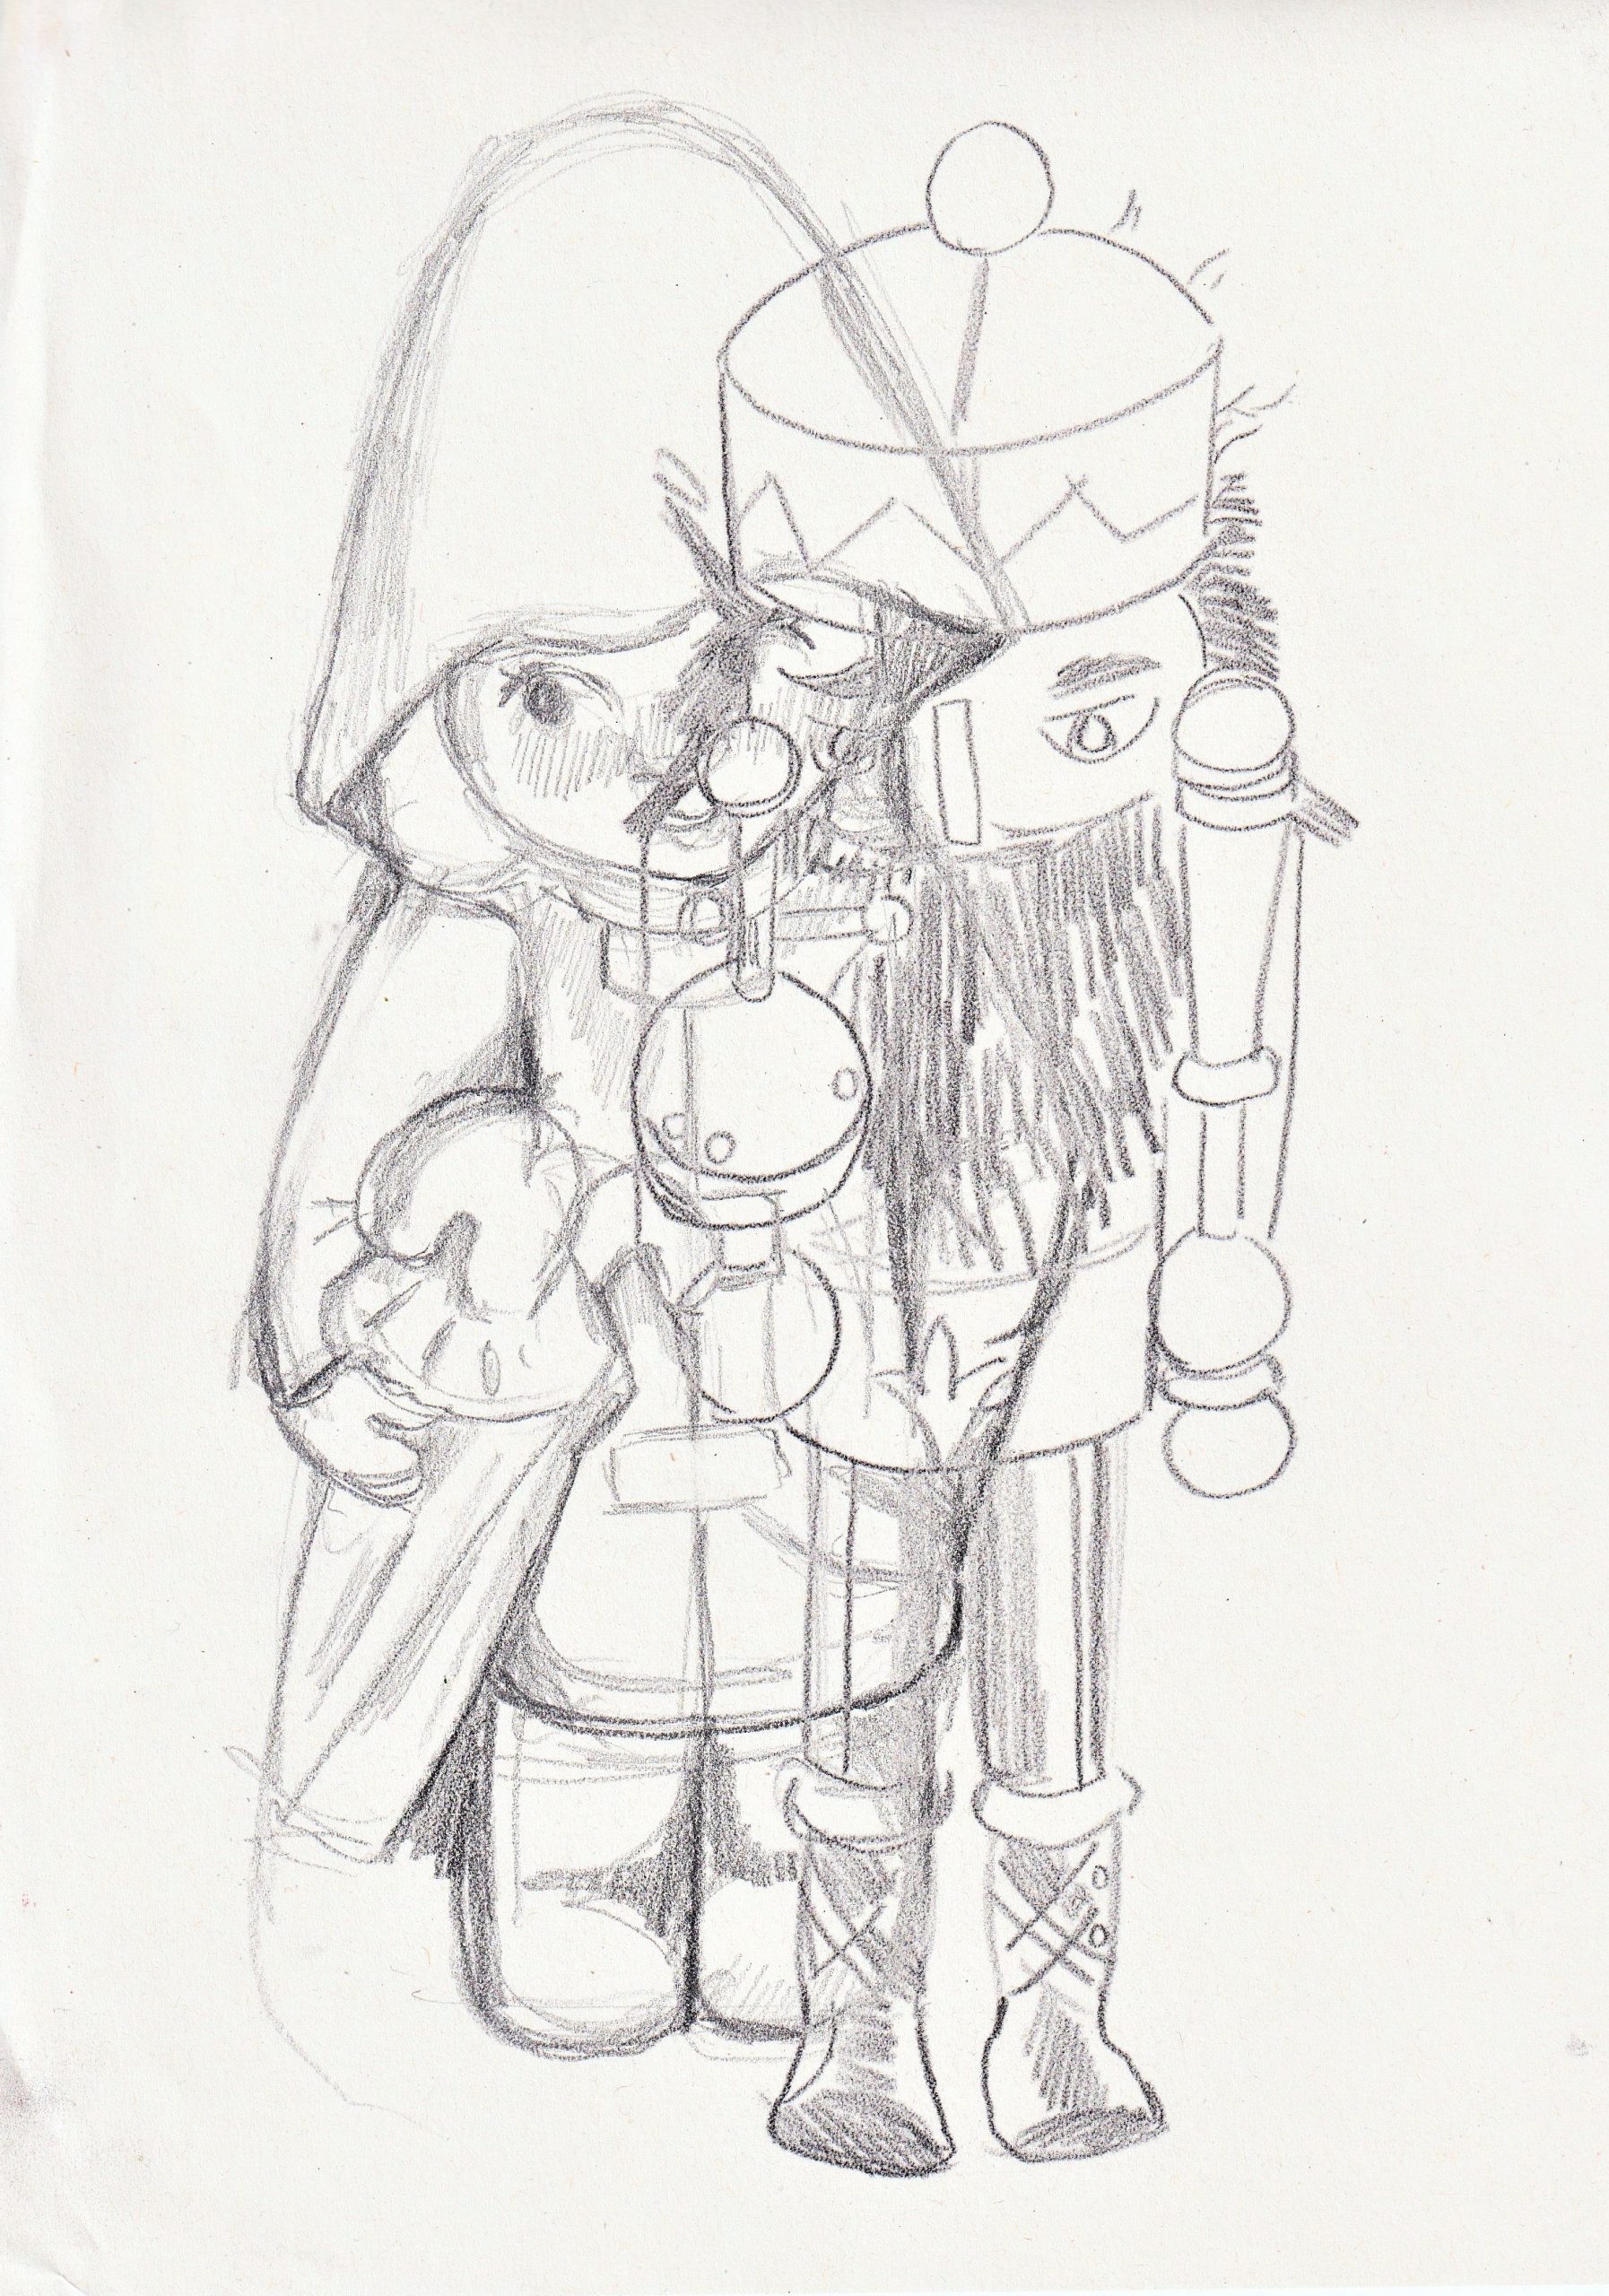
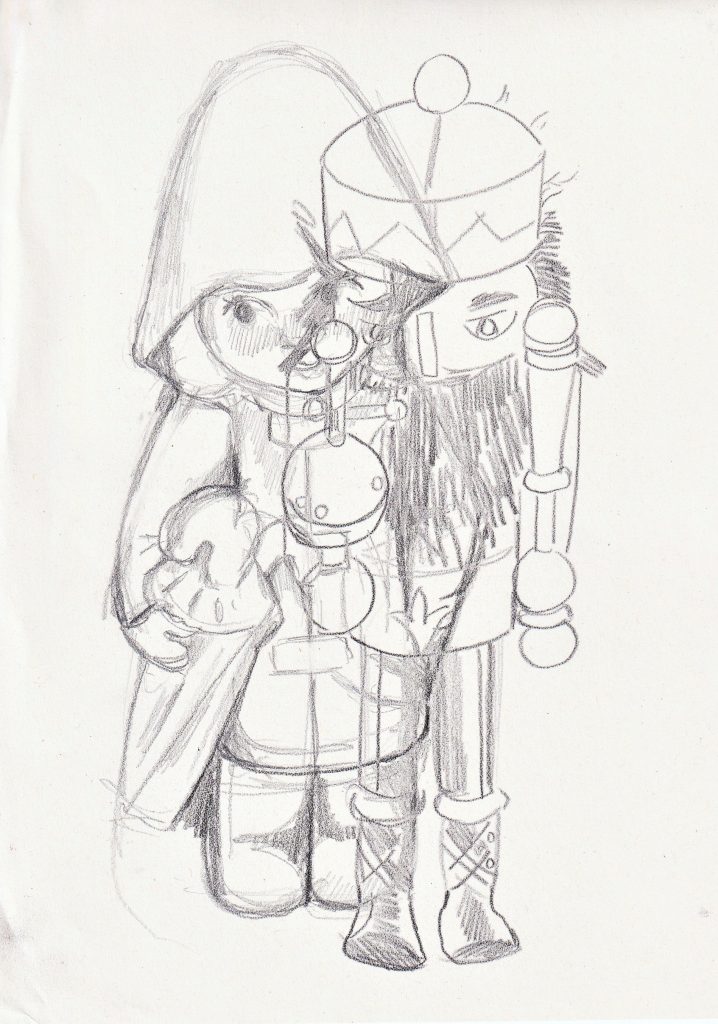
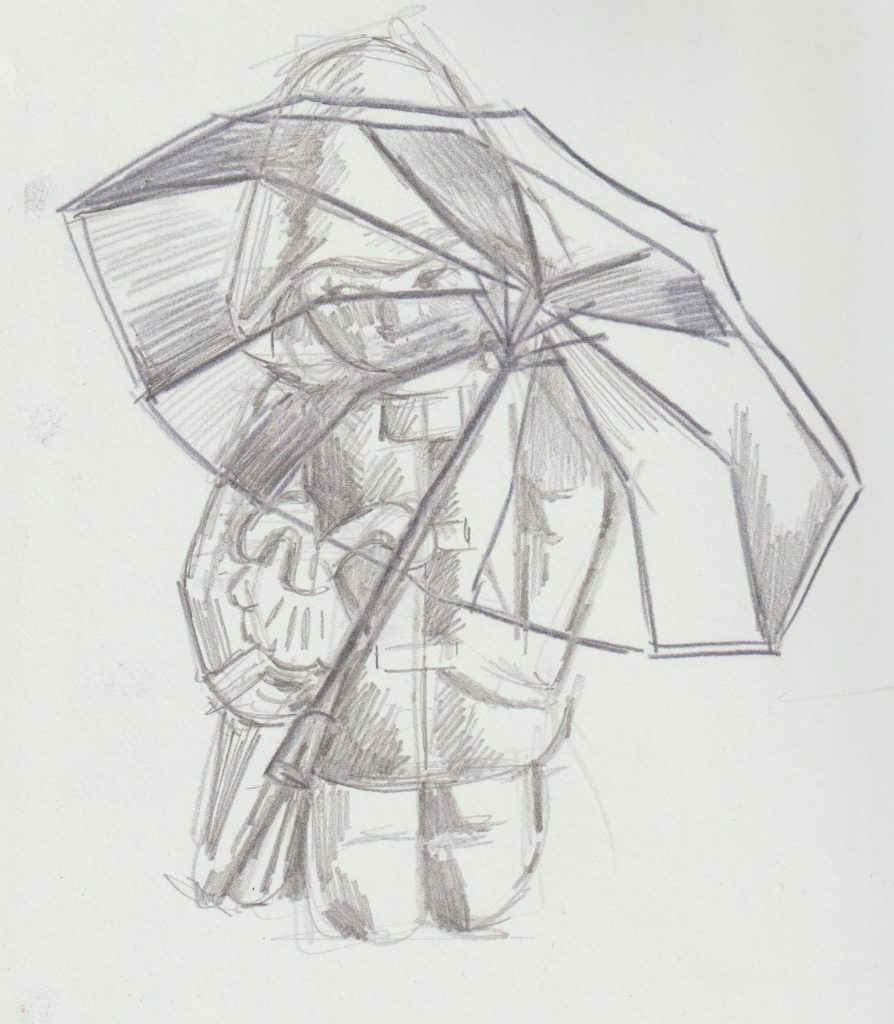
The next task was to draw our own object, this time was able to view my object. I used a pencil for this task. I then needed to draw my classmate’s object over carbon paper over my first drawing. This meant that the second drawing was super-imposed over the top of the first drawing and the images combined together. I felt that both objects were an interesting match because there is a feminine character and a male character . The nutcracker is reminiscent of a toy soldier from previous centuries, and my object is also old-fashioned. They have this in common. I thought immediately of the fairytale by Hans Christian Anderson, called The Steadfast Tin Soldier, where a toy soldier falls in love with a paper ballerina.
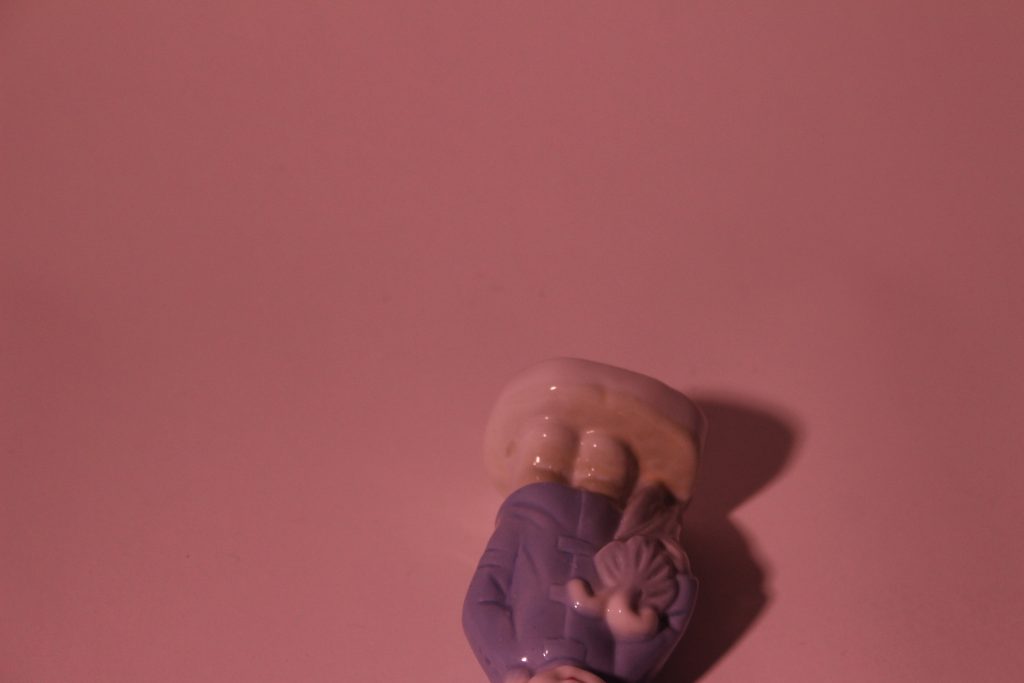
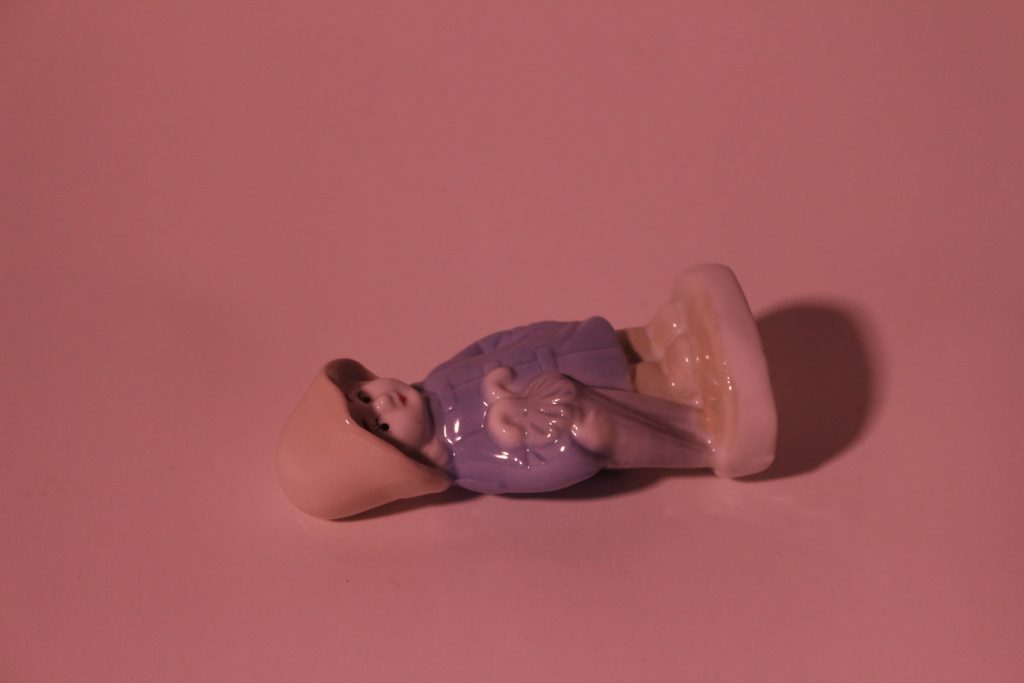
I then wanted to extend this exercise further. I combined the image of my figurine with the image of an umbrella, using the same piece of carbon paper to transfer the umbrella drawing.
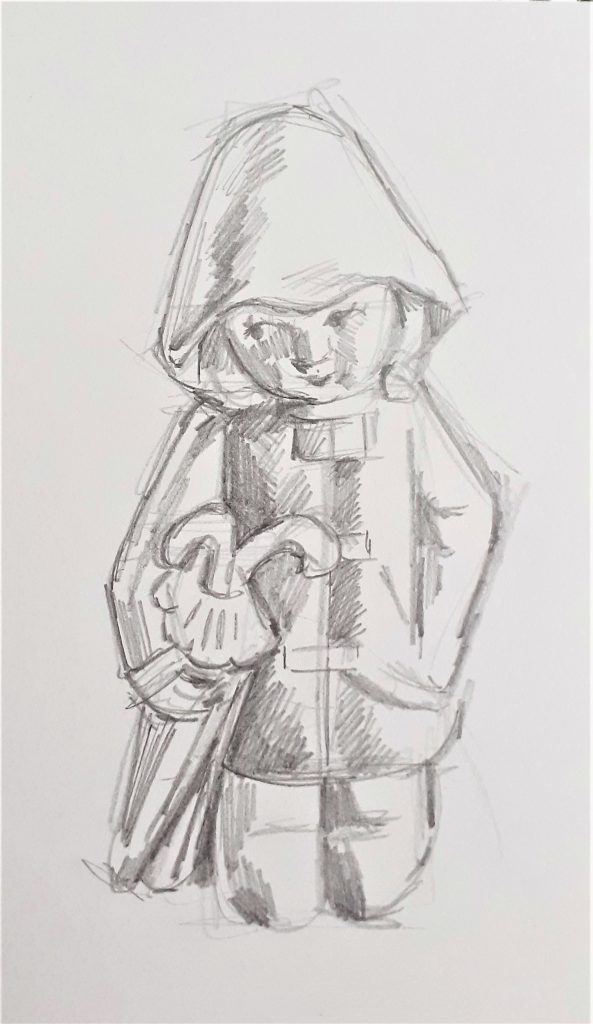
I drew the figurine again with pencil, as I liked the soft quality of the image.
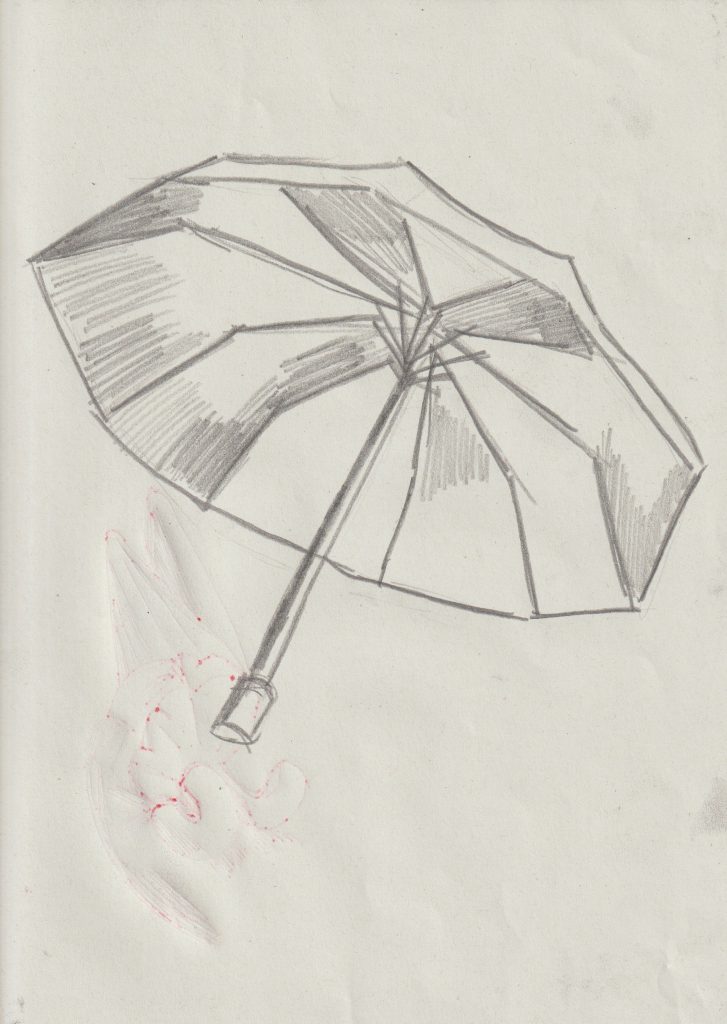
I drew the umbrella onto paper so I could see what I was drawing. I could have drawn straight onto the carbon paper, but this would have made it hard to see the lines against the black of the paper.
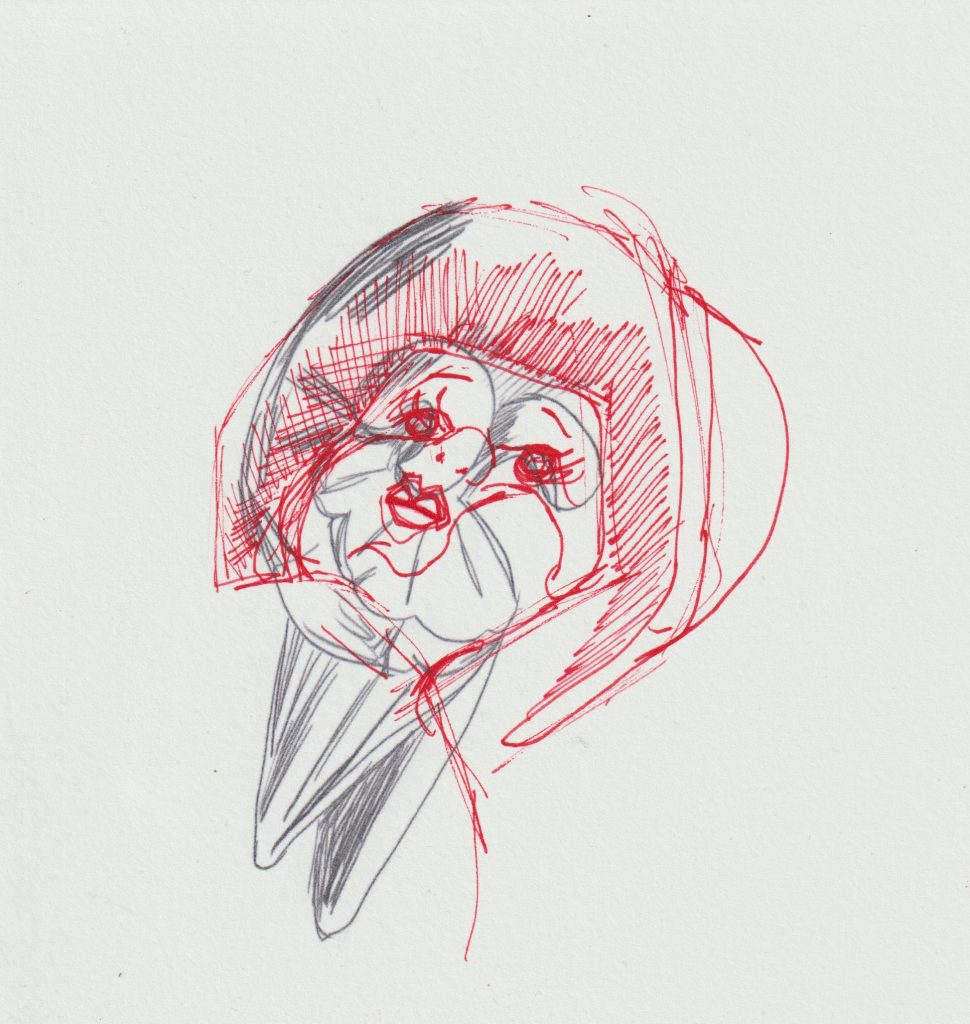
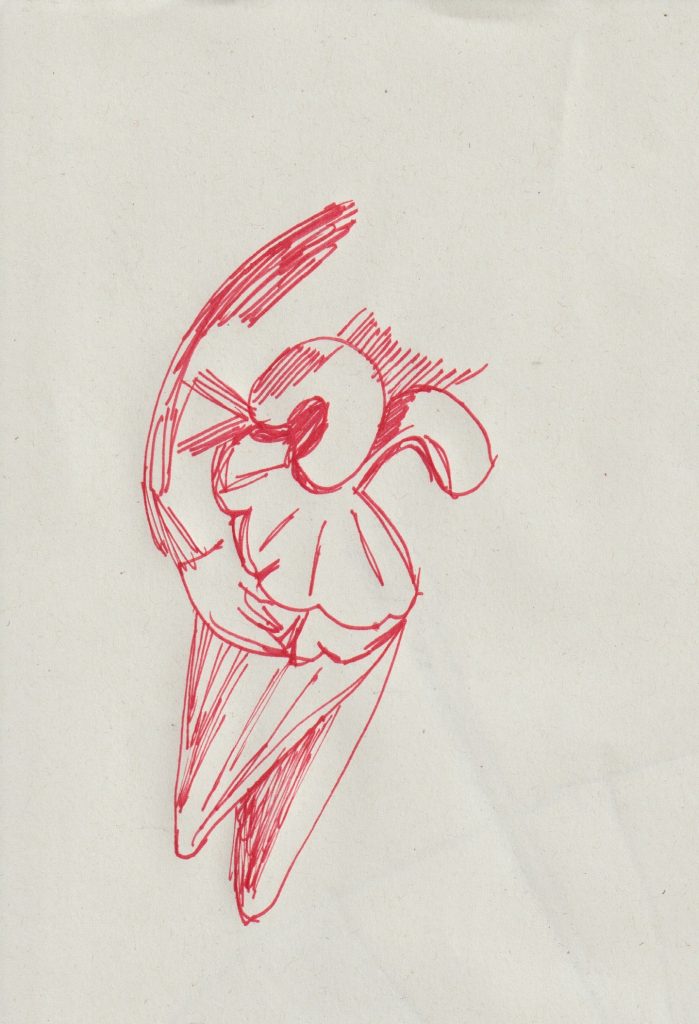
I also used the red fine liner pen to draw the arm and umbrella , as I wanted to see how a fine liner pen would create markings through the carbon paper. The resulting drawing was sharper than using the paper for the copy.
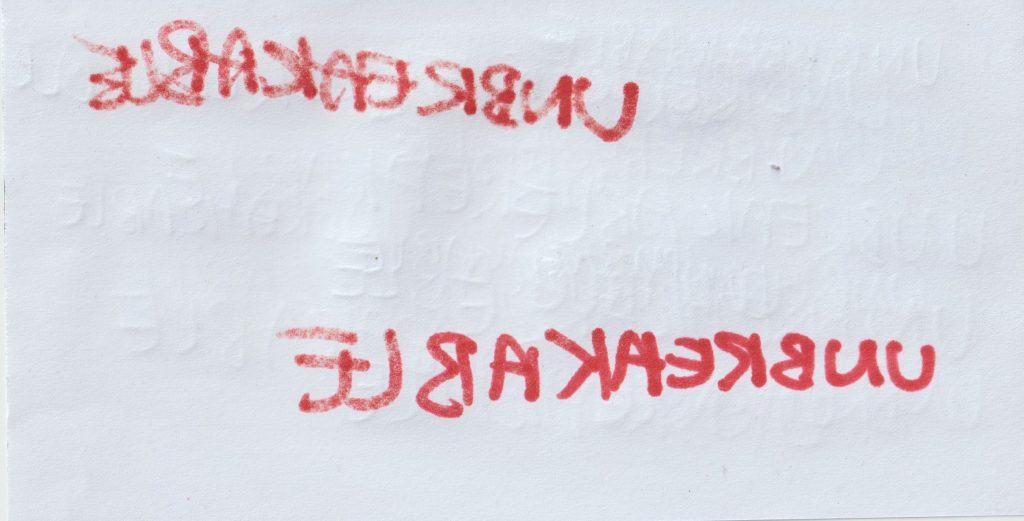
Inspired by the markings on the Berlin Wall, I wanted to experiment with words.
I wrote the words with a pencil on paper and made sure I was using a soft book cover to lean the paper on. This meant that my markings would create an impression in the paper. I layered the word ‘Unbreakable’ onto the page.
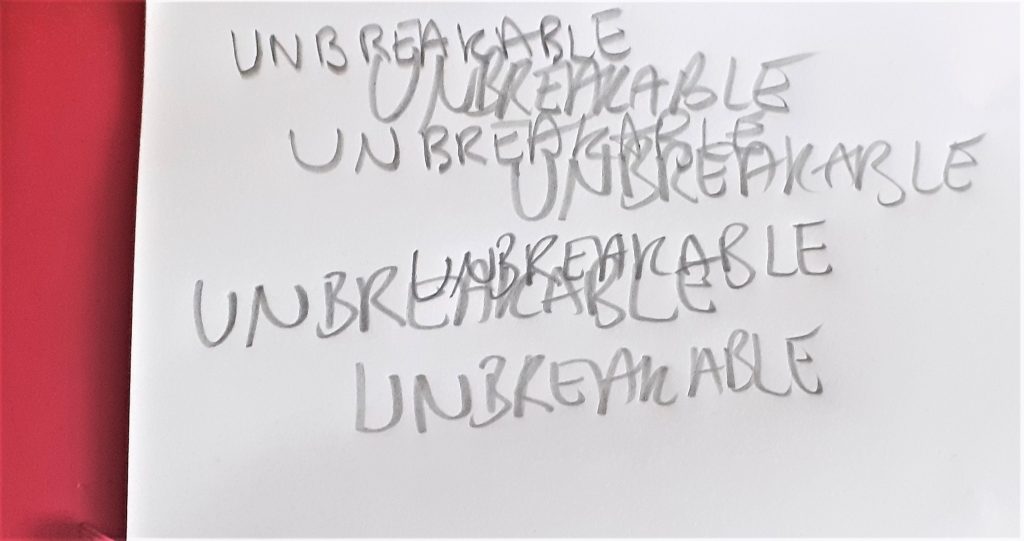
I then rubbed out this layer of words and wrote over the top.
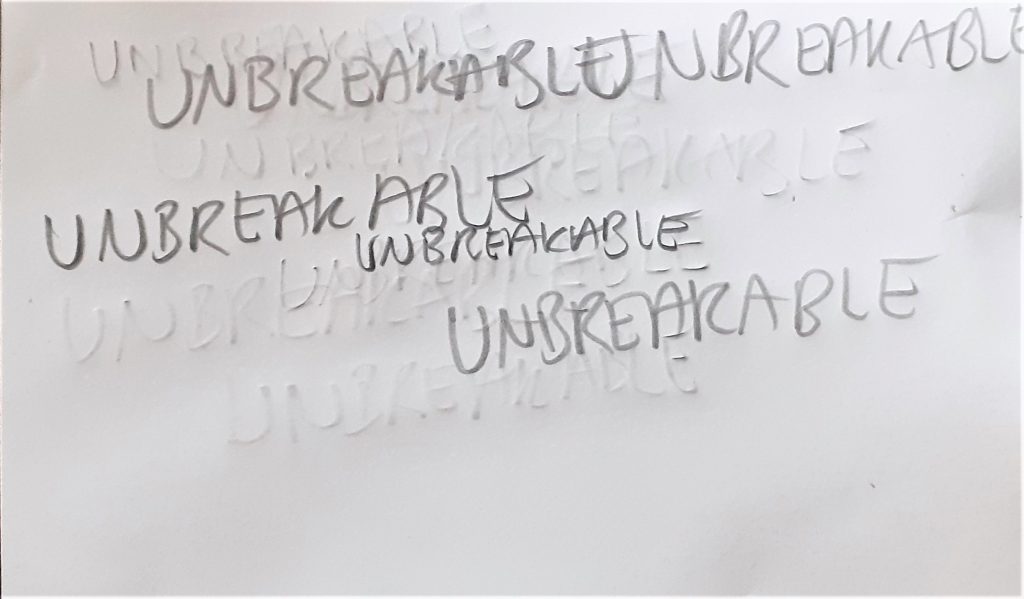
I repeated this process until I had a busy surface of text. I then used a pen to create bolder markings over the top. For the last step, I took the carbon paper and rubbed it over the surface of the paper. This helped the letters to show up more clearly.
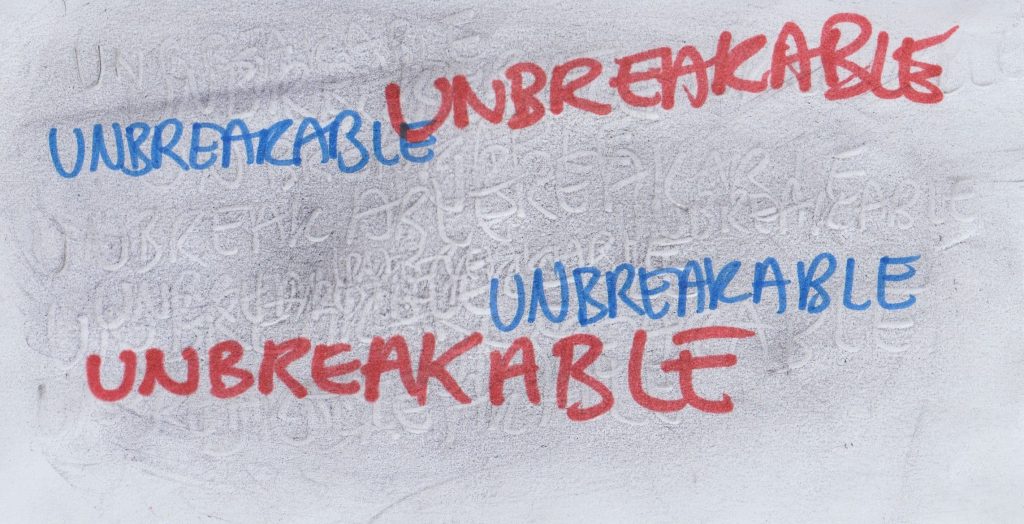
Even when I turned the paper over, I could still see visible markings of the text. The pen markings had bled through and the pencil markings were embossed on the surface of the paper.