In today’s bookbinding workshop, I made 2 kinds of book:
Stab-binding and a zig-zag/ concertina style book.
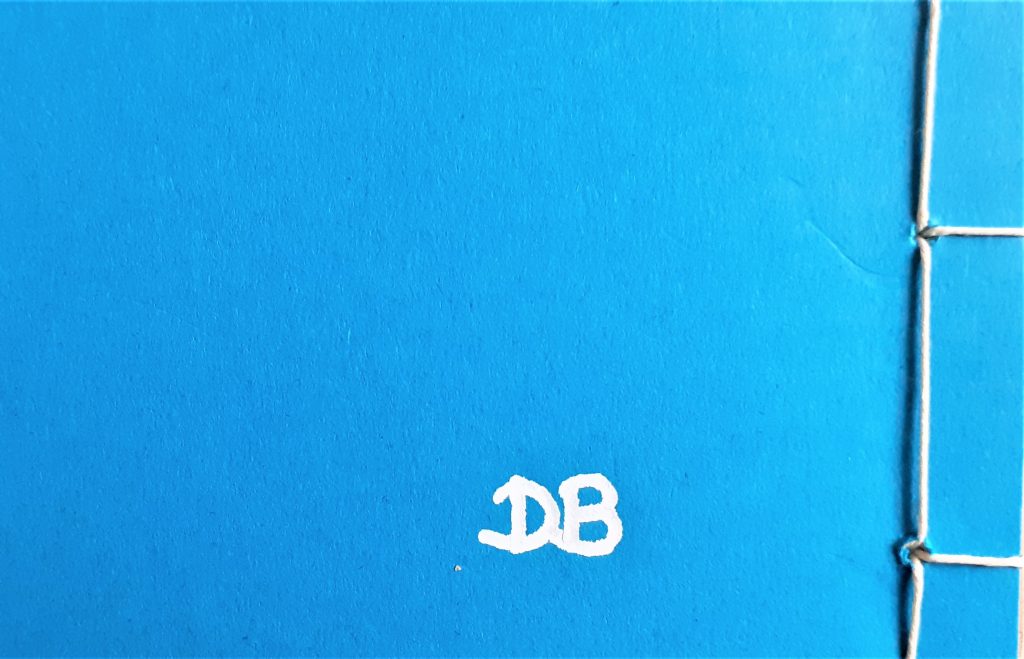
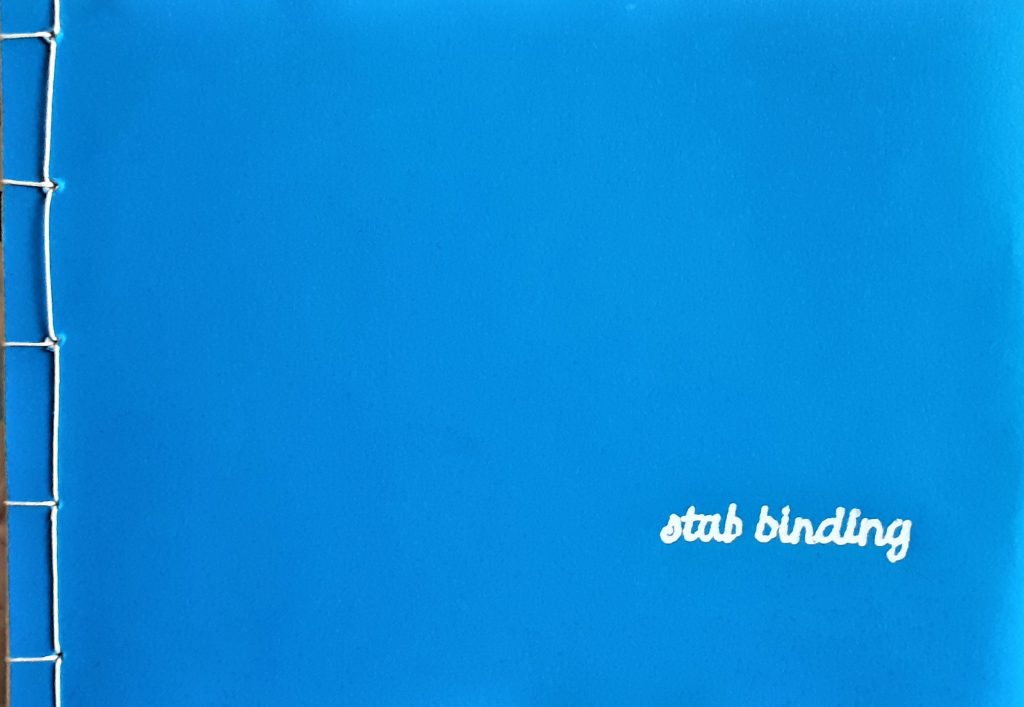
I also learned the foiling method of adding text to a book cover using a hot tool and coloured pieces of foil.
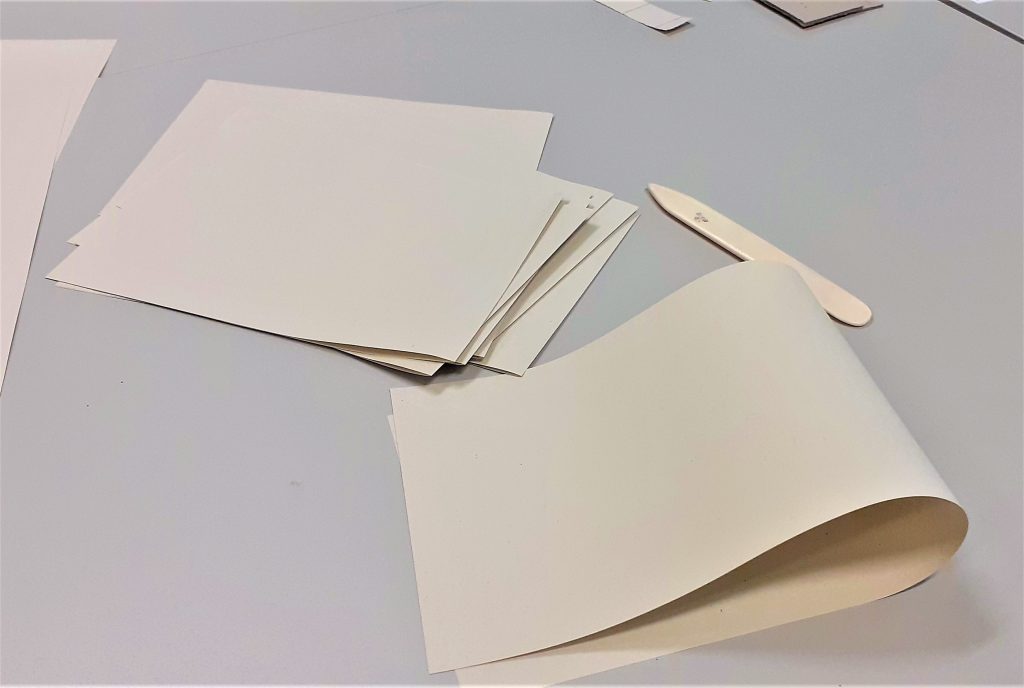
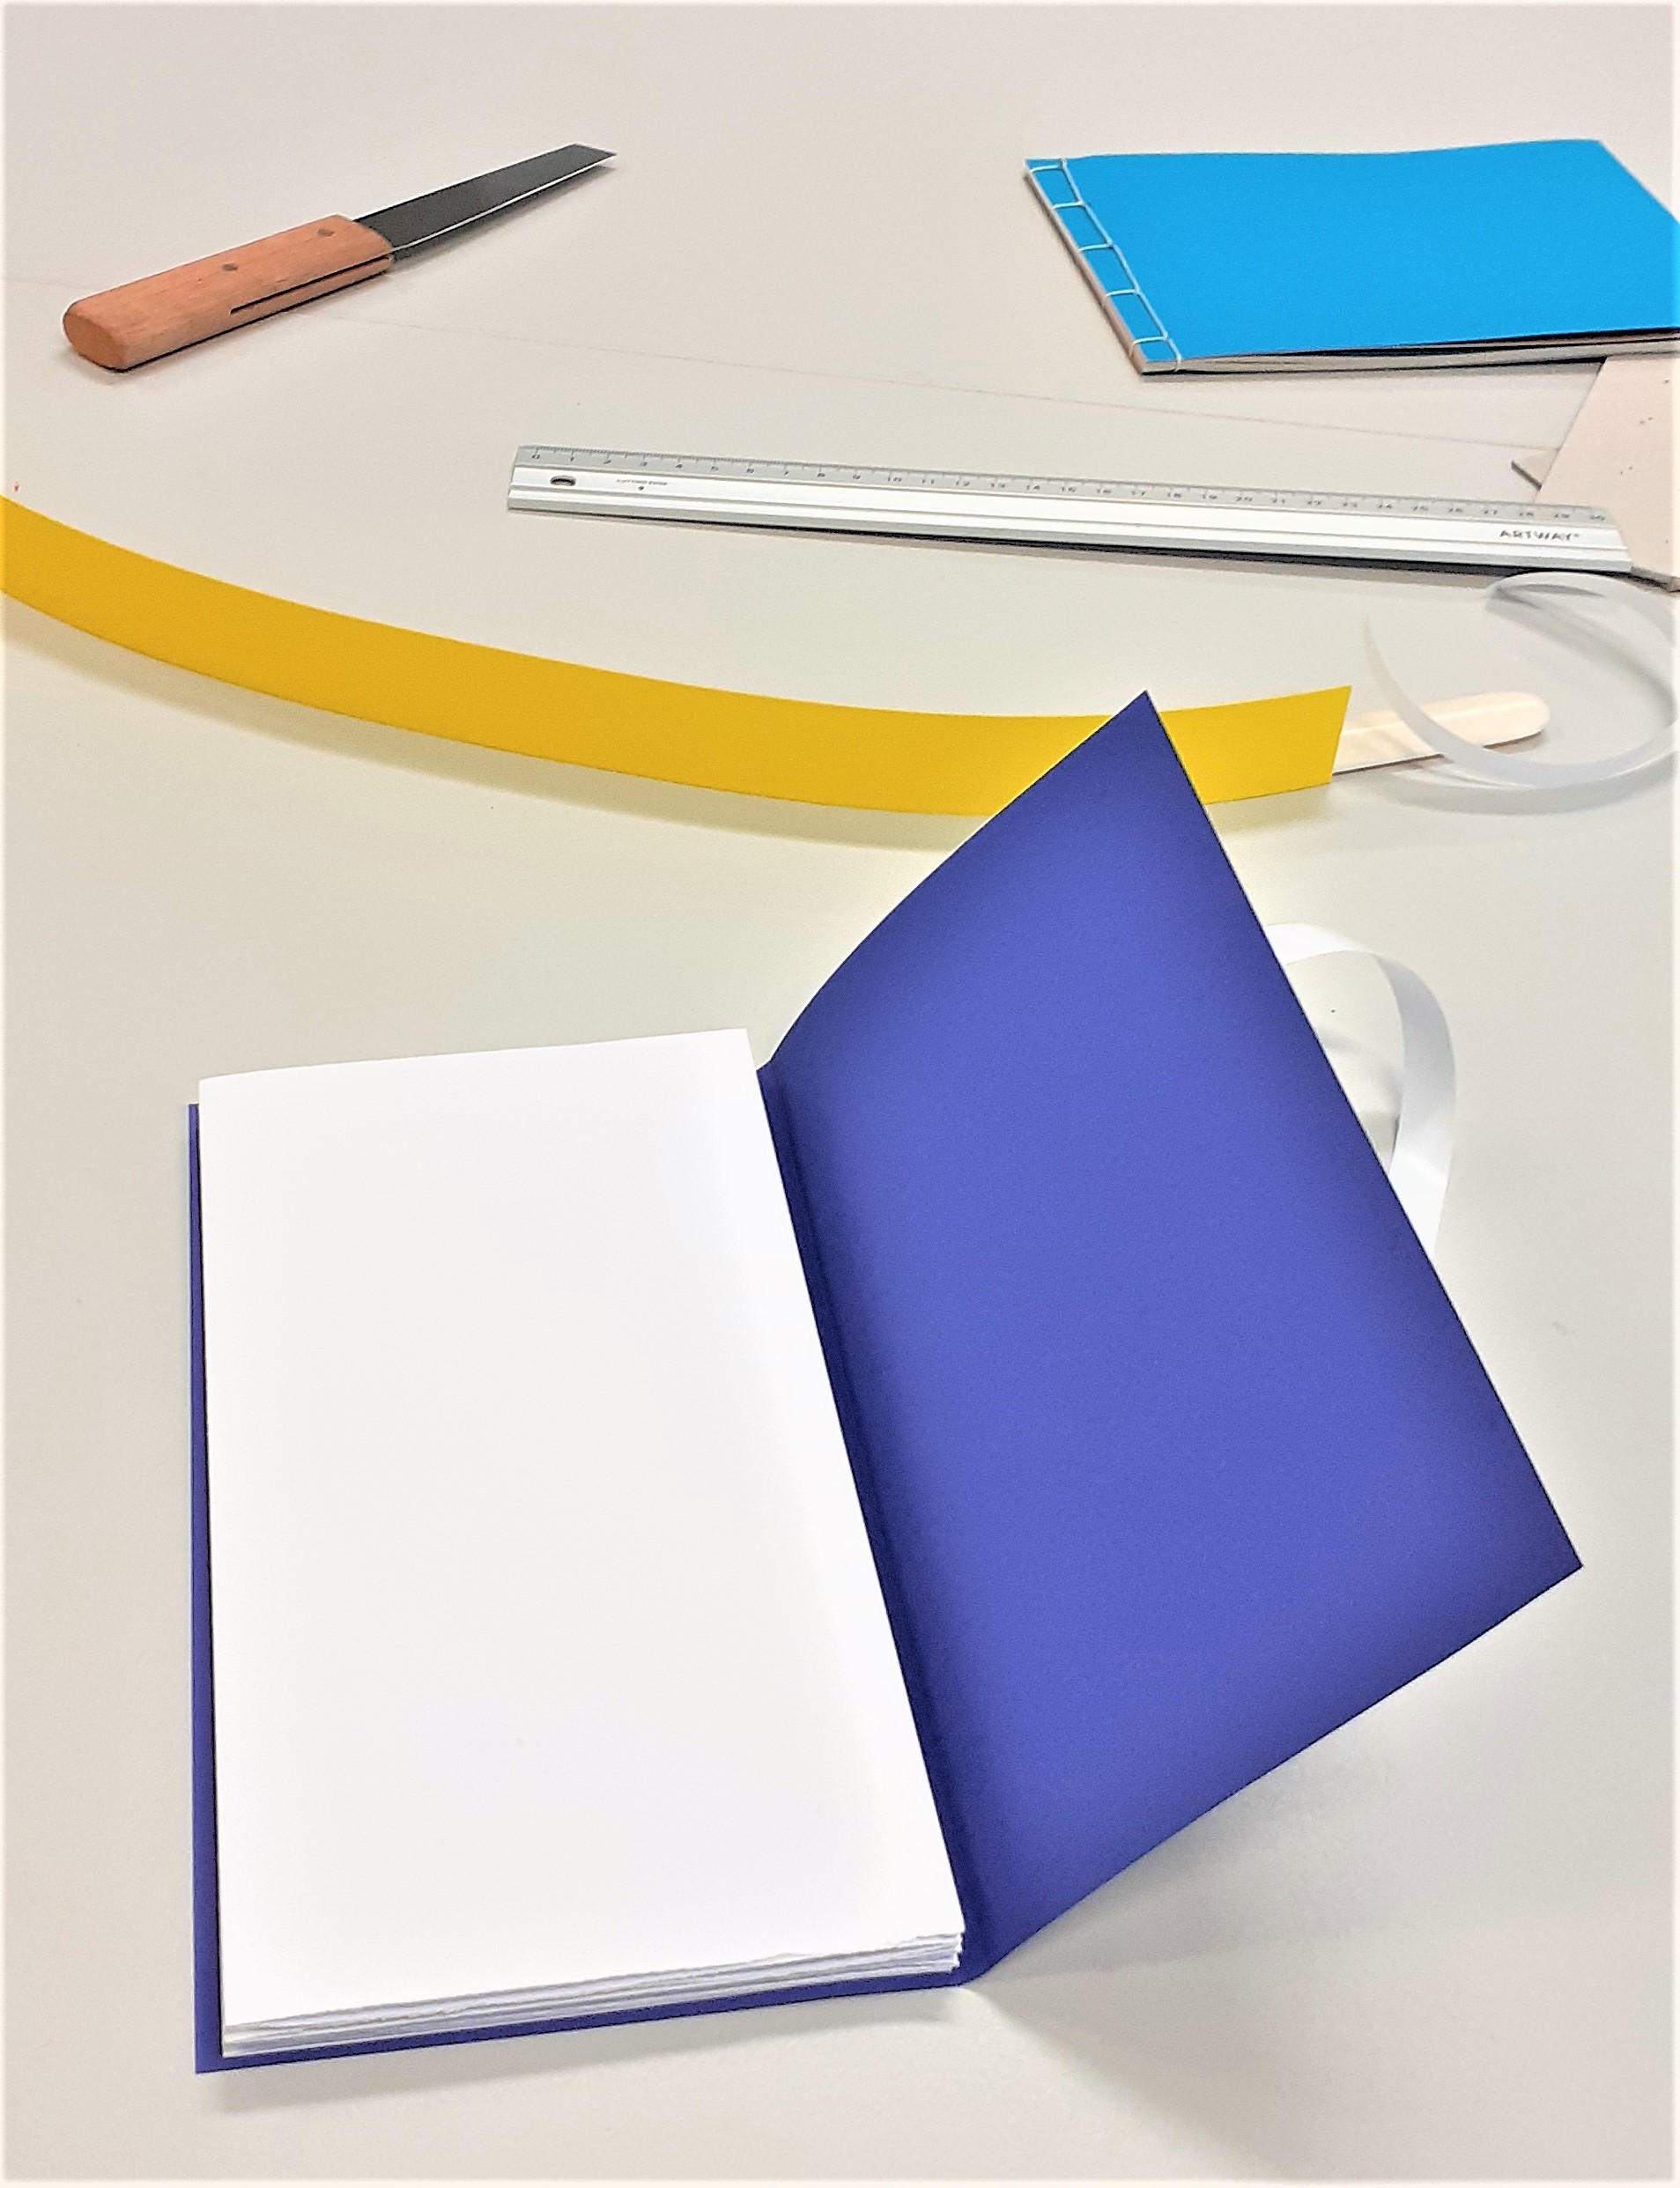
The first book we made in the workshop, used the stab-binding method. The folds of the pages were on the outside edge of the page. The advantage of these doubled-up pages, is that it makes it less likely for ink to seep through when you are writing on the page. The first task was to fold the pages, using the bone folder. We used 15 sheets in total.
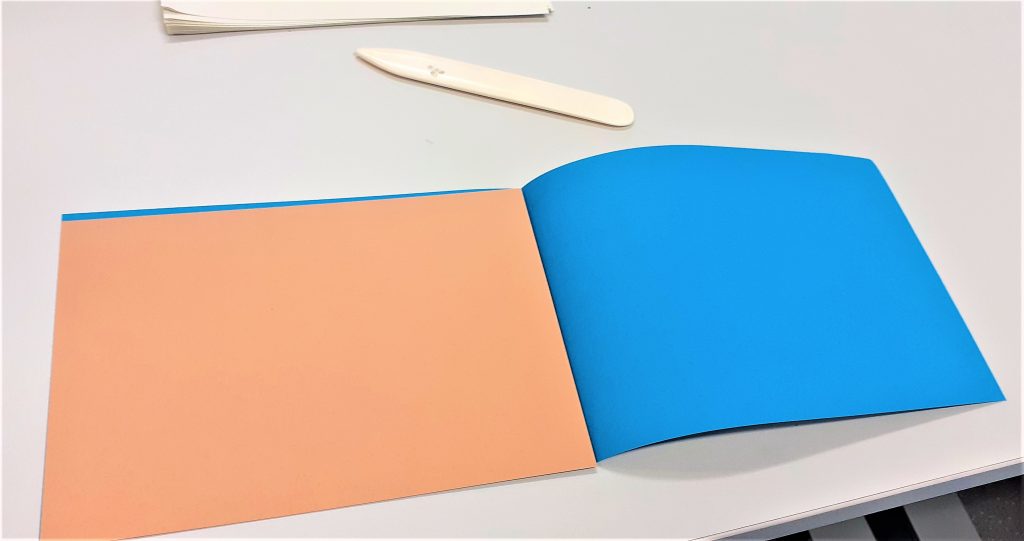
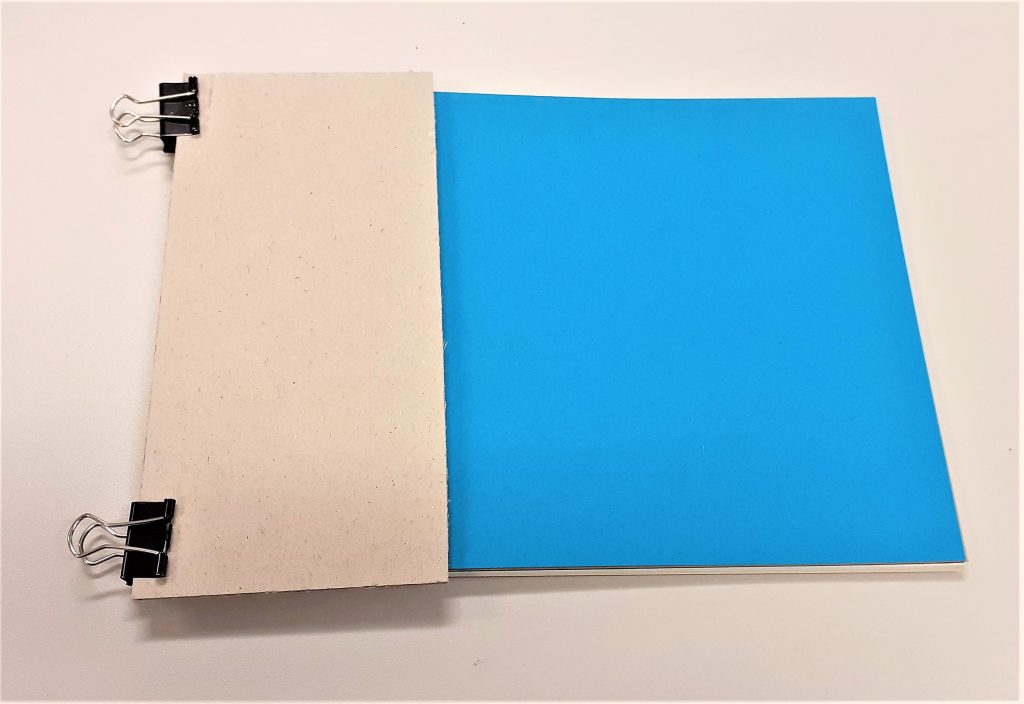
Using a thicker piece of card to re-enforce the cover means that the book may last longer. Here I folded the cover (blue) and ensured the (brown) card would fit nicely inside.

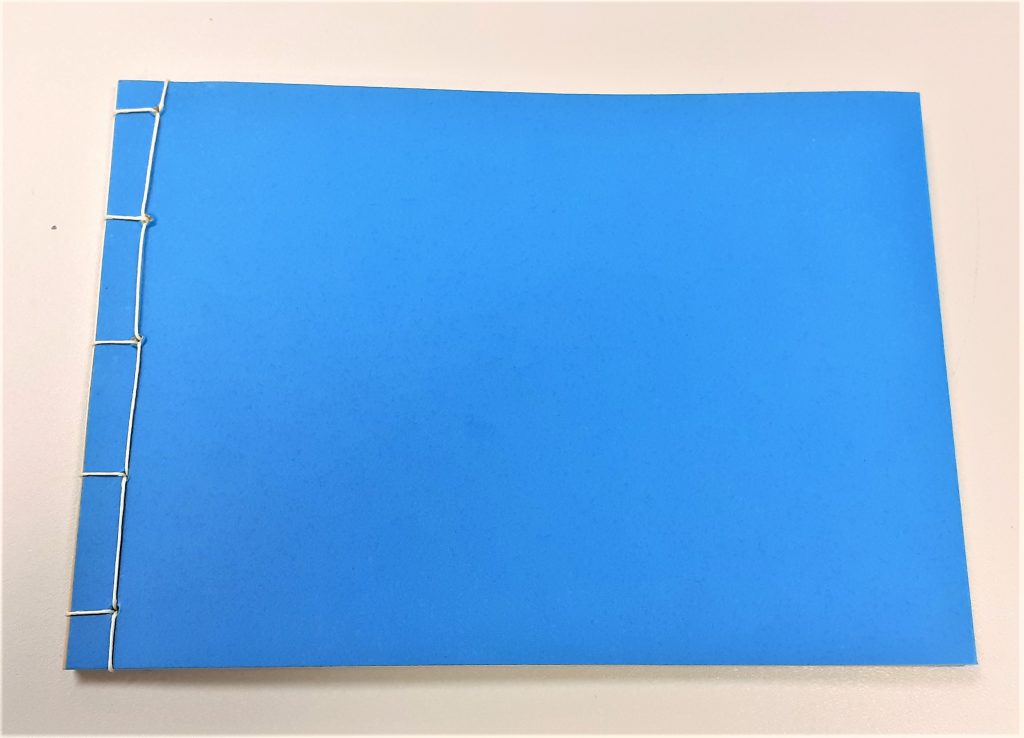
I measured 1cm from the edge of the cover. I marked 5 points on the cover where the holes needed to be placed. Using 5 holes makes the book hold together more strongly than if I made only 4 holes.
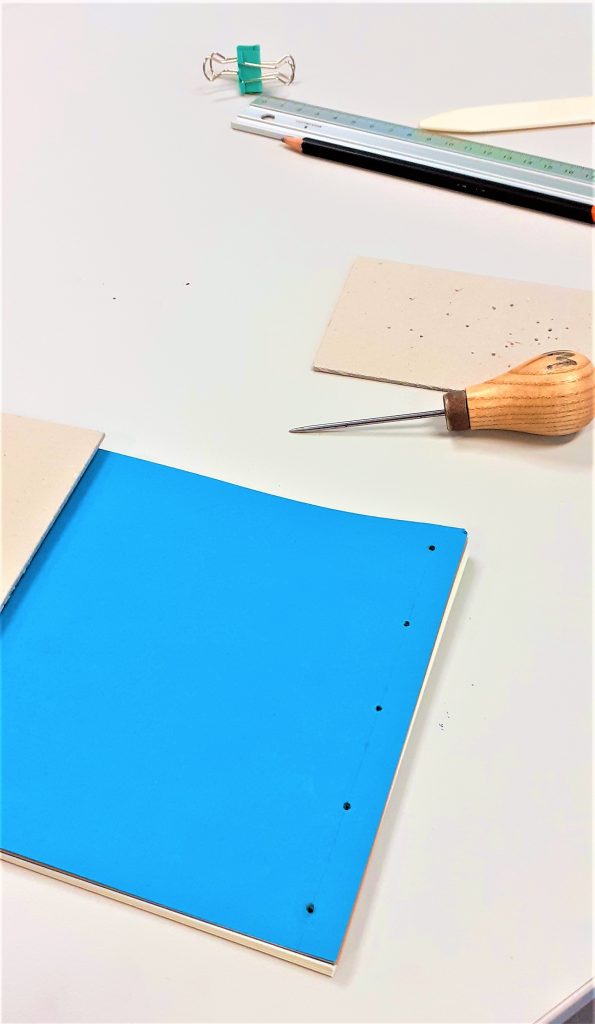
Making the holes was the most physically demanding part of the process. Using the awl, I pressed and twisted into the paper where I had made the pencil markings. I made sure to keep the awl straight. The number of pages and thickness of the card is what made the action tough. It was easier to make the holes whilst standing up. I placed card underneath the book to help hold it in place and prevent me marking the table. I made sure the awl was about 3mm through the other side. This meant the hole was big enough. Another way to check is to hold the book up to the light and see if I can see through to the other side.
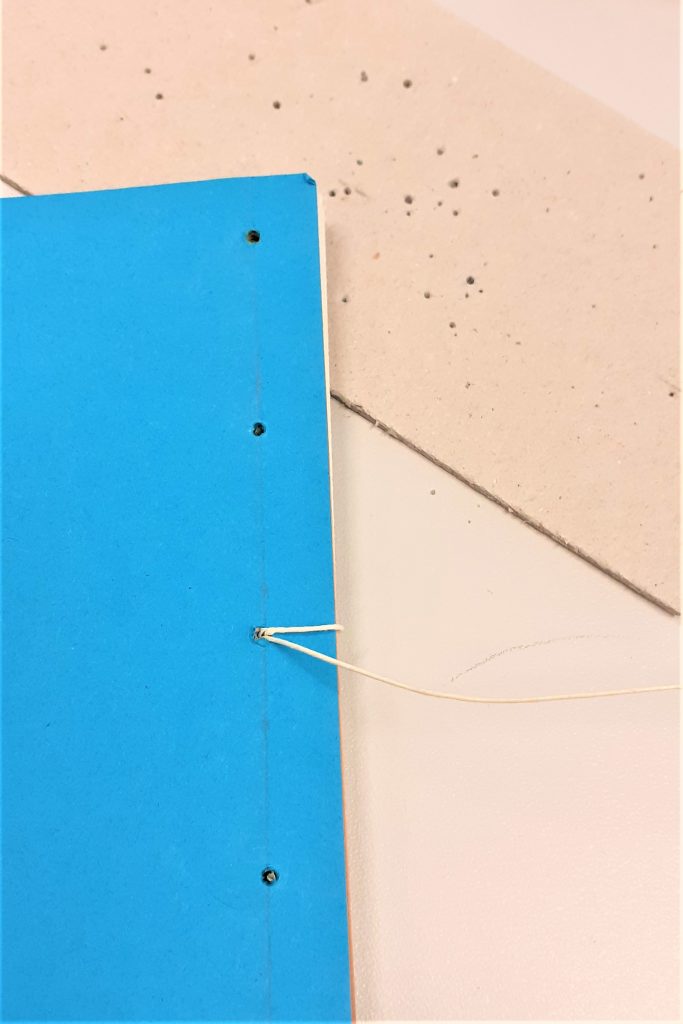
I found this stitching process easier than the previous books I have stitched. I think this is because the stab-binding stitching pattern works in right-angles. The main difference is that with this method, I needed to hook the thread around the outside of the cover.
I also needed to make sure I was pulling the thread tightly after each stitch.
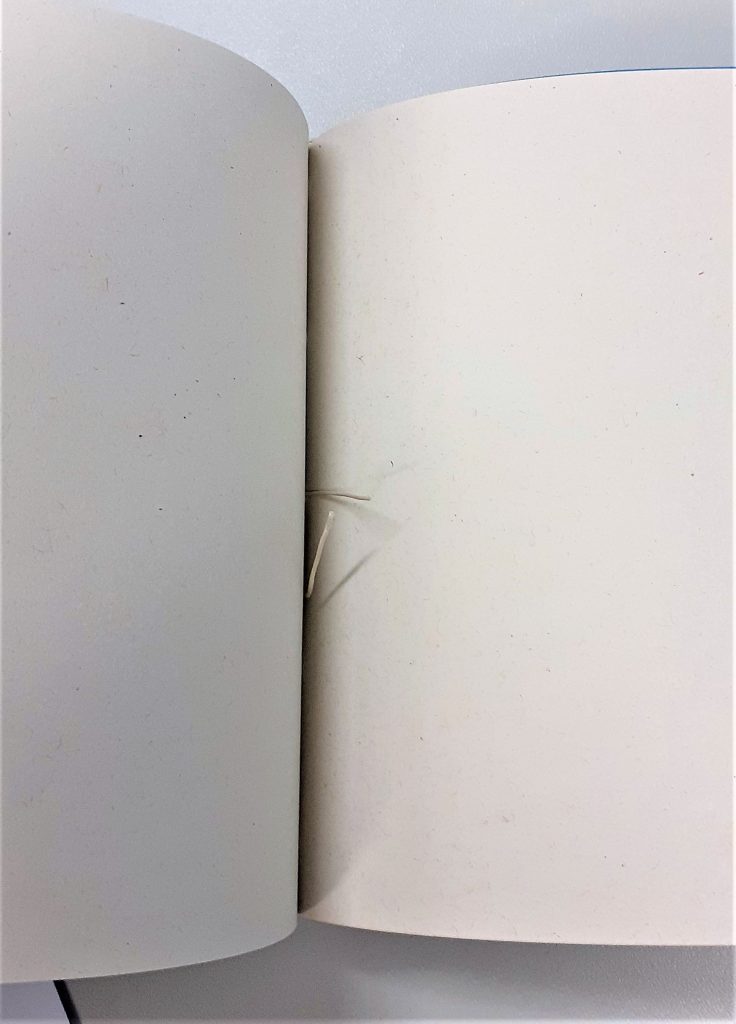
I did not need to tie a knot because the stab-binding holds the thread in place. The thread begins and ends at roughly the centre of the book.
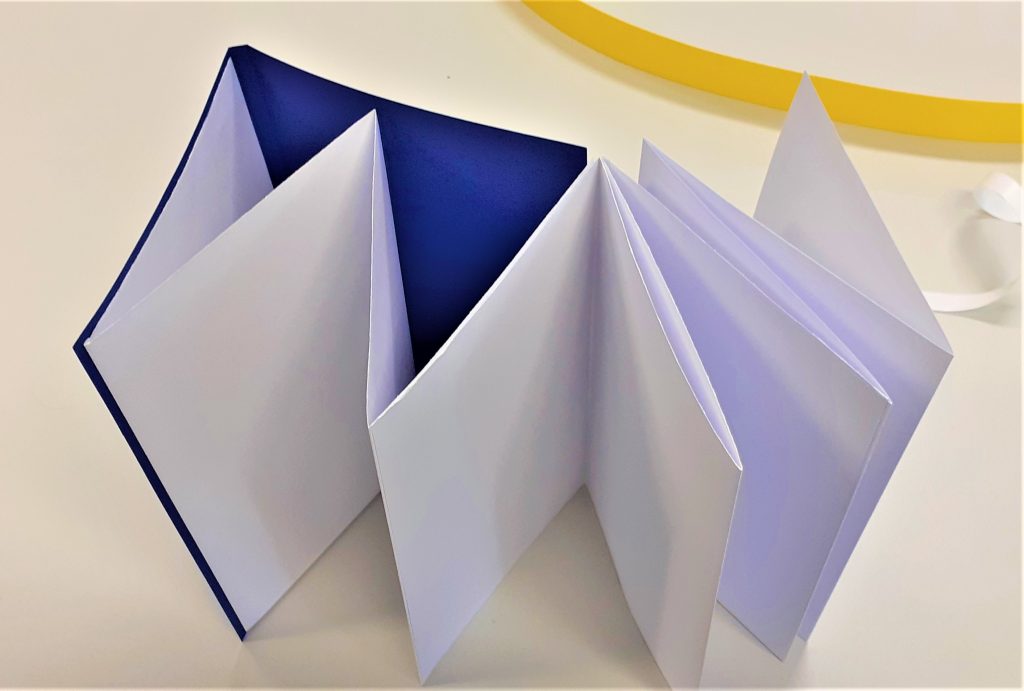
My next book was a zig-zag style book. My first thought when our lecturer Ruth showed us this kind of book, was how great this method would be for a photobook. This is because the book opens out to a long line of paper where the reader has the option of viewing every page together, or turning one page at a time.
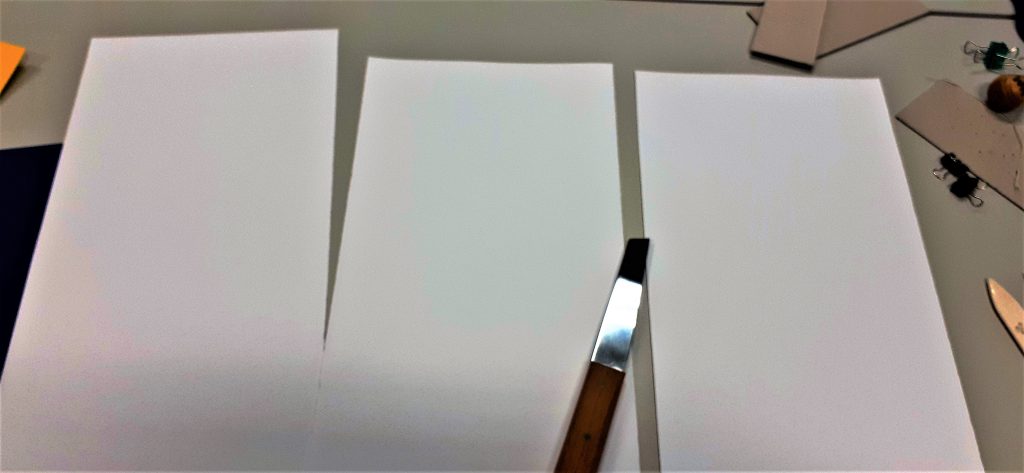
After folding the paper into 4 pages per each piece of paper, I began working on the cover.
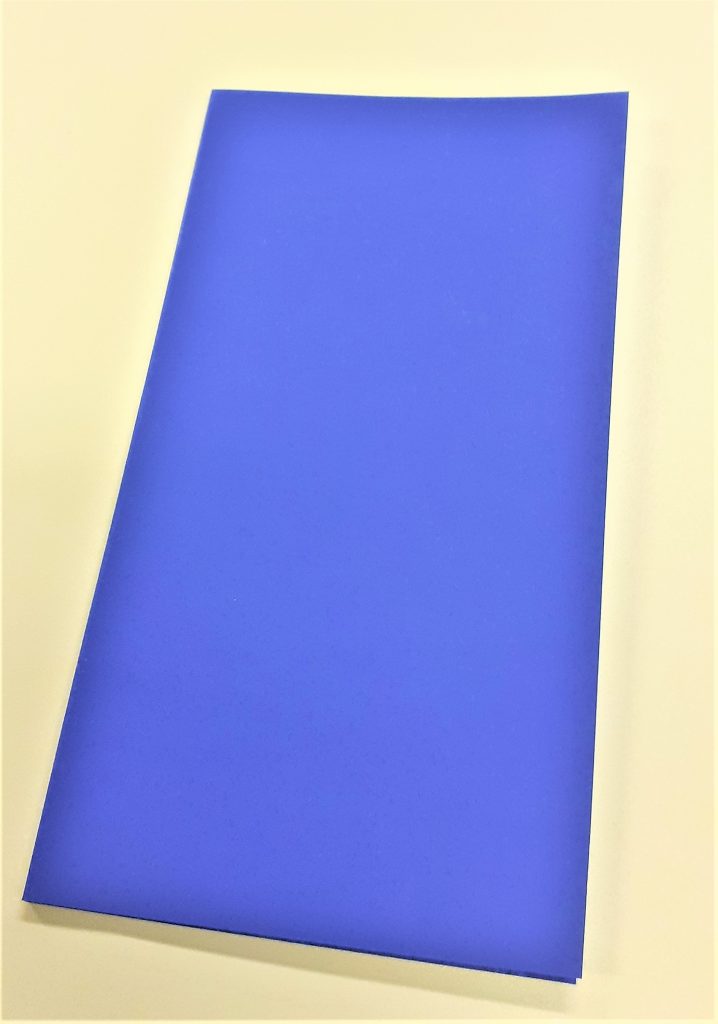
For the cover, I needed to fold the paper twice to create a flat spine. I worked out the width I wanted the spine to be by holding my pages together and measuring the thickness of the pages. I left a gap with this measurement at the edge of the card and folded up to this point. I turned the paper around and did the same in reverse.
I then attached my pages together using double-sided sticky tape. I then used the tape to attach the pages to the cover. This part of the process involved some decision making. I needed to think about how I wanted the book to be read. I had the option of attaching the pages to the back cover or the front cover. I needed to weigh up the procs and cons of each method.

Using the foiling technique, I added the title to the book cover. I first practiced on a scrap piece of paper. It was important to use a template to trace the words, as this gave me a guide and ensured the word would look neater that working free-hand.
I needed to work slowly, to allow the heat to pass through the paper and the foil. I made sure the tool was switched to the lowest heat. A higher heat would have melted the foil and the result would not be effective. I considered health and safety during this process. I made sure the tool was not touching the table or any object while it was hot. I especially made sure the hot end of the tool would not touch the cable.