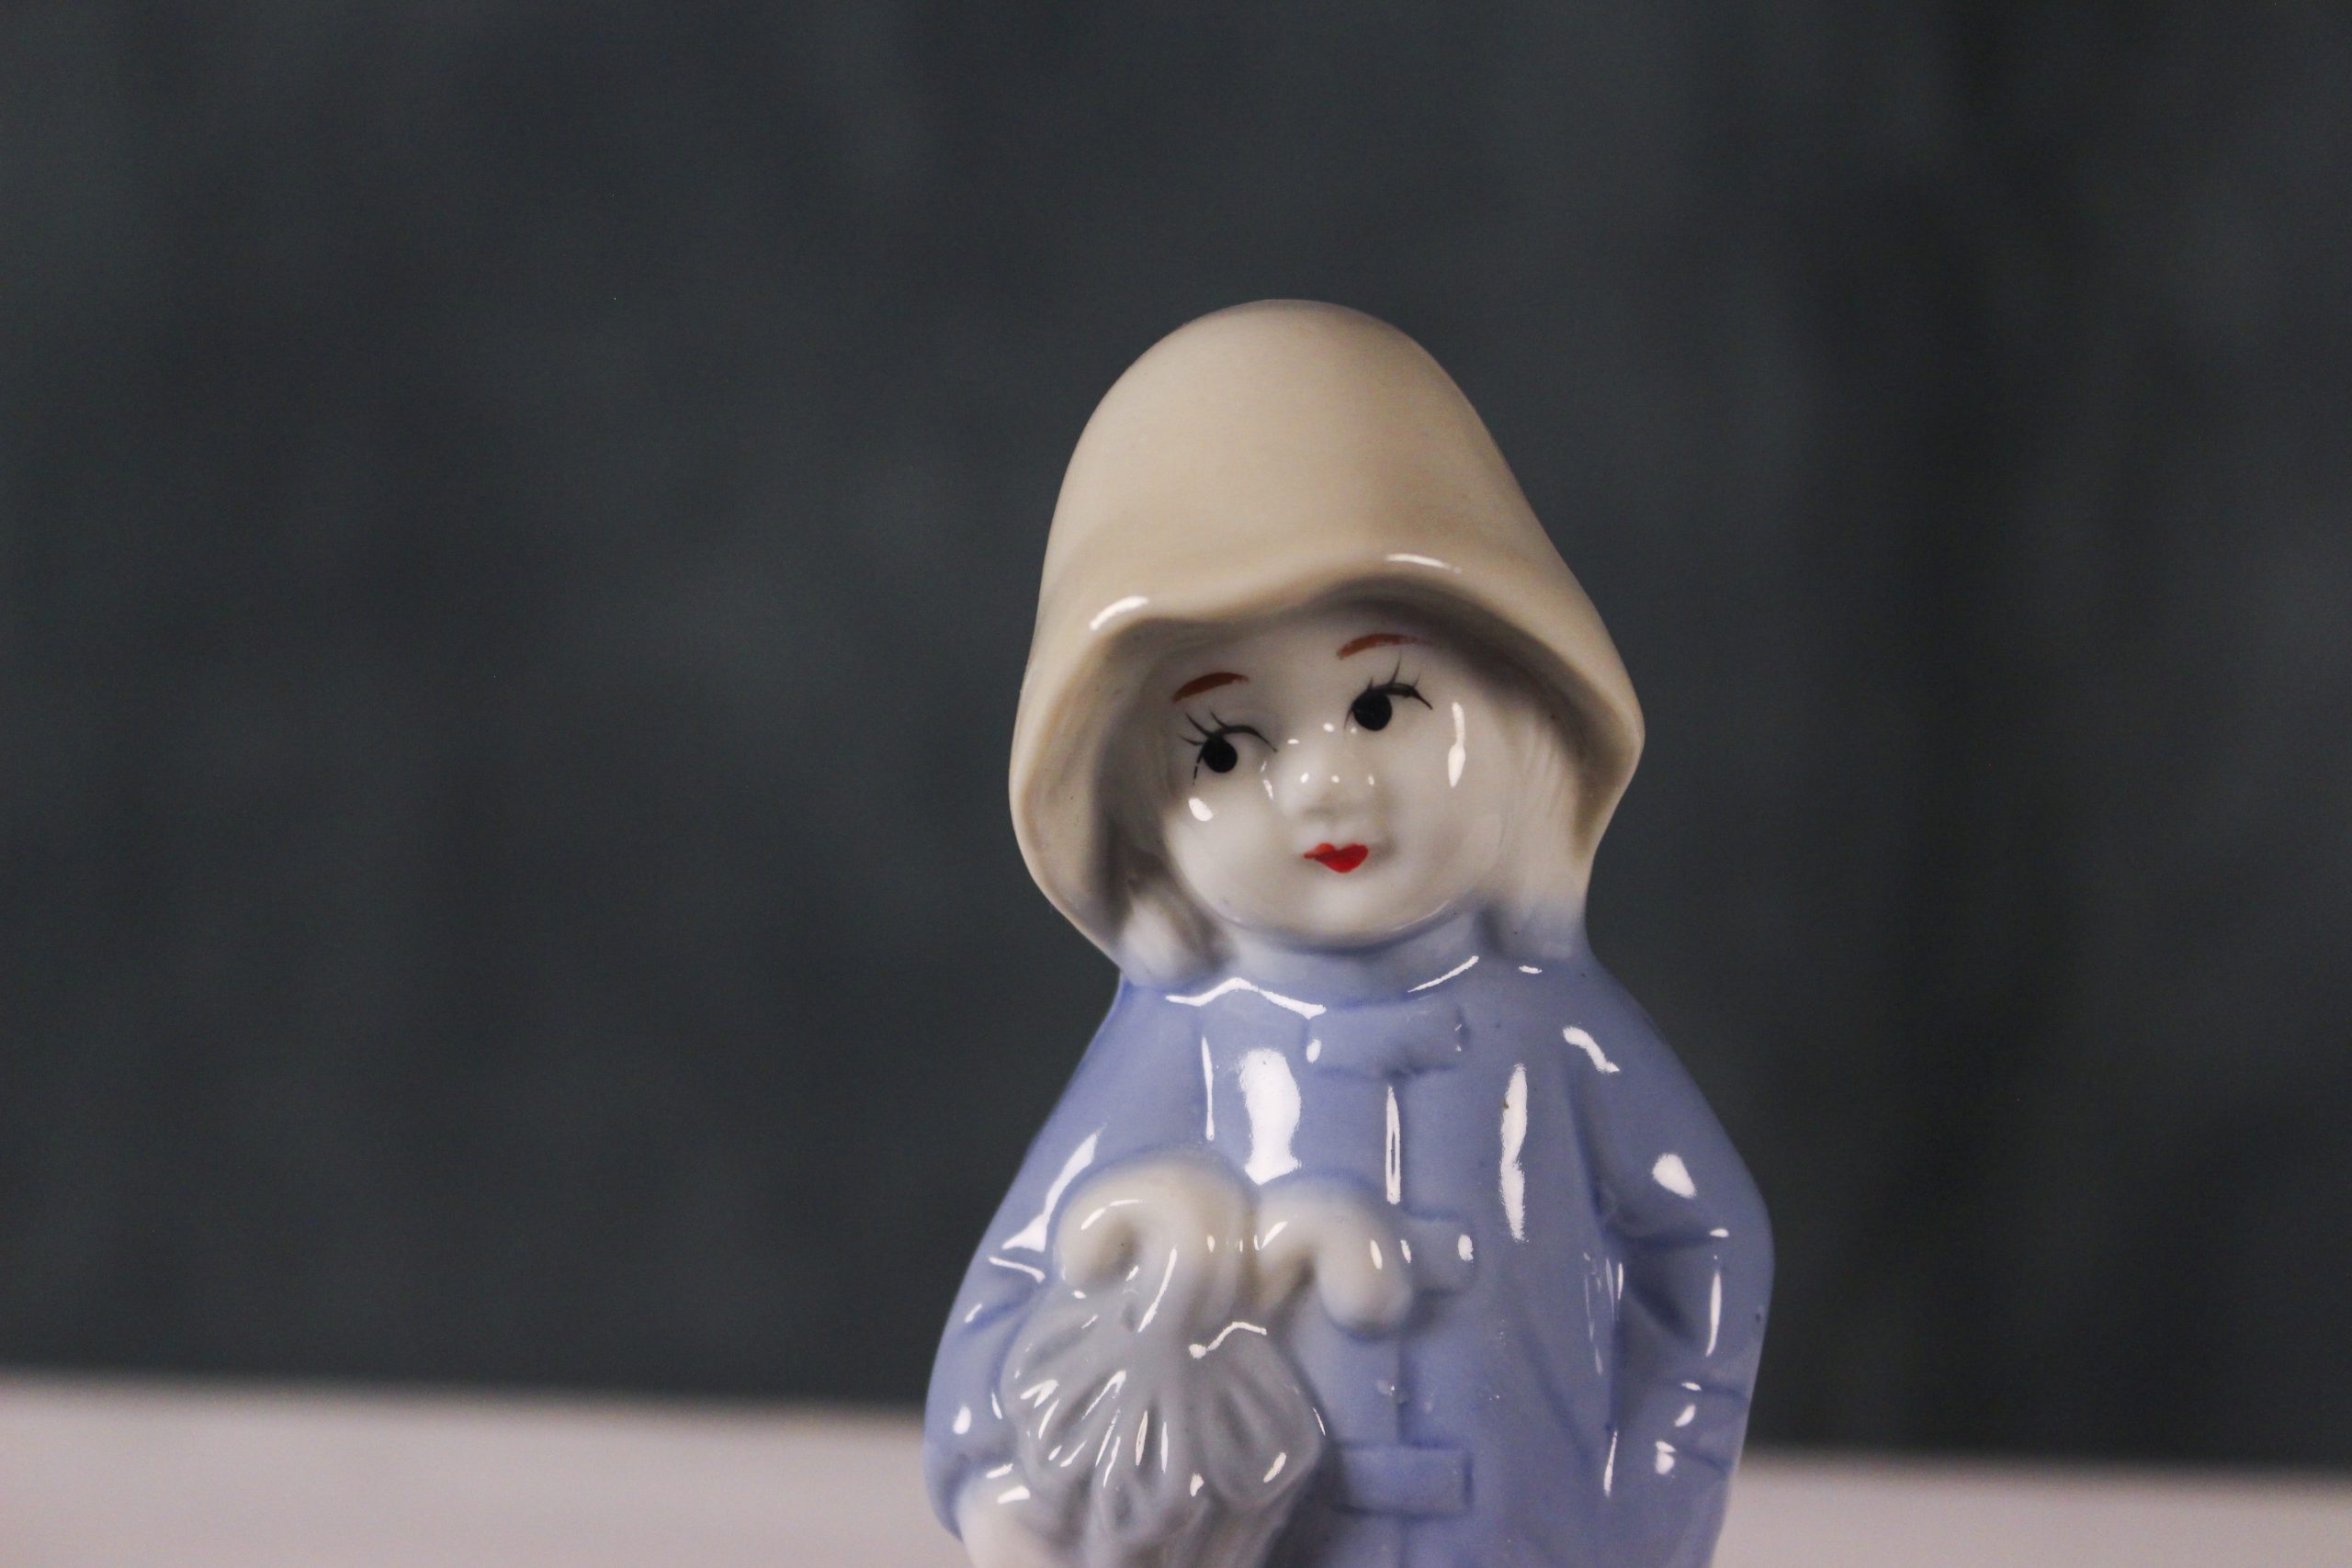
This week, I had a go at editing my photos on Adobe Photoshop. Being new to the program, this was a case of experimenting with the tools. My focus was on improving the images as best as I could.
Unfortunately, I did not use the layers tool within Photoshop. This meant that the changes I was making were being made to the photo itself. After saving the document, I was unable to see my previous steps in the history toolbar.
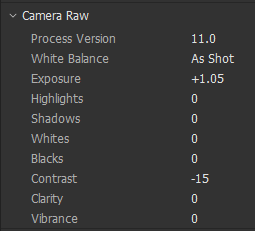
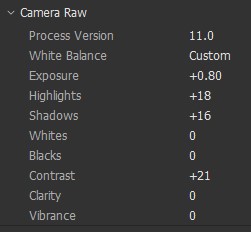
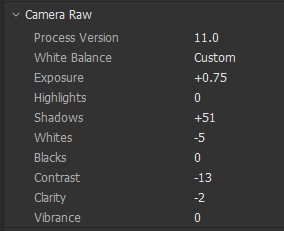
I opened the photos in camera RAW. This allowed me to make changes to the photo before making further adjustments in Photoshop. By then opening the final image in Adobe Bridge, I was able to see the adjustments I made in camera RAW.
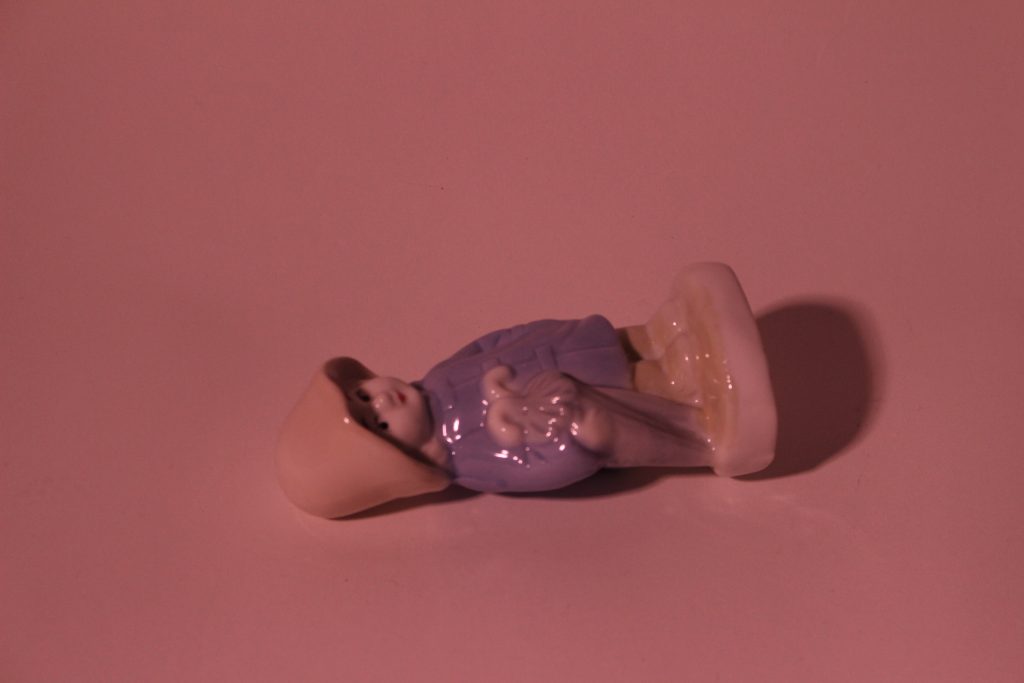
Before
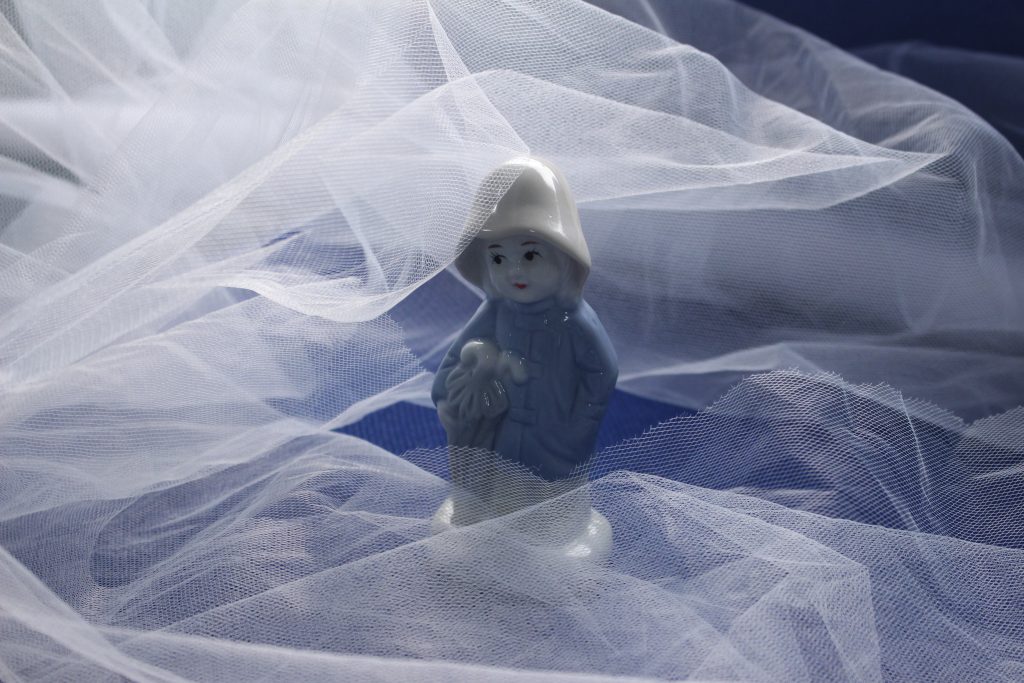
After
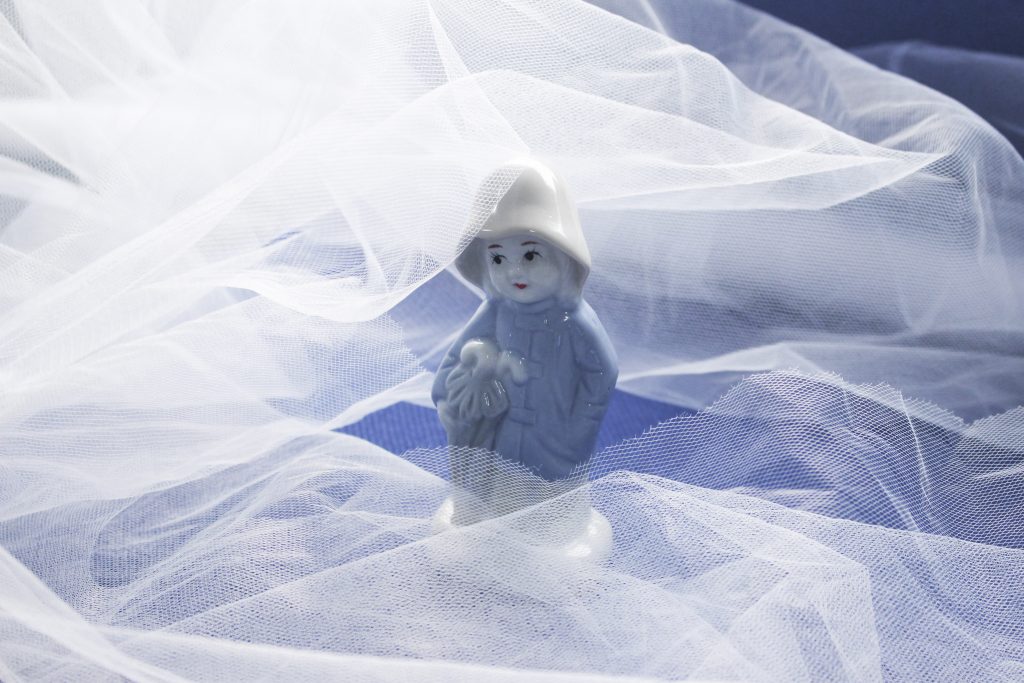
I lowered the contrast to give a softer feel and made the over all image brighter. I wanted to create a dream-like image, like the figure is in the clouds.
Before
After

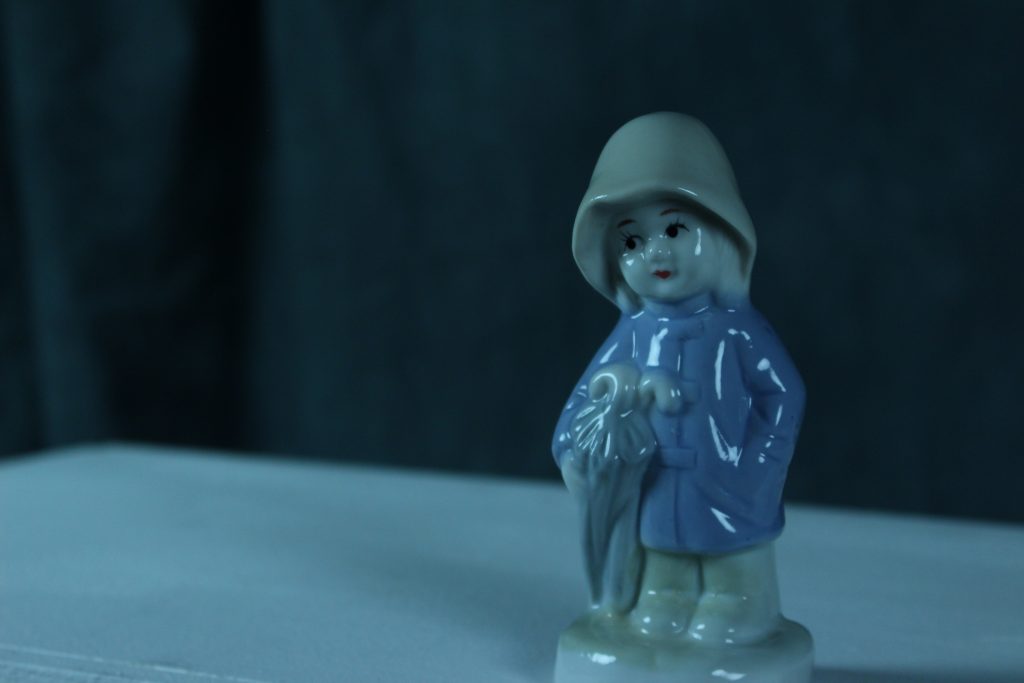
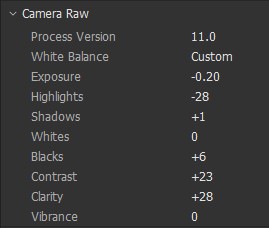
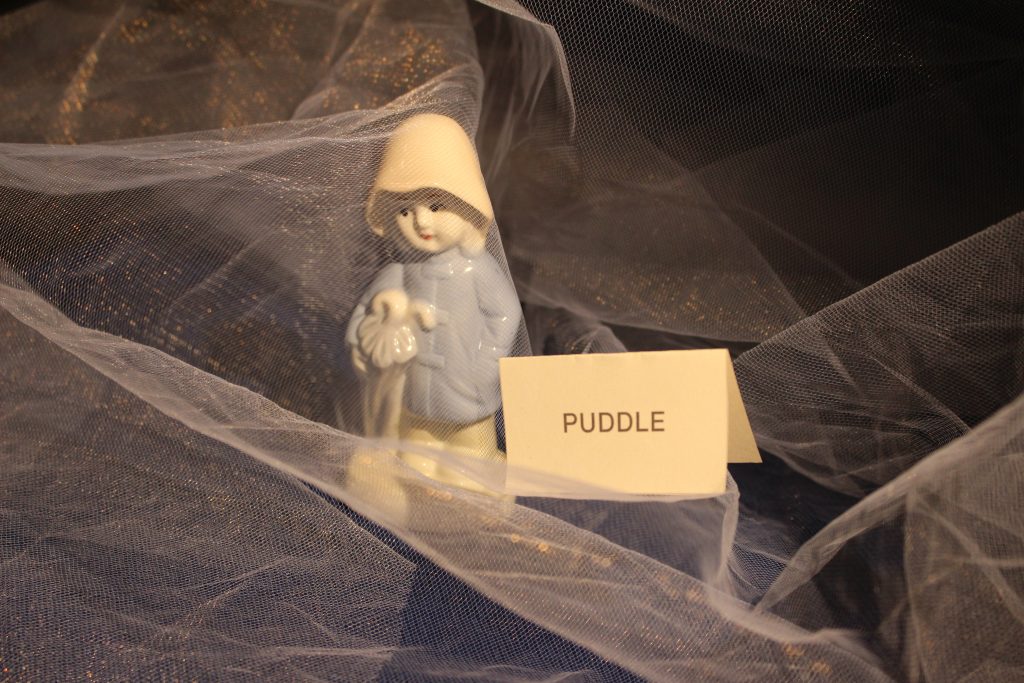
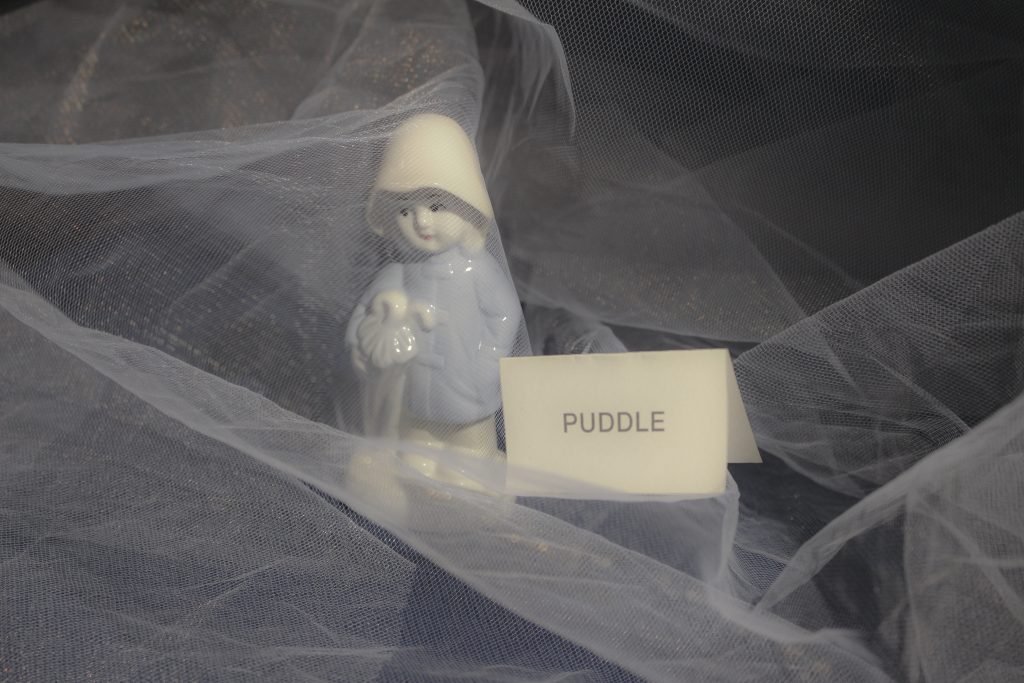
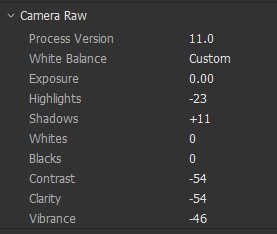
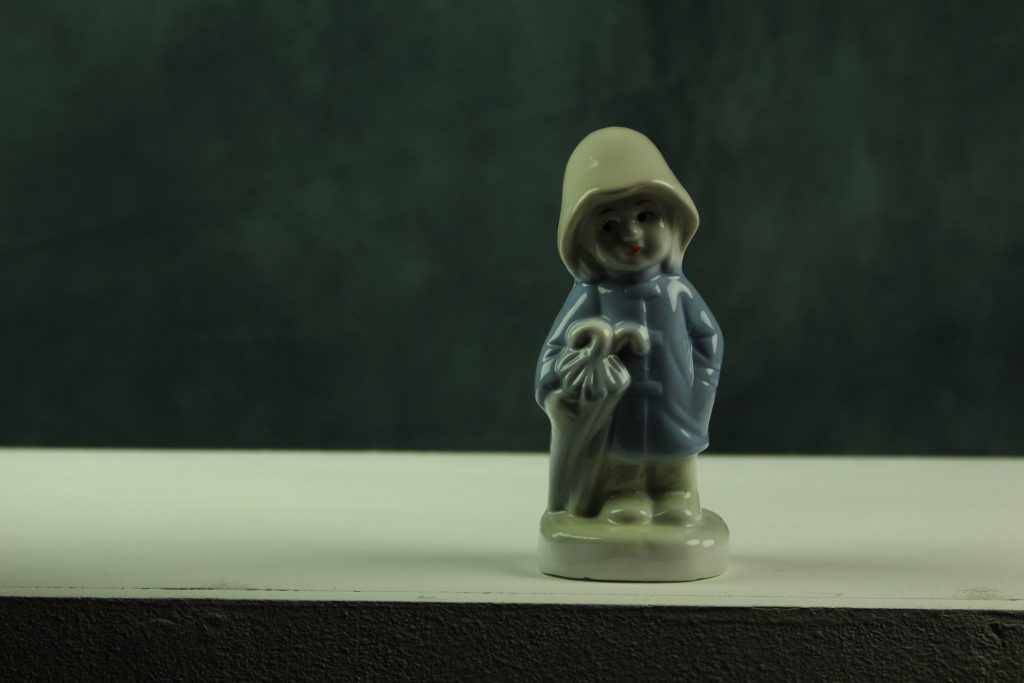
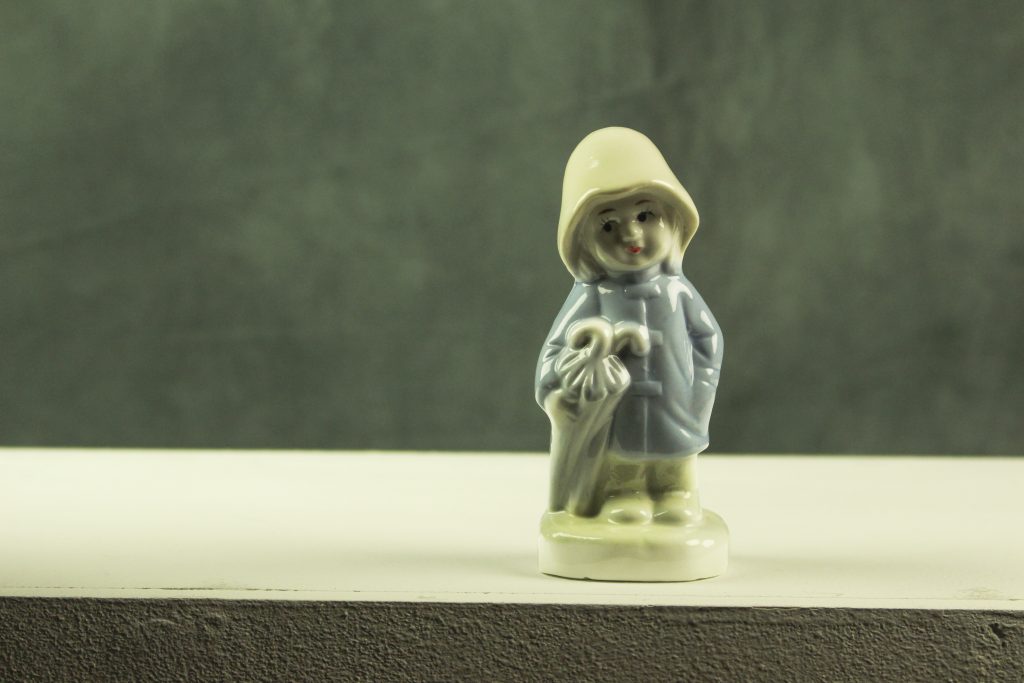
I found the original image too dark. I didn’t like how the background was contrasted against the figurine. After adjusting the image in photoshop, the background had more texture and the colours of the Raincoat Girl popped.
Before
After
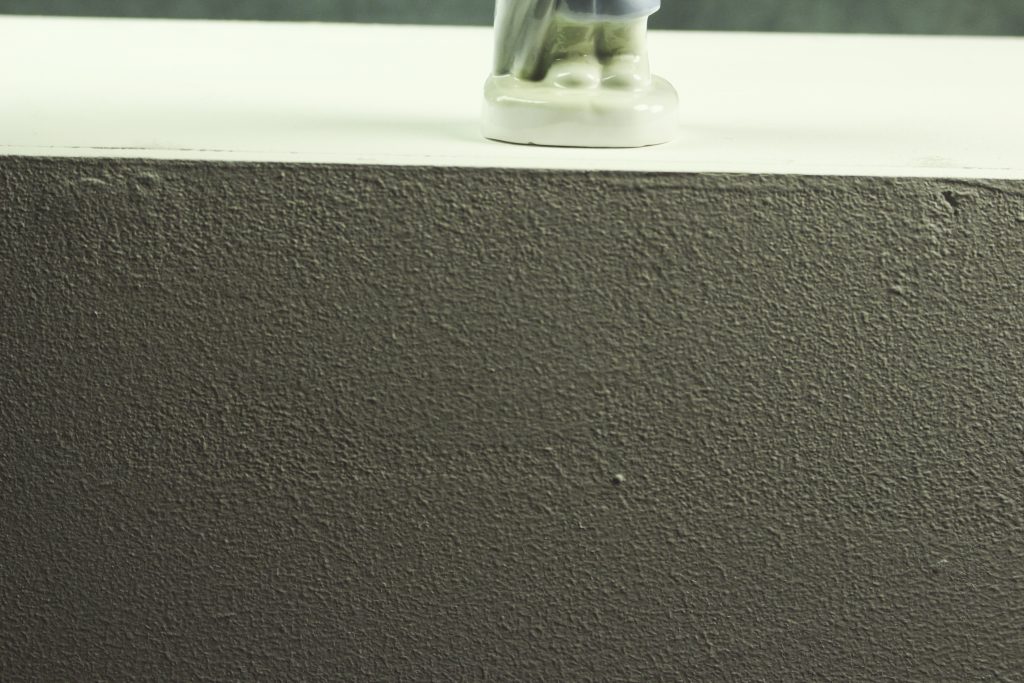
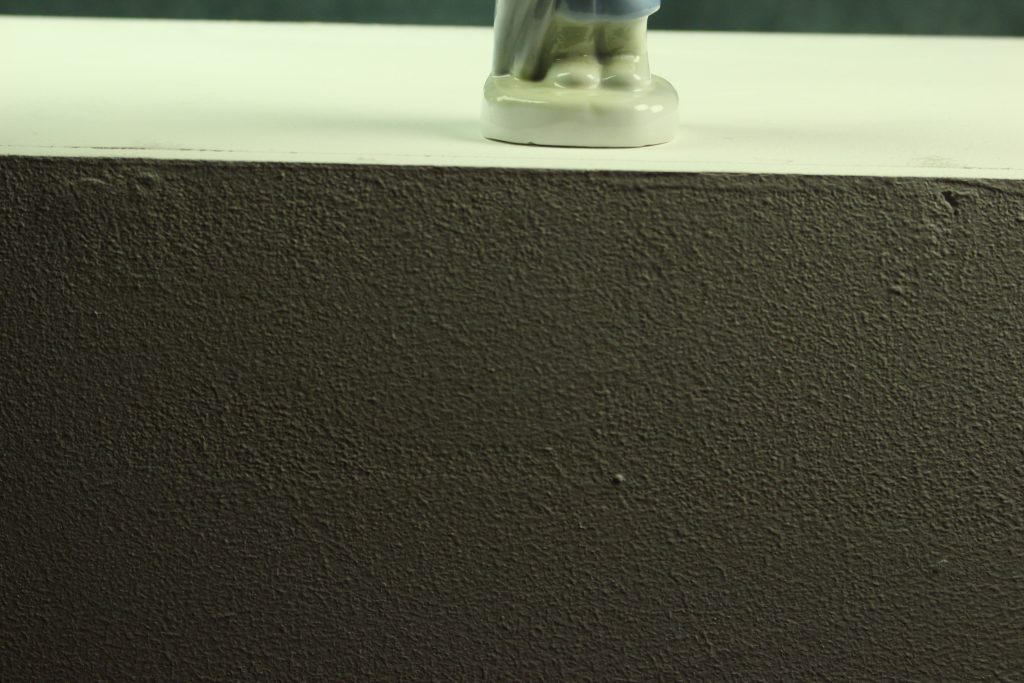
I used the quick selection tool to select the figurine in this photo. I then added contrast so that the boots were more defined. Brightening the wall in the foreground, shows more texture and made the image more interesting.
Before
After

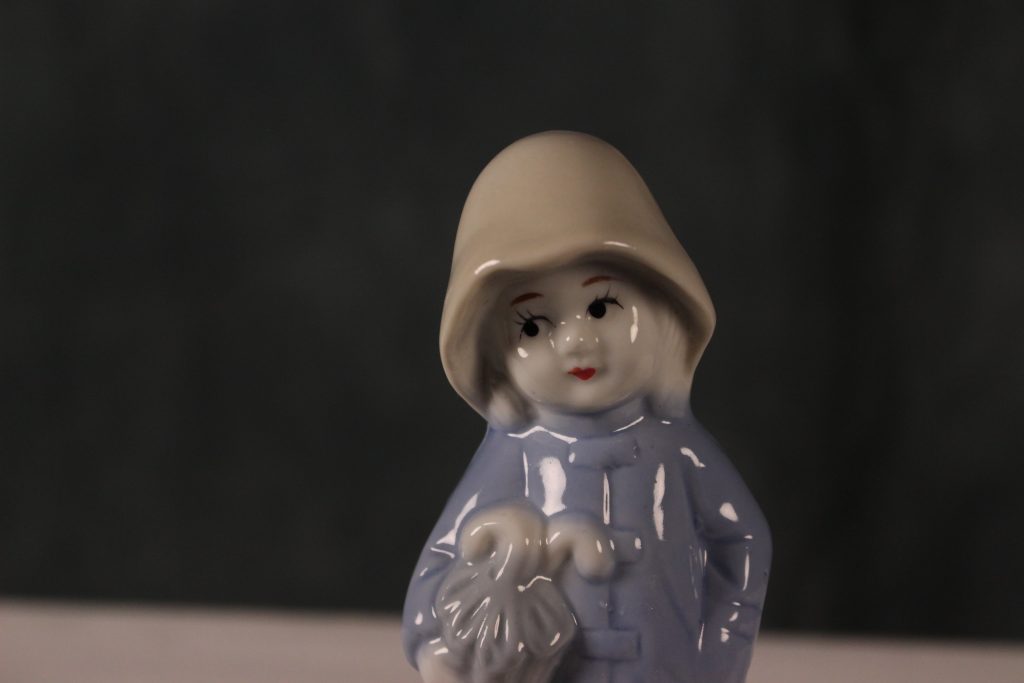
I liked the way I composed this photo and how the figure gazes into the distance. I felt it looked too dark and gloomy. I lifted the brightness in the image. However, I would like to add more saturation to lift the colour in this image.
Before

After
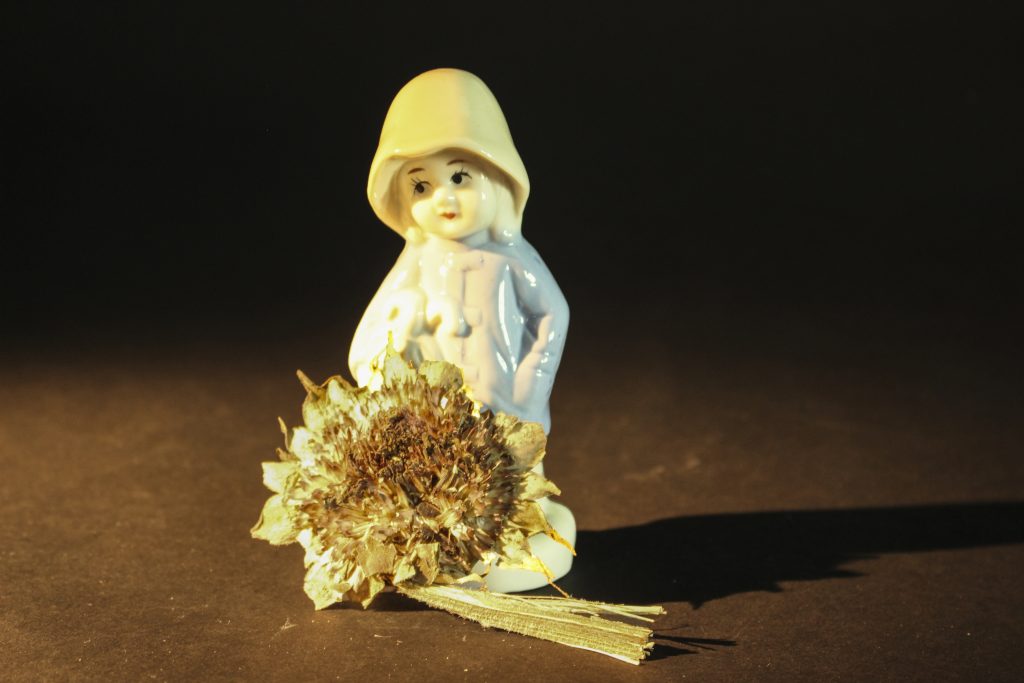
I added more contrast/ shadows to define the figure’s face. I toned down the colours and softened the sharpness of the sunflower.
Before
After
The original photo contained a lot of yellow. This is due to the warm toned lights reflecting off of the material. I could turn the colour temperature down using the camera RAW program.
Before
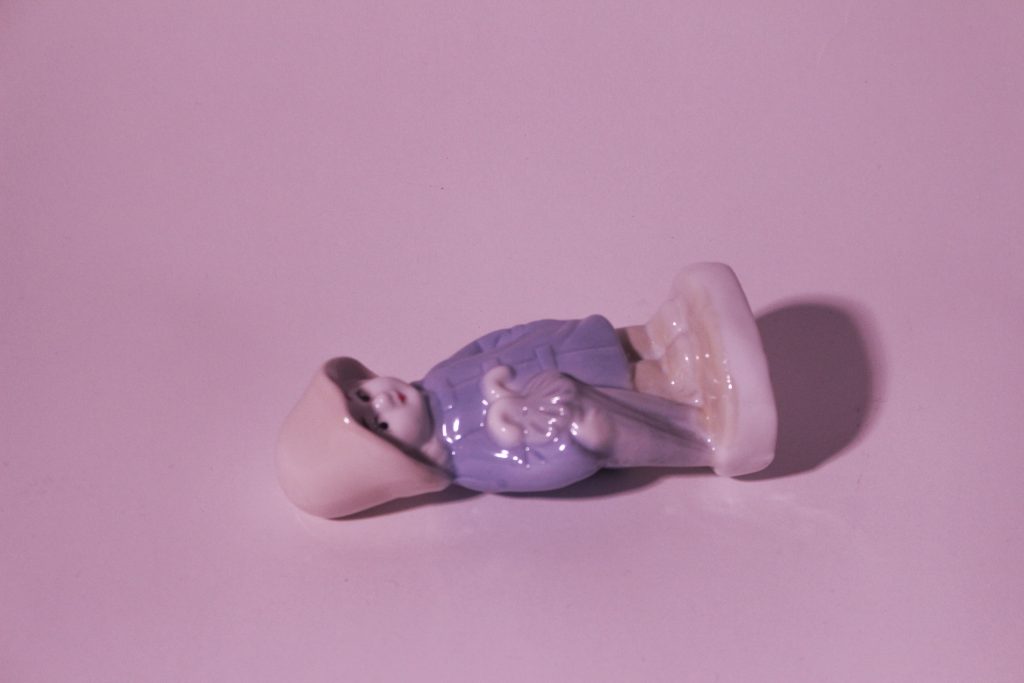
After
This image is not in focus, so the end result is not perfect, but I wanted to try editing a coloured image like this. I increased the depth of the shadows and improved the overall colour.
Before
After
Increasing the exposure greatly improved this image, as the face became more visible. There is now more balance across the picture.