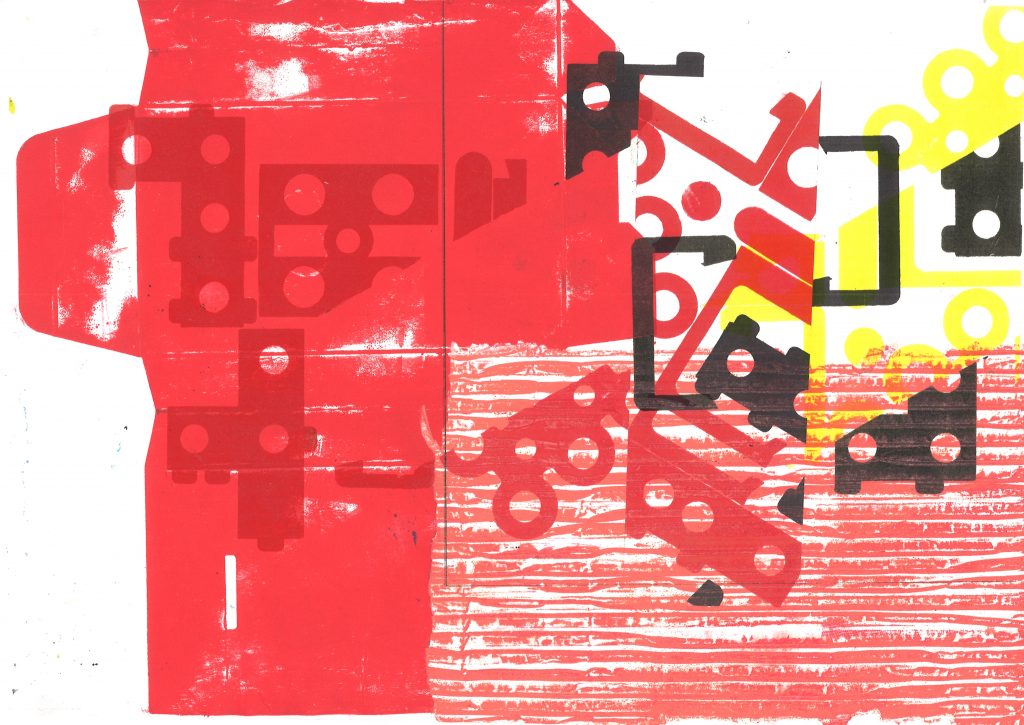
Produce your own speculative or ‘a-semic’ writing system –
consisting of 10-20 pieces – using the skills that you have
developed so far. You must then produce a series of prints using
your writing system, which you are asked to cut out of found
manufactured items such as cardboard packaging, instruction
pamphlets, small and large manufactured objects found on
campus or around the studio or at home. Think about how
manufactured objects effectively lend partly ‘semic’ information
that you can appropriate for your writing system.
Abstract compositions:
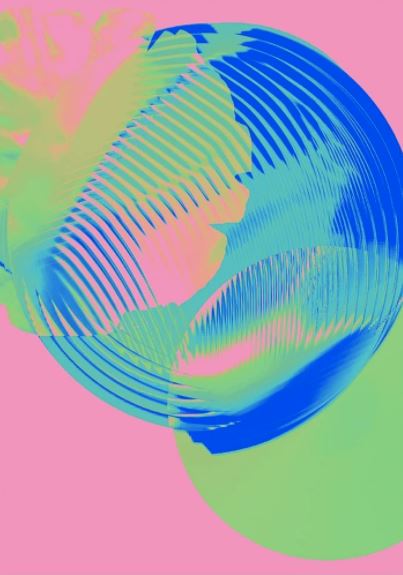
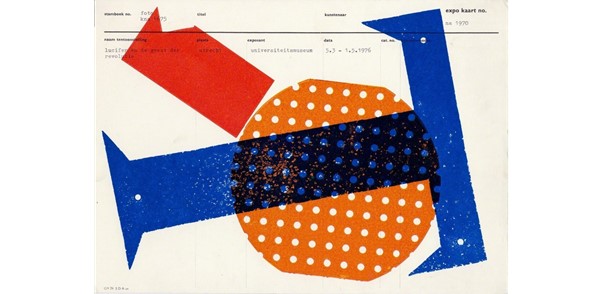
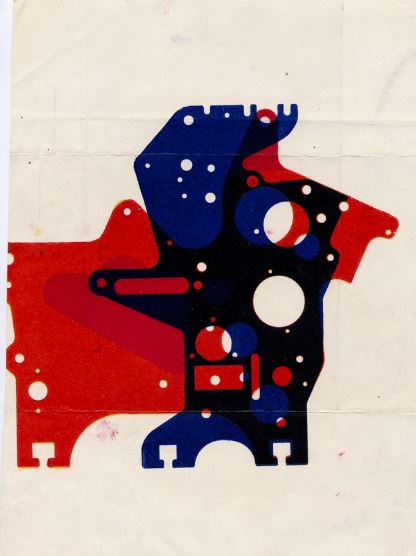
Where the prints overlap, the colour is darker and this gives the image some solidity.
Week 4
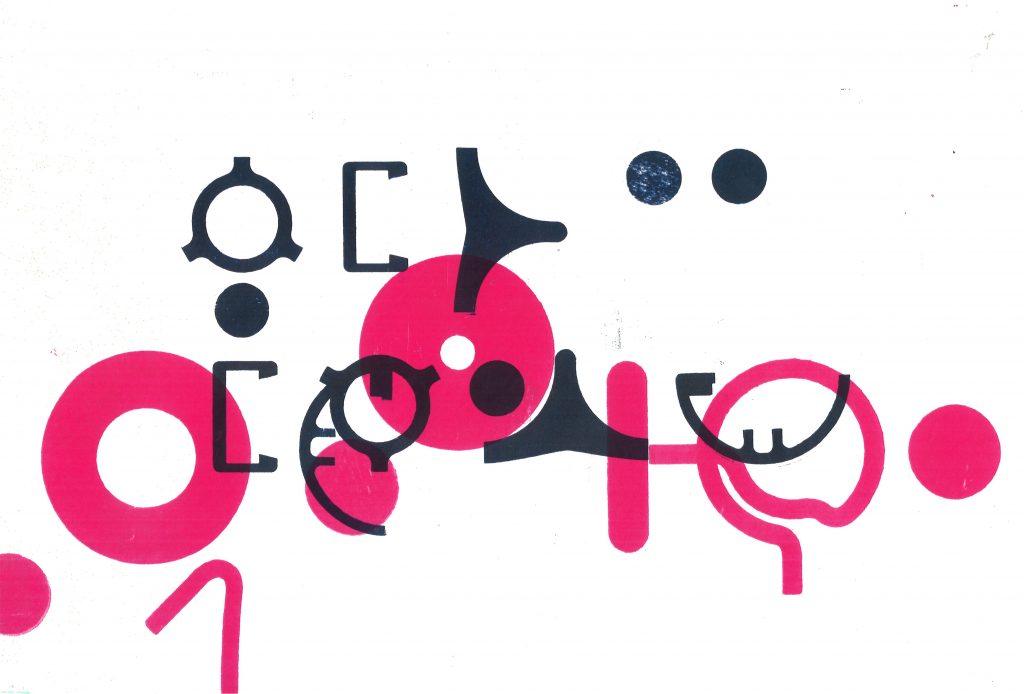
In today’s lecture, we were working with the prints from the previous ‘Speculative typography’ workshop. I printed the scans of these prints onto art paper. I had the option of printing these designs in different colours than the originals, by using the colour settings on the printer.
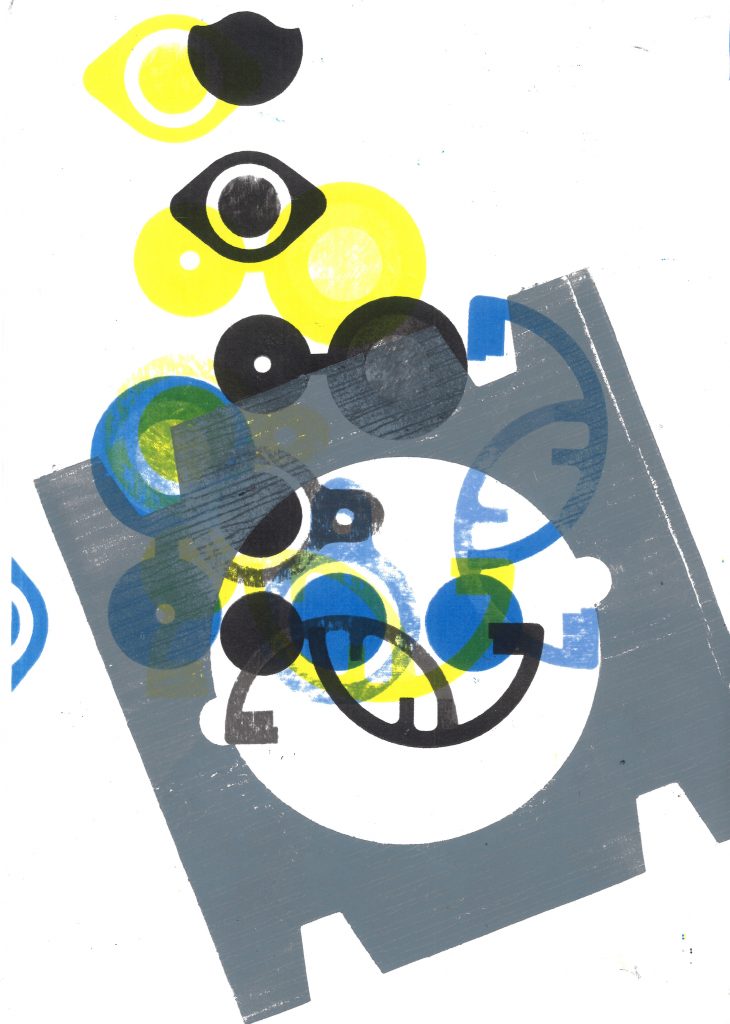
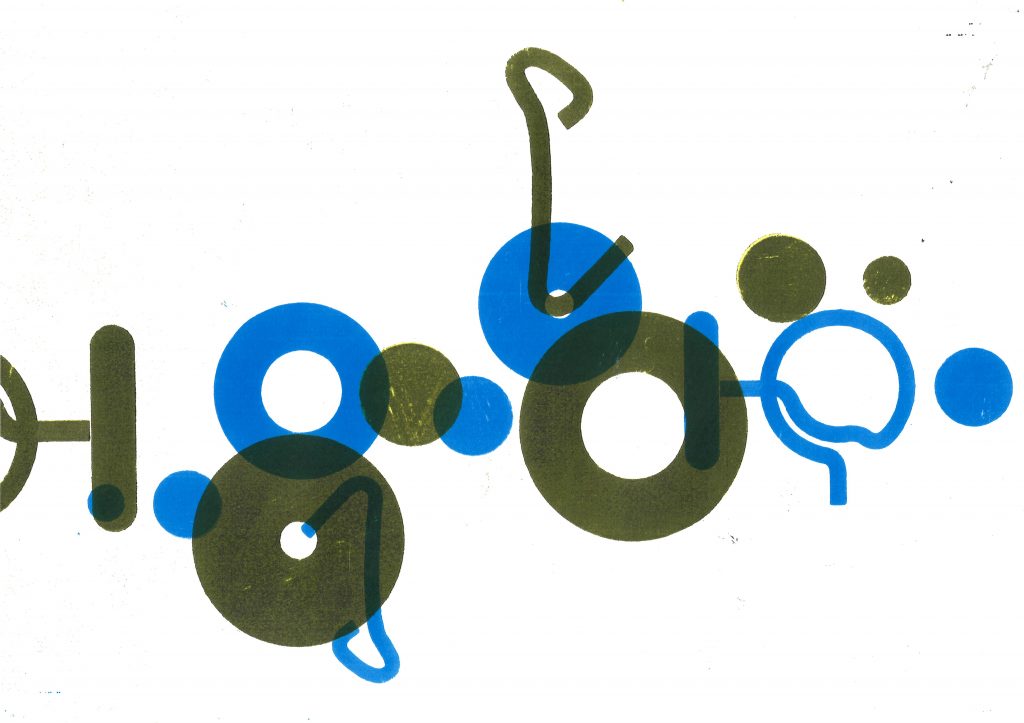
For example, in the below image I printed the design in its original colour (blue). I then replaced the paper into the paper tray, rotating it around. I placed the original print into the scanning bed and selected the 2 colour option, then selected yellow and black. This came out on the paper as a shade of green. I also resized the print by changing the percentage, and photocopied this onto the previous print.
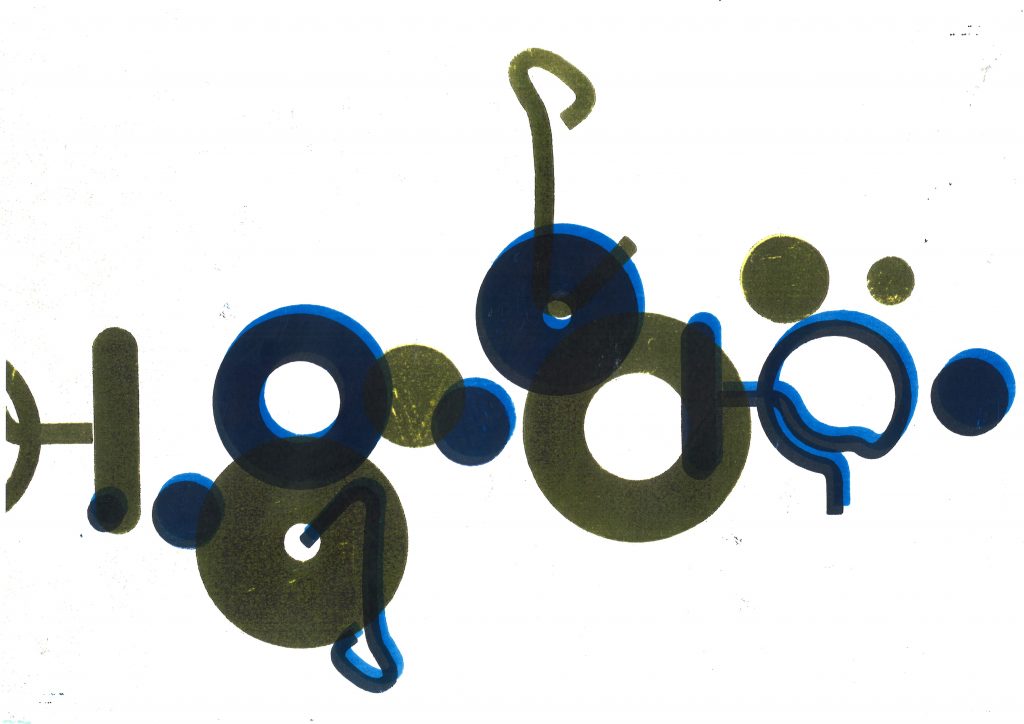
I selected blue and yellow for these prints as I liked the way these colours merged when overlapping:
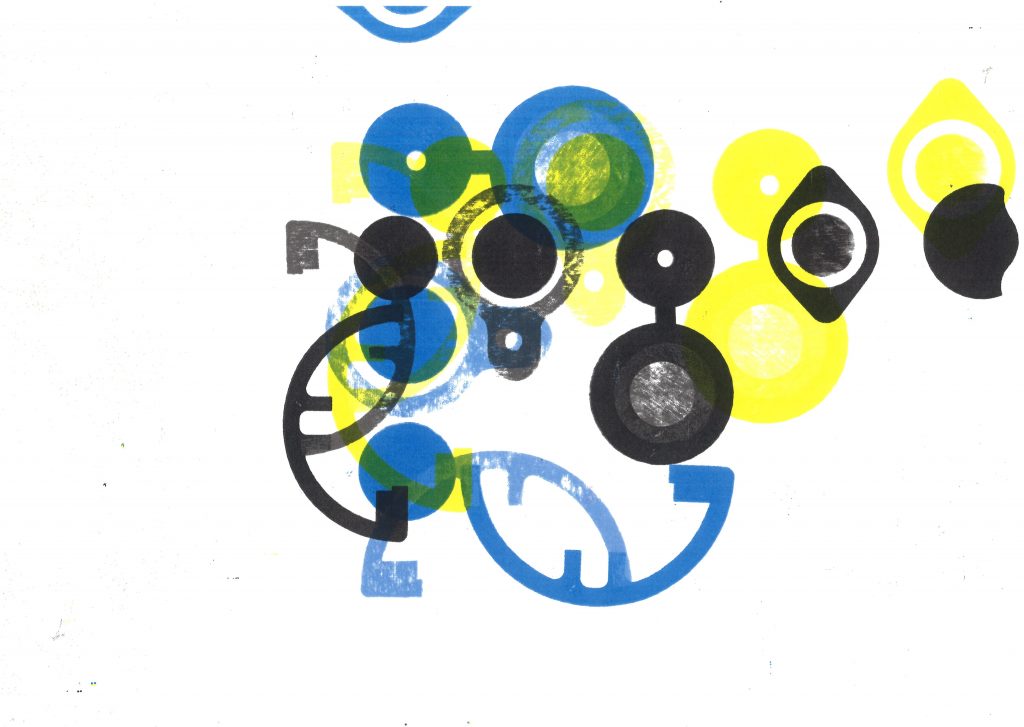
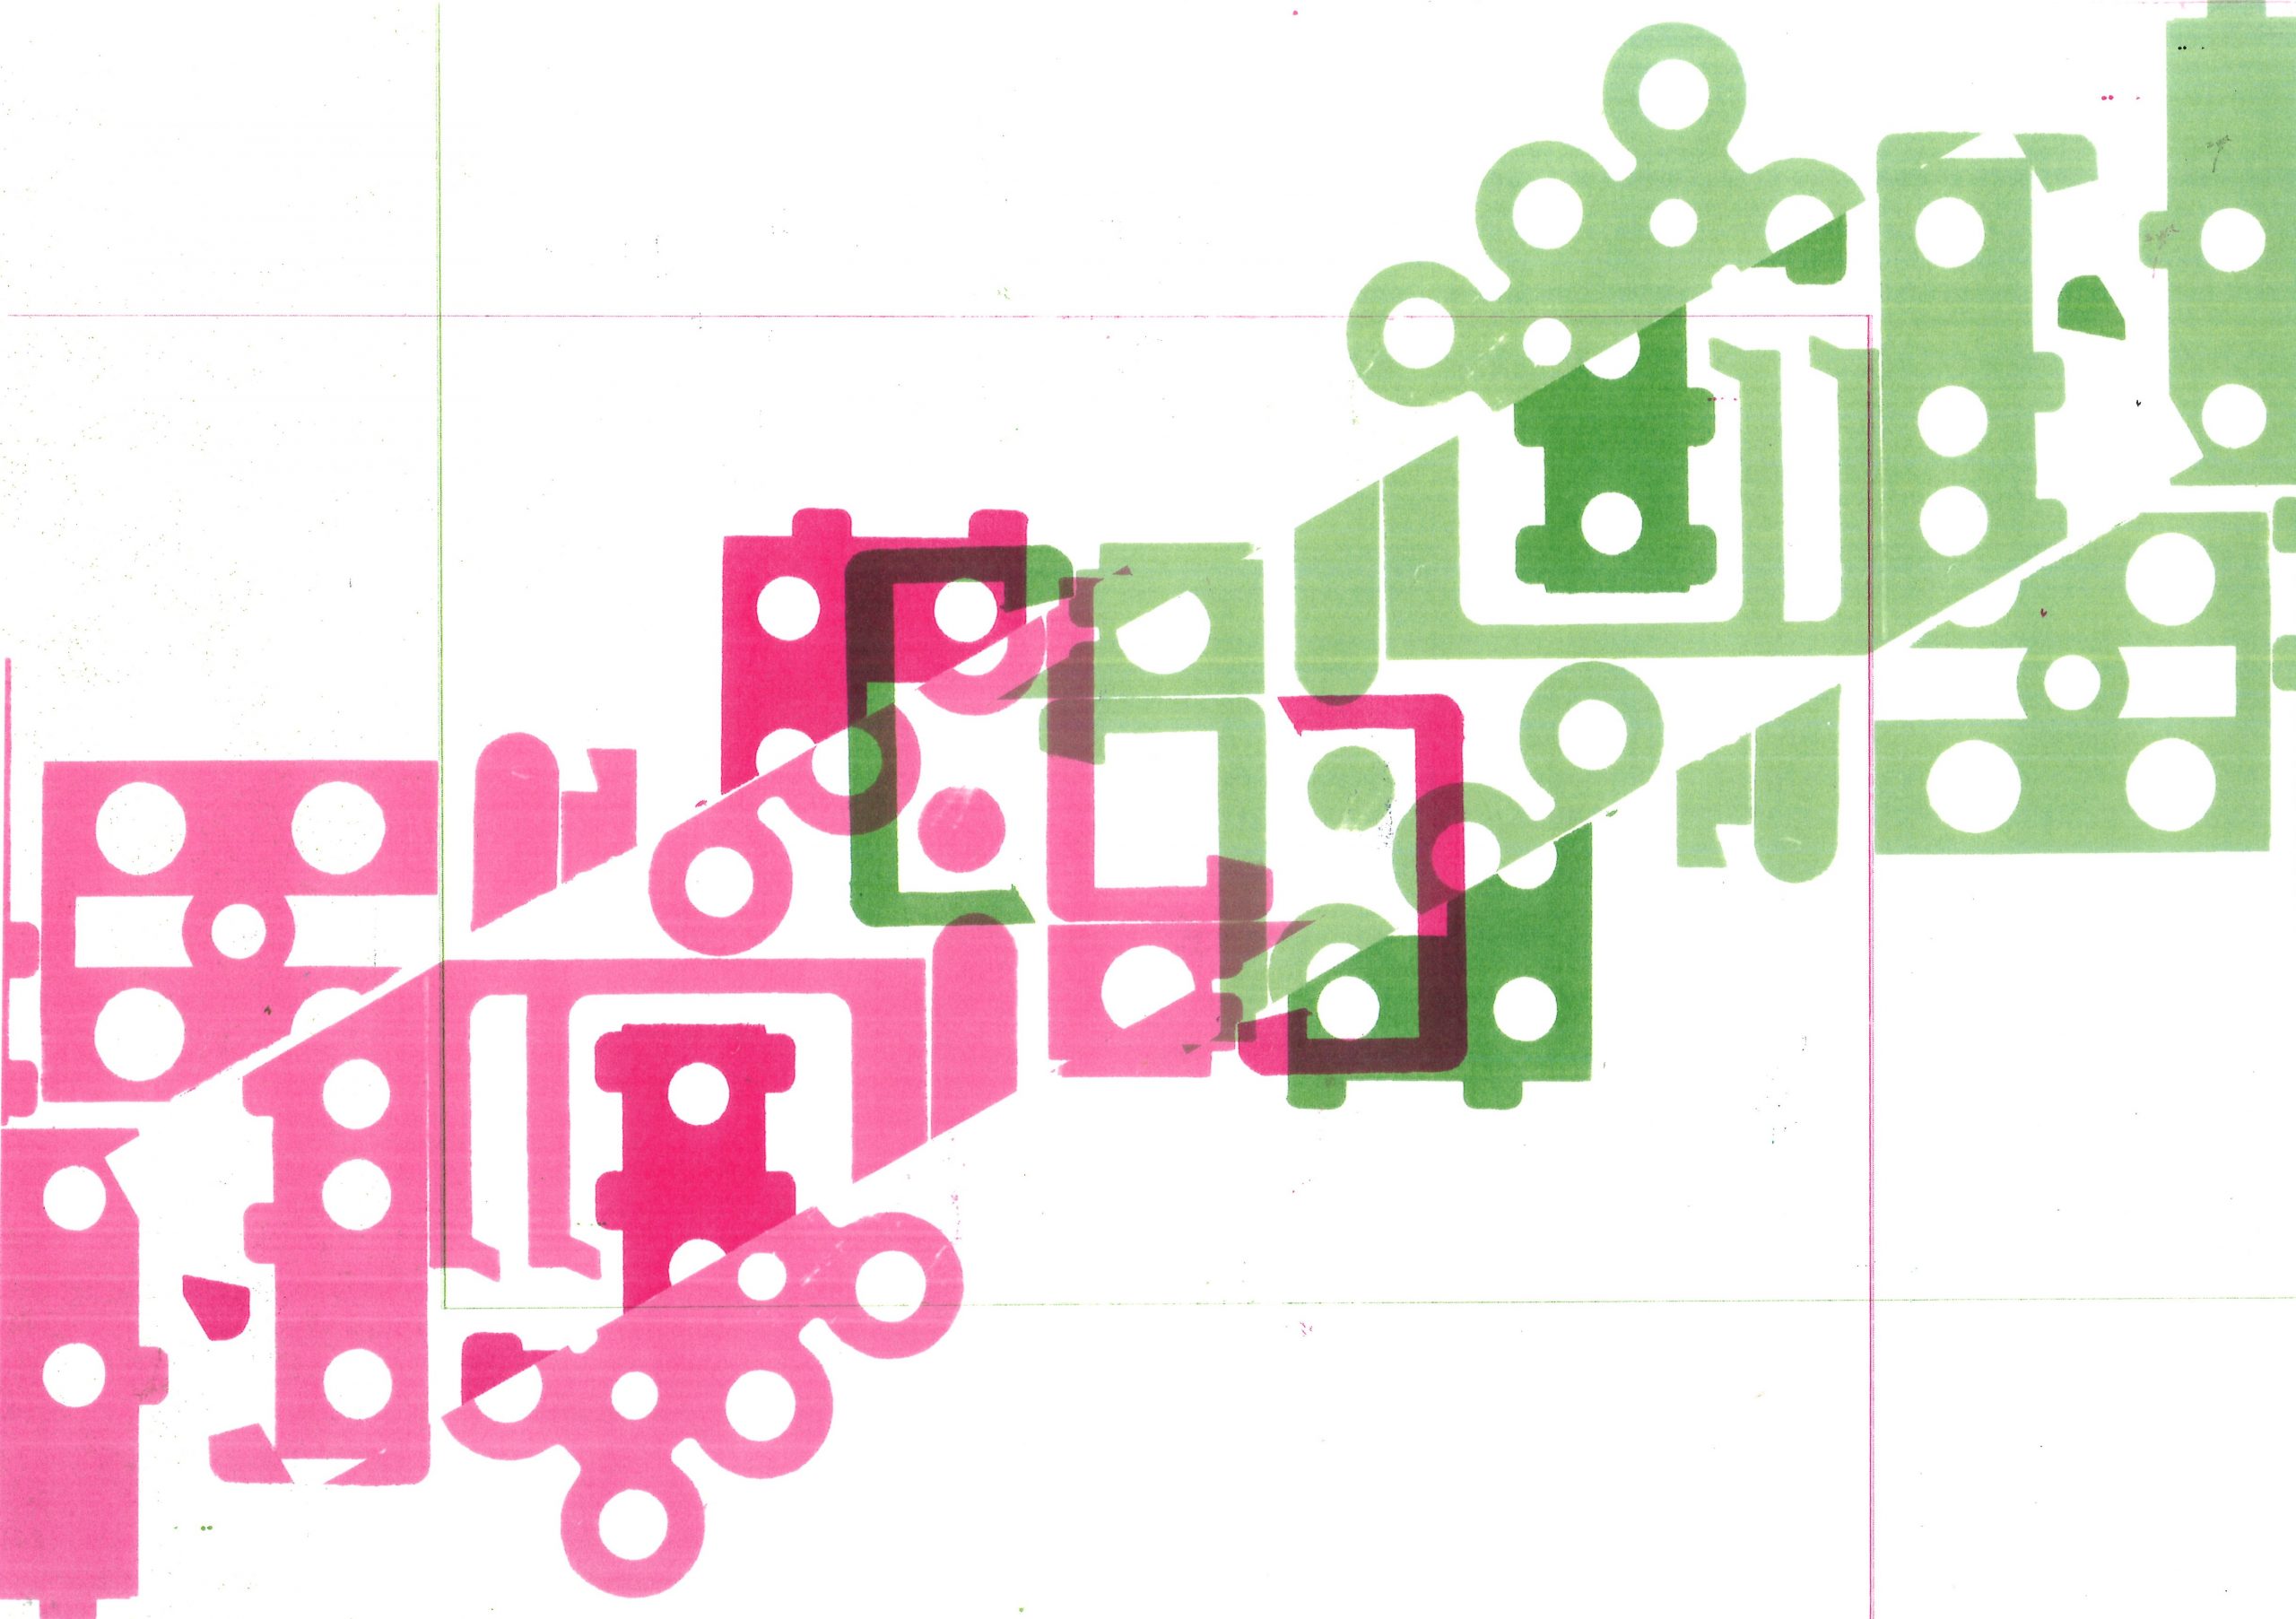
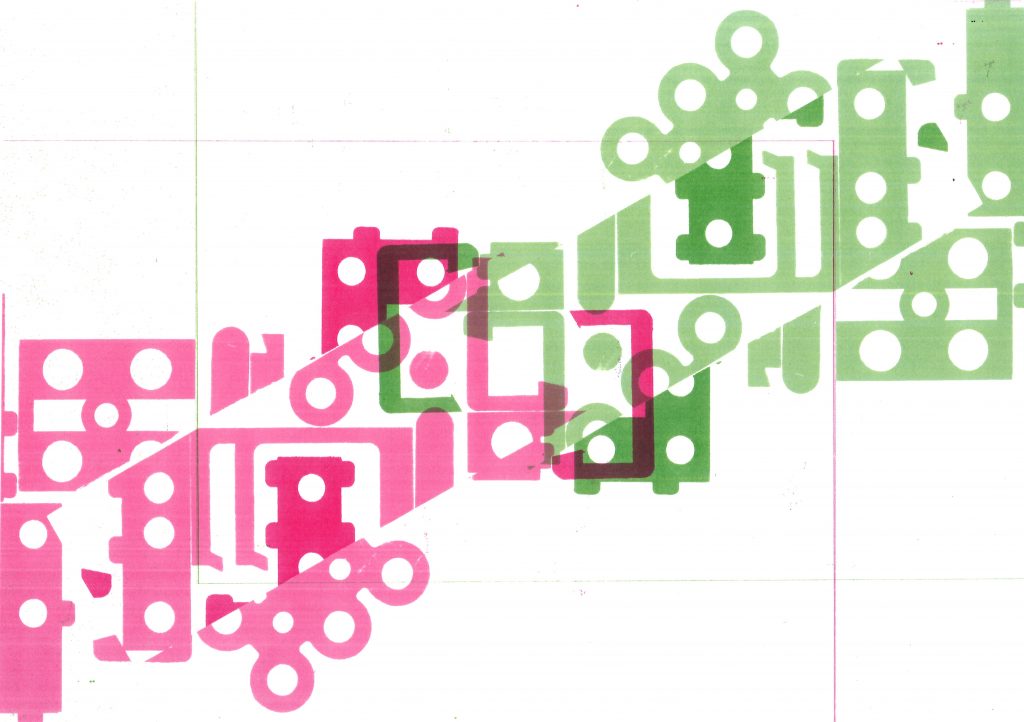
I creating this image from 2 photocopies. (green and magenta). I like the fine lines created by the edge of the paper.
The main part of this workshop, was the relief printing technique.
I was not happy with most of the prints from this half of the workshop. I think this is because the method was new to me, I didn’t have the chance to practice and plan the pieces because of time restrictions. I found that my classmates took to the process and got on well with it, whereas I struggled. (This was also the case when I first screen-printed, at the beginning of semester 1. But with time and practice, I got more confident.)
I maybe rushed the process and didn’t anticipate what the outcome would be when I chose certain colours and placements. I could have slowed down and really thought about what would compliment the composition.
Step 1- Was to soak the paper in water, for about 5 minutes. This made the paper softer, more pliant so that it bends to the shapes of the materials used for printing on top. After soaking the paper, it needed to be sandwiched between blotting paper. This removes the excess water.
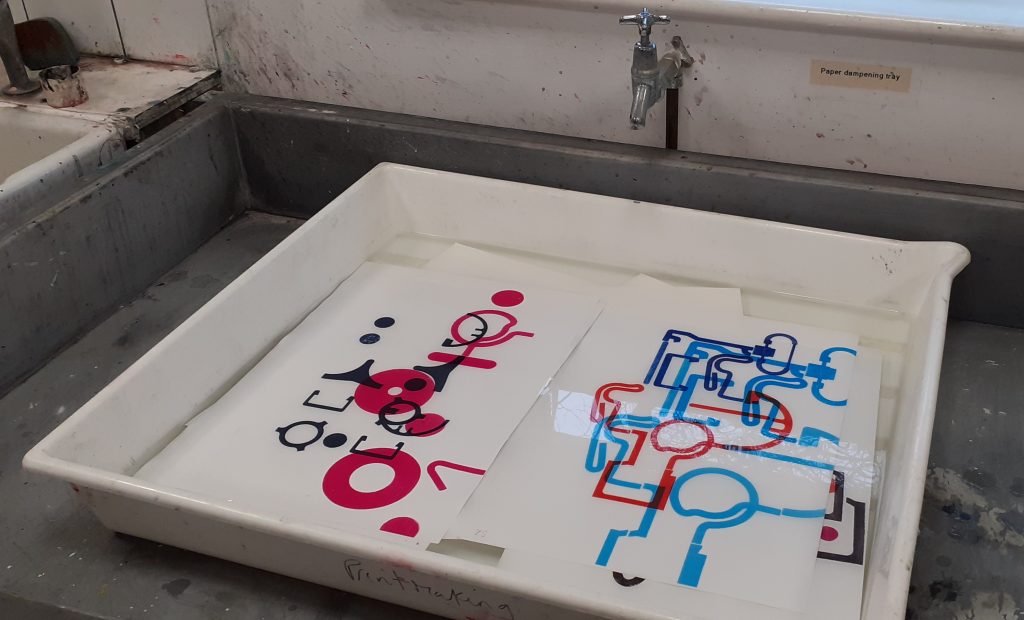
Step 2- was to ink up the materials used for printing. We used mainly carboard packaging for this purpose. The ink were rolled onto the worktop and I used a roller to transfer the ink onto the cardboard.
Step 3- I then carried the damp paper and inked up pieces over to the printing press. I arranged the pieces onto the paper, after placing these pieces, I did not have the option of removing and replacing the pieces. When I was satisfied, I laid a few sheets of paper over the top, followed by a couple of blankets.
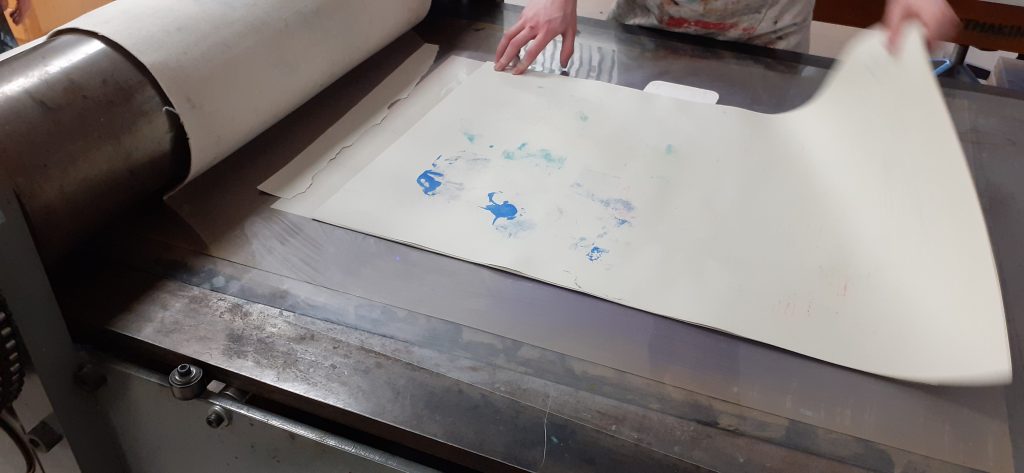
Step 4- It was important that the blanket wouldn’t crease or fold. Therefore, we worked in pairs for the printing process. One person, held onto the blanket, pulling it straight and the other person turned the wheel. A swift action is best for this.
Step 5- After removing the blanket and paper, we could start removing the shapes from the print to see our results. Sometimes it was enough for the work to be pulled under the press once. It was at this point that I saw the paper had ripped in some parts. This is because the paper was too wet.
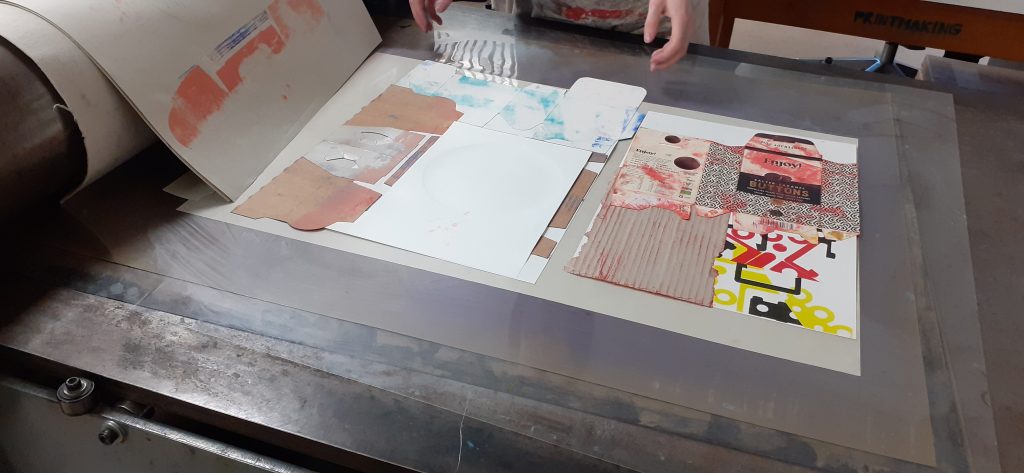
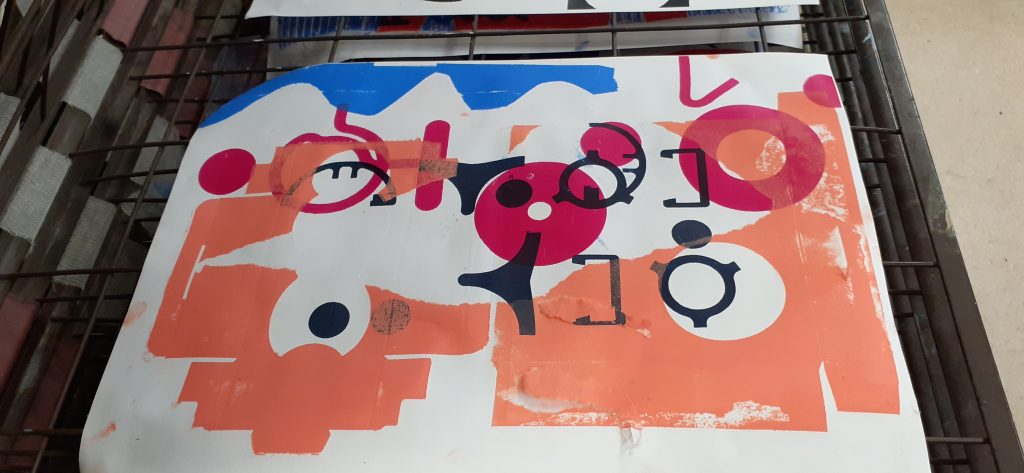
I tried to use the striped cardboard markings to unify the composition with blue ink. However, I felt the print still looked too busy:
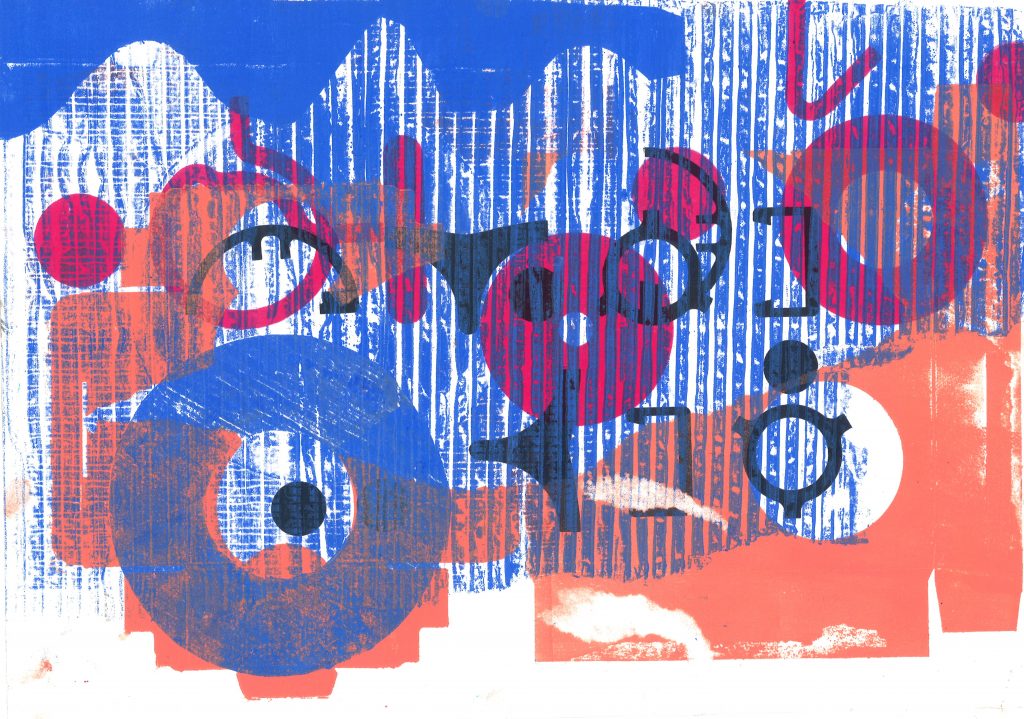
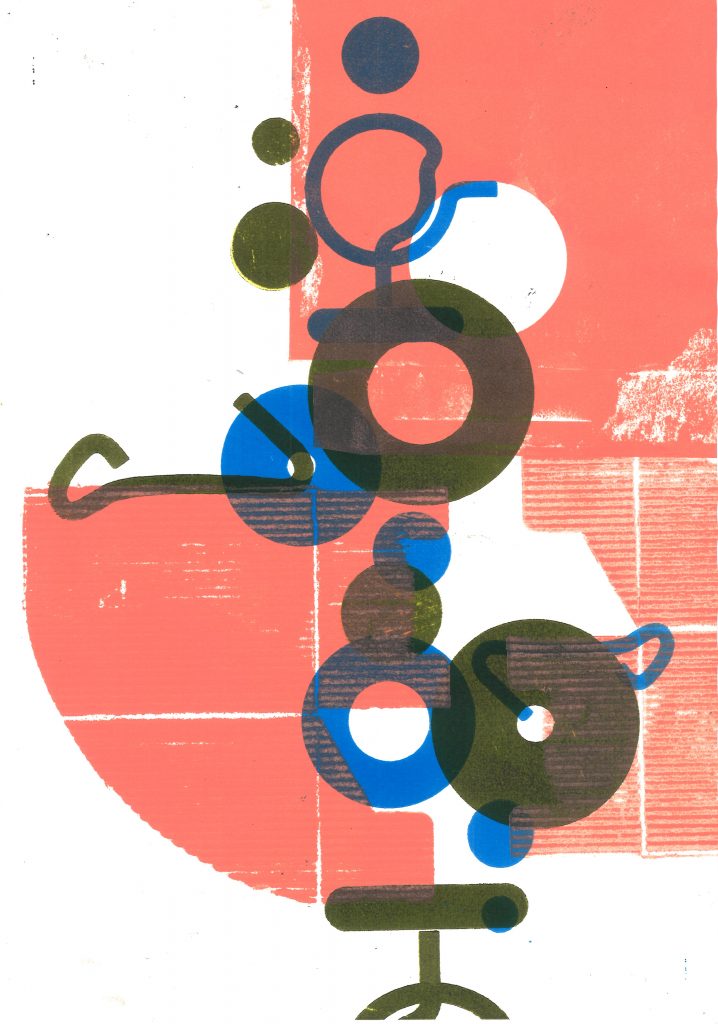
I liked this print because the peach colour was very different in tone and temperature to the mossy green. The circle in the cardboard worked well with the circles in the underlying print. I allowed white space.
