Oxford’s Bridge of Sighs
Mastering the art of printmaking means being able to produce several perfect prints in a row. (Perfect meaning identical and neat.) I think the reduction technique was a bit too challenging for a starting point, but here I am.
I am happy to share my mistakes in this blog, along with any successes. I want to learn from these mistakes and do something different next time. This is why I am including videos as well as photos of my process/progress. I will be uploading these videos onto my YouTube page.
For my second lino experiment, keeping with the Oxford theme, I chose to work with this image of the Bridge of Sighs, from Instagram:
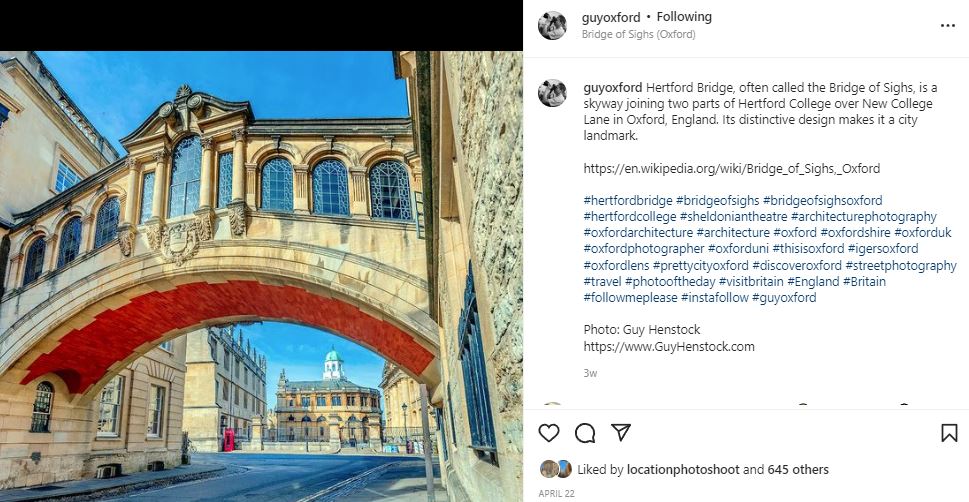
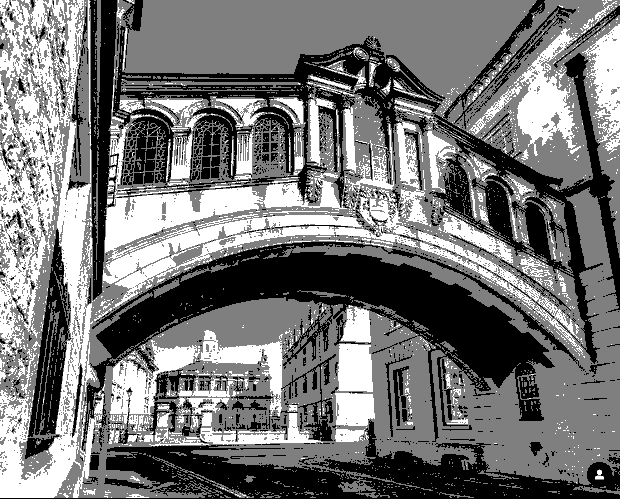
In order to work with this photo, I flipped the image and posterised it using photoshop.
The Process
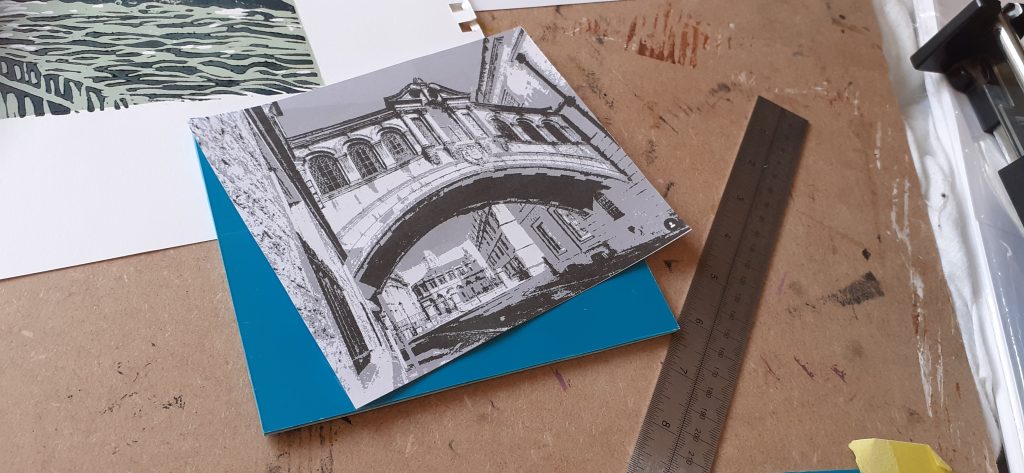
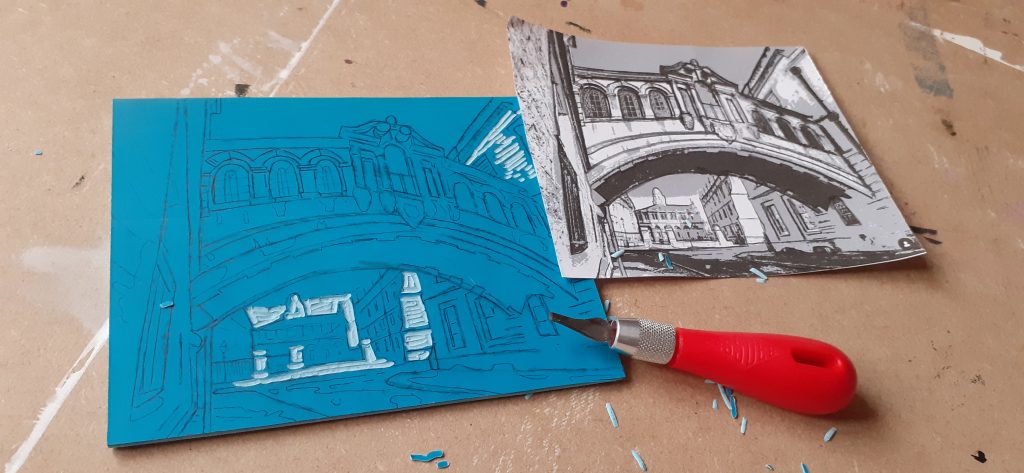
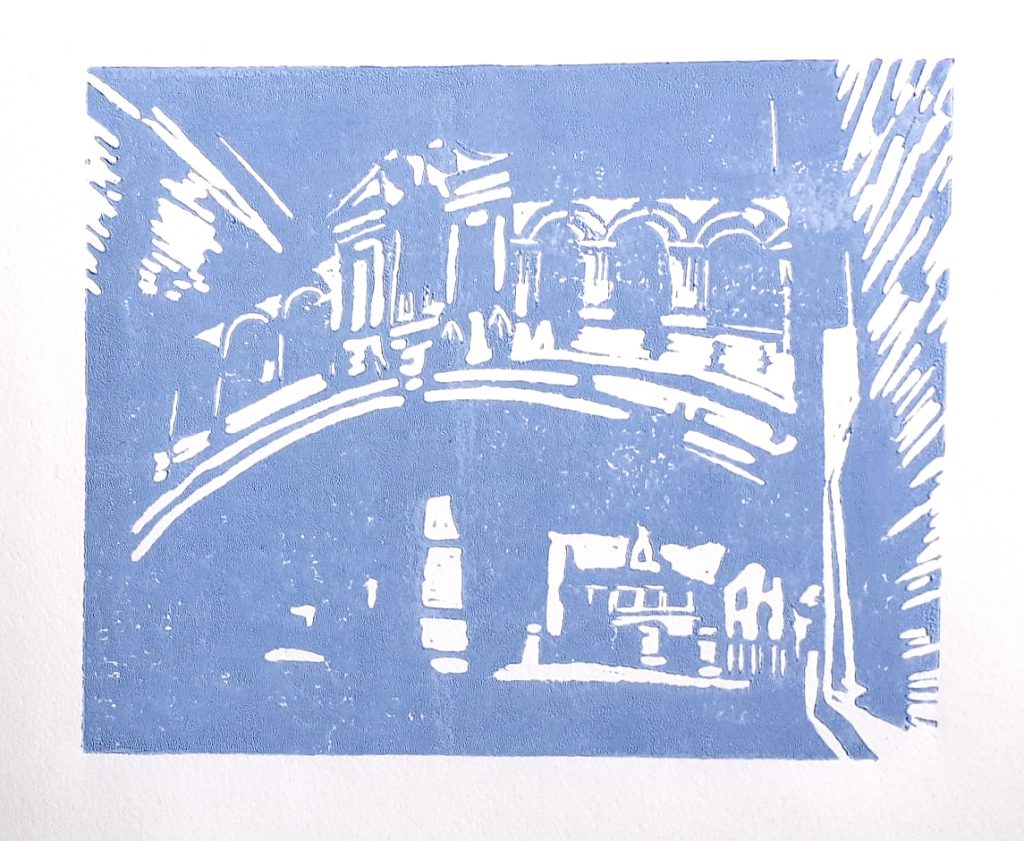
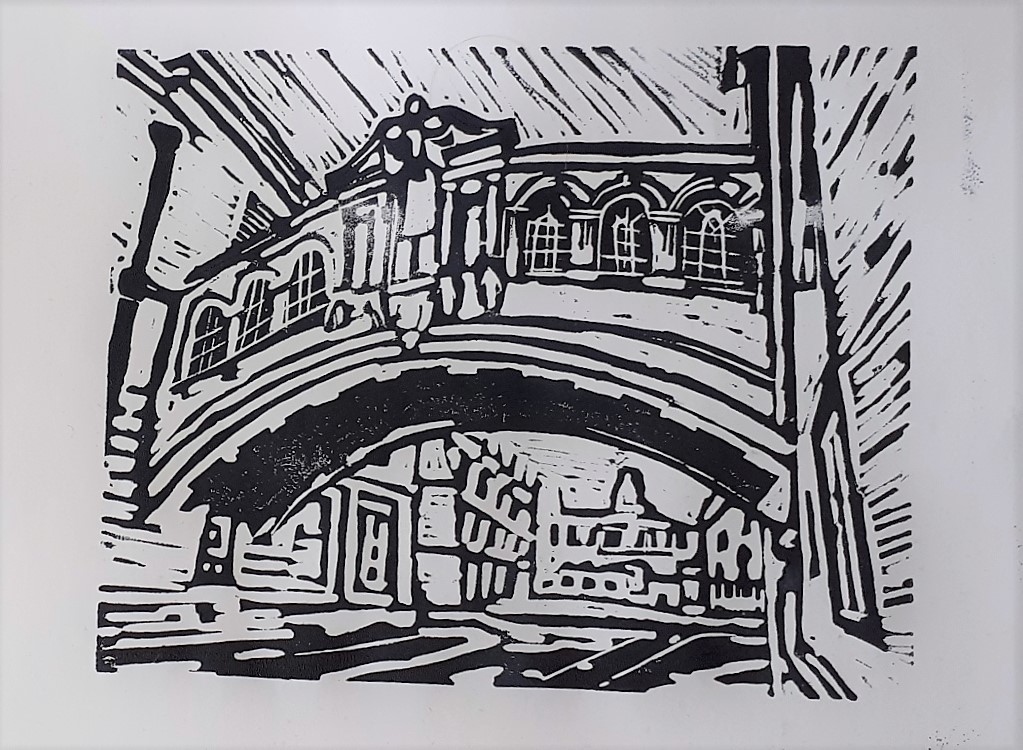
The first areas I removed would appear as the white of the paper:
Second layer
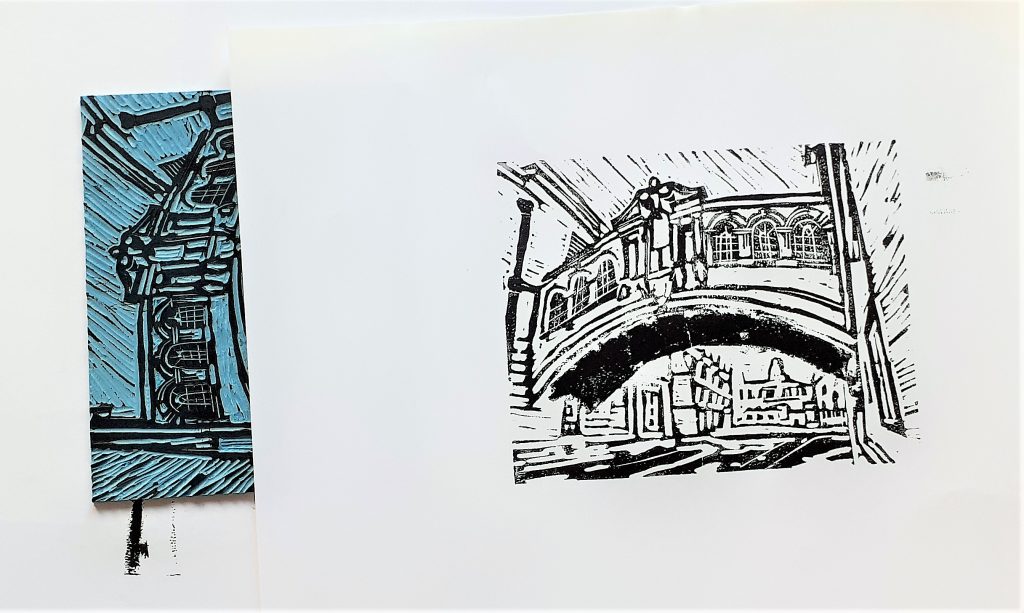
For the second layer, I removed the areas of the image where I wanted the first layer to show through.
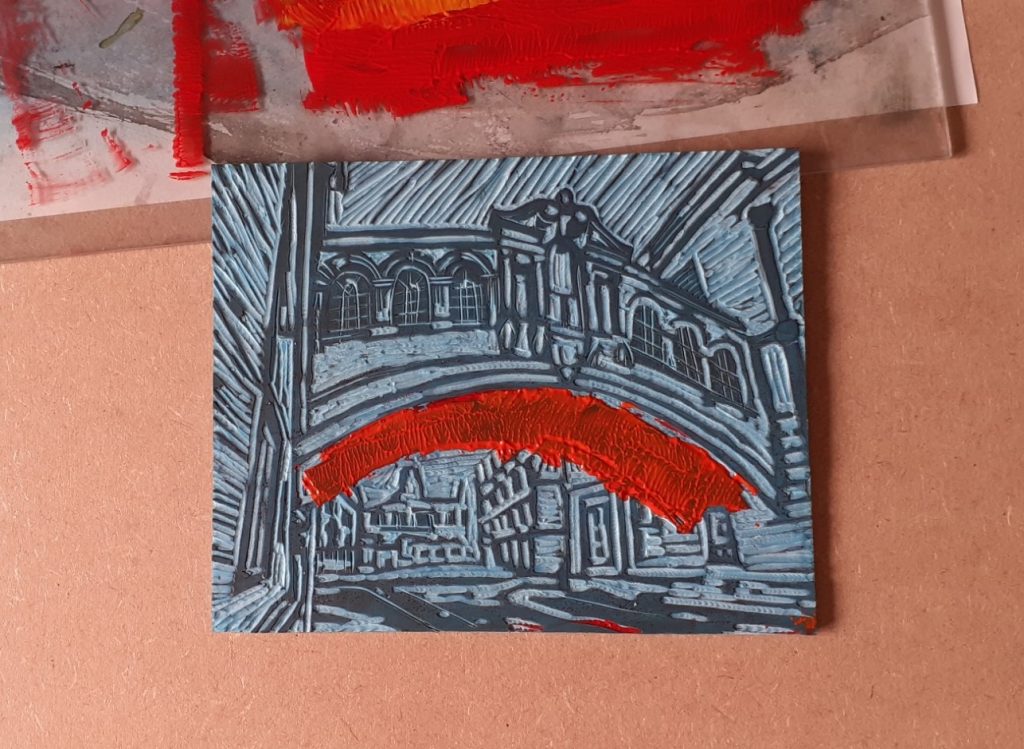
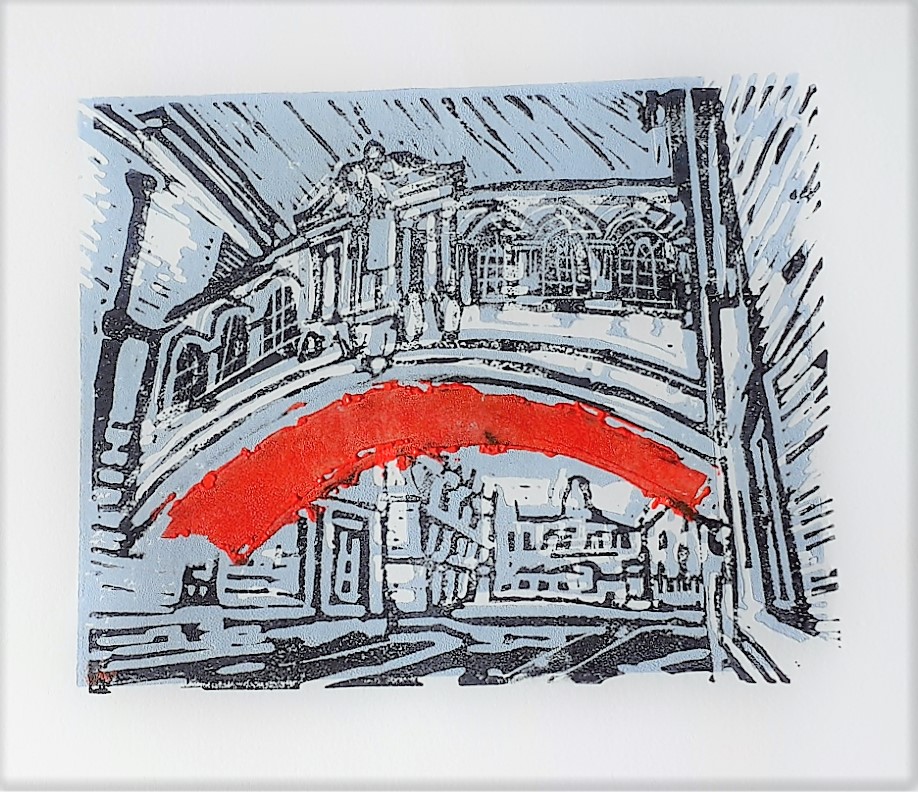
Using a cloth, I removed ink from the bridge area. This meant I could add red ink to print in a third layer later, (once the first 2 layers were dry). This left a blank area where the underside of the bridge is:
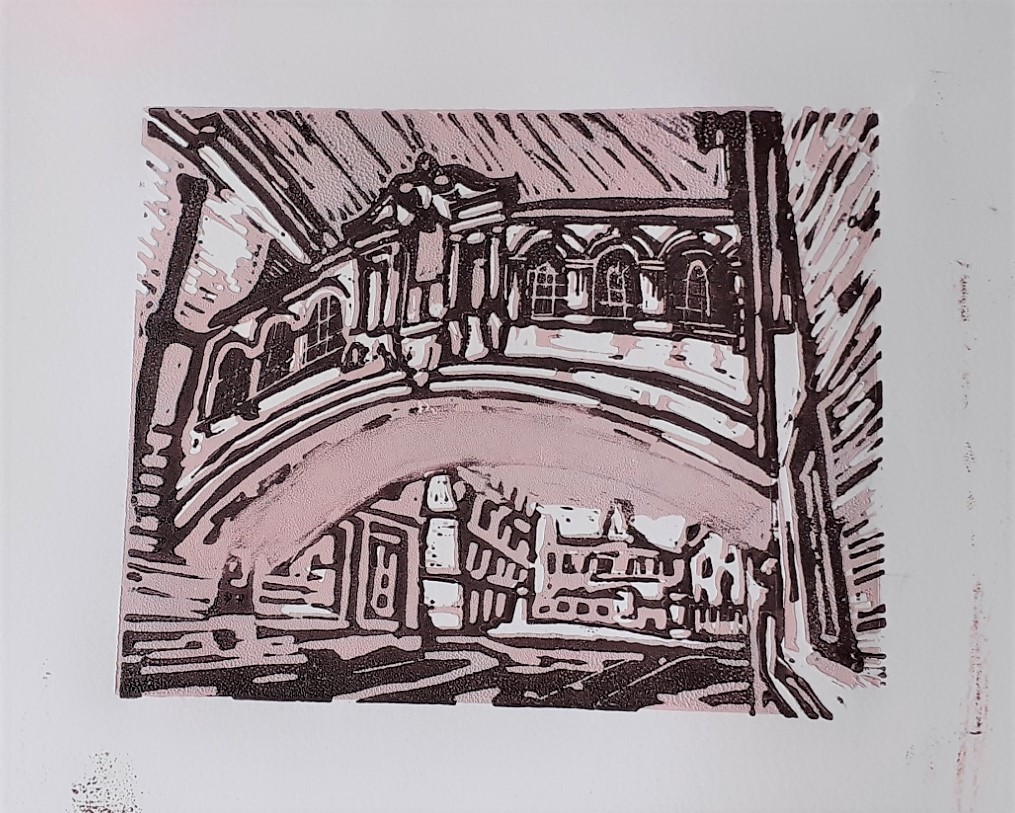
Third layer
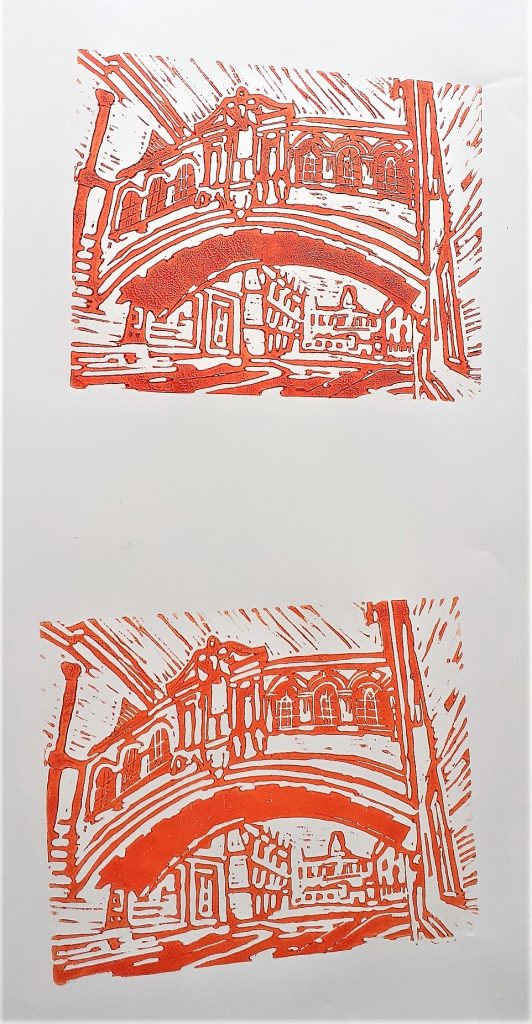
I wanted to feature the red-orange of the underside of the bridge, as the colour looks striking in the photograph. I mixed yellow and red ink to achieve the bright colour:
WATCH Bridge of Sighs – applying ink
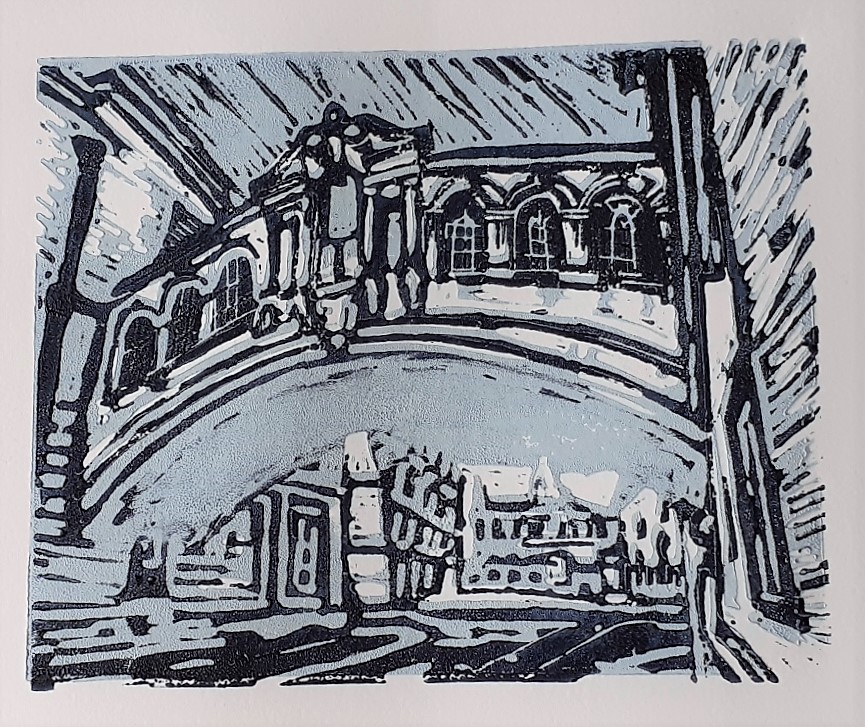
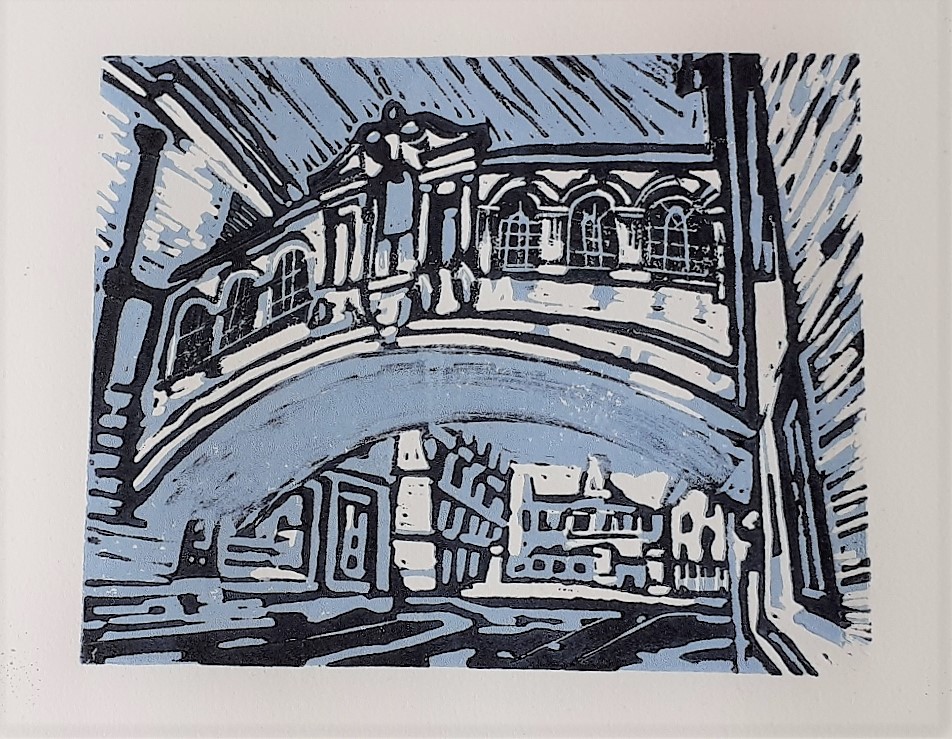
These were the results:
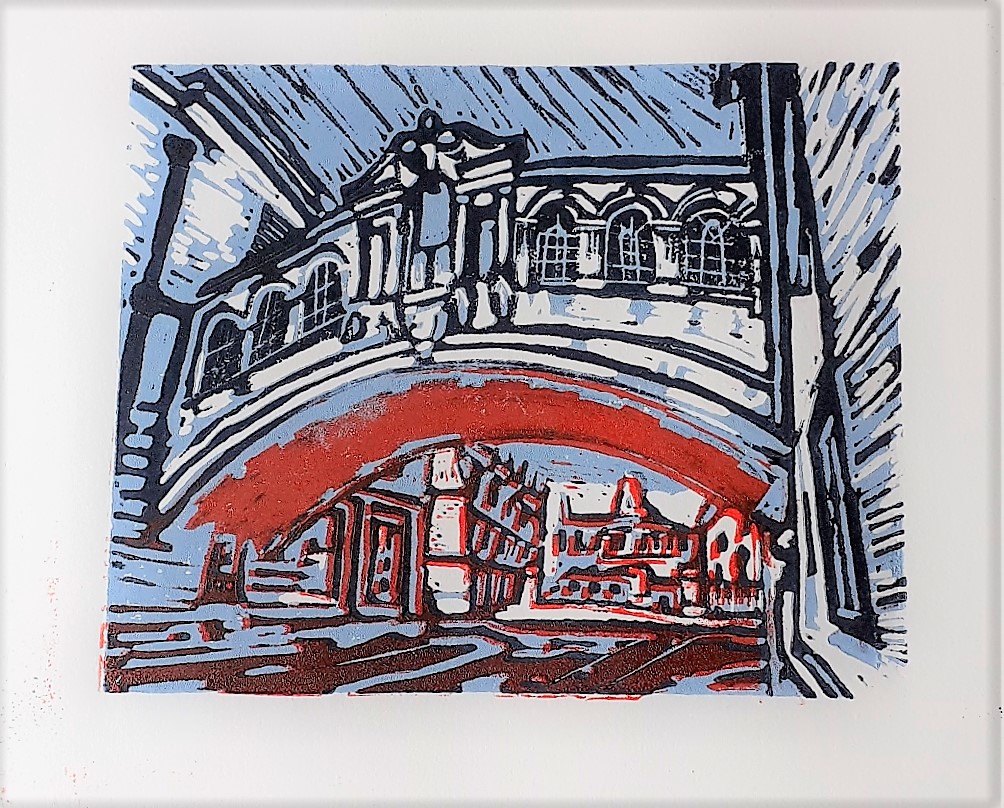
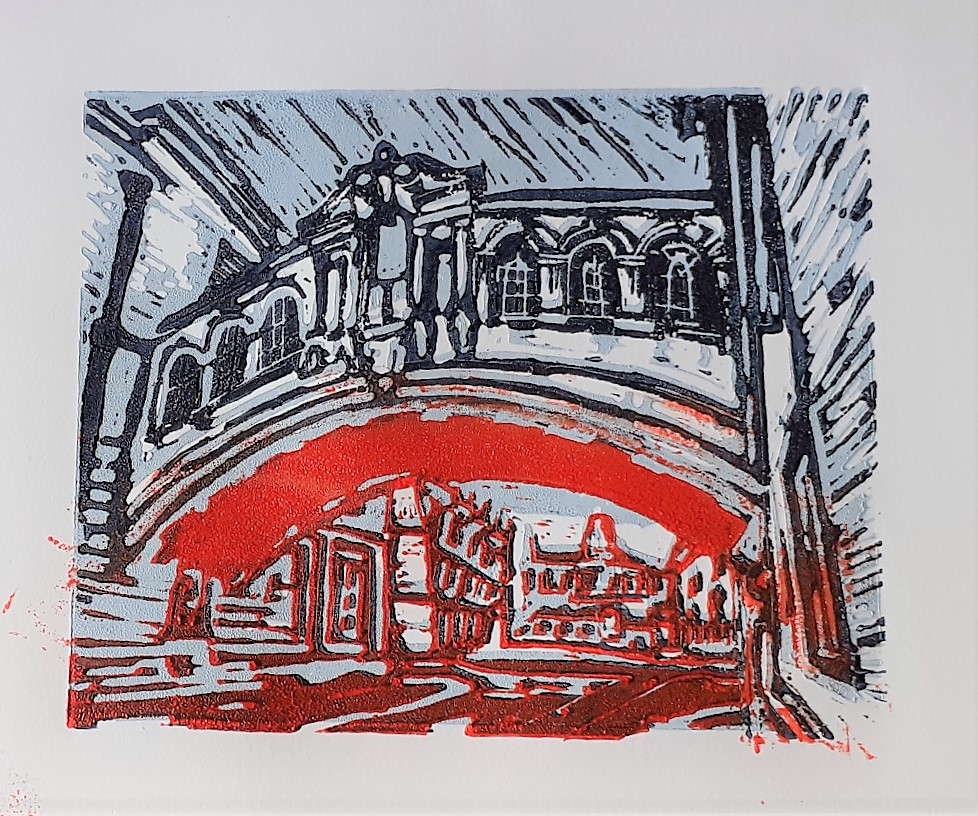
As you see, there were:
- some slight misalignments
- inky fingerprints at the edge of the paper
- ink not sticking to the flat area of the bridge
- uneven prints
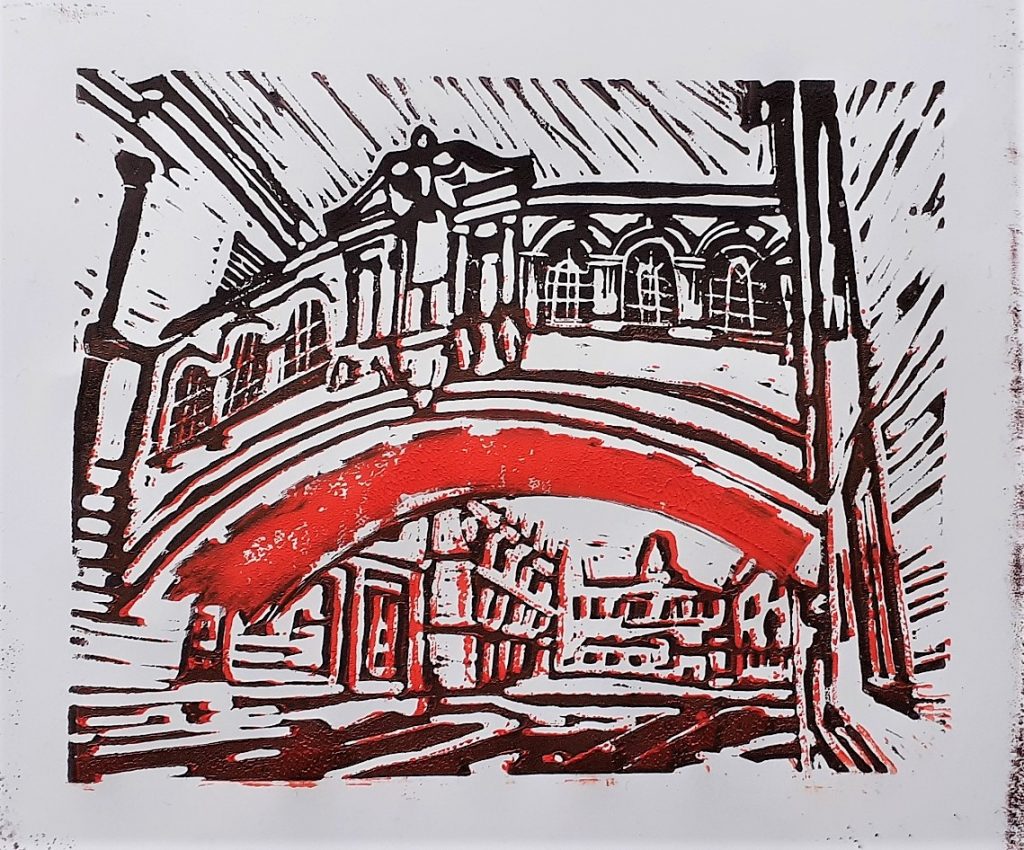
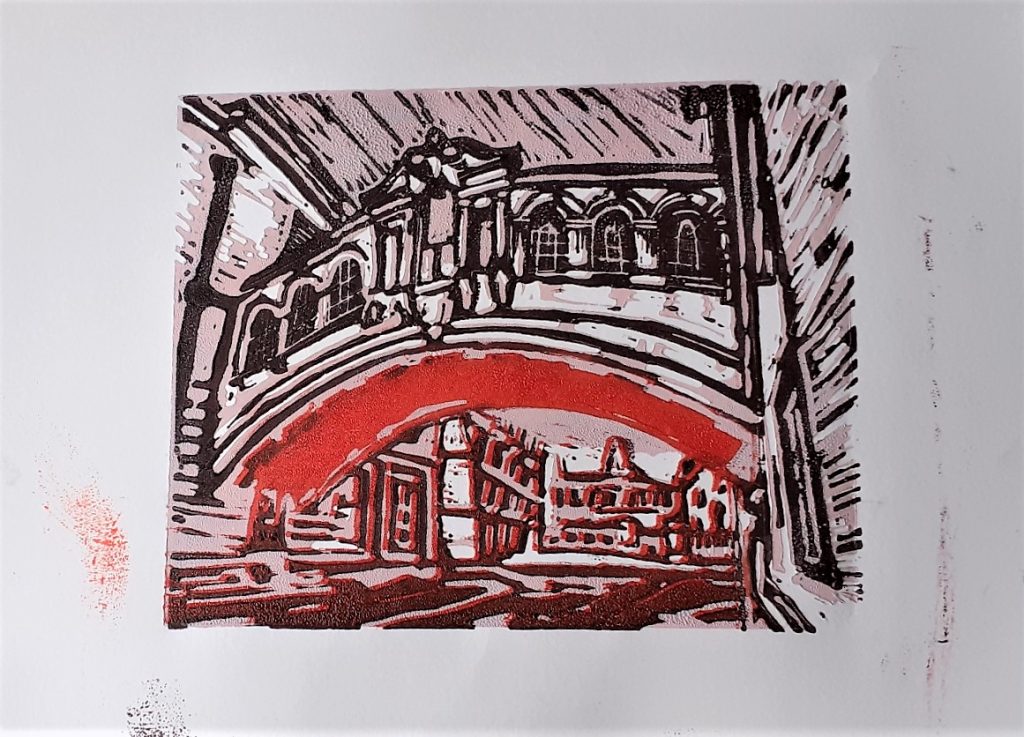
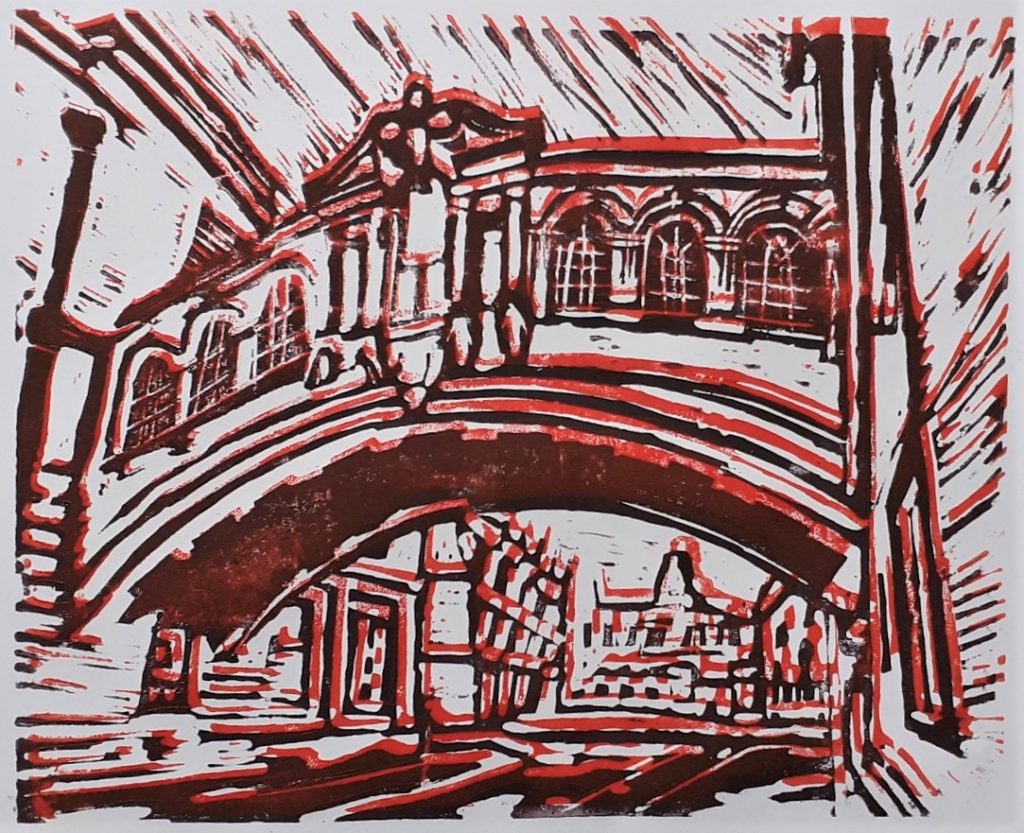
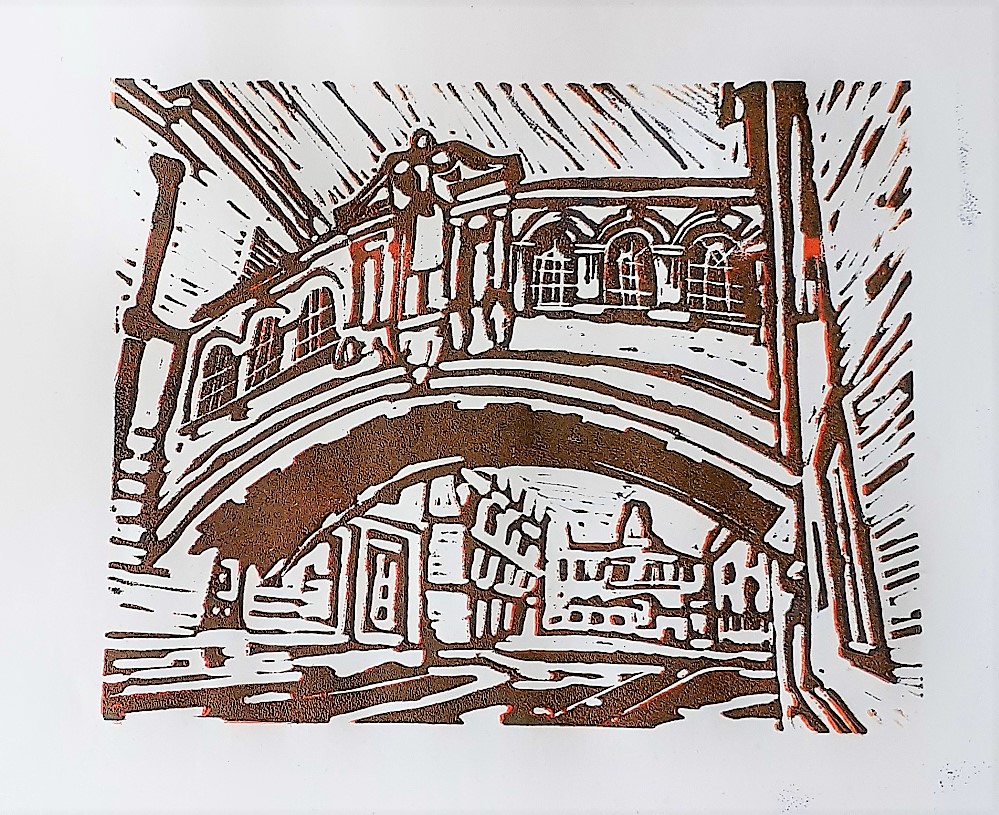
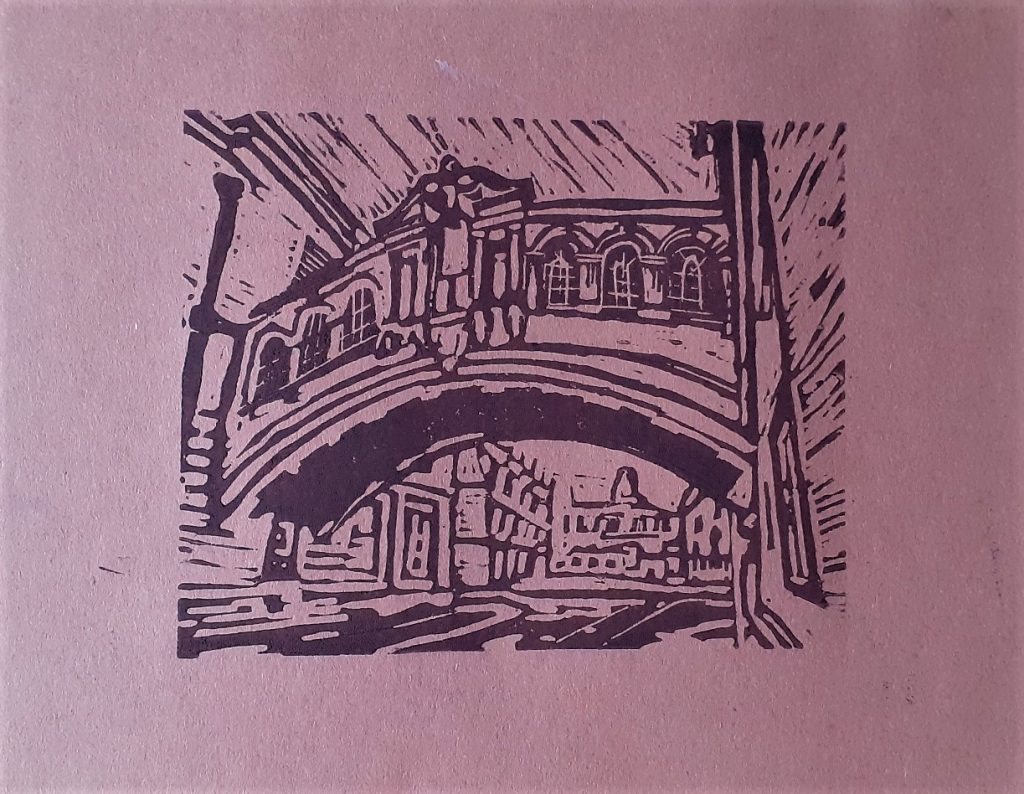
I wouldn’t call any of the prints successful. I liked some more than others, but it was frustrating to end up with messy results and to have made some silly mistakes that could have been avoided. I know this is part of learning.
Is it OK to say I like imperfection?
