I first learned printmaking during my diploma at college. This was during the Covid-19 pandemic. Being unable to teach in-person workshops, the college was forced to ask us to complete the unit from home. This meant no access to screen-printing equipment or a printing press for etching/intaglio. We made do. I remember my bedroom being full of the many experiments needing to dry. I practiced linocut, mono-printing and collagraphs.
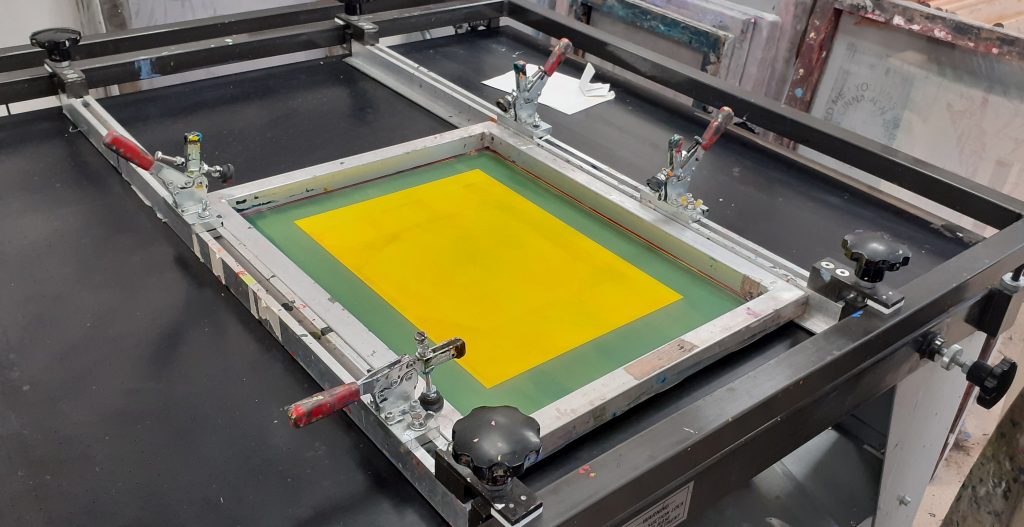
Now in week 1 of university, I was finally introduced to the art of screen-printing. The only thing I had previously been told about screen-printing, was that you needed to use your muscles and that the end result would be something flat in block colours. They were wrong about the work looking flat. Our lecturer Caroline showed us some examples of screen-prints and I was surprised to see the delicate lines and layers of the work.
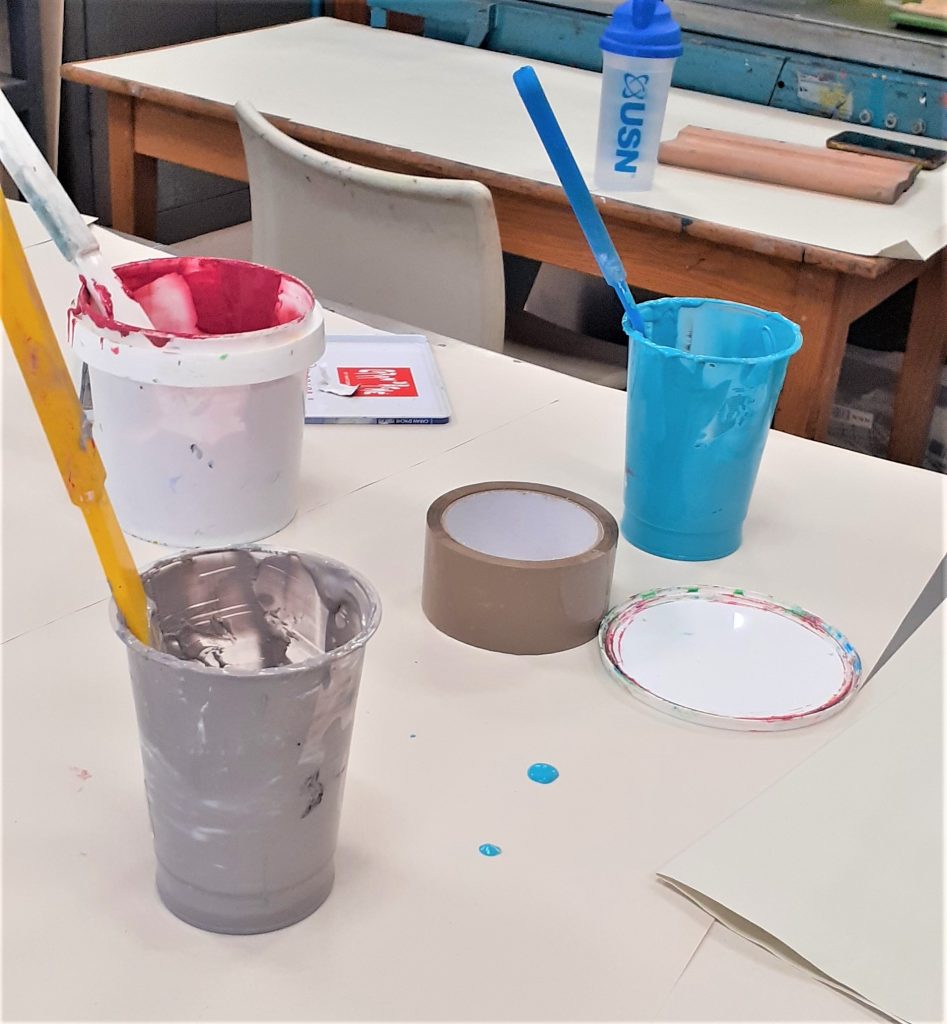
I came across several challenges in this first workshop. These challenges helped me to learn what to do next time. For example:
- It was better to use too much ink on the screen. Excess ink could be removed, but too little ink meant that the screen would not be covered.
- Using a clean, dry squeegee after the initial pull made sure that excess ink was removed and helped to push the ink through to get a better print. I noticed that the prints where I didn’t do this, were paler.
- I found it difficult to print at the centre of the page. I later learned how to solve this issue.
- Ink can gather at the edges of the print. If left to sit there, It can seep through and smudge the edges.
- When using the vice machine, I needed to lift the screen and ‘flood’ the screen with ink, before setting it down to do the actual printing. When I failed to flood the screen first, the print did not turn out well.
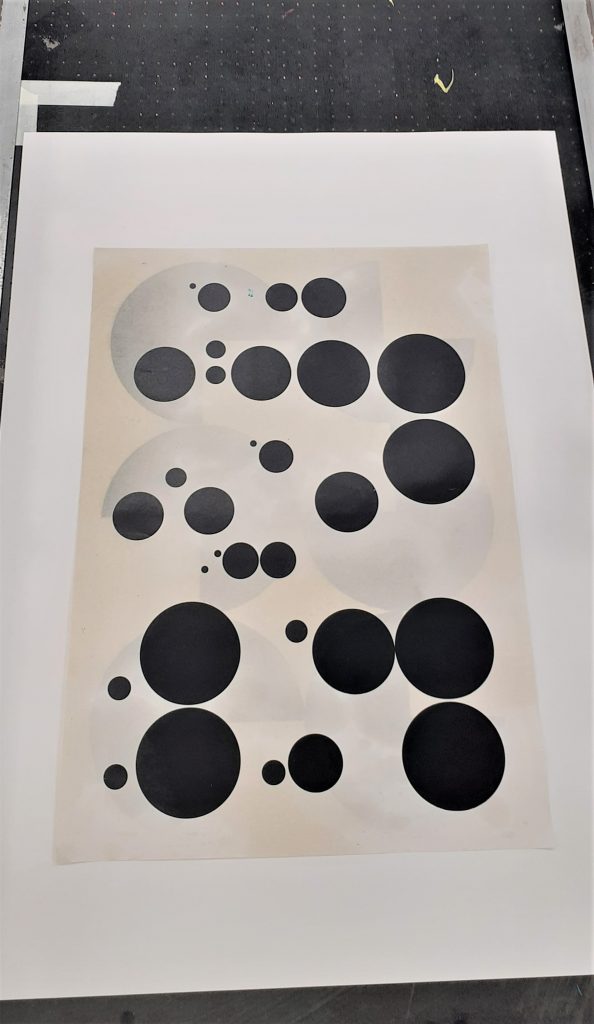
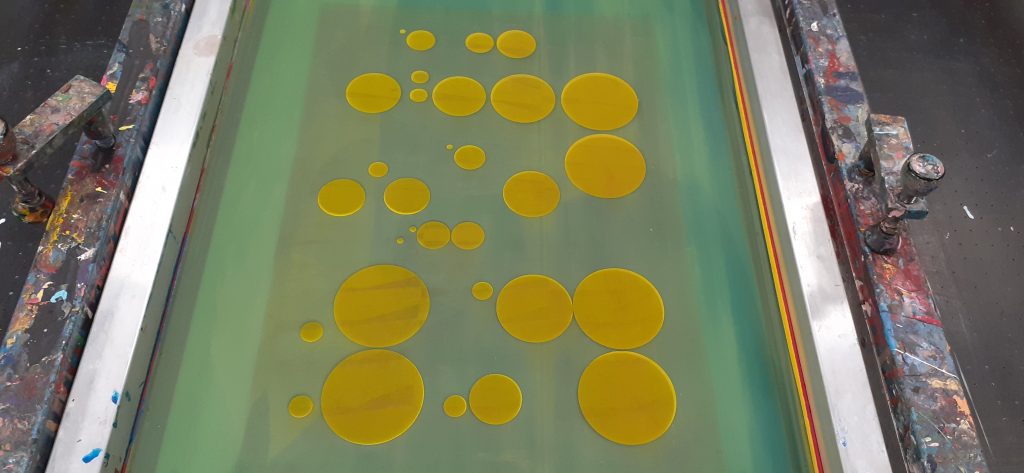
In this first workshop, we were printing the backgrounds for future compositions.
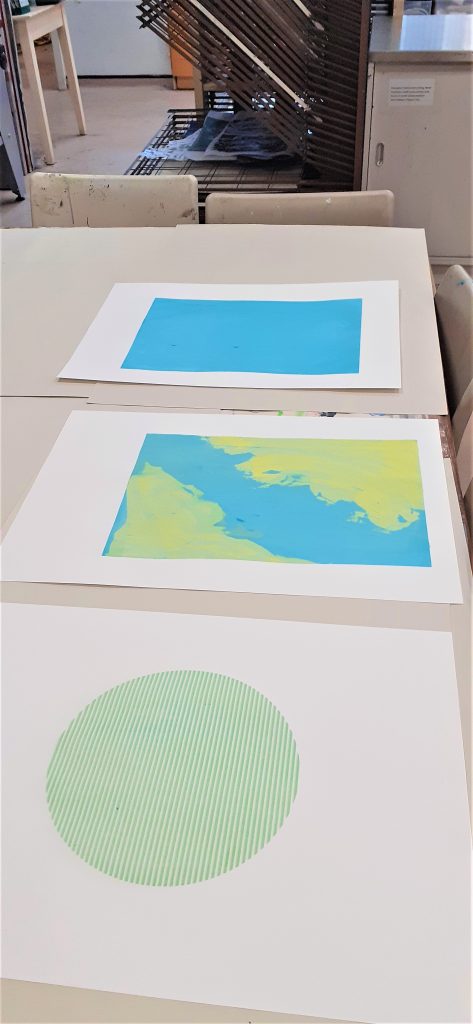
My initial attempts:

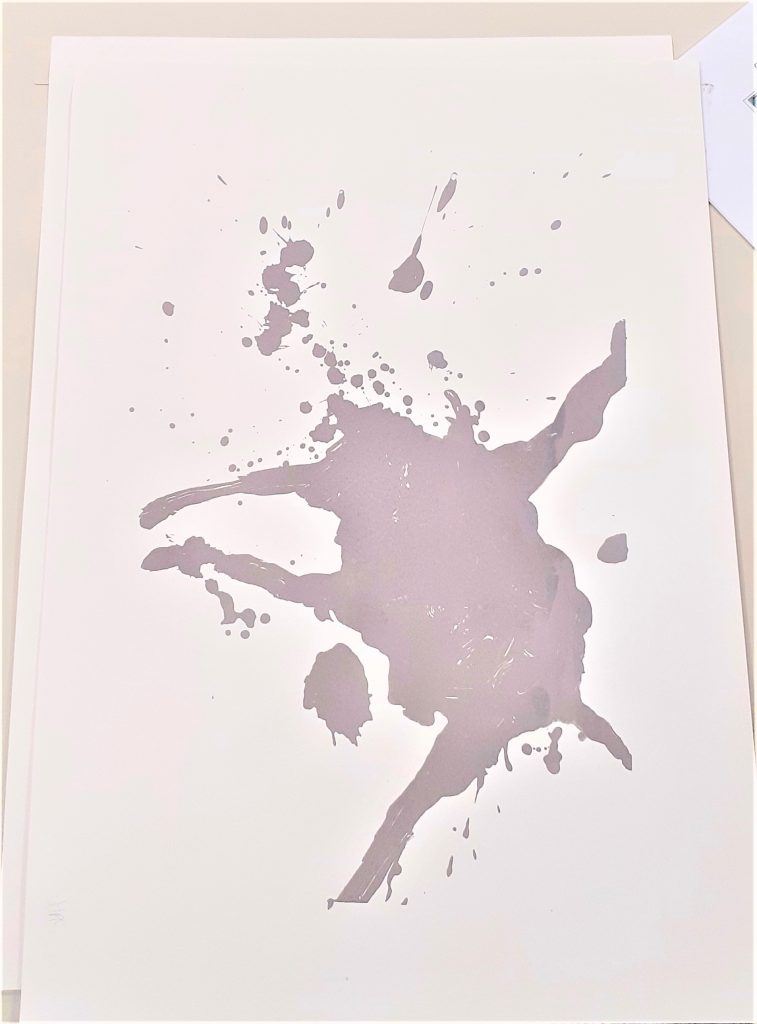
The following week I went back to the workshop to get some more practice. There was a lot to learn in the first session and I finished the session with just 3 workable prints. I wanted more backgrounds to work on in our next session with Caroline. I was happier with my prints the second time around. They were not perfect, but I learnt how I could improve.
This print has a double-line effect. This is where I lifted up the screen and must have placed it slightly out of line before pulling more ink through.
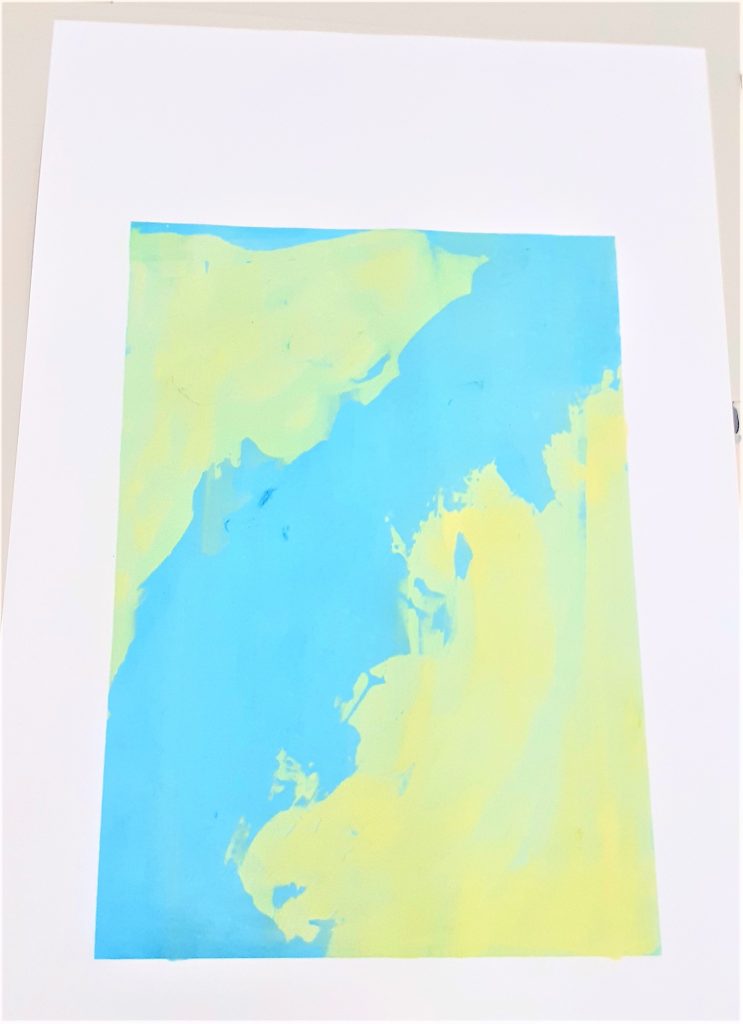
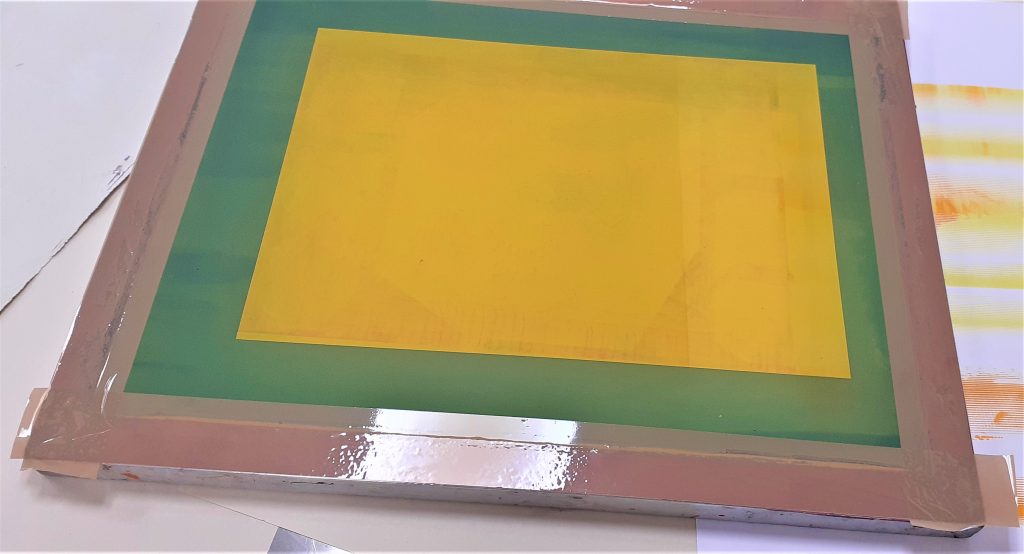
For this print, I used a paintbrush to apply yellow and blue paint onto the screen. As the ink was pulled through the screen, the colour merged.
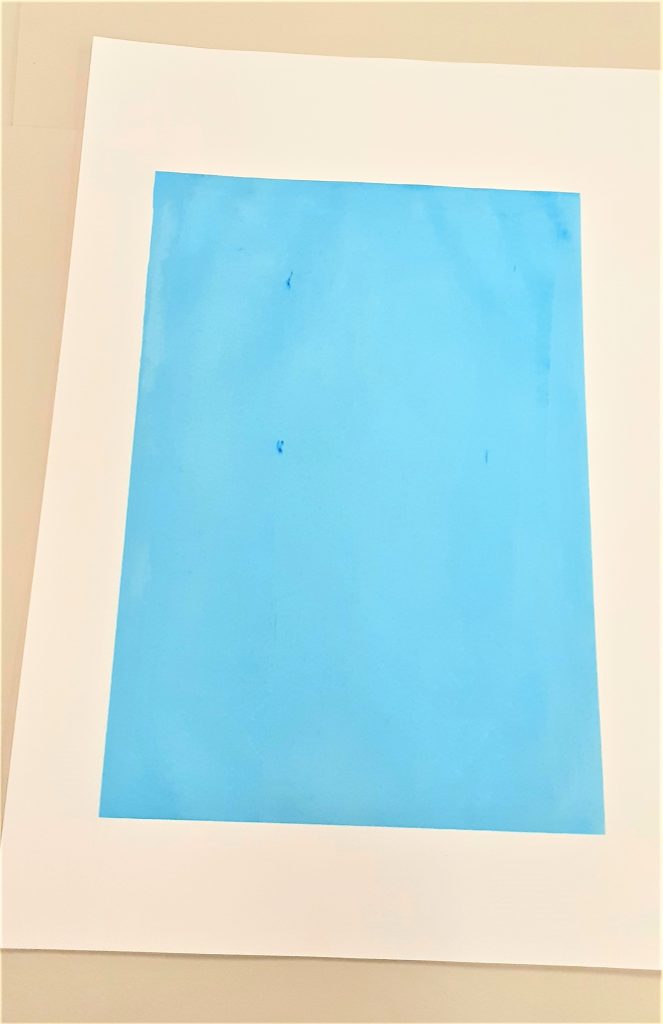
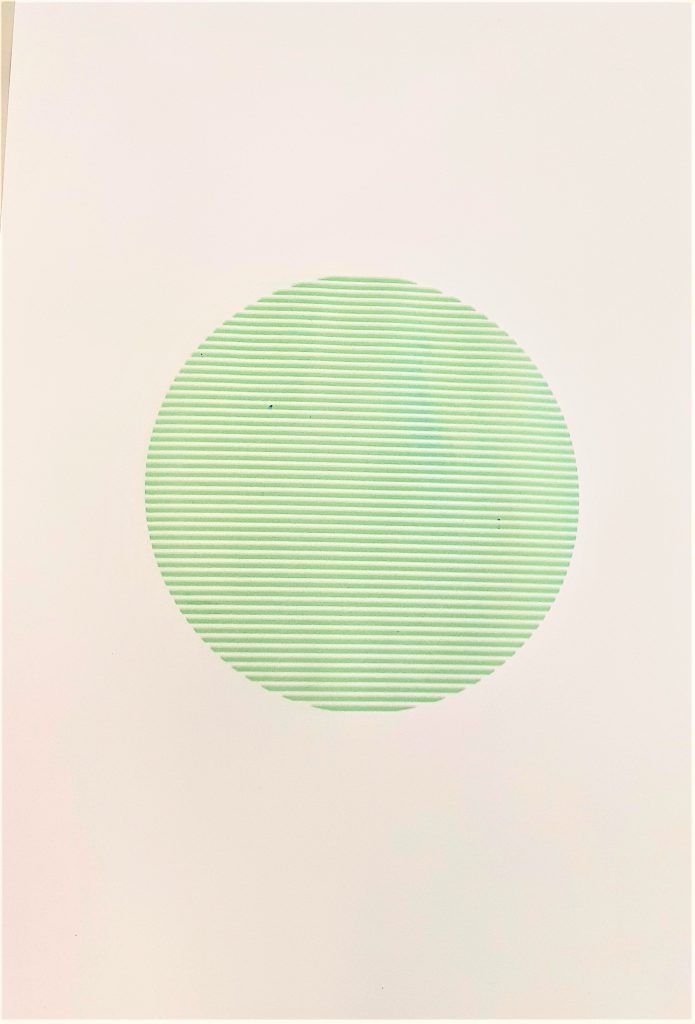
I wanted to make a plain background. I am happy with the neatness of the print overall. However, there are some spots of dark blue. This is where the paint was not mixed properly.
I used 2 colours in this print. I wanted to see how the colours would merge together. There were a couple of spots of dust that had landed on the print. When I removed the paper, the dust moved and therefore moved some of the paint across the page. This is something I could not have avoided. There is dust in a workshop and there is little we can do to avoid this.
In this session, I learned to align the print at the centre of the paper. To do this, I used print-outs of the original digital designs.