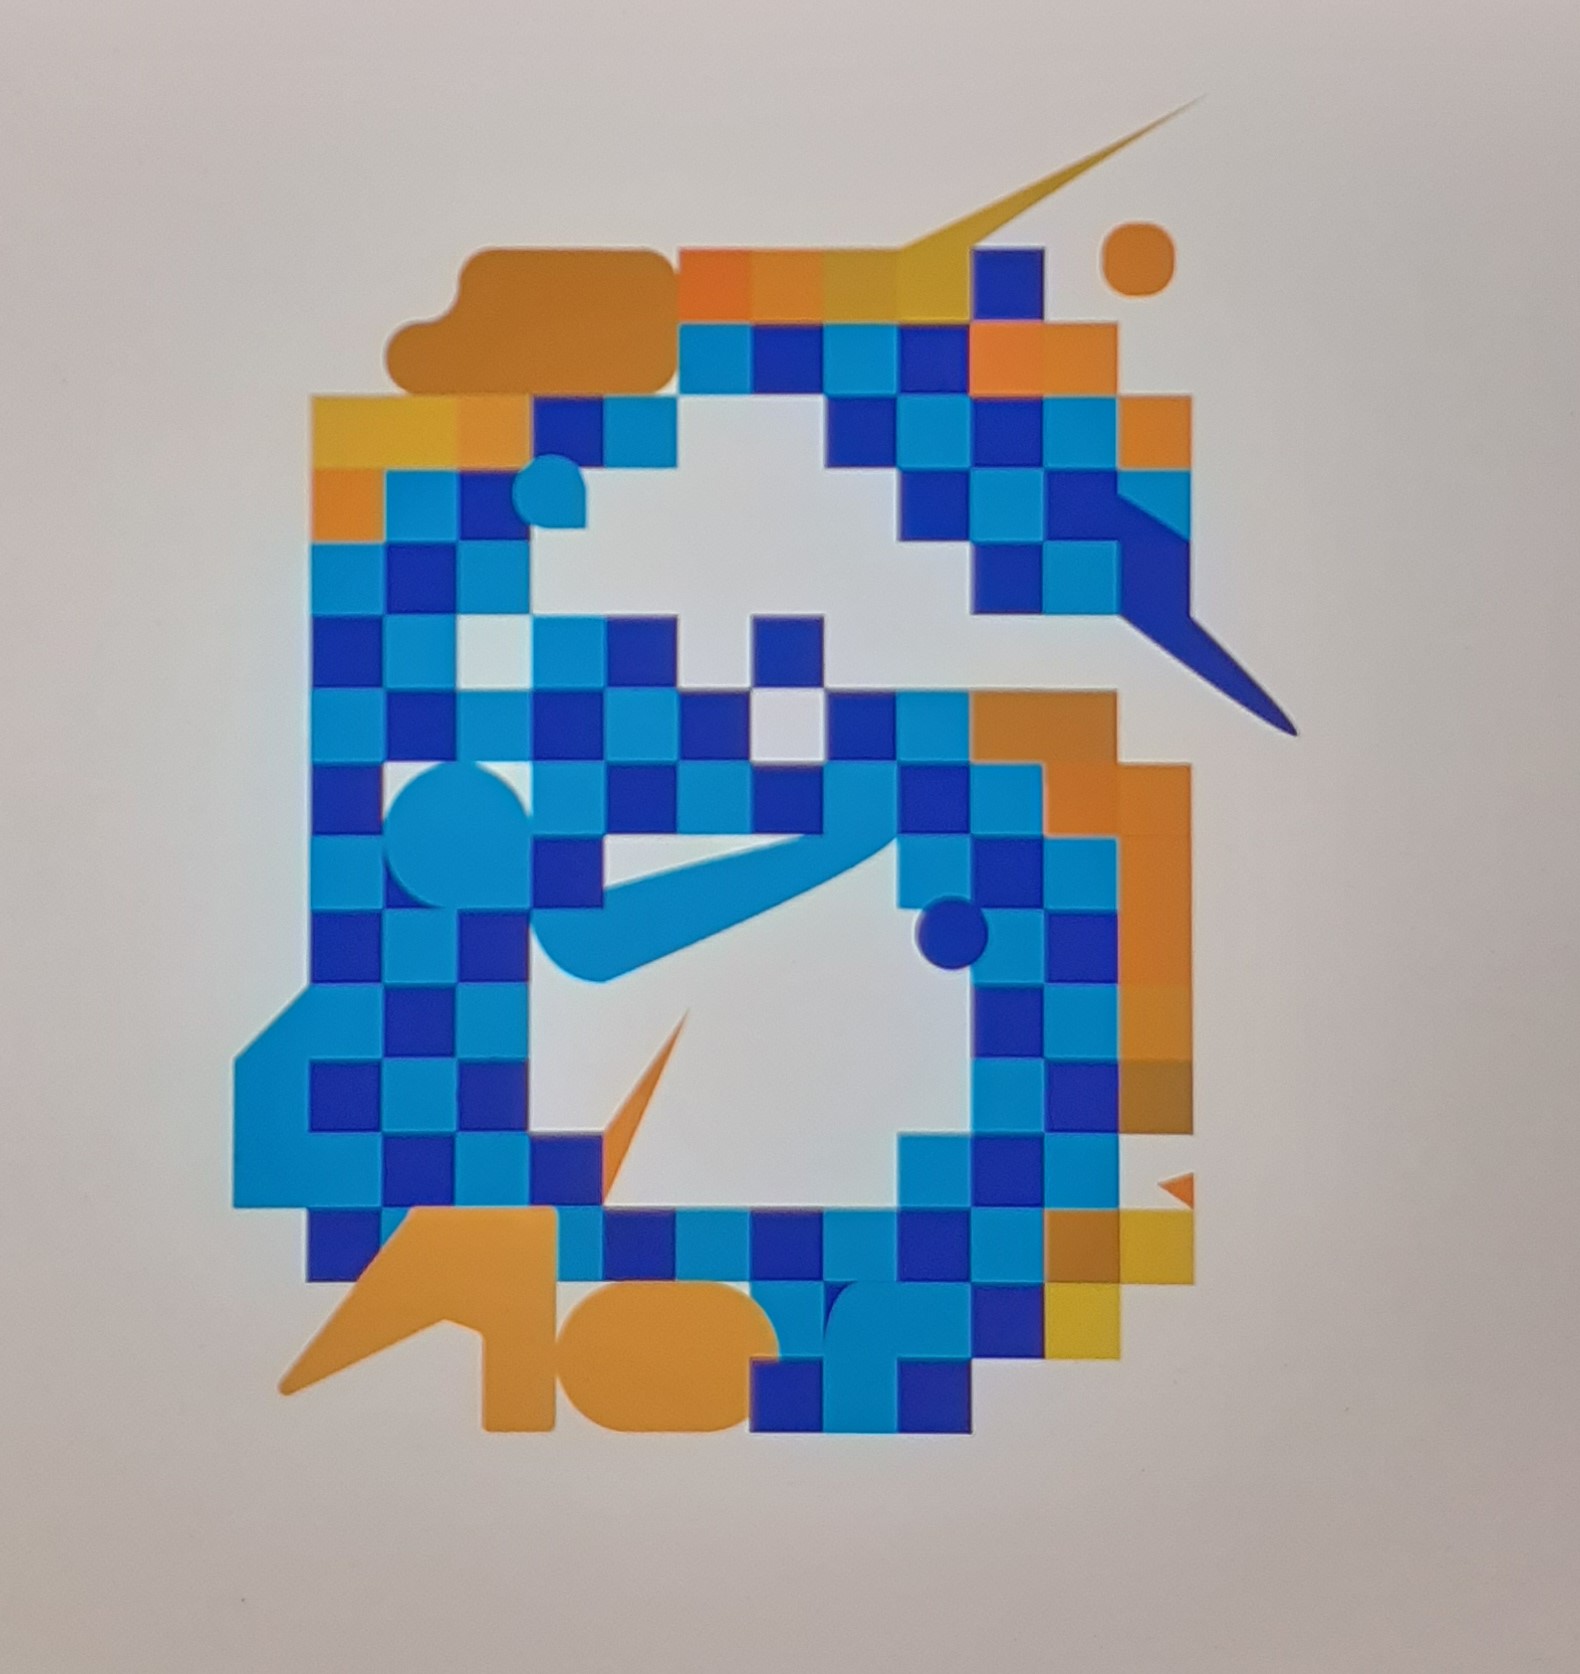
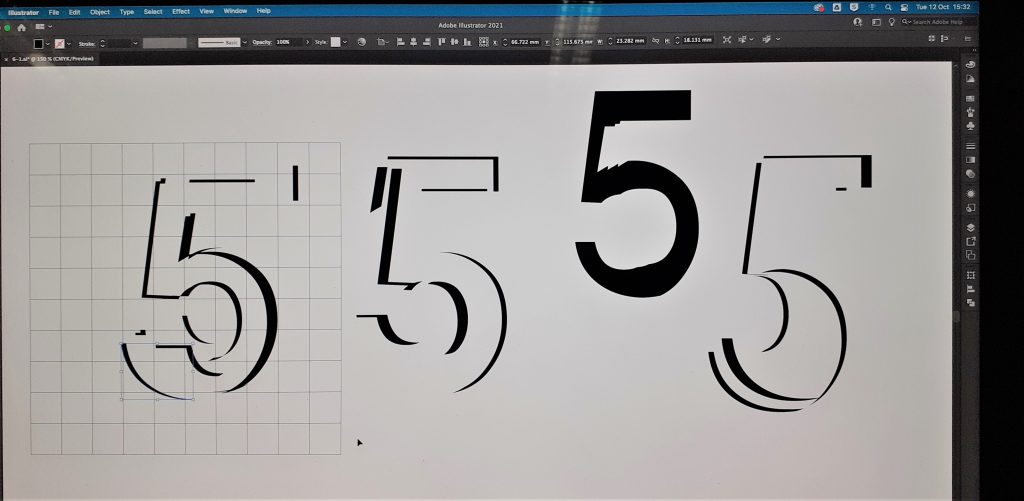
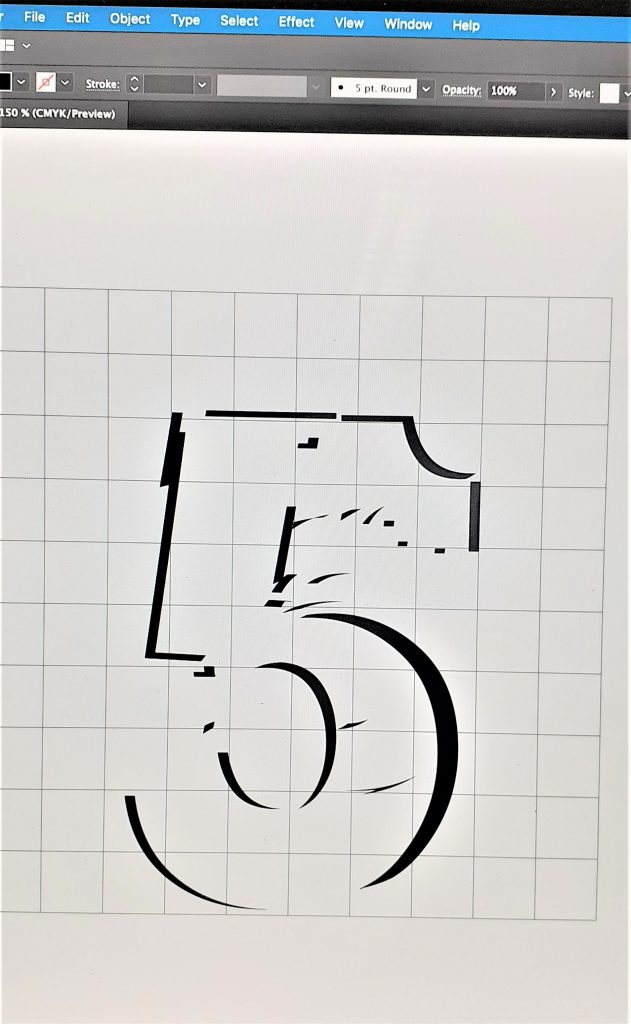
Workshop: ‘Topographics’
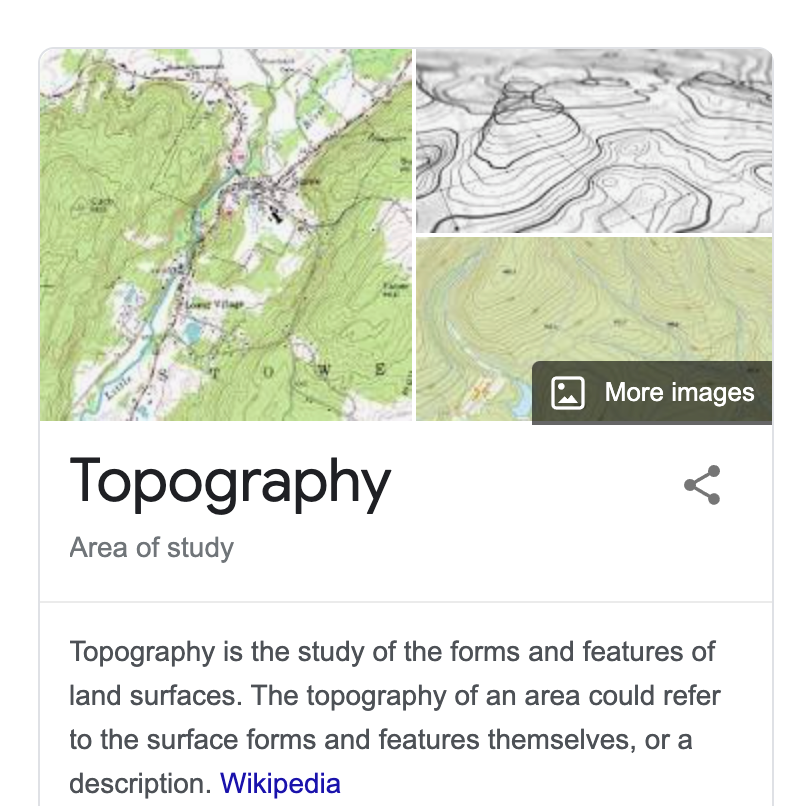
What is a map?
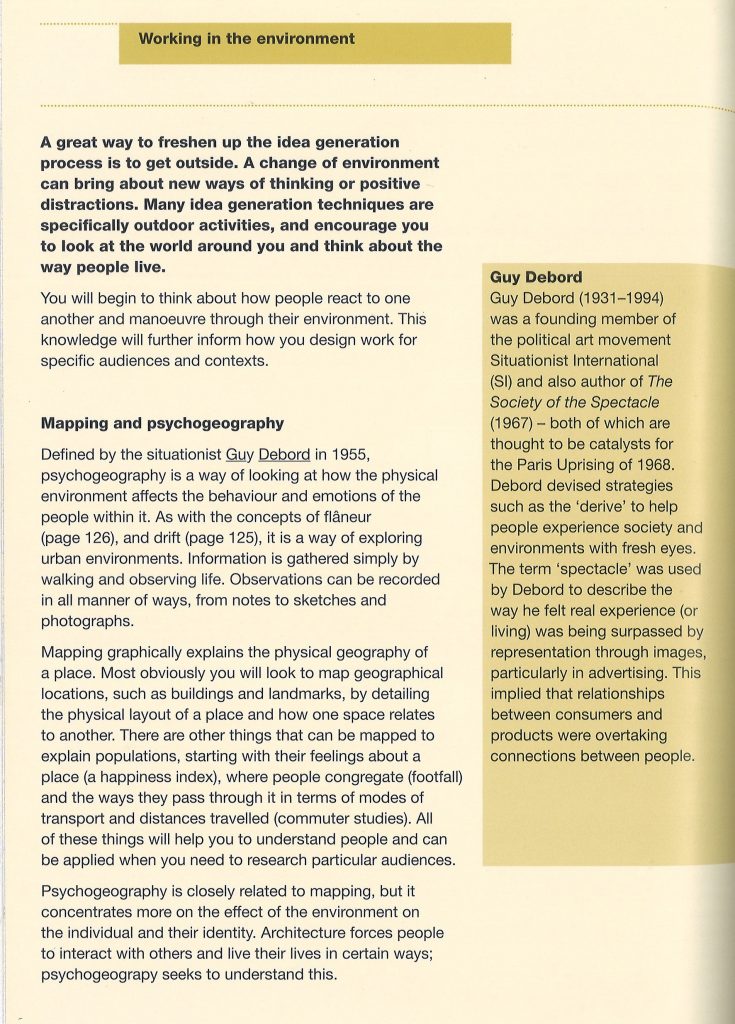
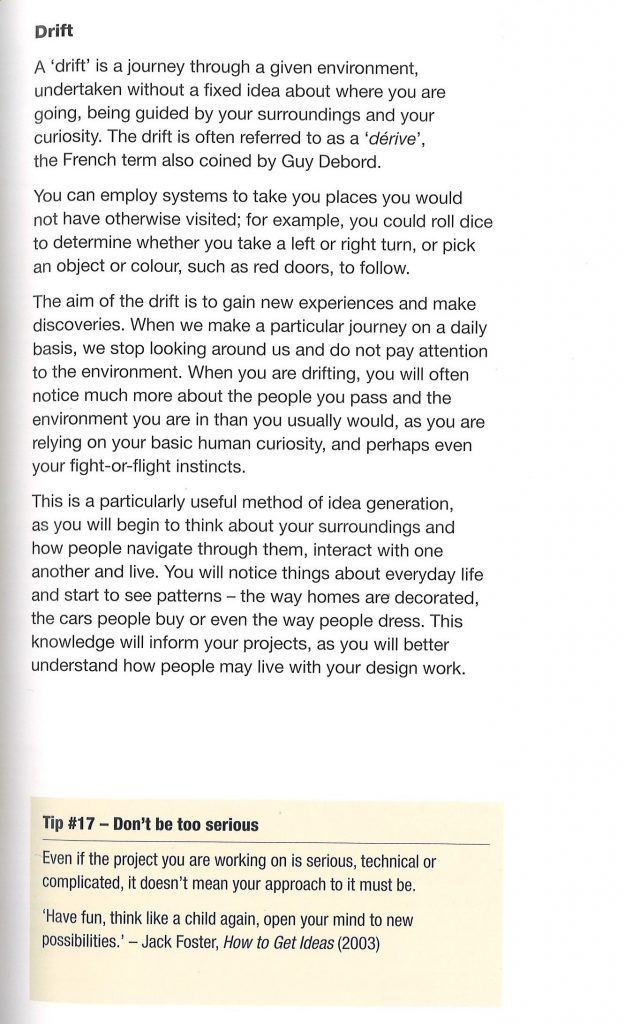
It is an image. But not just an image. A map is an informative graphic. Something you need to interpret. How can we map something? How could we map our thoughts? How about a physical landscape?
A straight line says nothing, but adding an arrowhead to one end says something. It is suddenly a map. Something to read. It indicates something to us.
An image that isn’t a map, is abstract.
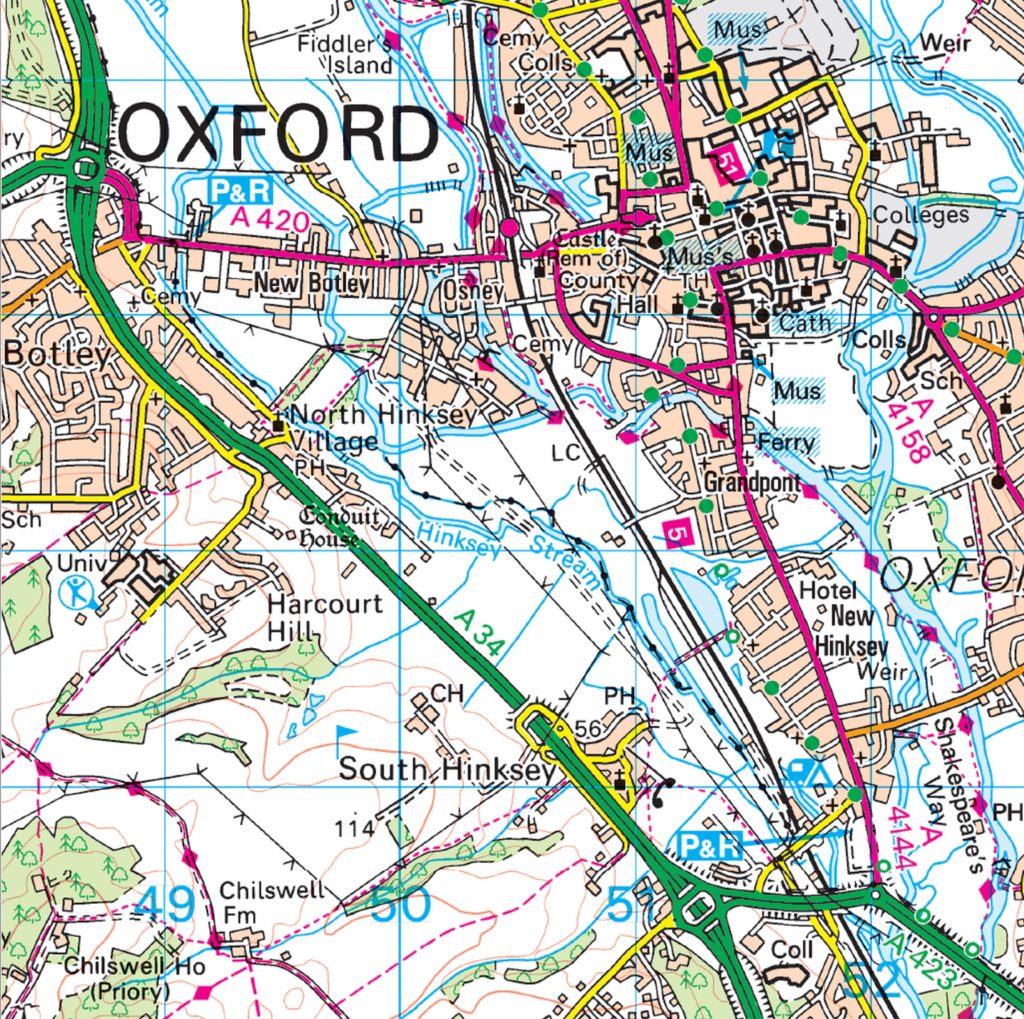
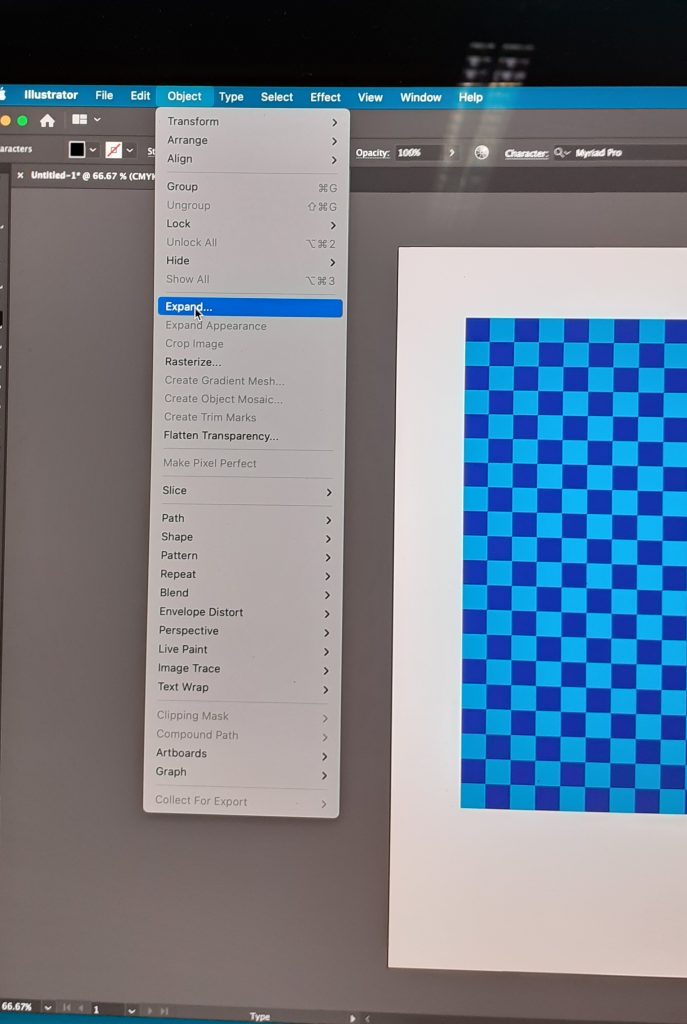
I began by pulling different areas from the map. To do this, I first selected Image trace> 16 colours. This turned the map into a vector image instead of an image made from pixels. All the lines appeared smooth when I zoomed into the image.
Expand completes the action of turning it into a vector. This also allowed me to move the different pieces separately.
Command + shift + G ungroups the image.
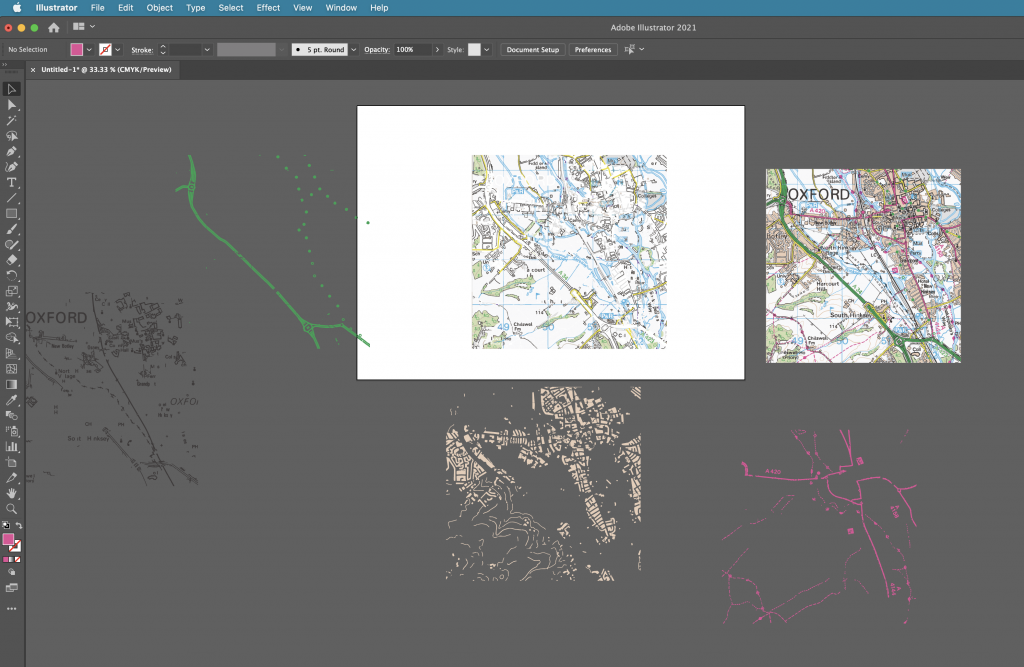
To be able to grab all the areas of 1 colour, I needed to select:
Select > same> fill colour
I could then click and drag to take out these separate pieces of colour.
I then played with the other image options:
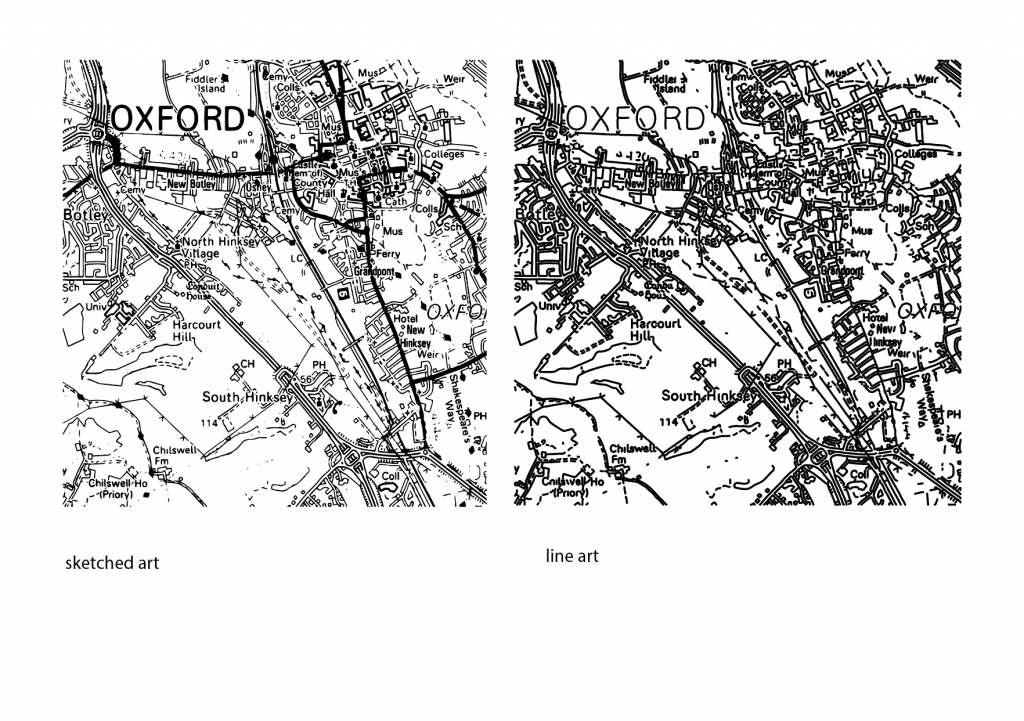
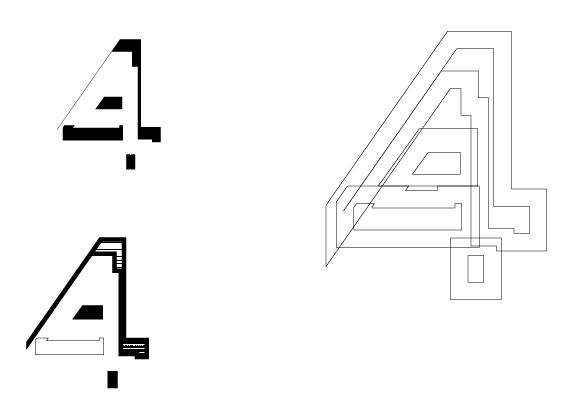
Converting the image into line art gave me new options for experimentation. I clicked and drag on small areas of the image to separate the lines, lifting areas out of the map. The gaps in the map below left are areas I had taken out of the image:
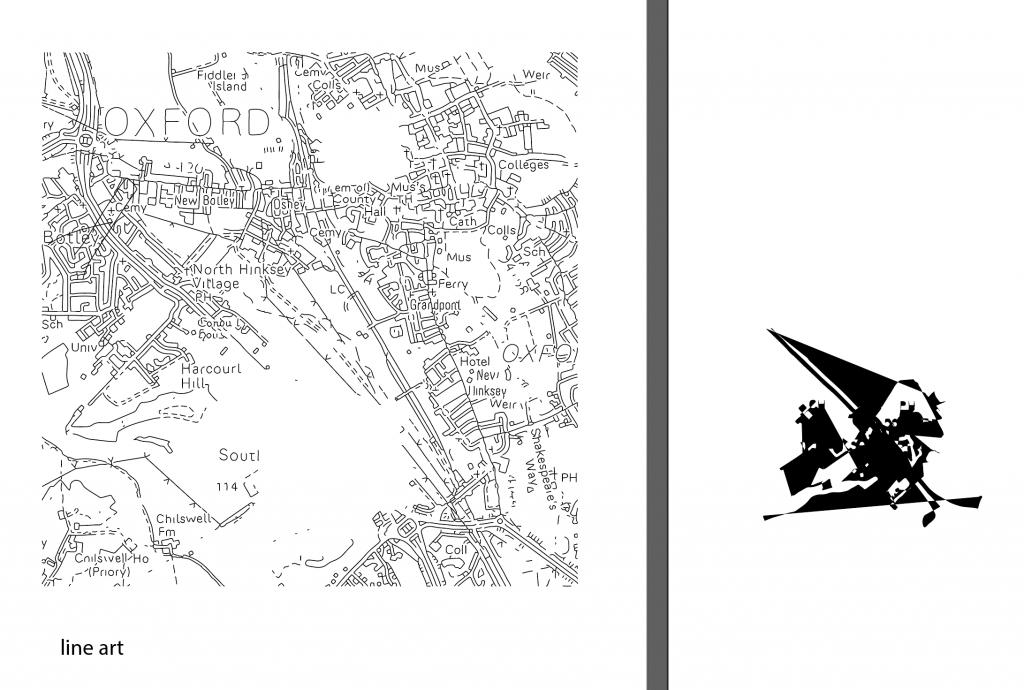
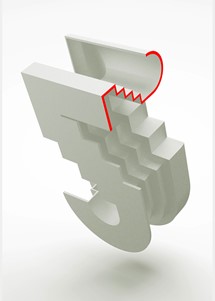
The shape on the right was created from taking the small area from the map. I pressed Command + J to join the lines together. I then clicked the small arrow beside the stroke and fill colour squares. This inverted the colour and filled my shape with black instead of the black outline.
I then copied and pasted the shape into adobe photoshop. This allowed me to work on it further and turn the image into a bitmap. I needed to make sure the pieces were in a formation I liked before pasting it into photoshop. This is because it is very difficult to rearrange the pieces once the shape is pasted into photoshop.
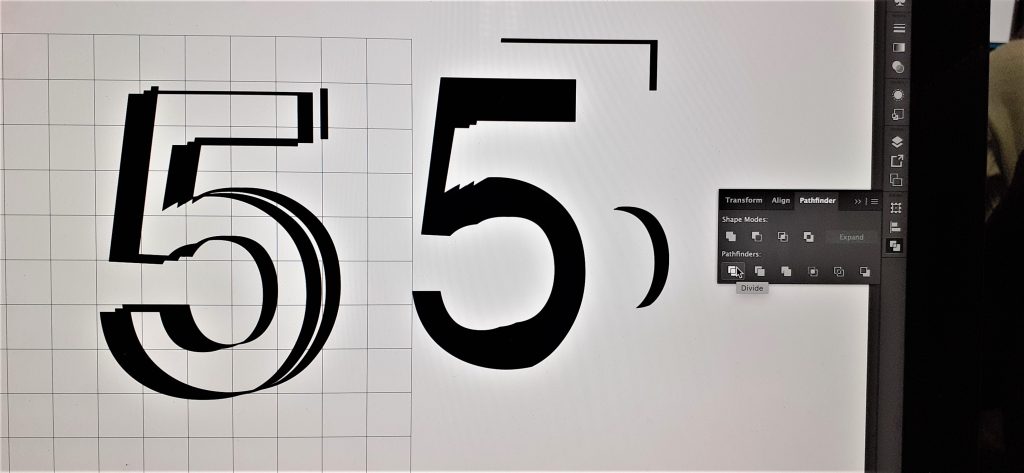
pathfinder> divide takes the shape apart.
pathfinder> unite sticks the shapes together like glue.
pathfinder> group allows you to move the shapes around together but they do not become the same object.
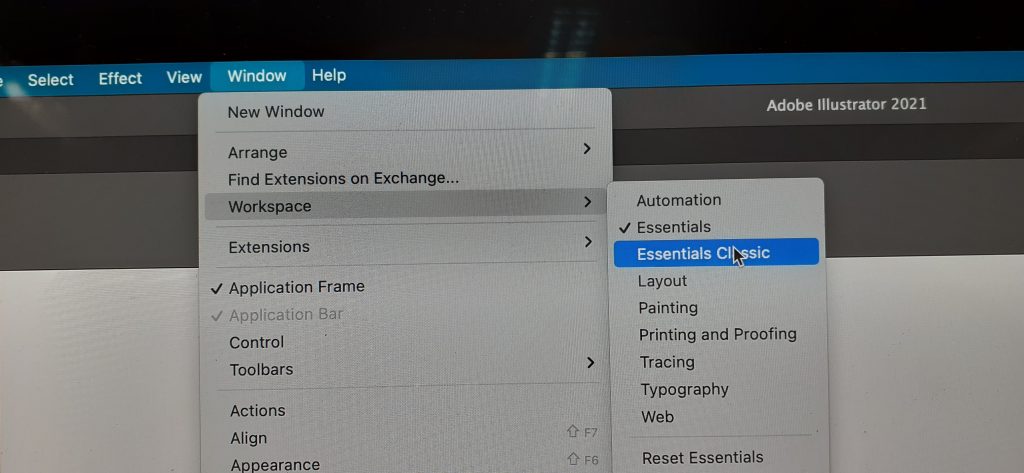
My first step was to bevel/emboss the shape. I selected Layer> layer style> bevel & emboss, as shown in the screenshot below:
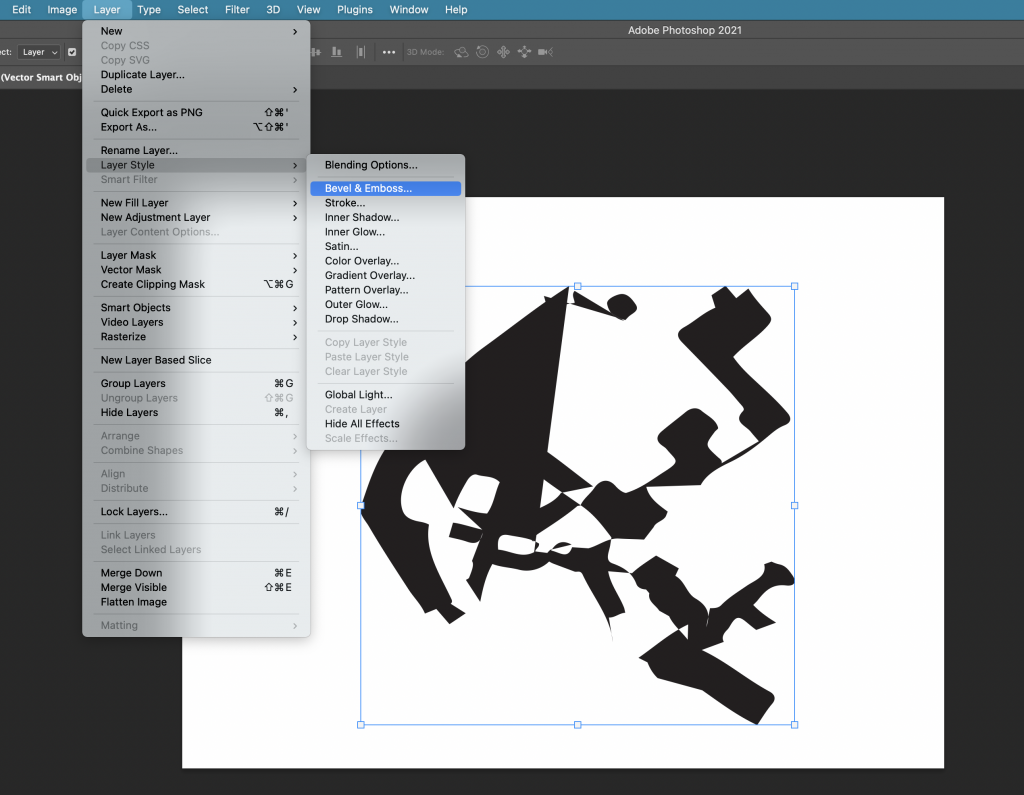
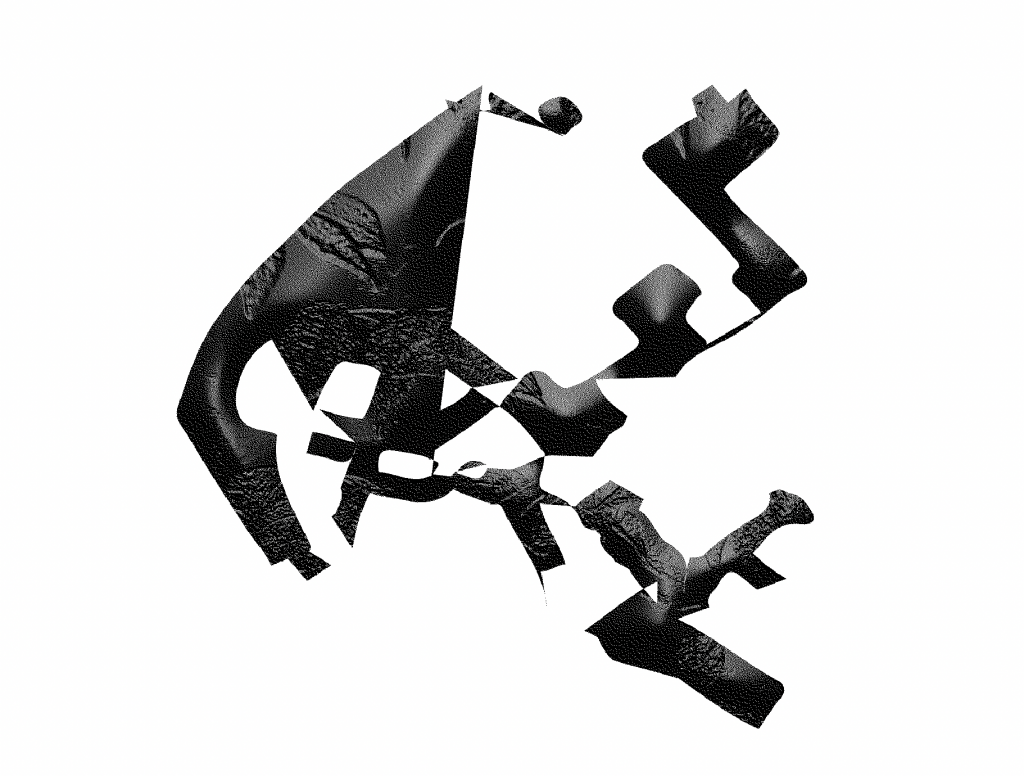
This allowed me to play with the height and texture of the shape. I chose the leaf pattern as I liked the rough texture it produced.
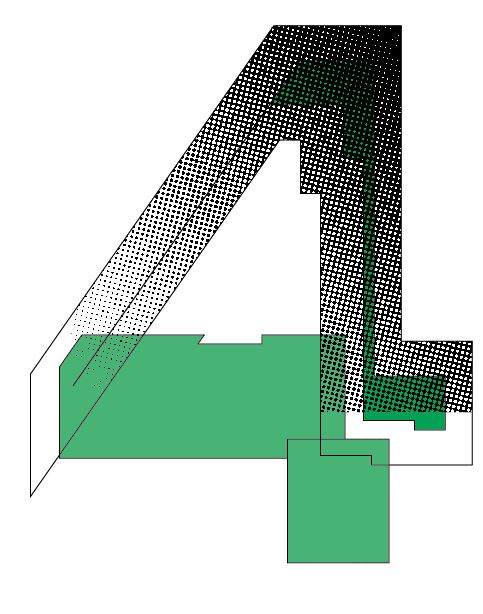
The image needs to be in greyscale before you can bitmap it. I bitmapped the image and chose ‘diffusion dither’ to create the grainy filter. I saved the image as a TIFF file.
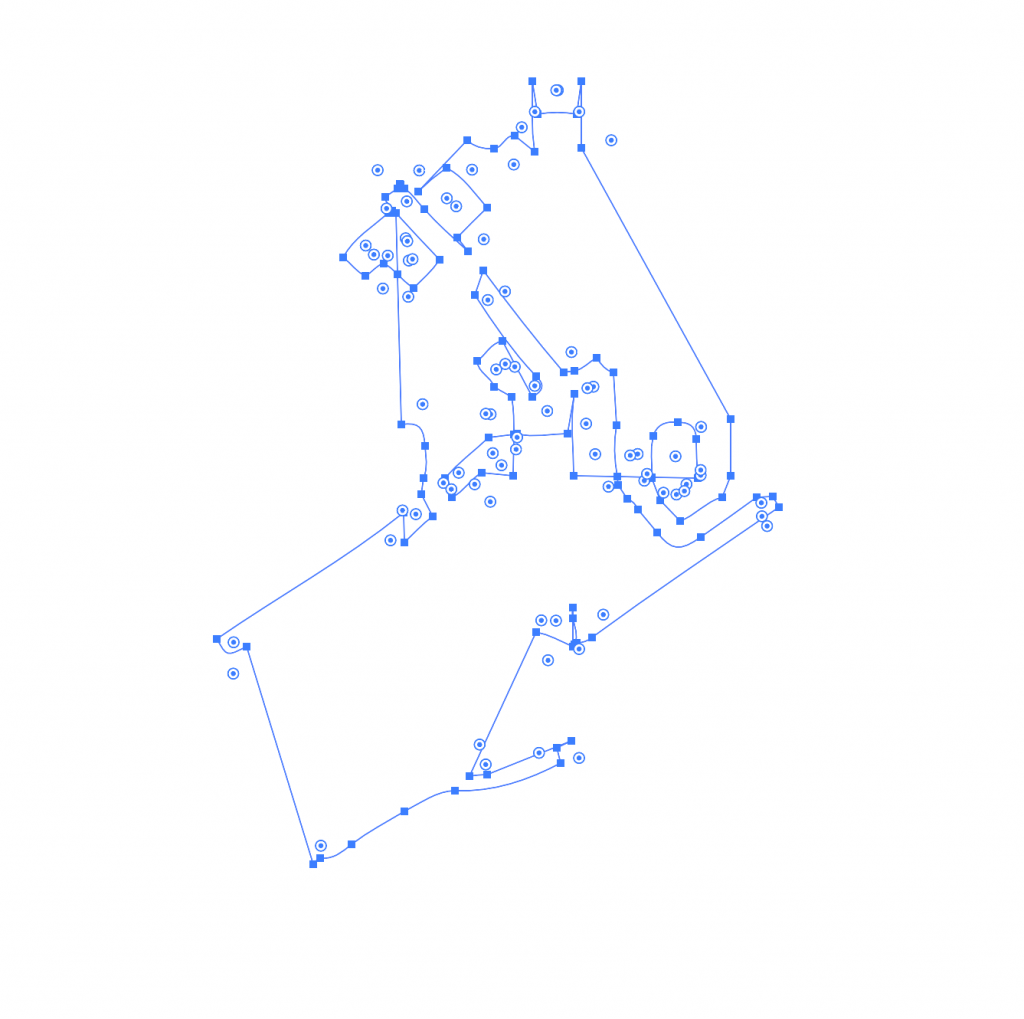
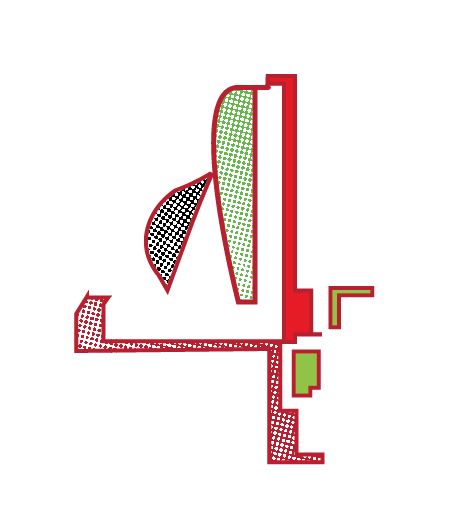
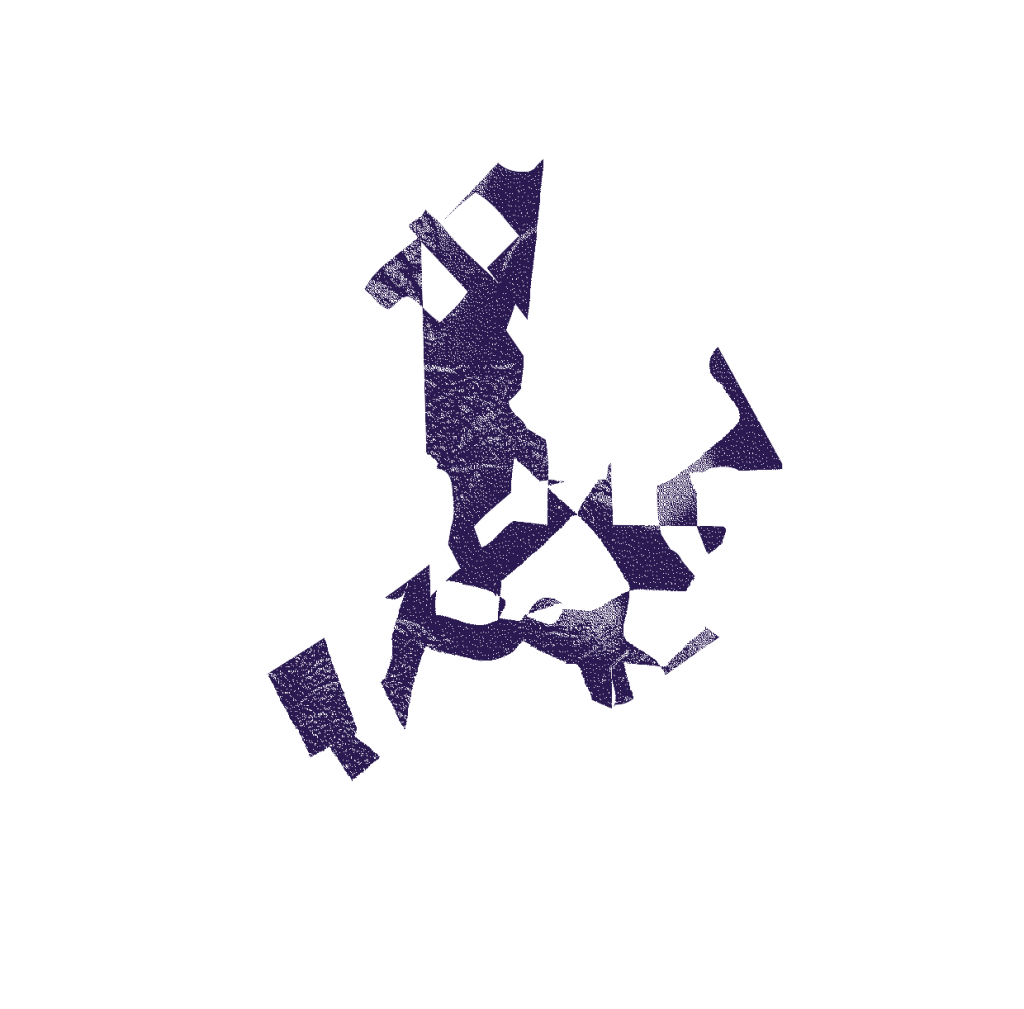
Back into Illustrator, I took another shape from within the line art of the Oxford map. I used this for my outline. I repeated the previous process of joining the lines and filling the shape with colour. This time, I removed the fill and the outline, so the shape was transparent. I selected ‘draw inside’ and Command+ shift+ p, to place an image inside the shape. (this is the shortcut within illustrator, in InDesign, we would use command+shift+D)
In this case, I wanted to place my bitmapped image inside this new shape. I selected the TIFF file and clicked to place it inside. Because this image is a bitmap, I was able to change the colour of it. I also tried rotating and enlarging the image from within the shape.
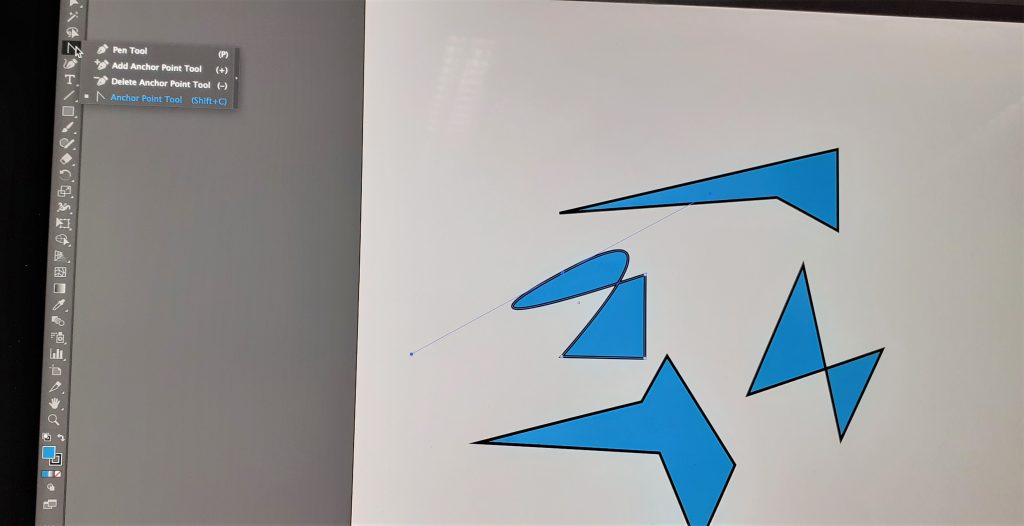
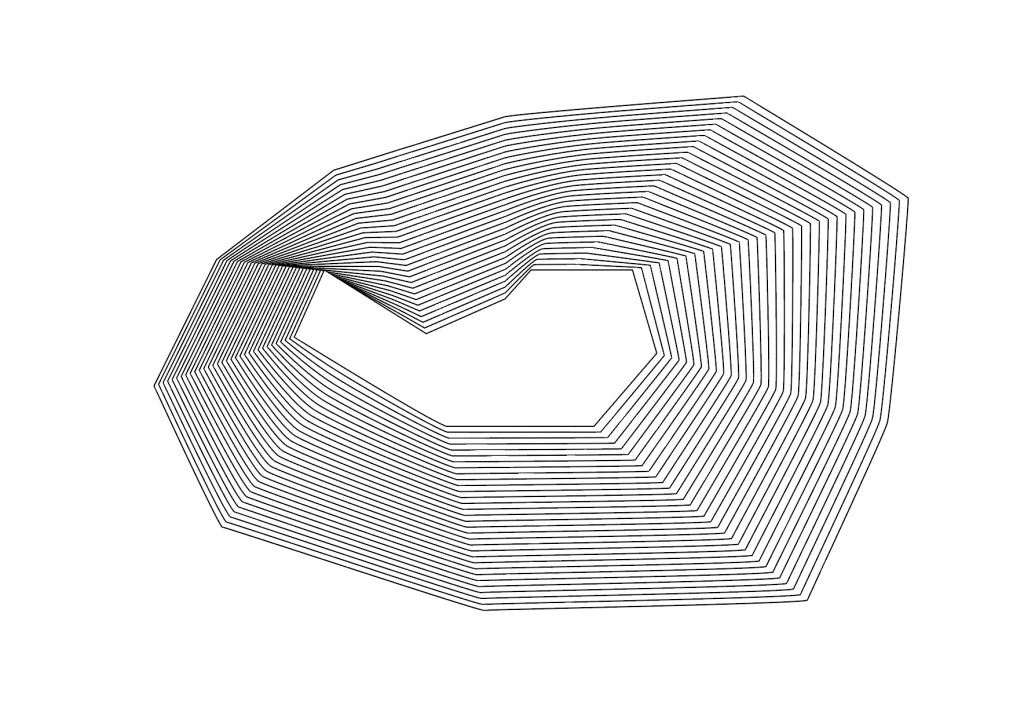
Another technique for image producing. I drew a shape using the pen tool on Illustrator. I then drew another shape within this shape. I selected object> blend> make. I needed to change the stroke colour to black, to be able to see another shape appear between the 2 I had drawn. By then selecting object> blend>blend options>specified stops and increasing the number, I could create multiple identical lines within my image as shown here:
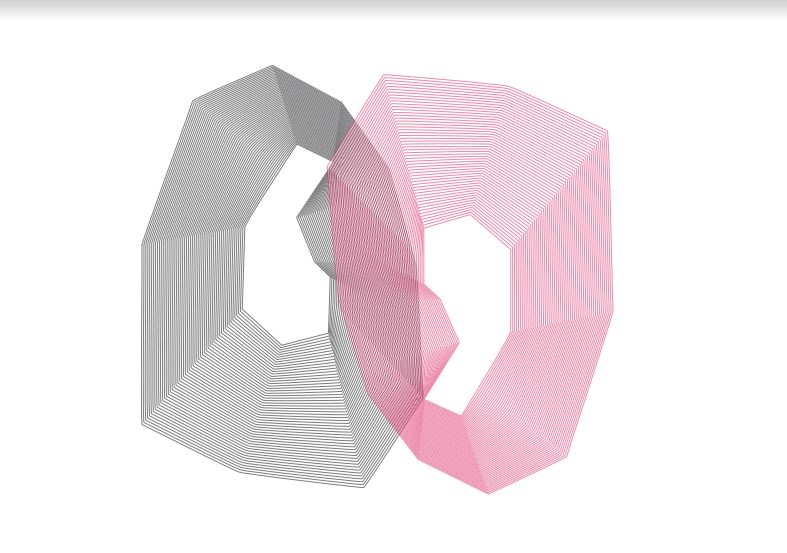
I duplicated the shape by holding down ‘option’, clicking and dragging. I changed the colour of this second shape and rotated it so that it was upside down. I placed the shape so that they intersect. I increased the transparency so that it is possible to see through the lines to the other shape:
I printed the image of the shape that had multiple lines. I used this print to scan onto the computer. Instead of doing a simple scan of the drawing, I wanted to make it interesting.
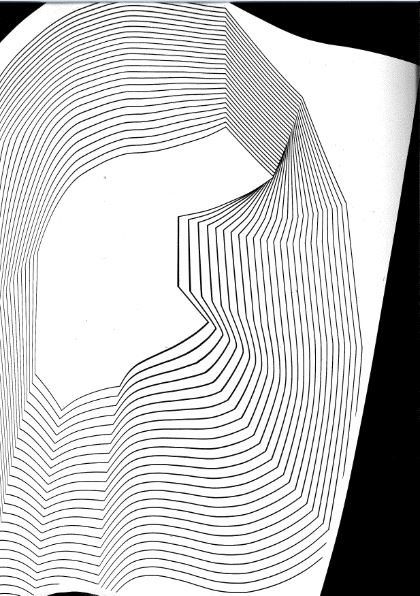
I moved the image around on the scanning bed as the scanner moved across it. This created a wavy image where the lines moved in different directions. From this scan, (I saved it as a TIFF file) I could manipulate the image further in Illustrator.
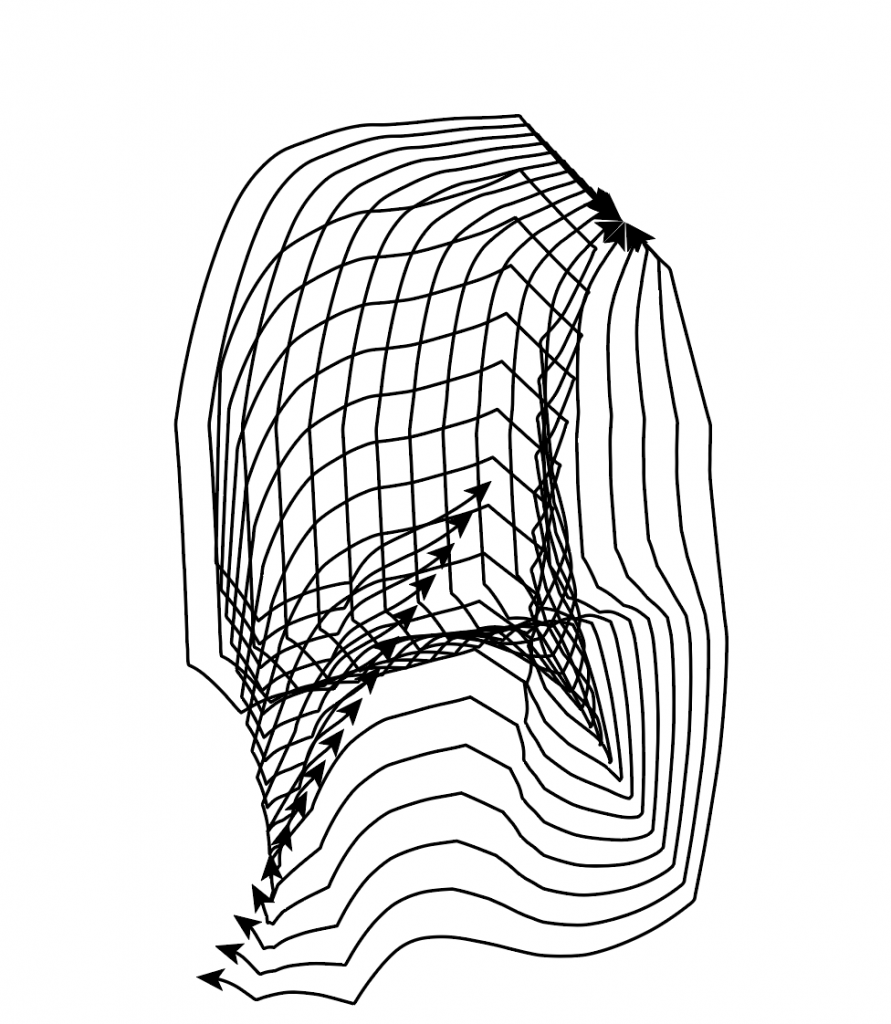
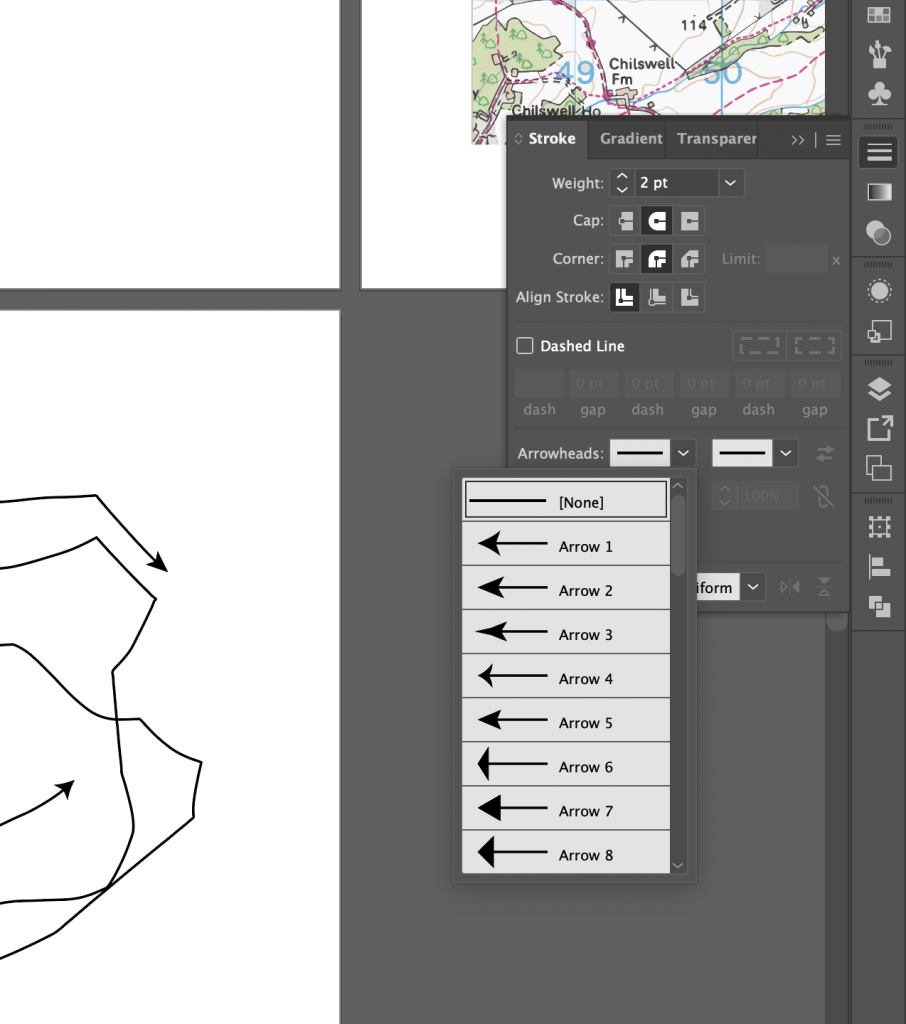
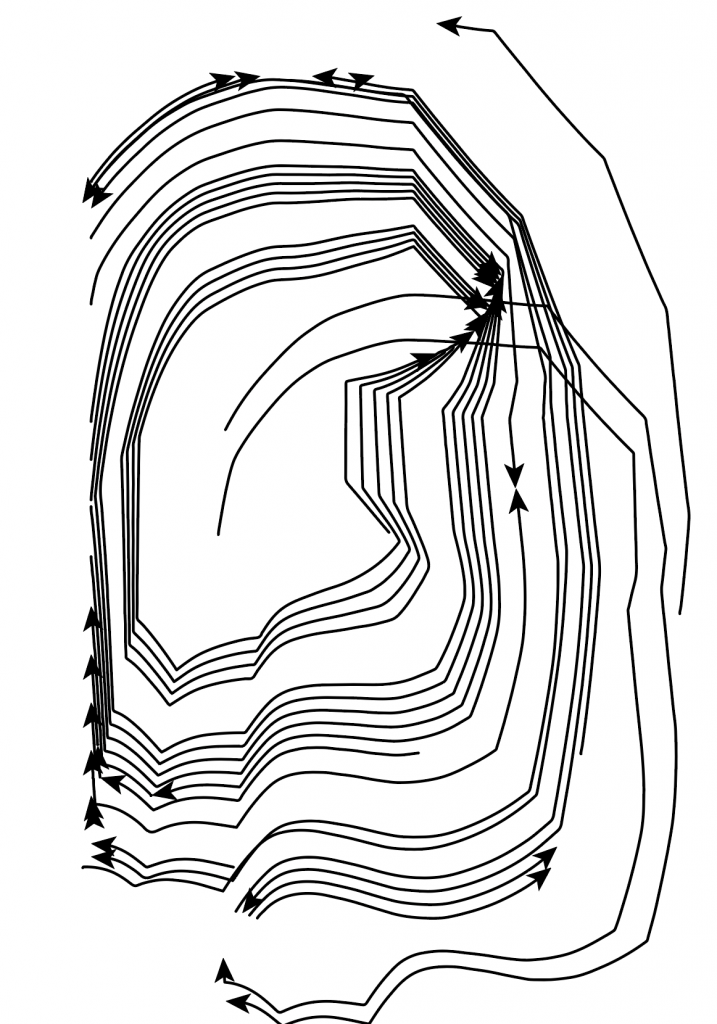
I remove lines from my scan by grouping the image, so that it was a vector image. I added arrowheads using the arrowhead tools on the right hand side of the page. To create the above effect, I selected object> blend> make. By selecting blend options, again I could alter the number of linen repetitions.
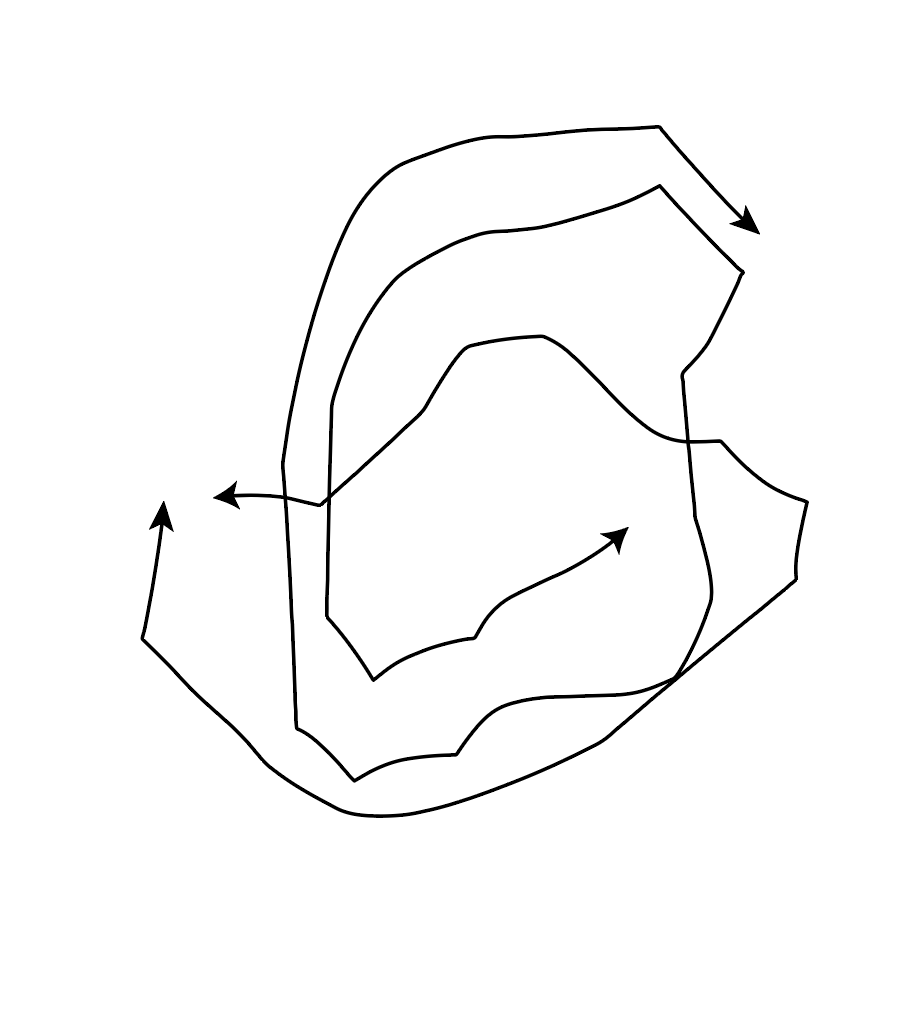
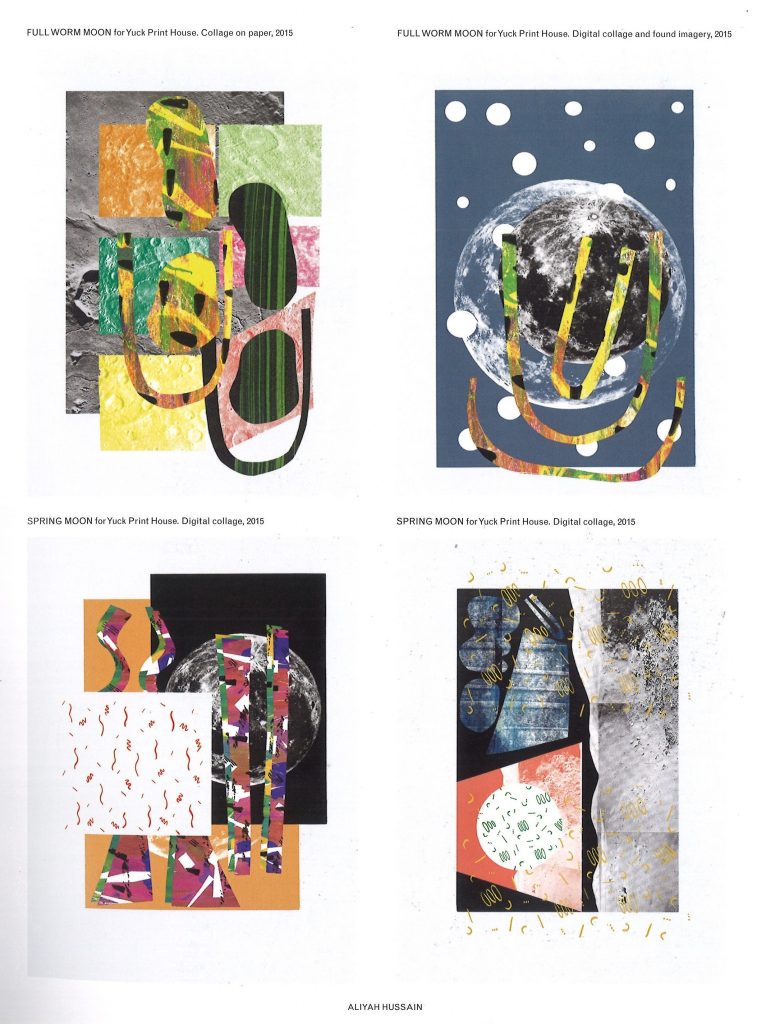
Aliyah Hussain
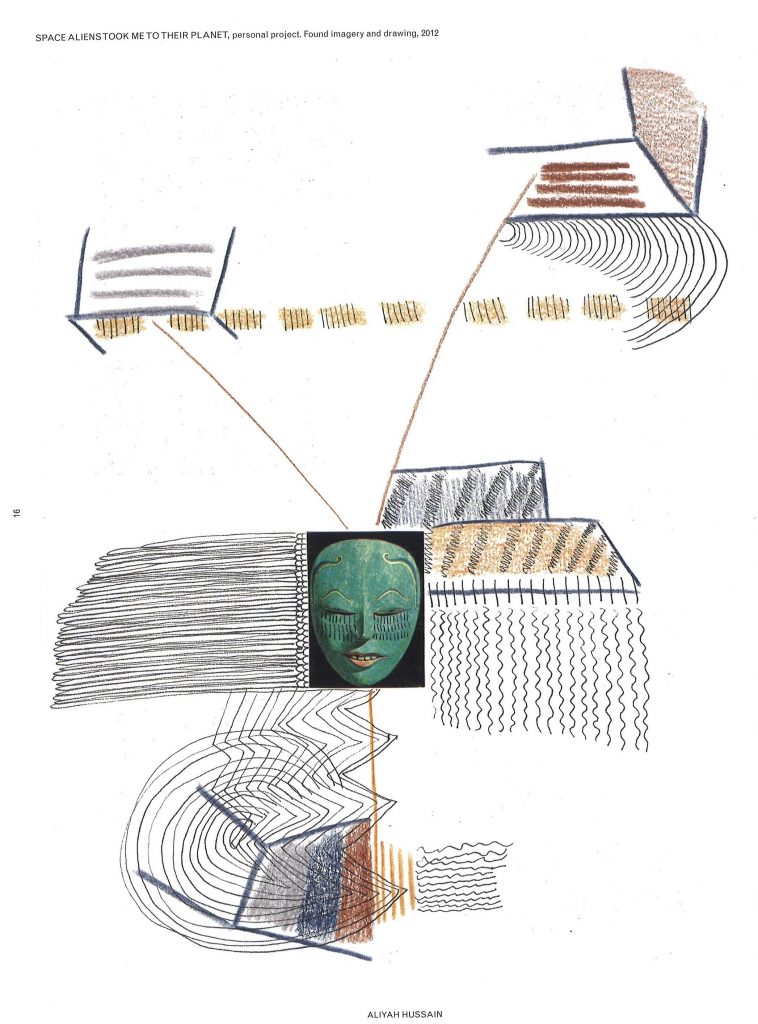
Aliyah Hussain is a UK based design whos work is multi disciplinary.
Her work is focused on collage but also incorporates screen-printing techniques, painting, photography and performance.
Her work unites futuristic utopian elements with a retro and hand-made aesthetic. Her use of line is bold and directional. In the above piece, I can see the pressure she has used on the pencil. The lines coming from the centre mask image implies to me a kind of mind map, where the ideas are directly linked to the face in the middle. Who might this face be representing? Is it a signifier of a collection of people in general?
There are areas of business and action, combined with white space where the eye can rest. I like the hand-made feeling that this has been jotted down in a notebook to record something important that the artist needed to remember. It has that rushed and urgent sense to it that we might find in a journal.
