Having studied photography briefly in college, I had a basic understanding of DSLR cameras. Today we had 3 hours to be introduced to photography and capture our objects using a variety of set-ups. This was a fast-paced session, packed with lots of information.
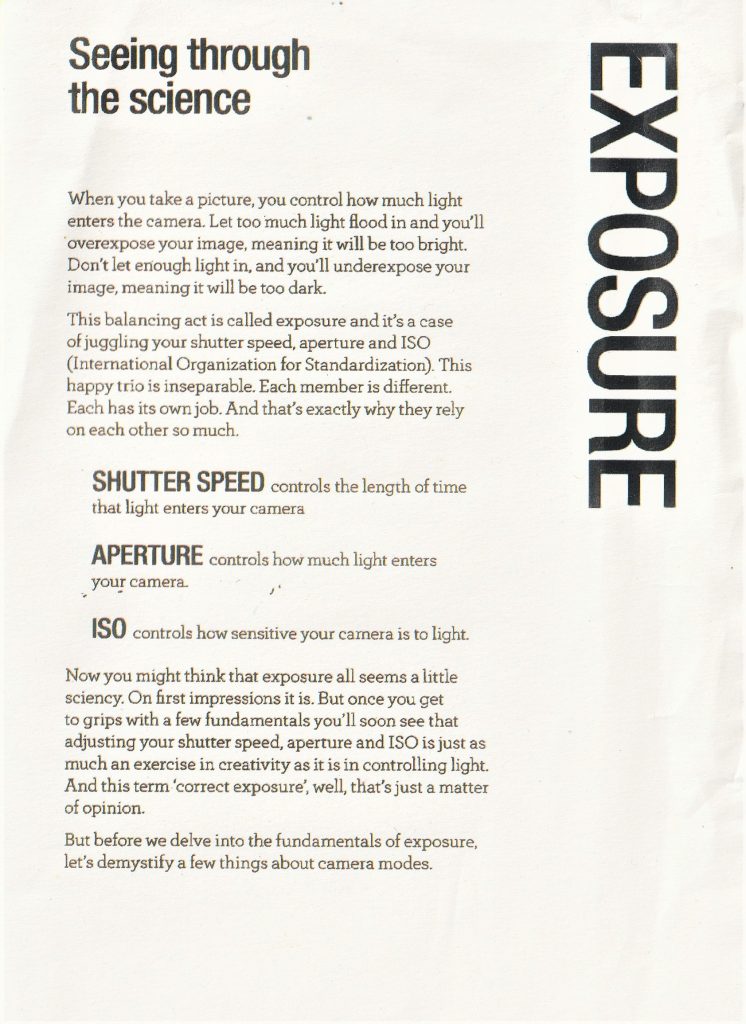
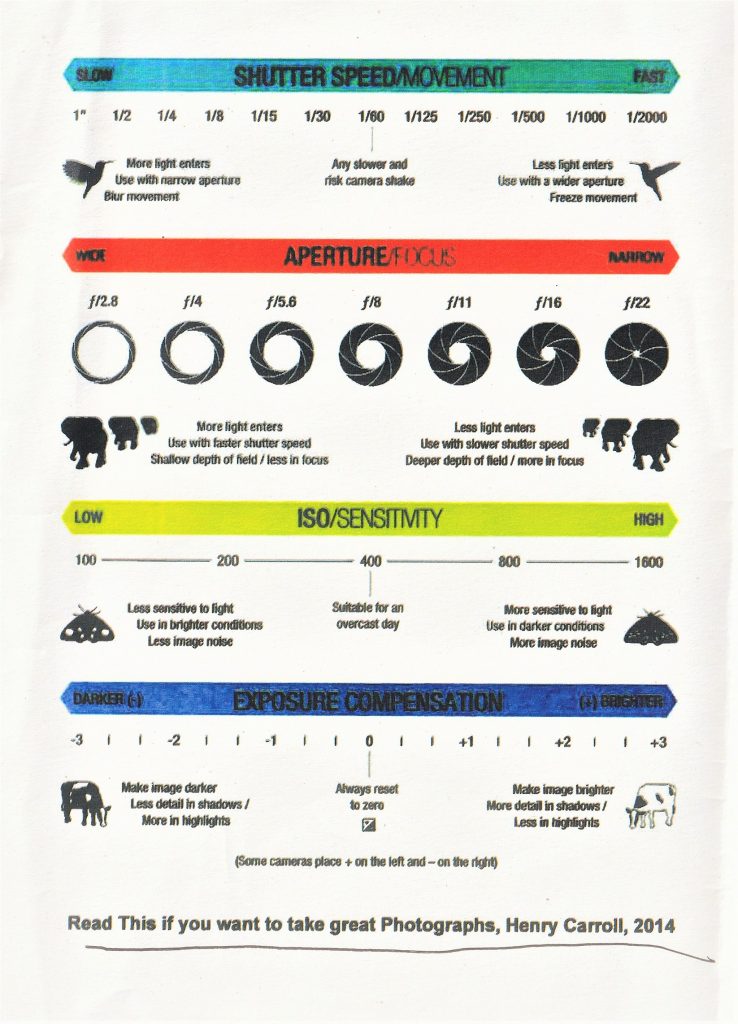
Our lecturer Hannah explained that the camera is a machine that takes in light. As a photographer, our job is to control the light going into the camera. This is done using shutter speed, ISO and aperture. When you alter one of these, it affects the other 2 settings.
Letting in too much light makes an image over-exposed and too little light creates an under-exposed image:
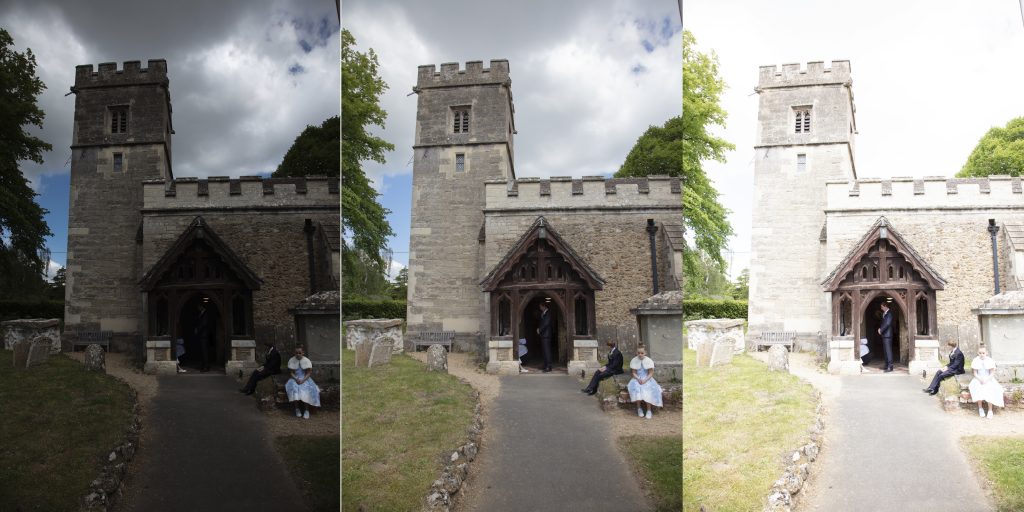
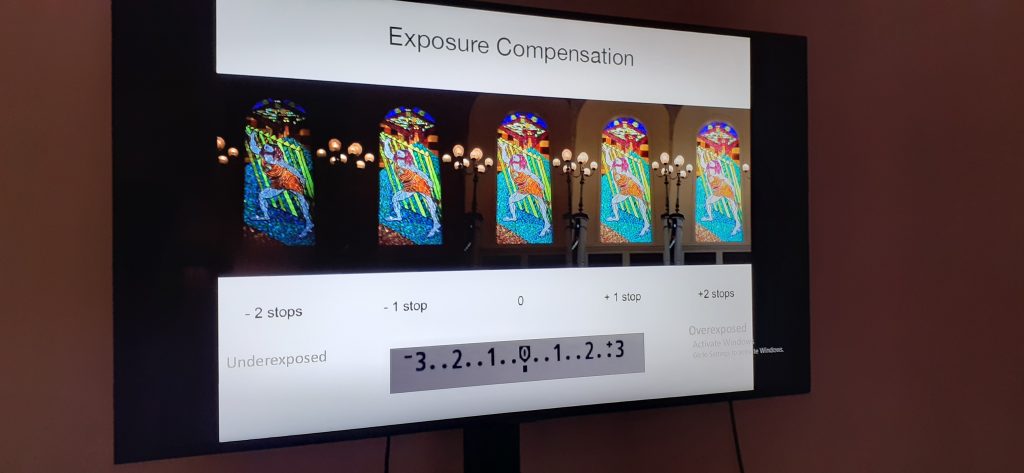
We learnt about a camera feature I had never heard of, called exposure compensation. This is used to balance the light in an image when a scene has very dark and very light areas, for example, when a scene is lit from behind.
With analogue cameras, the ISO can only be changed by changing the whole film to one with a different ISO rating, but digital cameras allow you to change the ISO from shot to shot. A good ISO for a cloudy day would be 800 and for a sunny day would be 100. A low ISO gives a smooth grain, as the camera is letting in less light. Using a high ISO will give you more noise, though you need to use a higher ISO when shooting in a really dark room for example.
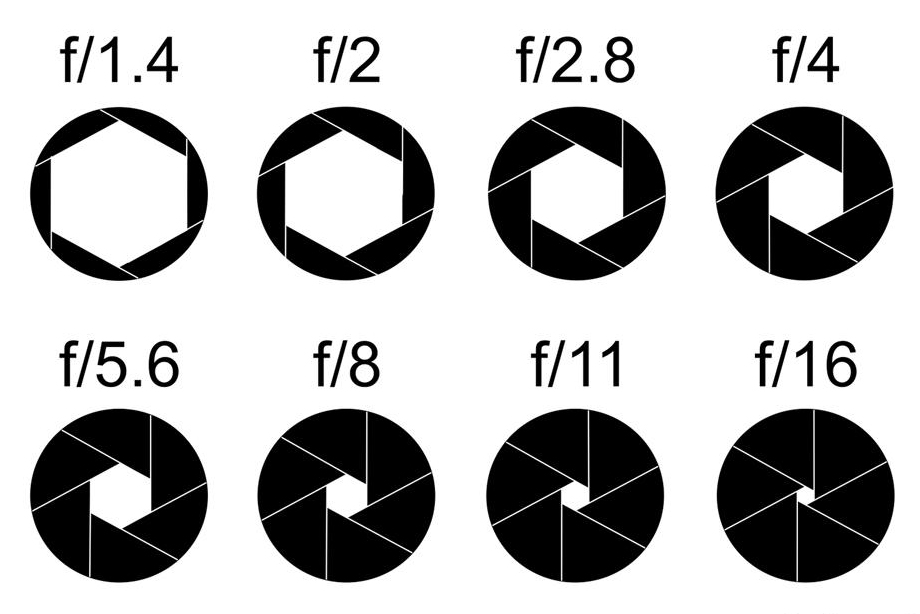
Aperture refers to the size of the opening of the camera. A smaller opening = a high aperture, for example f/22. This would be suitable for photographing landscapes. This gives a larger depth of field, meaning that the camera is able to focus on foreground, mid-ground and background. A larger opening, and therefore low aperture, such as f/4.5, is best for portrait photography. A low aperture focuses on the foreground and these photos will have slightly blurry background.
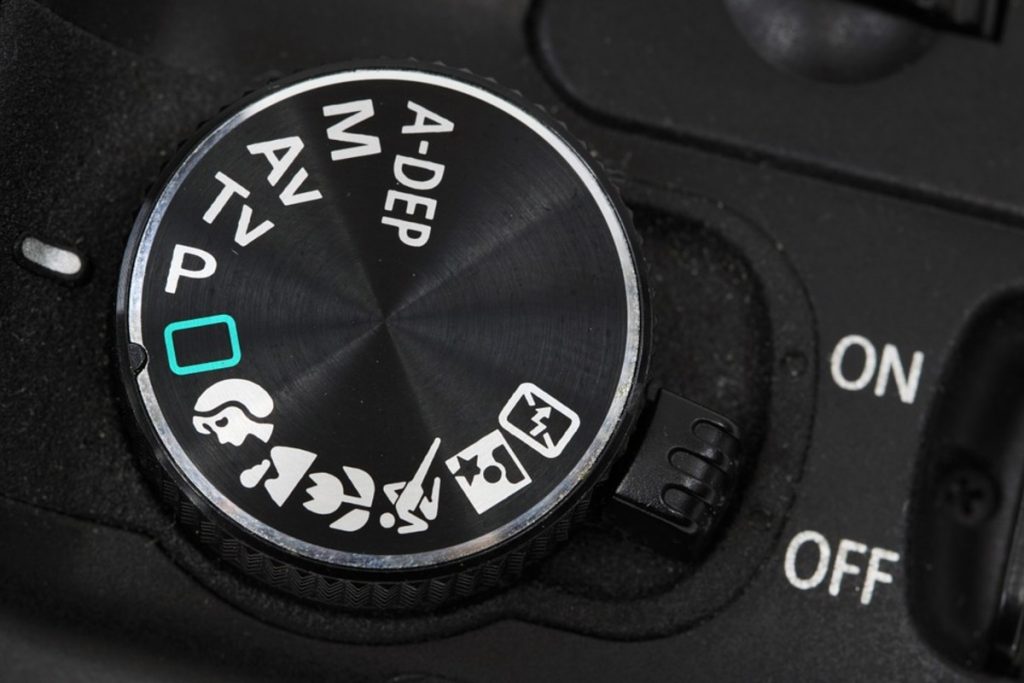
Example of a mode dial
How to Understand Your Camera’s Dial Modes and Settings – FeltMagnet
Hannah explained features of the Canon cameras we use at Brookes:
Tulip symbol = macro (to capture tiny details)
Running person symbol = shutter speed
Flash symbol = night time/ low light shooting
M=manual function
AV= aperture priority
TV=shutter priority
MF/AF= manual focus/automatic focus
RAW for very large photos, e.g. the side of a building. They take up a lot of memory and you cannot process RAW images inside photoshop. You would instead need to use a RAW converter, such as Adobe camera RAW.
We learnt to work with tripods, which is something I had never done before. Using a tripod is an important technique in photography. When holding a camera by hand, we have a natural shake that can cause blurring in photos, especially when using a long shutter speed.
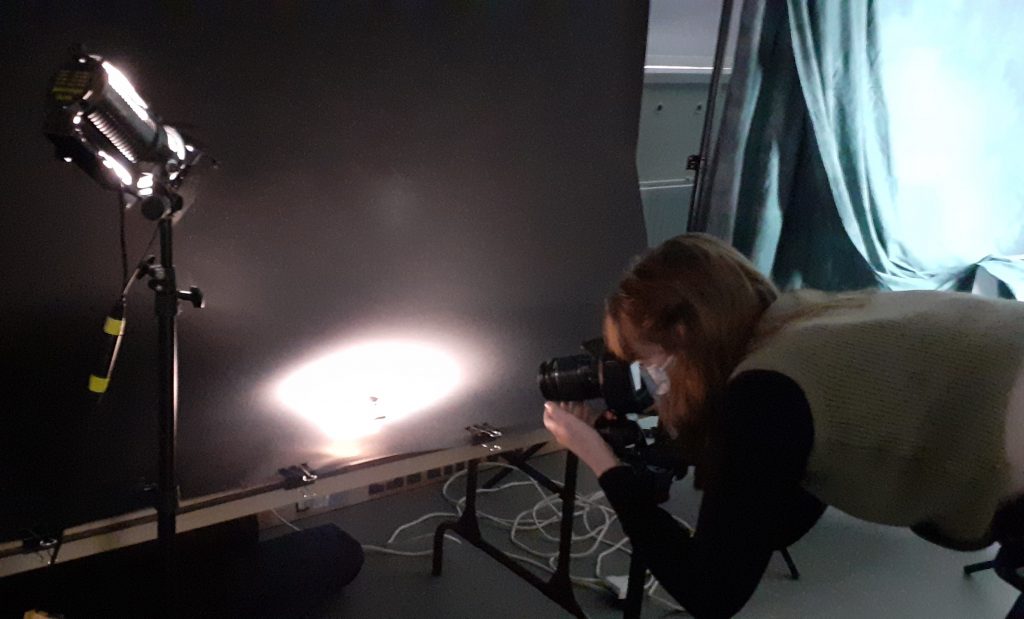
We used 4 different set-ups to photograph our objects. Working in pairs, we took several photos in 1 area, then moved to the next. For example, in 1 set-up we were using a chair draped in fabric and metal studio lights. These lights get very hot, so we used heat protective gloves to handle them. We had the choice of using one or both lights for a photo. Moving the bulb back and forth gave a spot-light effect or a more balanced light. We had the option to light part of all of the object.
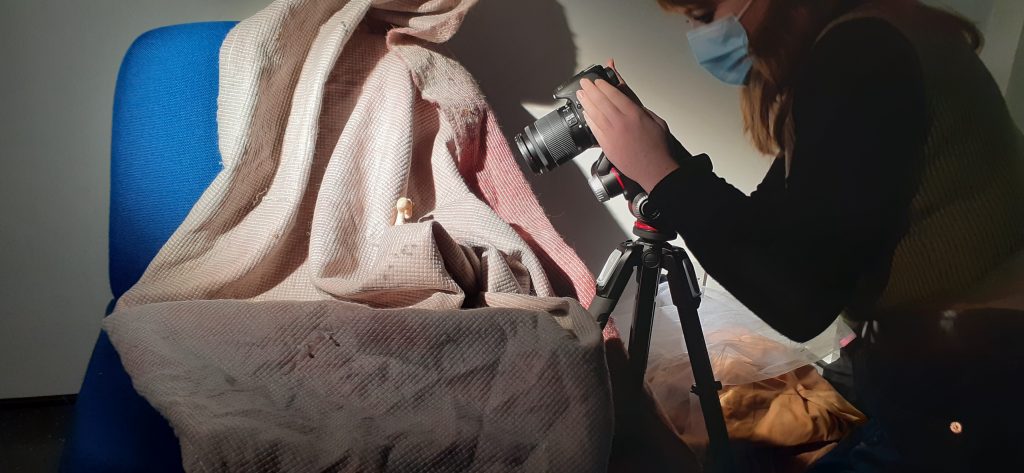
Another set up had a plinth and sheet hanging as a background. For this set-up we used studio lights with diffusers attached to the front. This set-up reminded me of a school photo shoot.
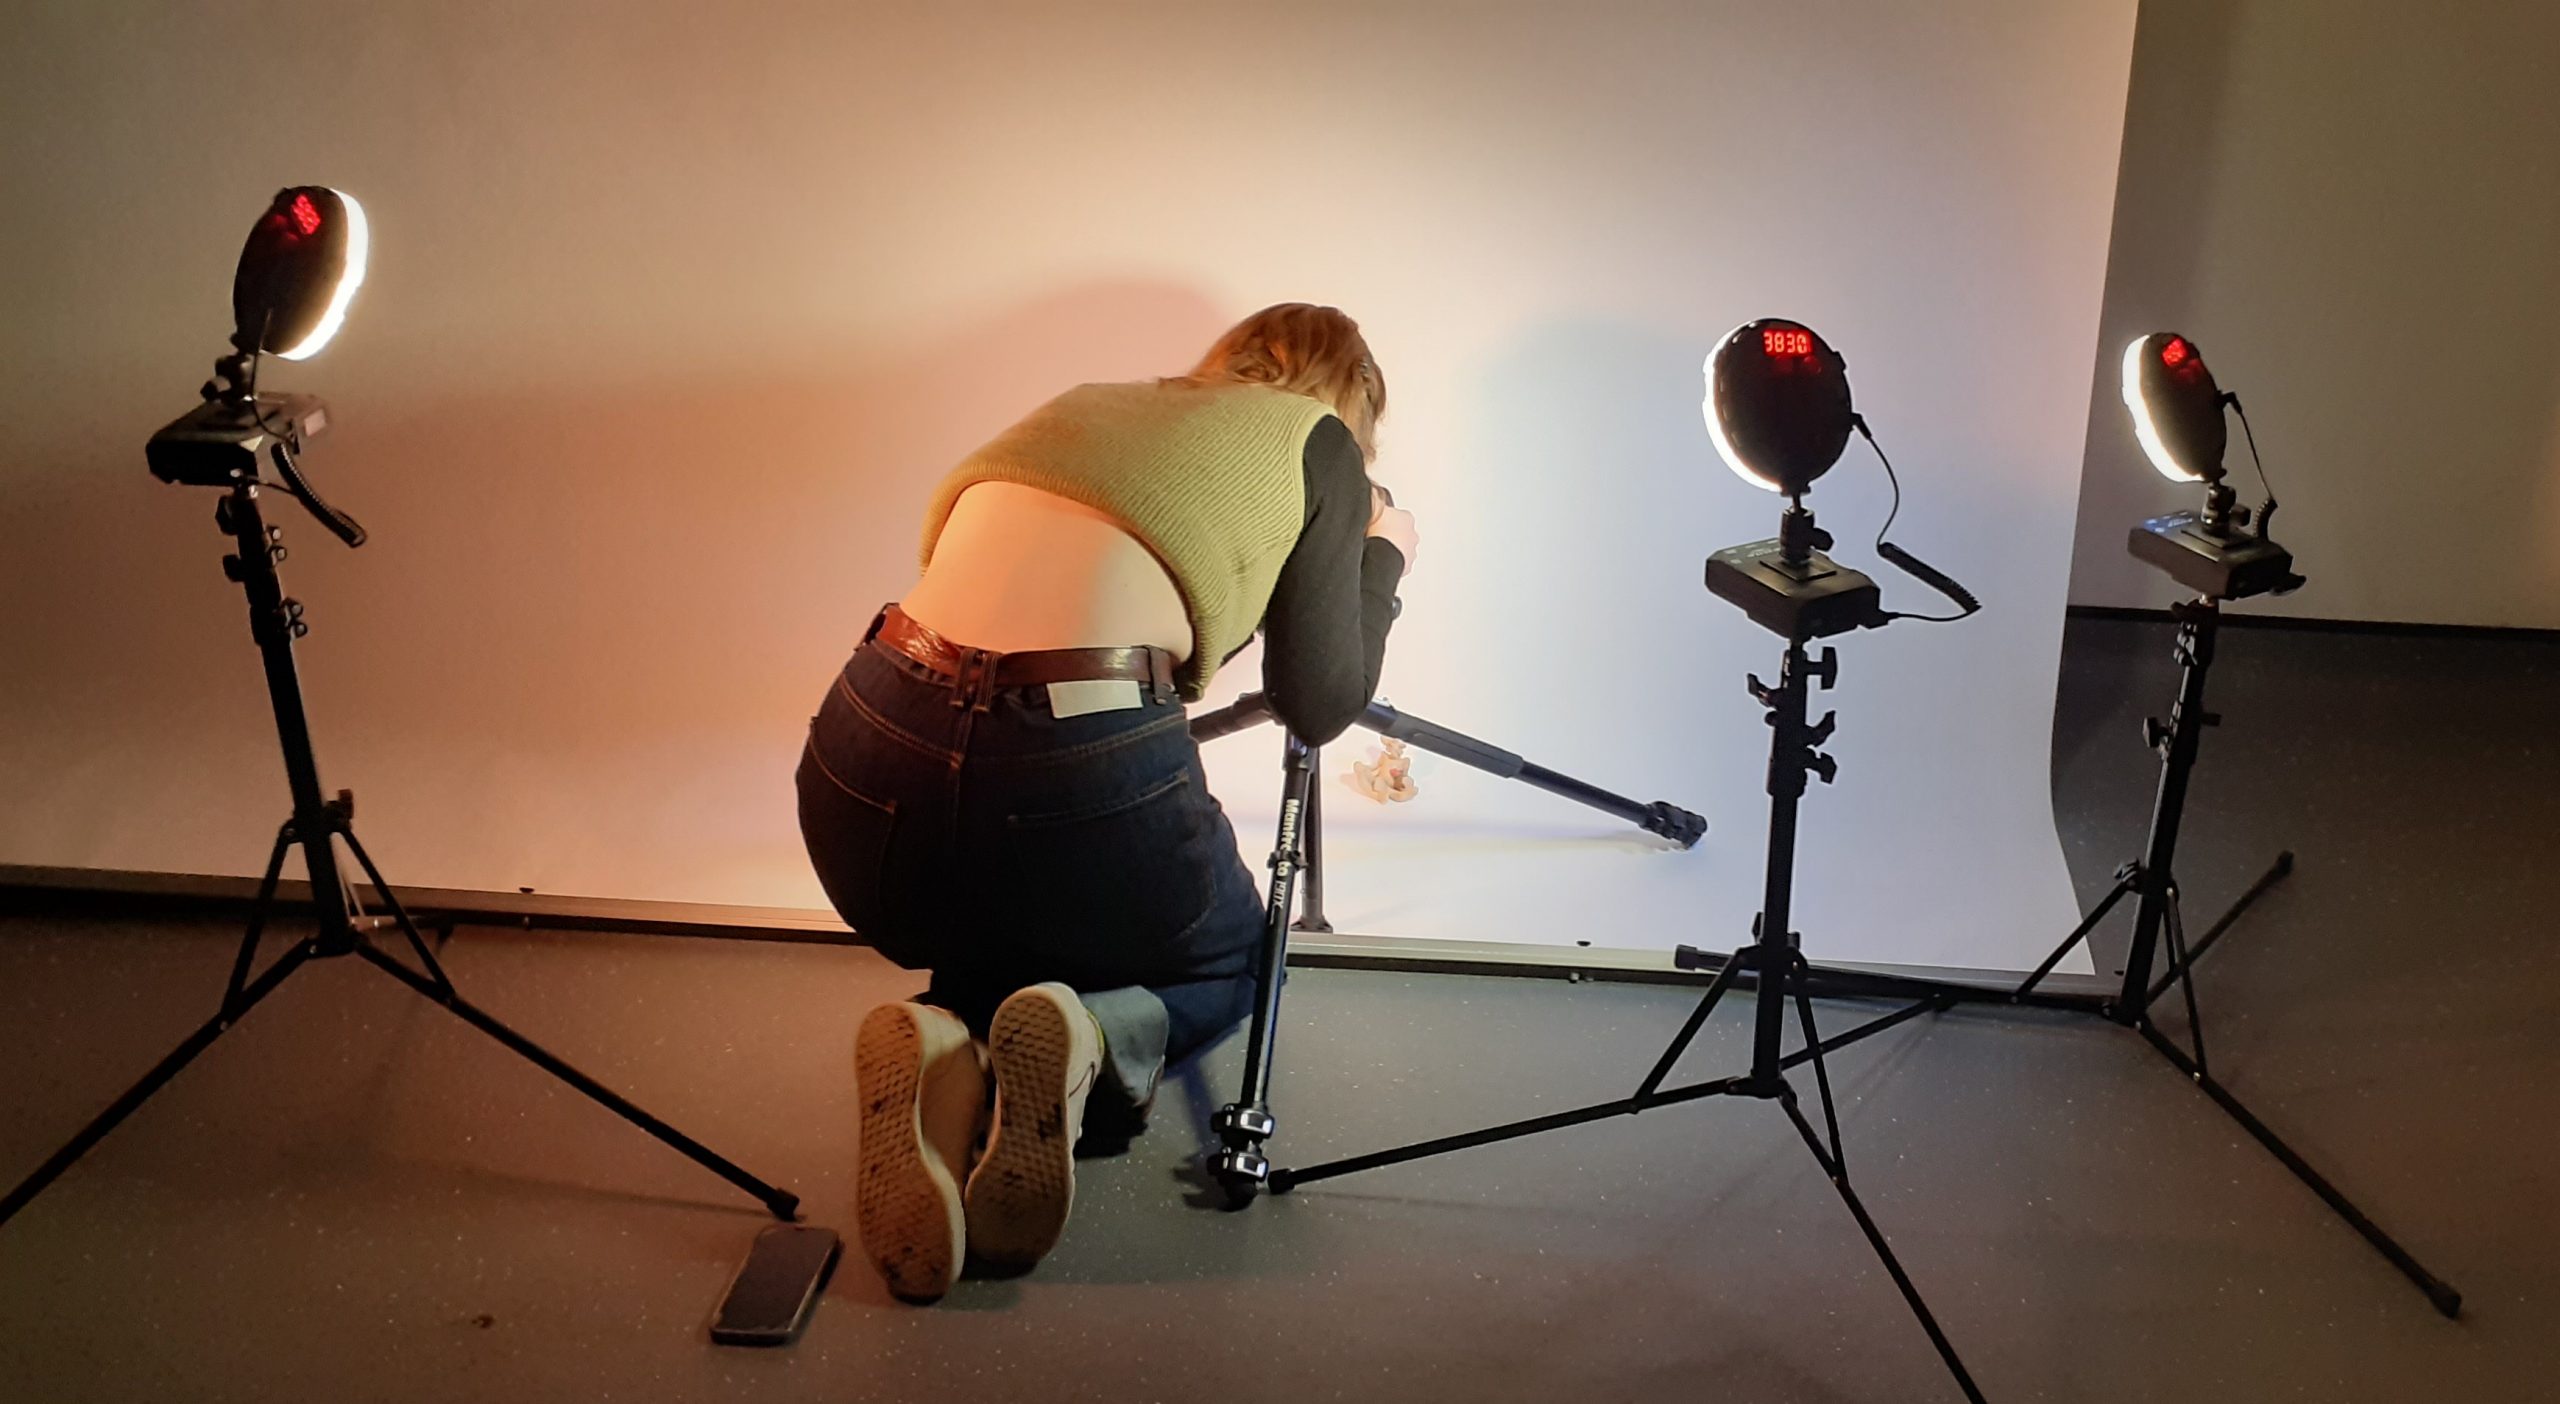
The 4th set-up allowed us to add colour gels to filter the light through. These were LED lights. They were the easiest to use, as the switches were the same on the back to 1) change the warmth of the light and b) change the brightness to lighter or darker.
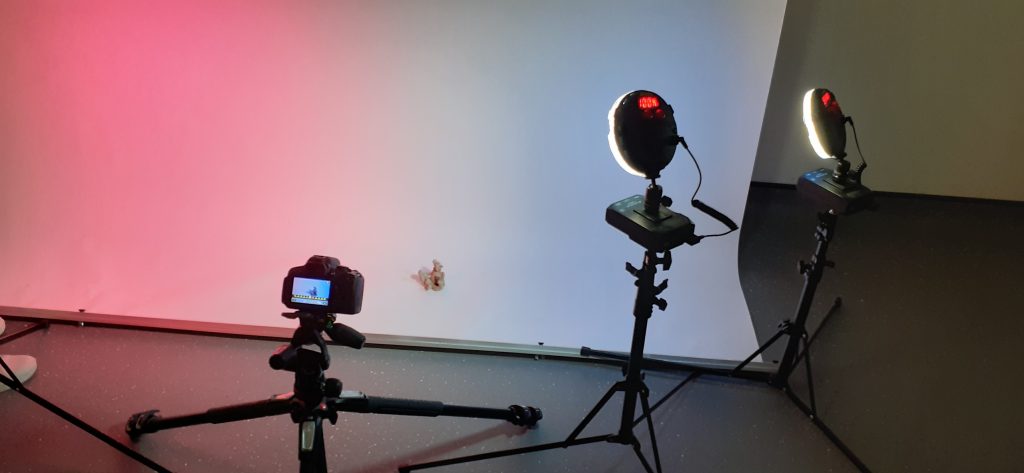
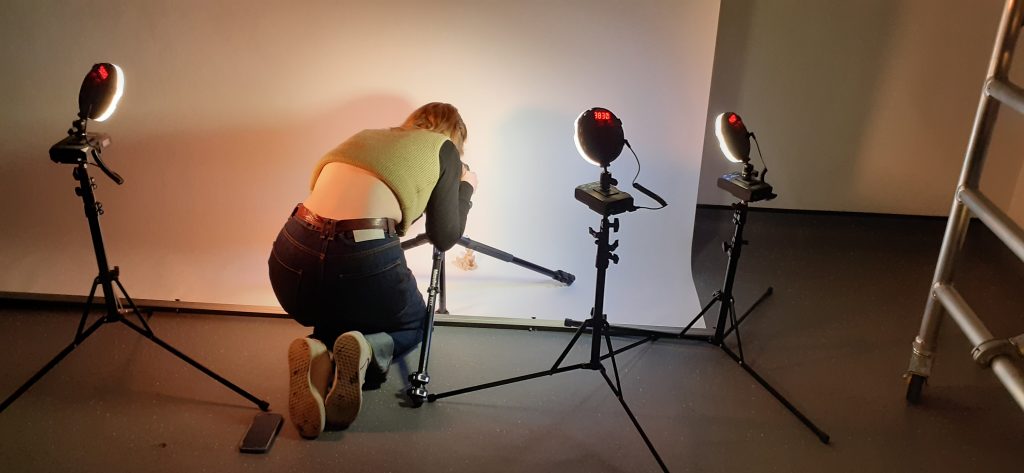
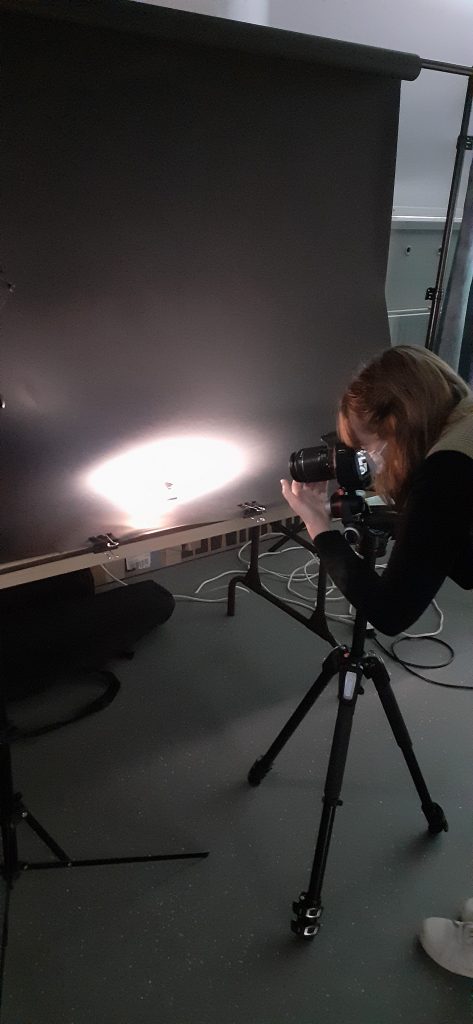
It was interesting to experiment with shining light onto the background and seeing the effect compared to shining the light directly onto the subject. The black background created a theater look and made dramatic photos.
