Project #5 Create a found type collection

In the art world, words are often used as image, for their visual quality. Project #5 is almost the opposite thing: taking images and using them to create letterforms. (In a way that is functional and experimental.) This sounded like a fun project. It would require me to be observant and see the world afresh. I thought I would be seeing letterforms everywhere! It wasn’t as easy as this. I discovered that some shapes are more common to find than others.

When out on my quest for letters, I took more notice of all the letterforms around me. I looked at the typography of shop signs, as well as my mission for objects that look like letters. While in the Westgate Shopping Centre, I came across this interesting fabric used for the benches. I liked that I could recognise the shapes as parts of letters, even though no letter is complete.
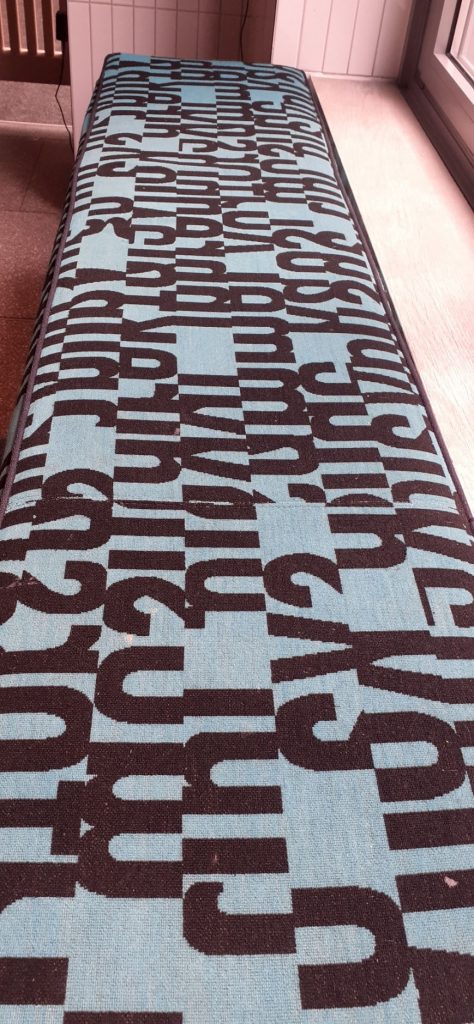
This textile design reminded me of the paintings by William Klein and prompted me to have a look at letterforms within art.
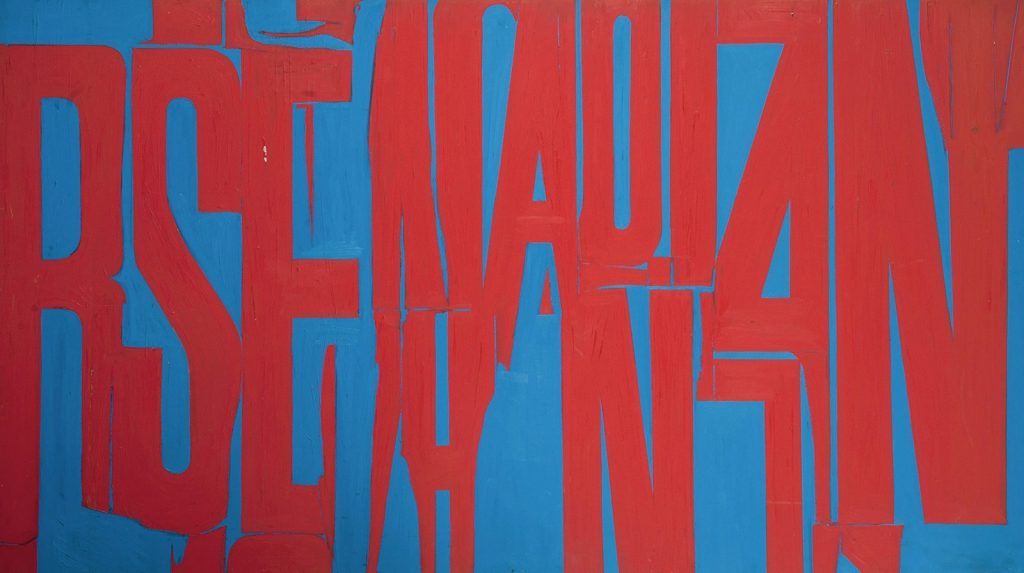
William Klein, Letterist painting for murals (1963-64)

Known mainly for his street photography, William Klein also explored letterforms within his paintings. Here you can see they are purely used for their aesthetic value.

Cecil Touchon’s collages make use of letterforms. He describes his work as visual poetry. Or ‘poetry for the eyes’. This movement of visual poetry came from the concrete poetry movement. He likes to explore the boundary between art and poetry.

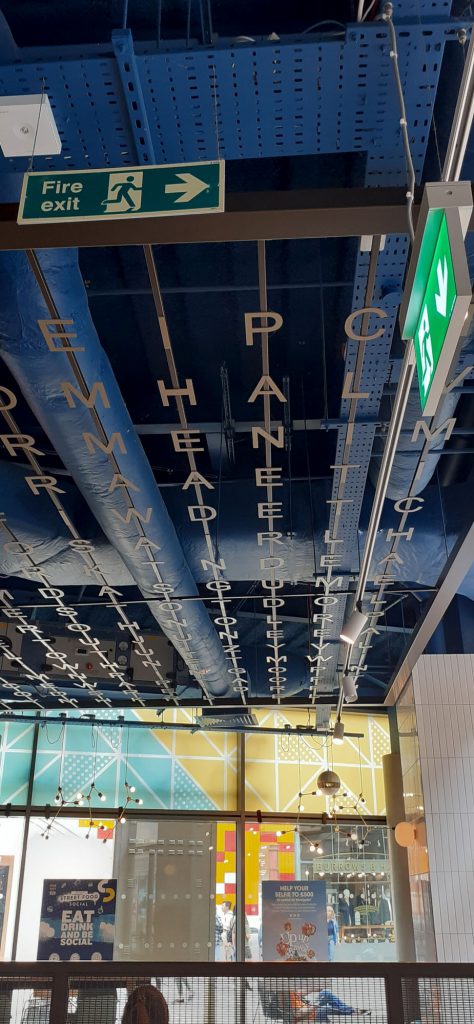
In the same location, above my head instead, I came across this installation.
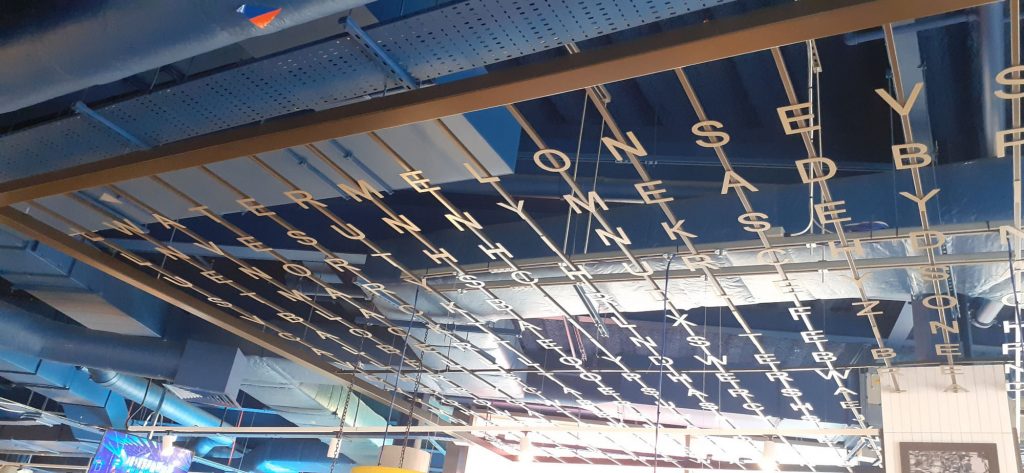
When showing the photo to my housemate, he saw different words within the grid than I could see at first glance. The choice of layout invites the viewer to a kind of game of piecing words together, as in a wordsearch puzzle.

Secondary Research

The Alphabet of Found Objects

I immediately found inspiration in the title of this project, The Alphabet of Found Objects. The 2 words ‘found’ and ‘objects’. We explored objects in year 1 of our course. But I didn’t consider an object functioning as a letterform. This would mean a function that comes purely from the object’s shape. Maybe from a particular angle, since the shapes are 3-dimensional.

This project consists of students’ work for entry onto a design course in Germany. Nina Lehner has separately photographed the objects/letters against a white background. Keeping the same background makes the letters more uniform and look like they are part of a set. (Below)
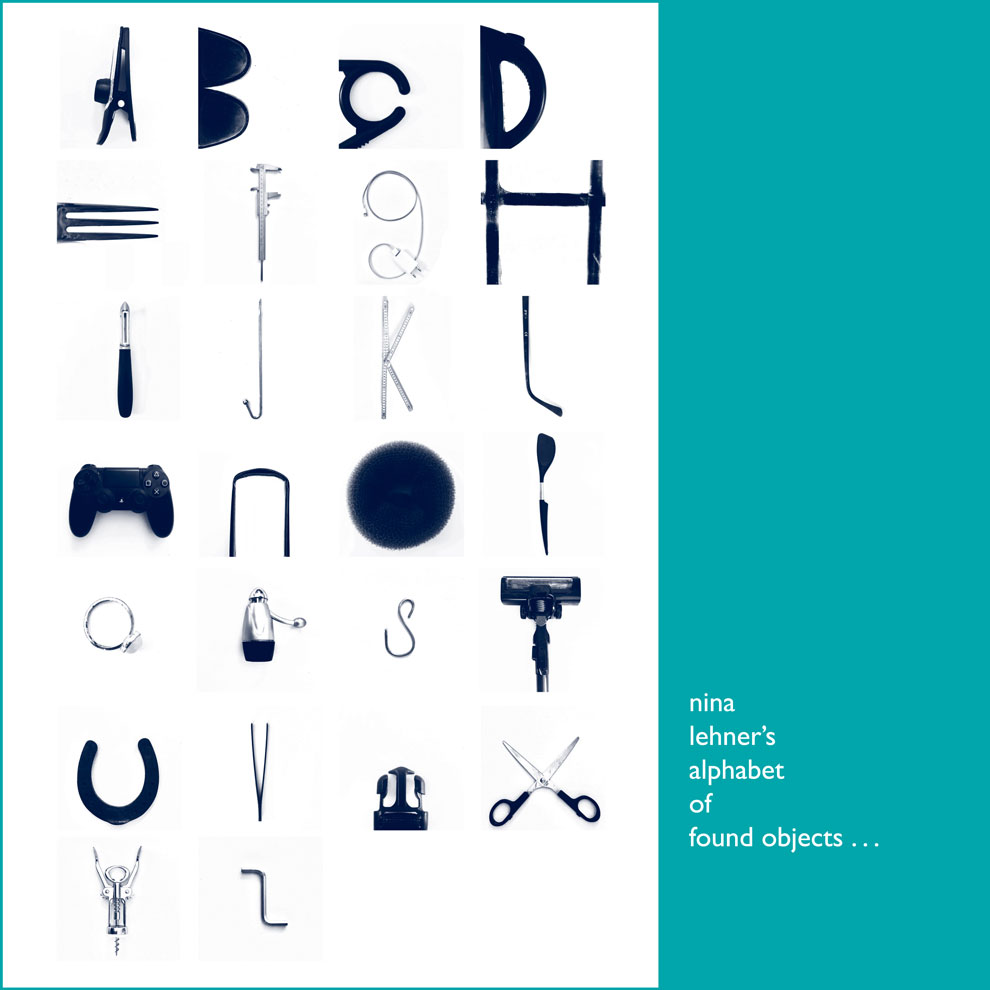
I can see a deliberate staging of her objects. Her obvious manipulation of the objects takes away from the ‘found element’, which is my interpretation of the brief. I wanted to include objects I had really found and hadn’t touched at all – though her method does create letters which are easy to read.

Some of her obejcts are shot alone, surrounded by white space, but other letters are only a section of another object. This inconsistency is less satifying for me. I would prefer to use the same rule, or lack of rules for every letter. But this is only if I was being very critical.
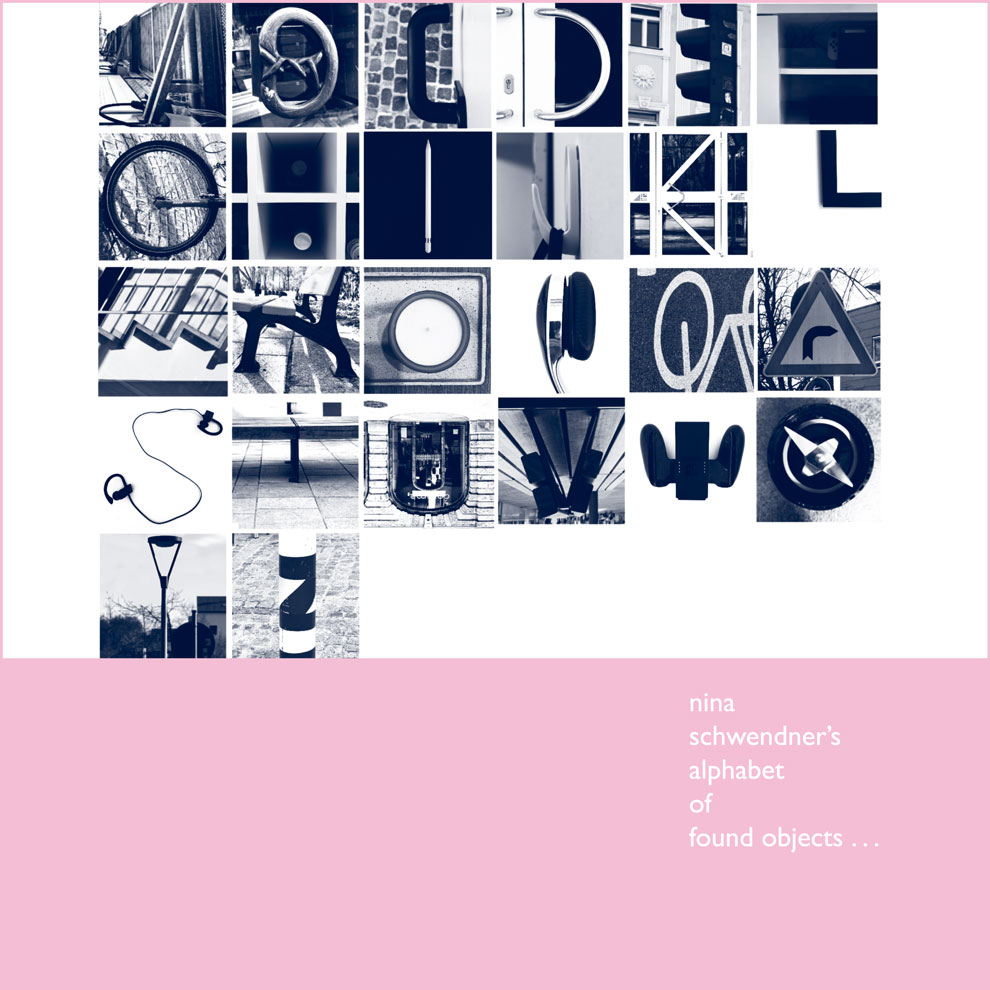
(above) I prefer the alphabet by Nina Schwendner, as it tells more of a story. We can image the artist journeying amongst these placing in her quest for letters. I find myself wondering which she came across first and last. The monochromatic filter adds more mystery, but also helps the images read better as letters.
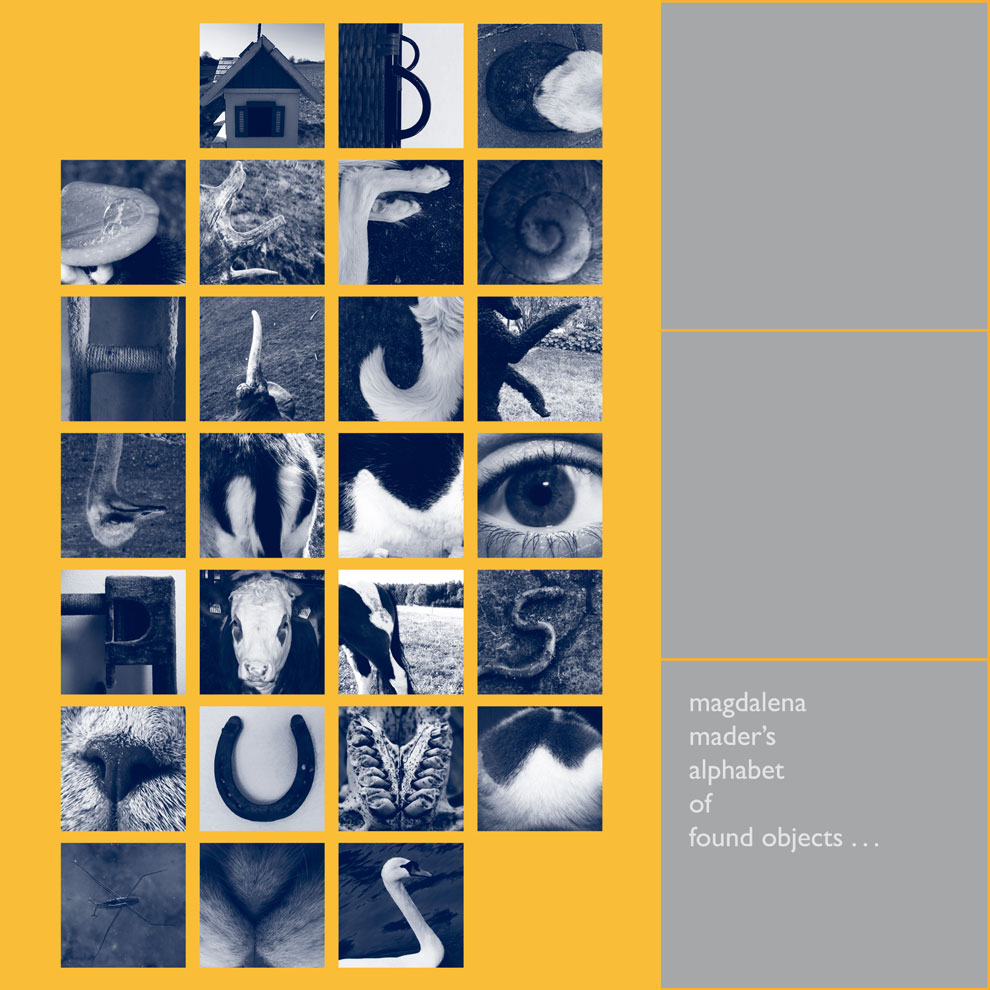
Having the letters united by a theme is satisfying to view. In this case, Mader has explored parts of animals. Flipping the image of the swan’s head works in this context, but I want to take the approach of less editing, more finding things as I find them.
Peter Defty

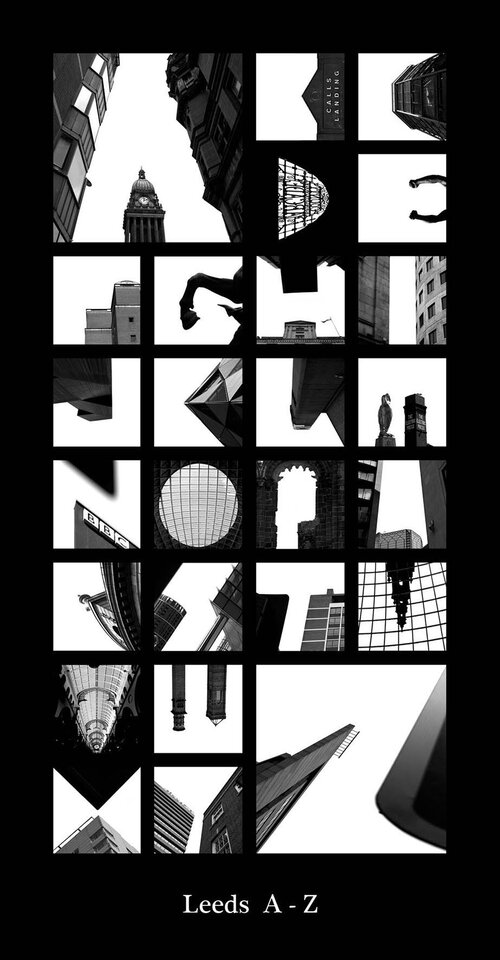
Photographer Peter Defty has produced a series of photos he calls city sky alphabets/ alphatecture. Each alphabet uses photos he took in different cities across the world. If you were familiar with a city, you could probably make the connection without the caption he has placed underneath each alphabet. However, its not necessarily obvious immediately that the photos are even from the same country or city.

He carves the letters from the sky, shooting mostly upwards. The buildings and other architectural features block in the sections of pale sky. His use of negative space is imaginative and not something I would have thought of.
Jason Ramirez

This collection contains colour, unlike the previous examples I’ve looked at. This might help with the visibility of the letters, since some of the lines are very fine and might be harder to see in a black and white image.

Ramirez has created this series of letterforms from various found cracks in the pavement. The letters looks spidery and natural, despite being found amongst the man-made world. I like their randomness, each shape is completely unique and you are unlikely to find another crack in the pavement that is identical to those he has found.
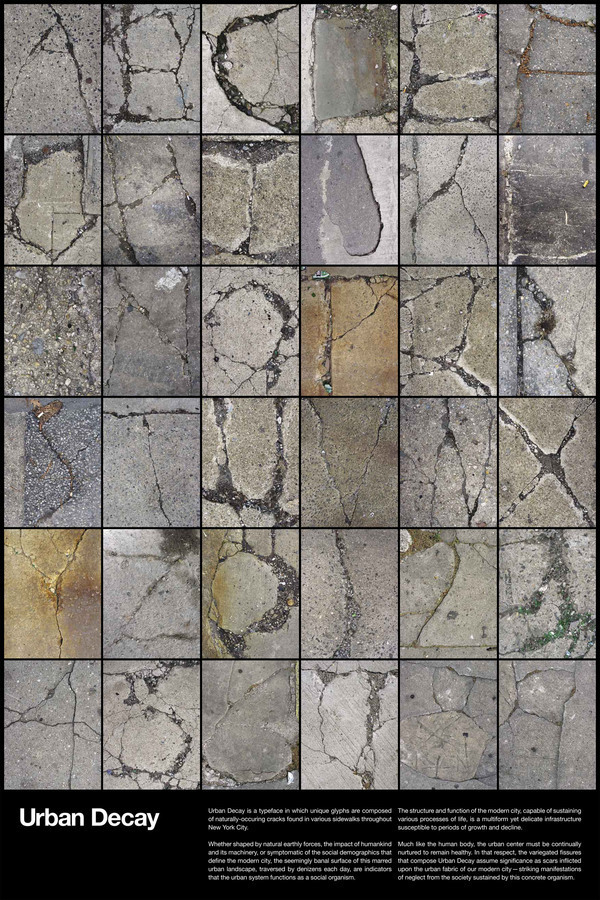
Naturally occuring cracks in the pavement
Irina V. Wang

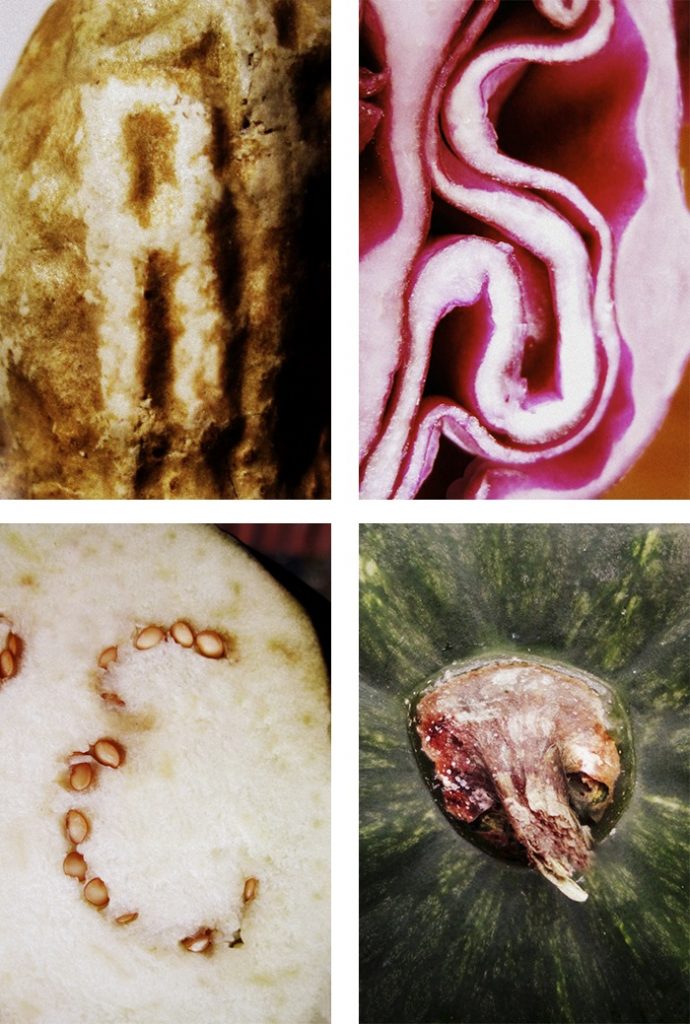
I think the reason Irina’s work is effective, is because she has been selective. She hasn’t taken photos of just any shape that might slightly resemble a letterform, these shapes all look unmistakable. These shapes look as though they were naturally occuring in vegetables and she had the luck to find them.
https://irinavw.xyz/bits

Primary Research

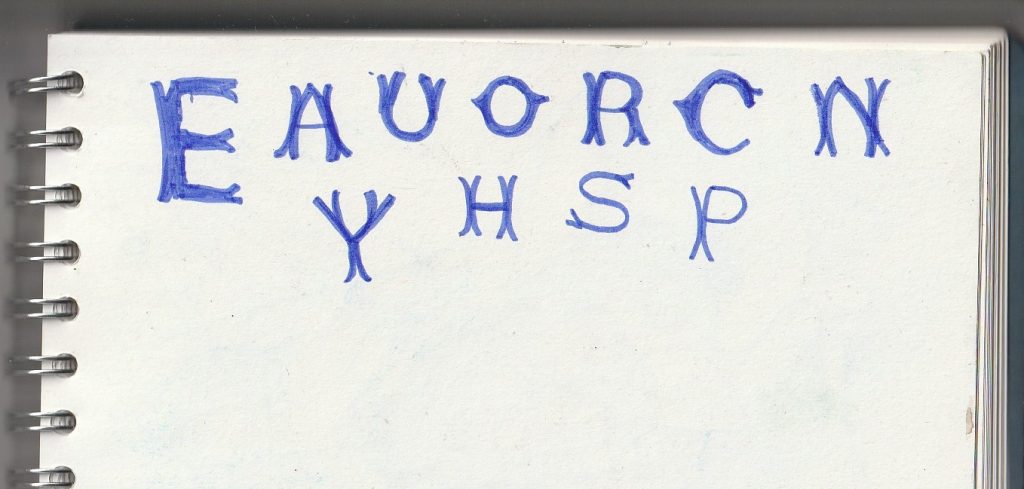
I started looking at type more, in general. For example, while at the museum, I noticed some handwritten type on the wall. I copied this into my sketchbook so I would focus more on the letter structure. Drawing allows me to study the letter structure more closely. I noticed double lines , almost as if the designer had written a letter, then came back and sketched over it. I found the double lines interesting.

The Task:

‘Create a found type collection by shooting objects, shapes, lighting.’

‘Each image much be unique in subject matter and framing’

From the Project #5 brief

But there could be many categories within this brief. From looking at secondary research/ contextual references, I considered the possible themes:

found objects, built environment, architecture, indoors, outdoors, pavement/road, vegetables, animals, people, natural forms, things of one material/colour

Looking at the contextual references from project #4 and project #5 gave me a basis on what to look out for when I was out and about. I thought of negative space, of shadows, of broken lines.

I like the idea of the world around me/ chance determining the type instead of me curating the letters. Giving a creative project restrictions, usually helps with creativity.

Peter Defty has consistently used this white space as the letter itself, but I feel this would not need to be the case. I wanted to experiment with creating an alphabet from both negative and positive space and seeing if it would still work as a collection.

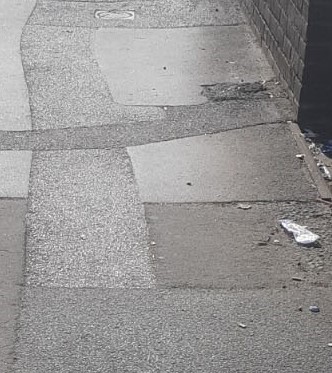
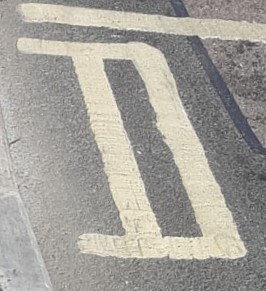
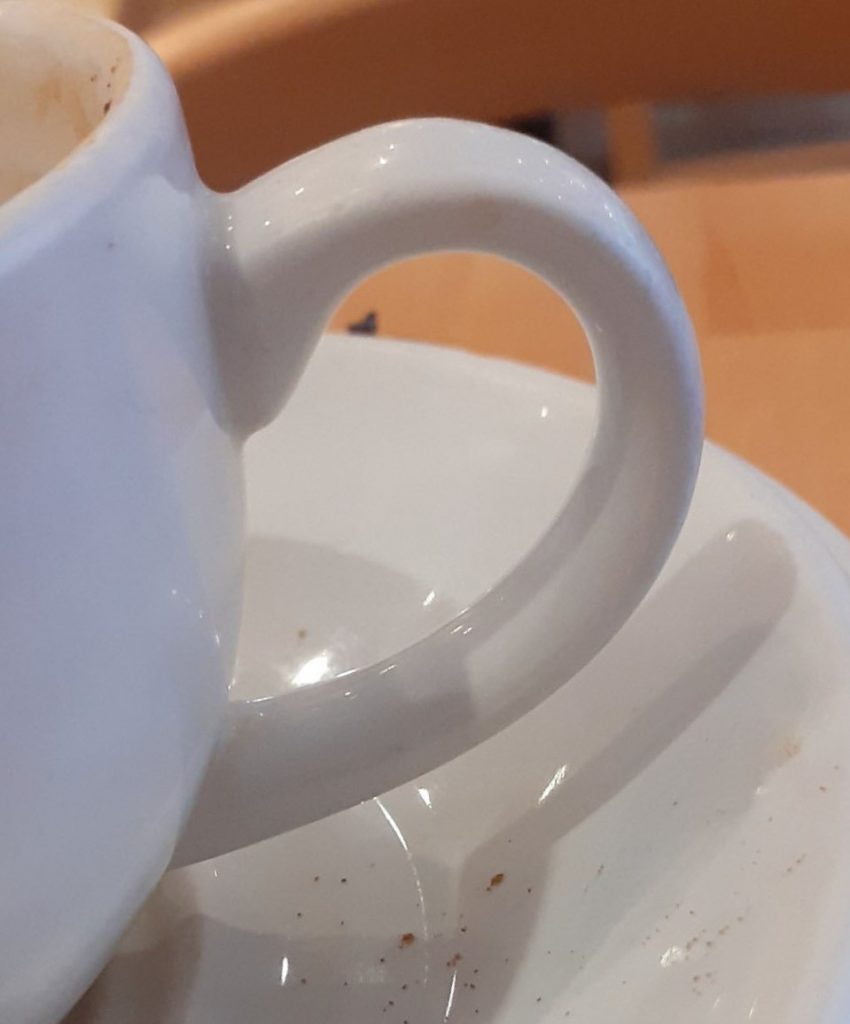
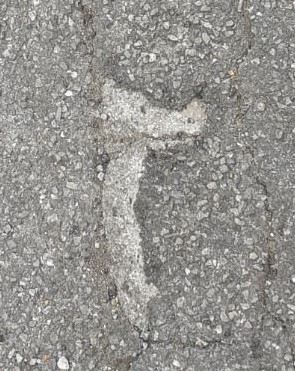
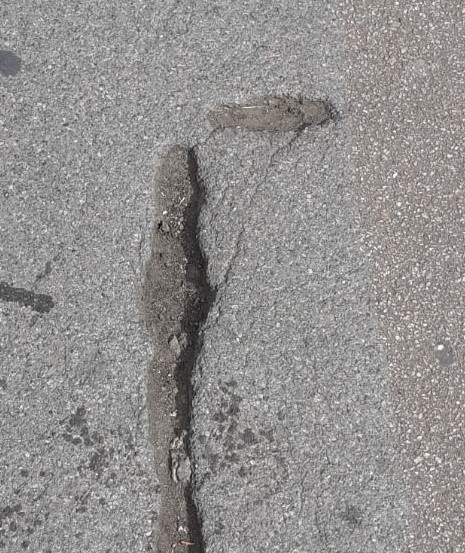
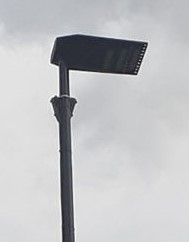
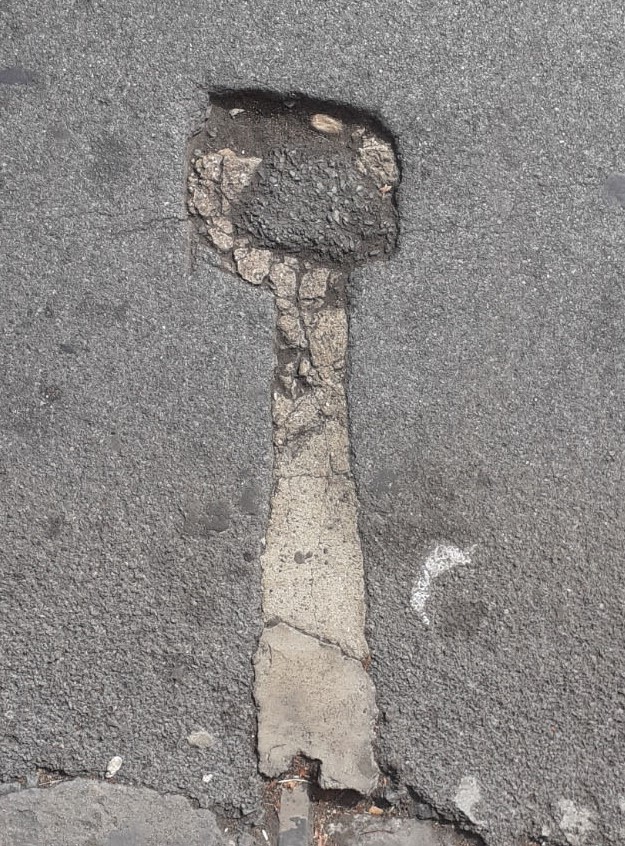
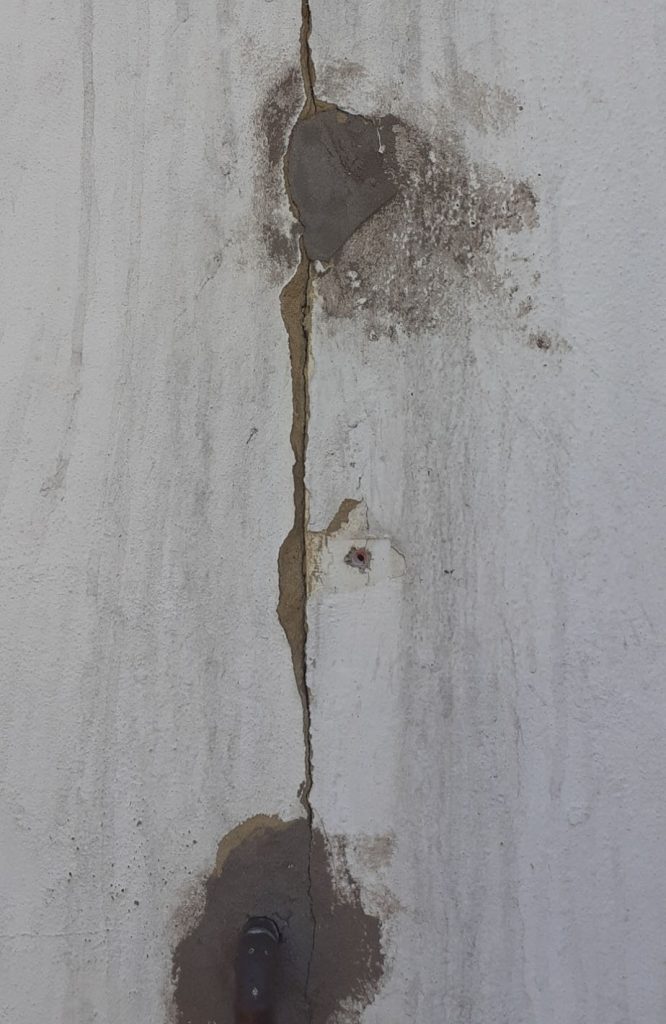
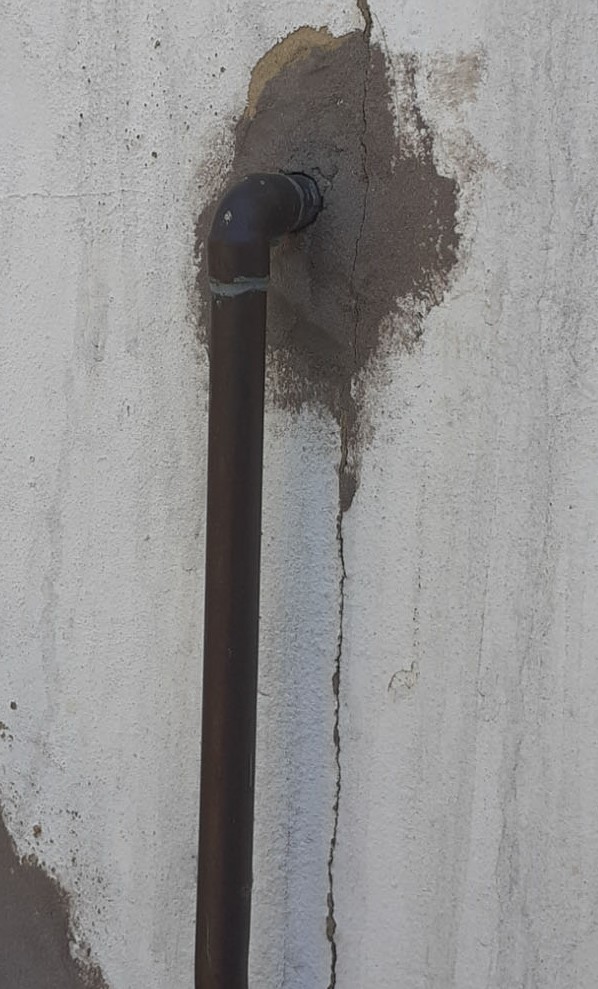
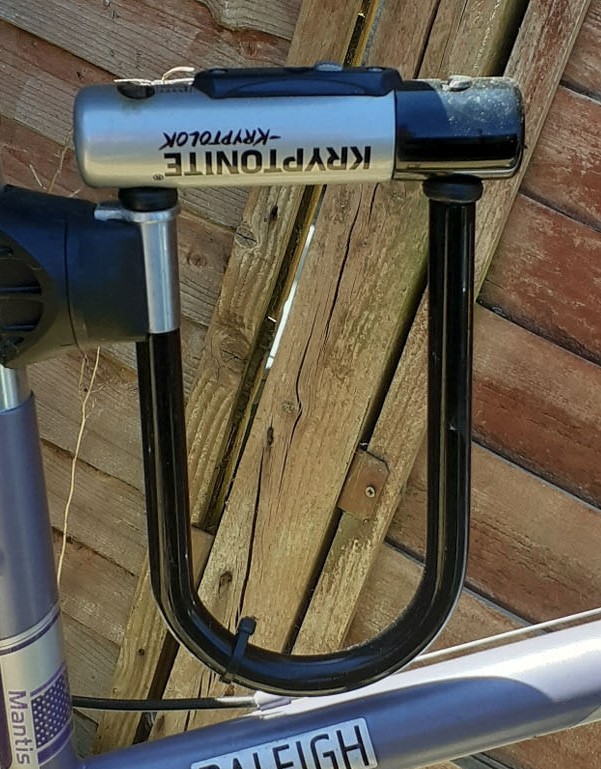
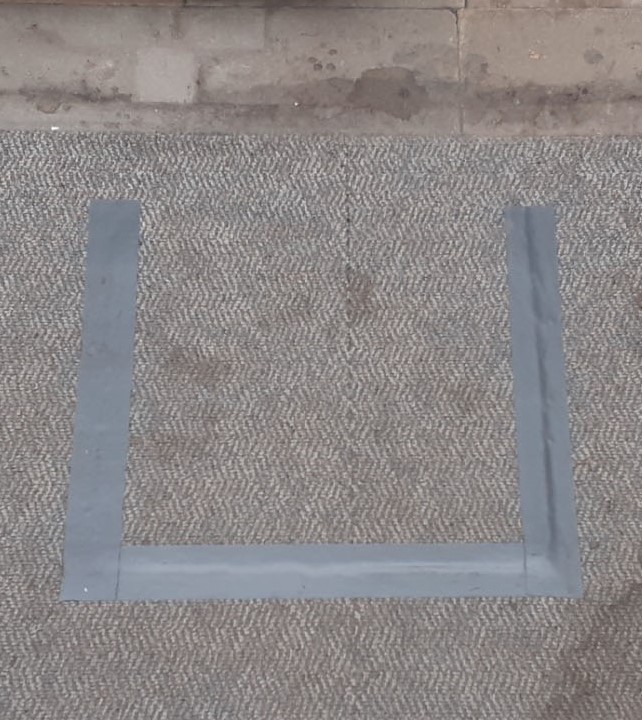
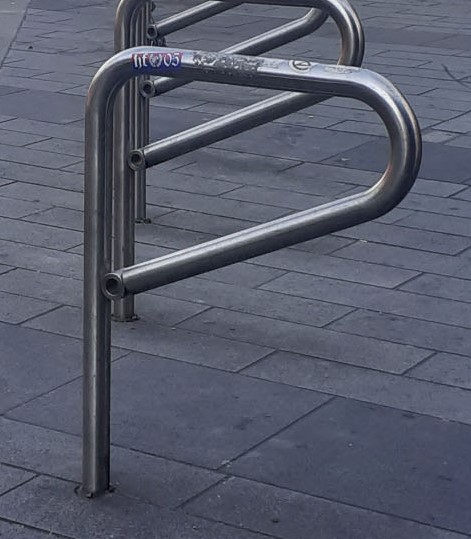
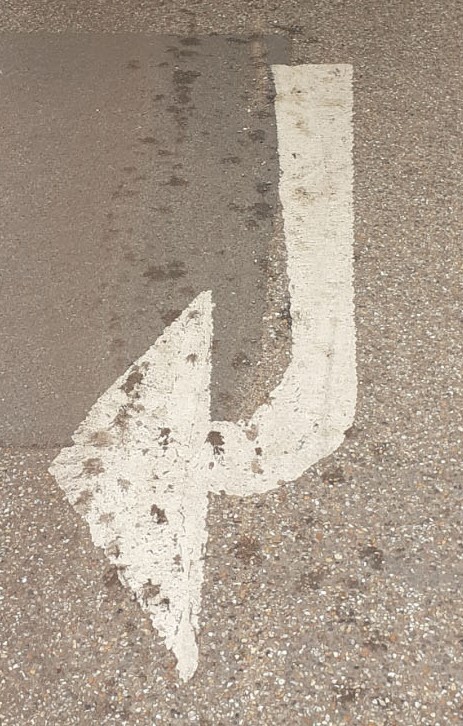
I began by focusing on letterforms I could see on the pavement and road (material: concrete), but was unable to find any more letters after the first few. (below- A, B, C, D, E, F, J, r, I) That was when I realised this task was not going to be as easy as I had anticipated. I was also surprised with the variety of markings I found when looking on one surface type.

As I began to struggle with the search, I wondered what shapes I was missing while looking down at the floor and started to look around me as well.

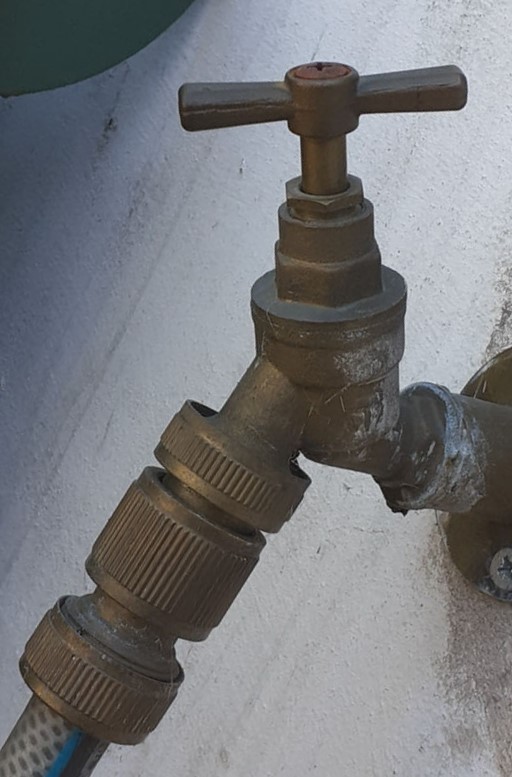
(below) The ‘J’ on the left was my original ‘J’. When looking around, I noticed a an outdoor tap in the shape of a ‘J’. Slightly rotating the image helps it read as a ‘J’.

I explored ‘2D’ & ‘3D’ letterforms.
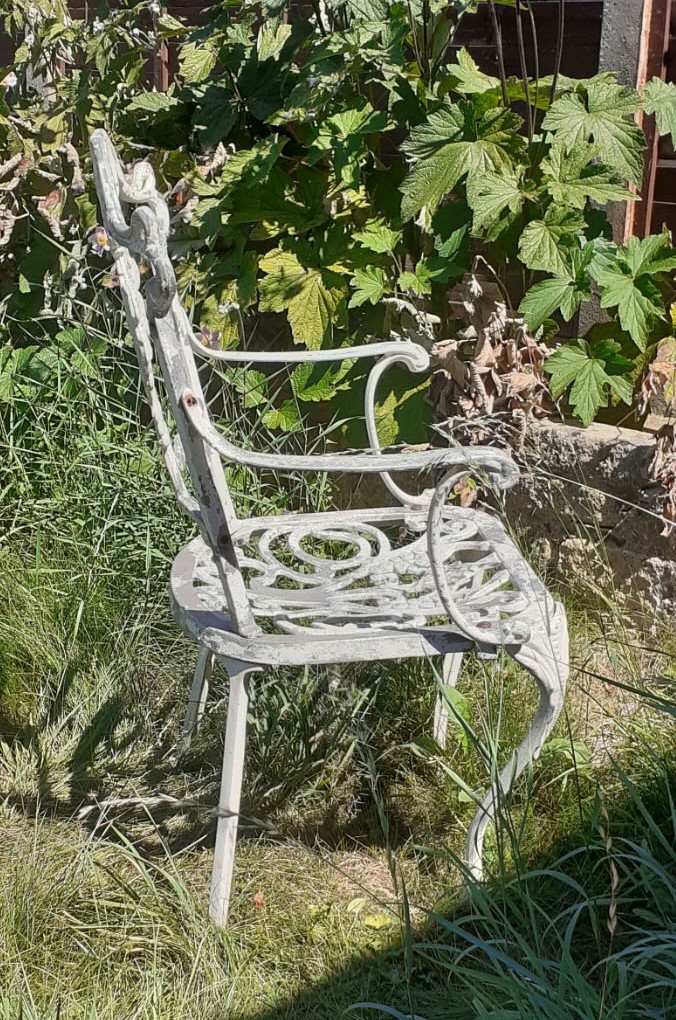
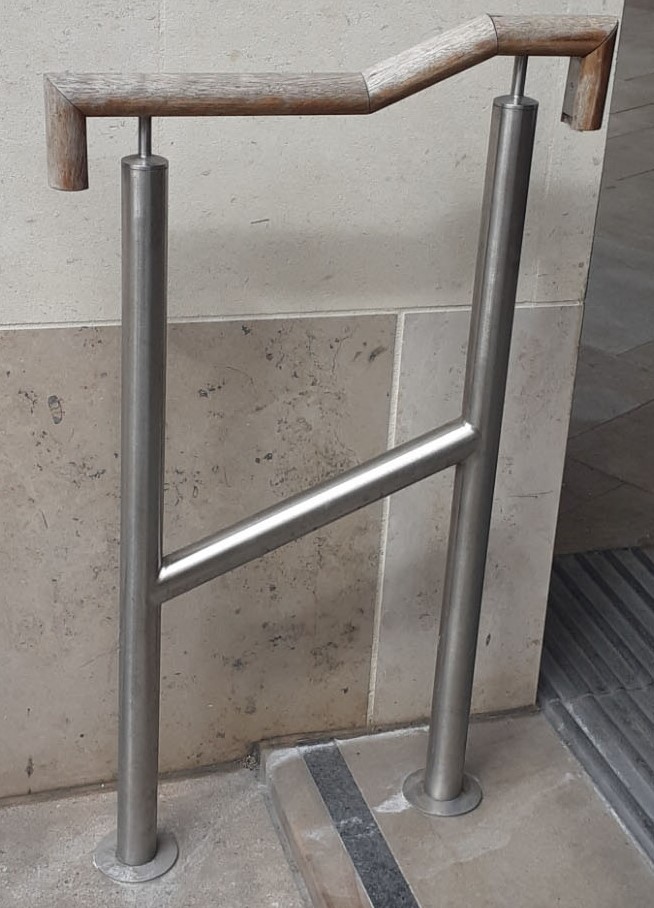
Another example of uppercase and lowercase letters is the two ‘h’s’ below. The lowercase ‘h’ (left) is the side profile of a chair in my garden, the (right) capital ‘H’ is a handrail. The ‘H’ on the right would make more sense in an alphabet of other uppercase letters. I also don’t think I chose the best angle for the chair ‘h’, since it is not an obvious ‘h’ in this photo.
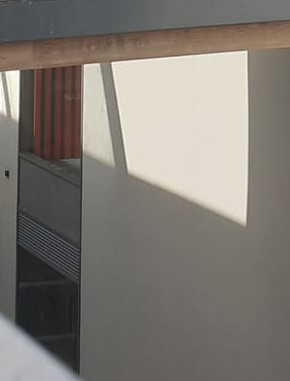
I liked the way the pattern of light helped to form this ‘P’ in the centre. (above)

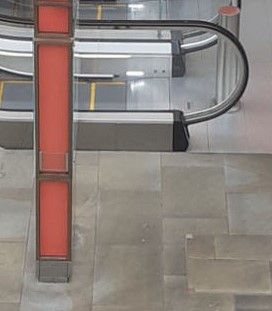
The ‘P’ on the right works because the 2 objects appear to intersect from the angle I was stood. In reality the objects were set at a distance from each other (the red navigation board and hand rail of the escalator).

A collection of A’s (below). Again, I was able to use lighting to draw the letter ‘A’. In hindsight, I would have created a shadow type collection.
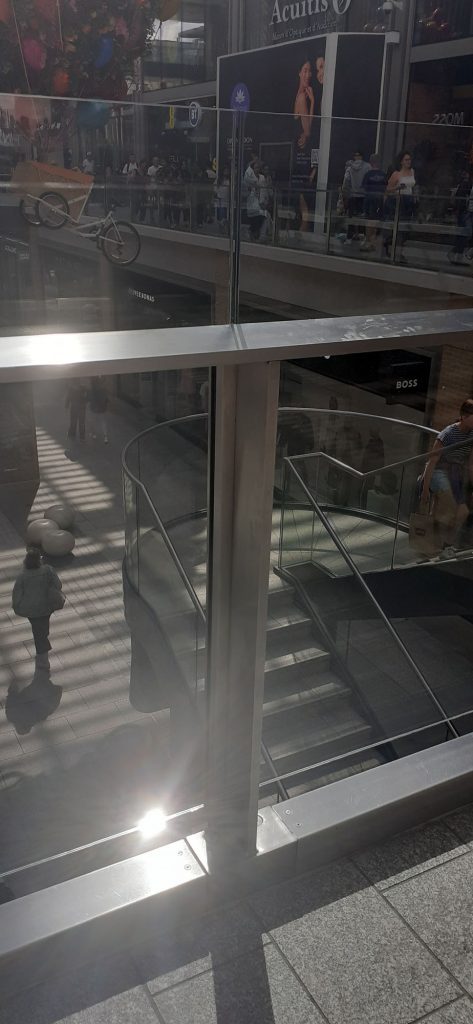
I took this photo because of seeing the ‘T’ form of the metal railing. But on later inspection, I could see other letterforms within the same photo (below).
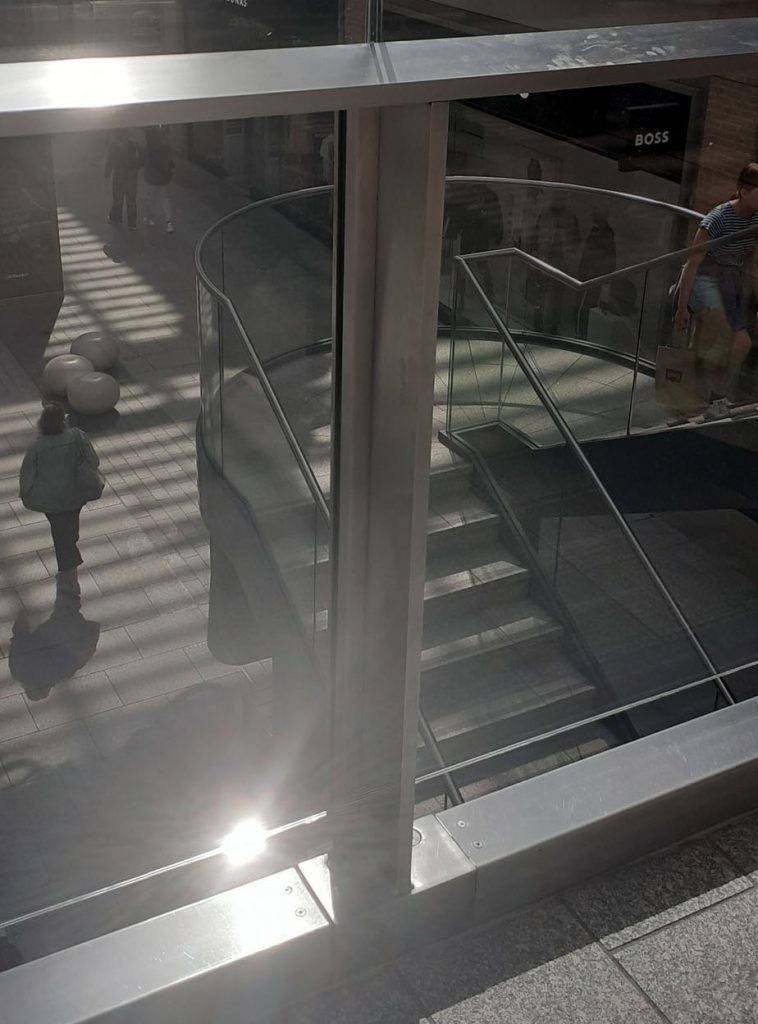
‘I’
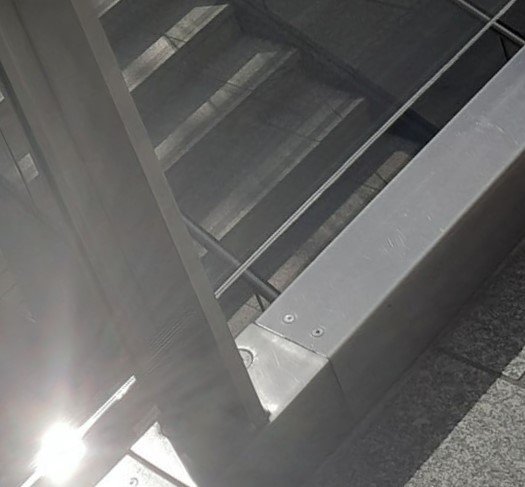
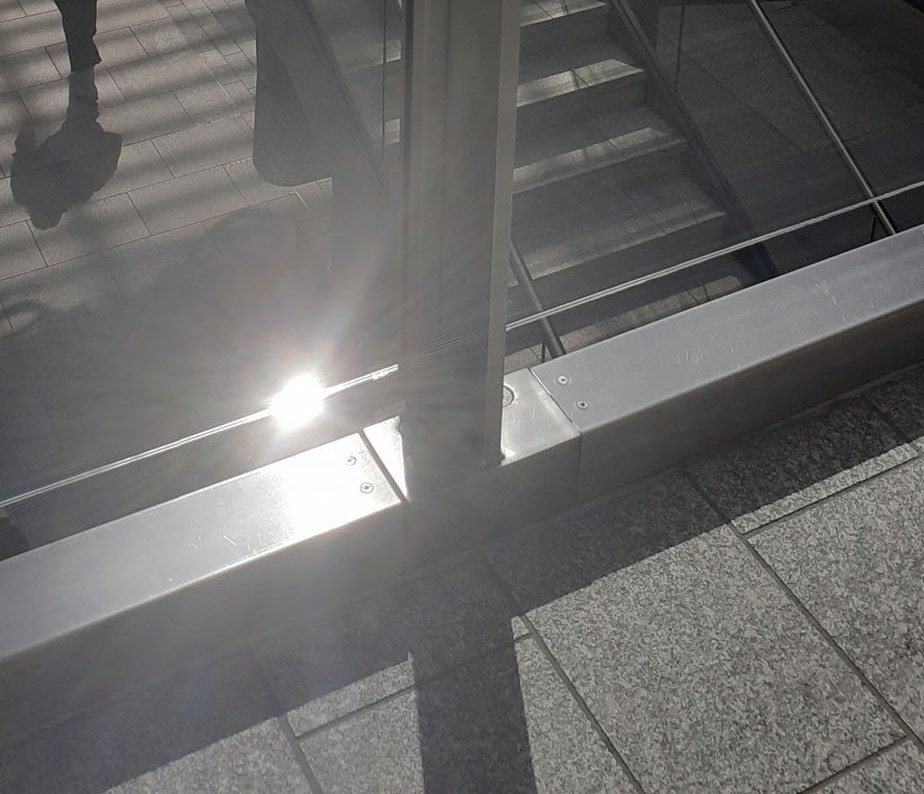
What I first saw as an ‘S’ on the side of this building could be broken down further into…

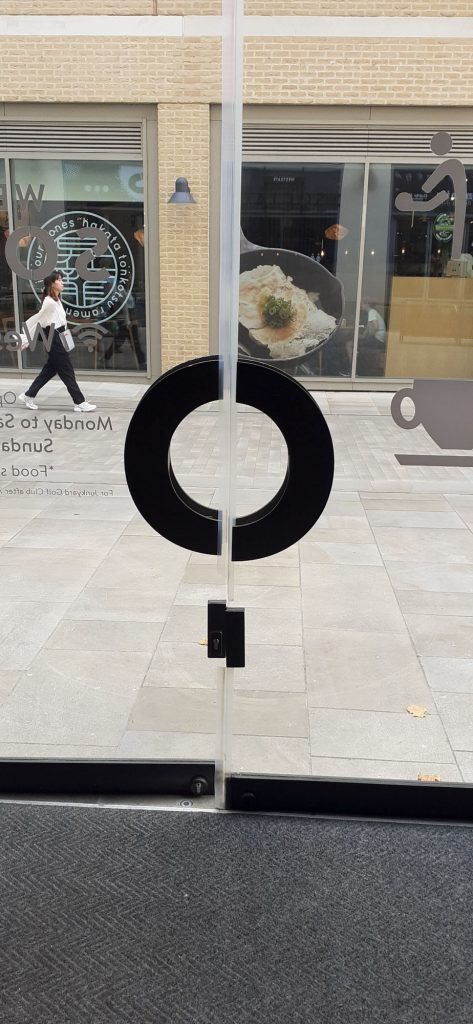
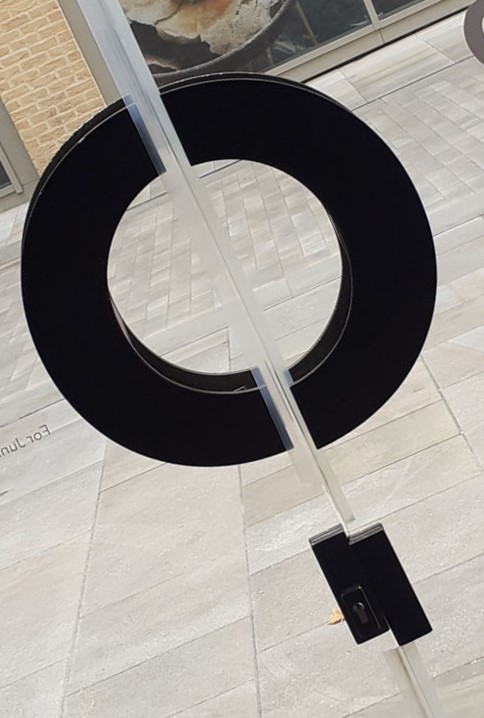
I took this photo when noticing the door handle could become a disjointed ‘O’. However, I then saw if I tilted the image slightly, it could be read as a ‘Q’ (below).
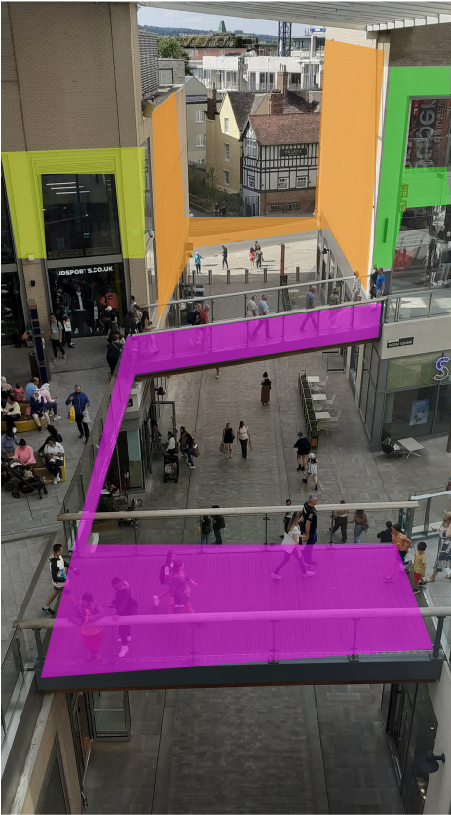
This aerial view from the upper platform of the Westgate Shopping Centre, contained several shapes within the architecture that I could pick out. Here I have highlighted them in different colours. ‘n, H, F, C’.
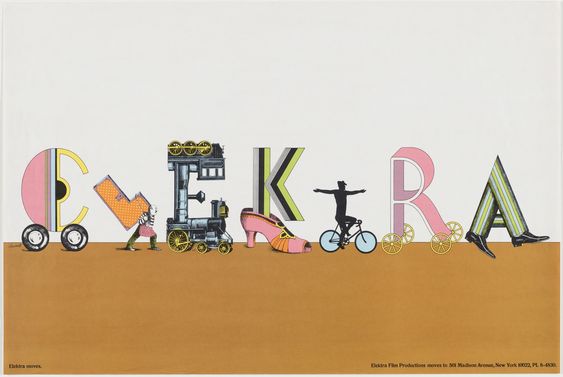
When researching type, I came across this poster design for Elektra records by Seymour Chwast. I liked the variety of unusual and playful objects featuring as letters. The designer chose objects which could express movement, since the company were moving locations. The colours are exciting and give the caption a lot of character. Within the letters, the designer has used a variety of stripes and shapes as well as angles. The angle of the ‘L’ in particular helps add movement and energy to the composition.

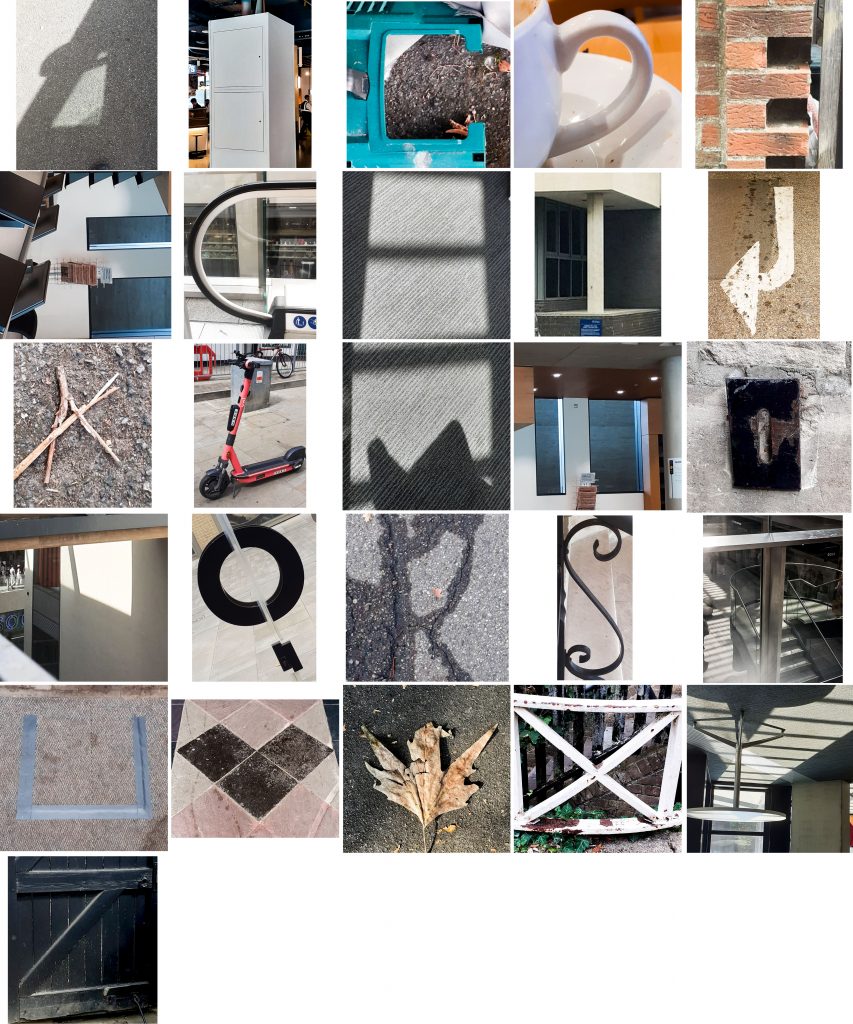
Having found that my found images were pretty random, I then needed to narrow down and define my collection into an alphabet that worked coherently. I then enhanced each photo so that they could be read more clearly.

This was the first collection I decided on:
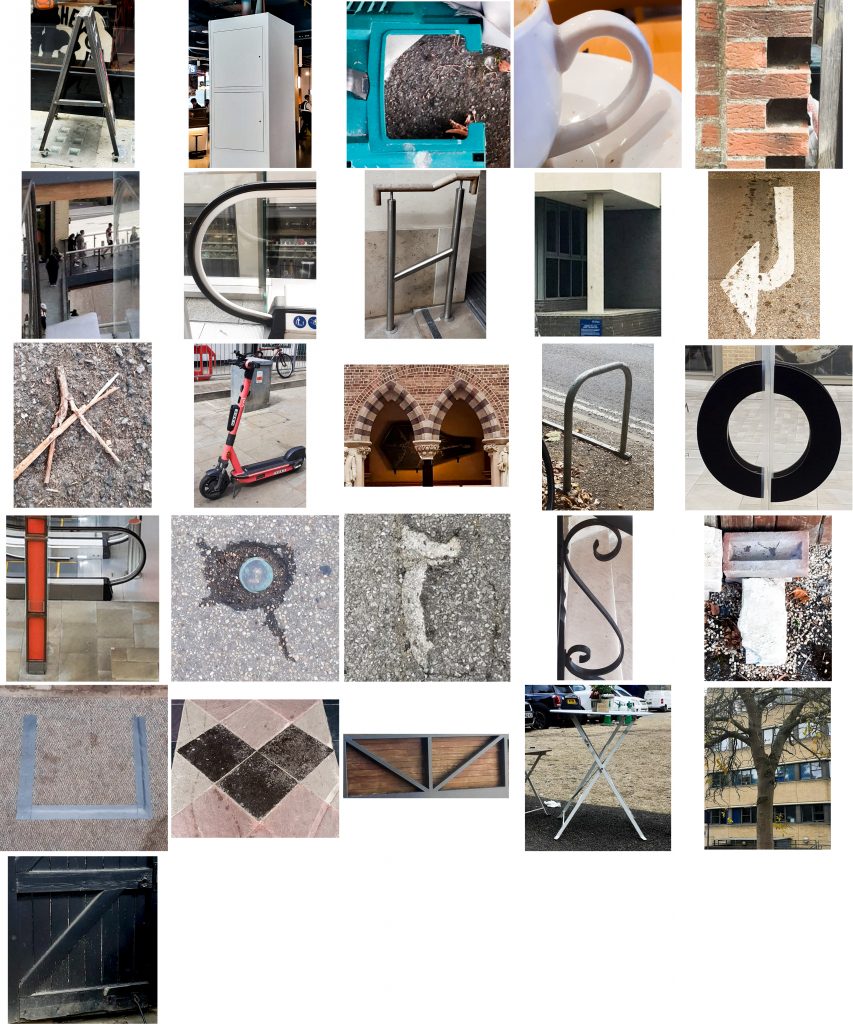
2nd version of my alphabet:
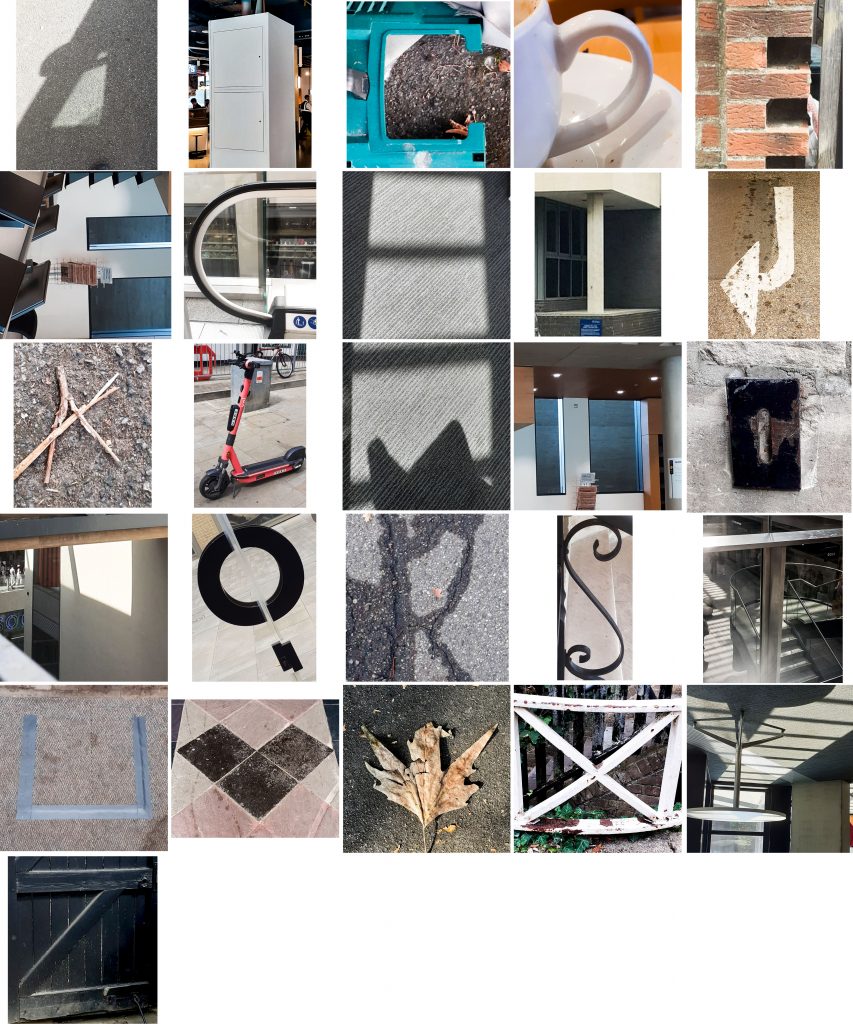
I changed some letters around to alternatives, to see how the collection worked as a whole. I prefer this 2nd version, since some of the letters look more refined and impactful. For example, this ‘Y’ fits in better because it is made from geometric shapes as well as shadows, which makes it more similar to the other letters. The ‘Y’ from the first version was a tree form and so it stood out. I have chosen to include as many shadow letters as I could.

Reflections-

How was Project #5?

More challenging than I expected. I found it difficult to mould the project around my ideas. Instead, I was having to adapt to the shapes I saw around me and therefore change from my original ideas.

I could have collected small objects together purposefully to create type from, but I wanted to be inspired by the myriad objects in the world around me. the randomness of the world felt like a more useful creative area to pull from. I’m not displeased with my collection!

What did I learn?

To create a great found type collection, it could take years to collect together the perfect letterforms. Being restricted by a time limit, I could have been bolder and more decisive with my choices. For example, focusing on more of a narrow theme/category, for example ‘natural objects’ or ‘metal objects’.

Having a deadline means I sometimes needed to select the best letter in terms of legibility, I couldn’t then afford to focus too much on the material or theme of the individual image if it compromised the object’s readability.

What did I enjoy?

I enjoyed becoming more familiar with letterforms and exploring the topic of type from a new angle. (Phyiscal objects translating into text).

What materials/ techniques did I use?

I used my phone camera to take every photo. I then used photoshop to enhance the images, crop them or rotate them. I used Illustrator to place the photos on a grid (for example the pavement letters).
Photographic/Typographic

Our first task was to describe our object using only words. We worked in InDesign to create practice presentations.

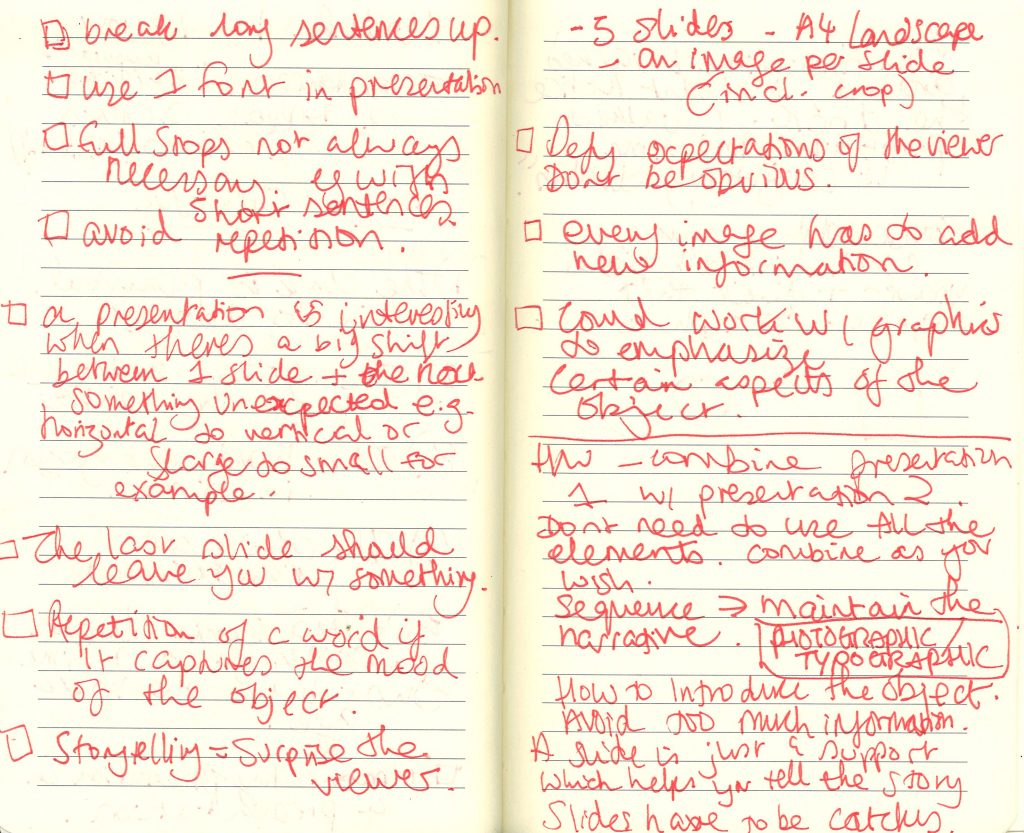
I needed to think about how the words would be presented in slides. I wanted the slides to be:

  1. easy to read
  2. eye catching
  3. interesting to the viewer

I wanted to reflect the object’s design in my choice of font, and colour and layout.

Luisa gave us some reflections on these slides, which I found helpful when thinking about my final presentation.

We then were asked to repeat the exercise, this time using images only.

I used different placements of the images to make the viewing more interesting. For example, placing the image at the centre of the slide, left, right or covering the slide completely.

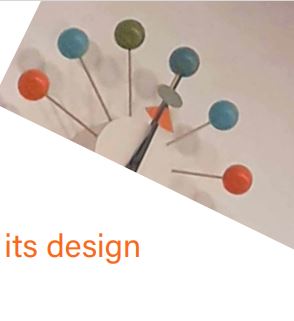
I placed the pictures in this order to show me noticing the clock in the museum and then zooming in to get a closer look of it.

I then went for the opposite effect and began by focusing on the details before walking away. I showed this by ending the slides with a far away image of the clock placed on the wall. This puts the clock in the context of the collection.

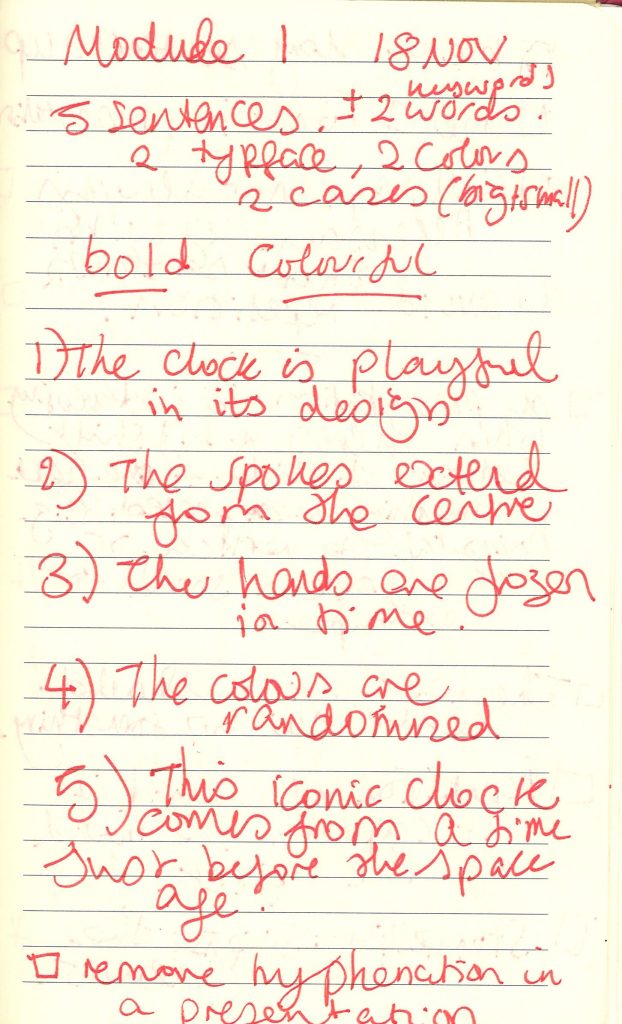
I cropped and altered the rotation of the image on the first slide. I chose this to reflect the ‘playful’ aspect of the message, expressed in the text.

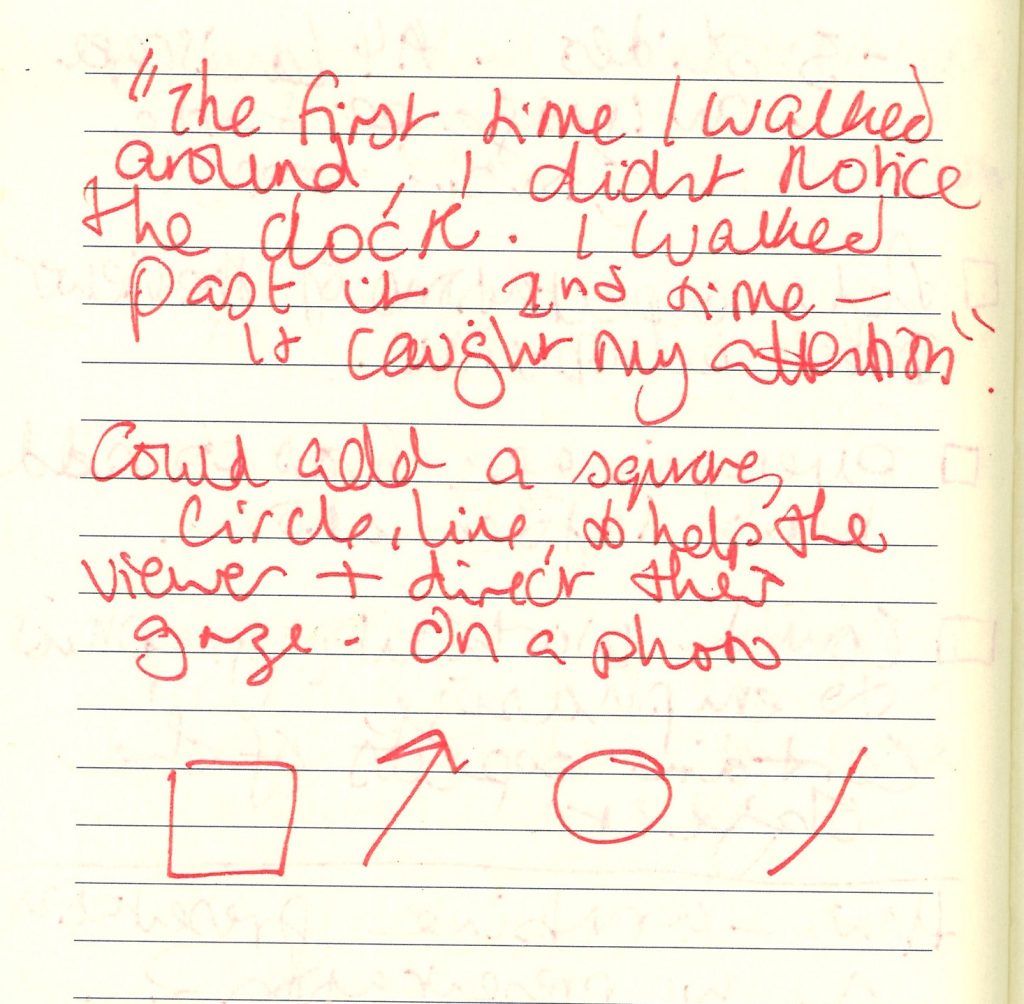
For the second slide, I placed the text and image centrally to reflect the message. I drew lines across the image to highlight the spokes of the clock.

I left the line of ‘the hands frozen in time’ to its own slide. I did this to give the viewer a chance to pause and feel the stillness of the clock hands.

Number design

This week, I am re-visiting the ‘Number’ brief. Since I struggled with this task last week, I decided to give it another go and try to understand Adobe Illustrator a bit better, as well as how I could go about designing numbers.

Figure and ground

‘Look at the Rubin vase (example 1) where the figure– ground relationship relies upon a visual confusion so that the eye sees either faces or a vase.’

In this image, we can view the white area as negative space, therefore seeing the 2 faces. Or we can choose to read the image as a white vase, where the black area becomes the negative space. The figure is the object in a given space, and the ground is the background space around the object.

Numbers are everywhere in the world around us and they are instantly recognisable to us. Since they are so easily recognised, we can playfully customise them away from a basic number form, and they will still be readable- we have a lot of room to experiment. This is what we did in the Number workshop.

Number Designs

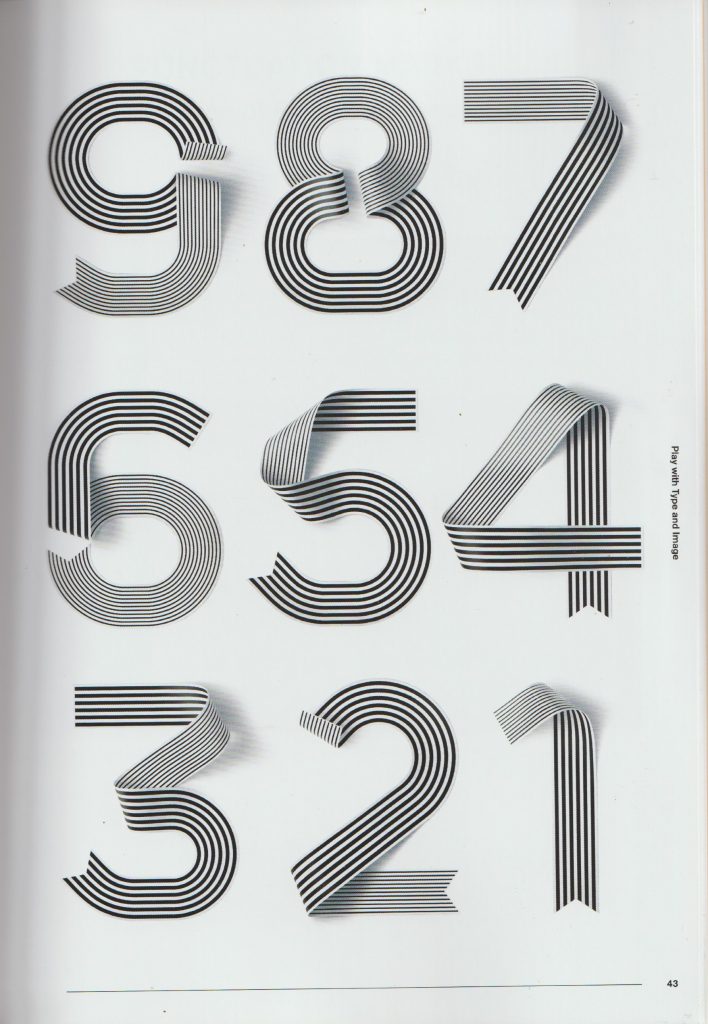
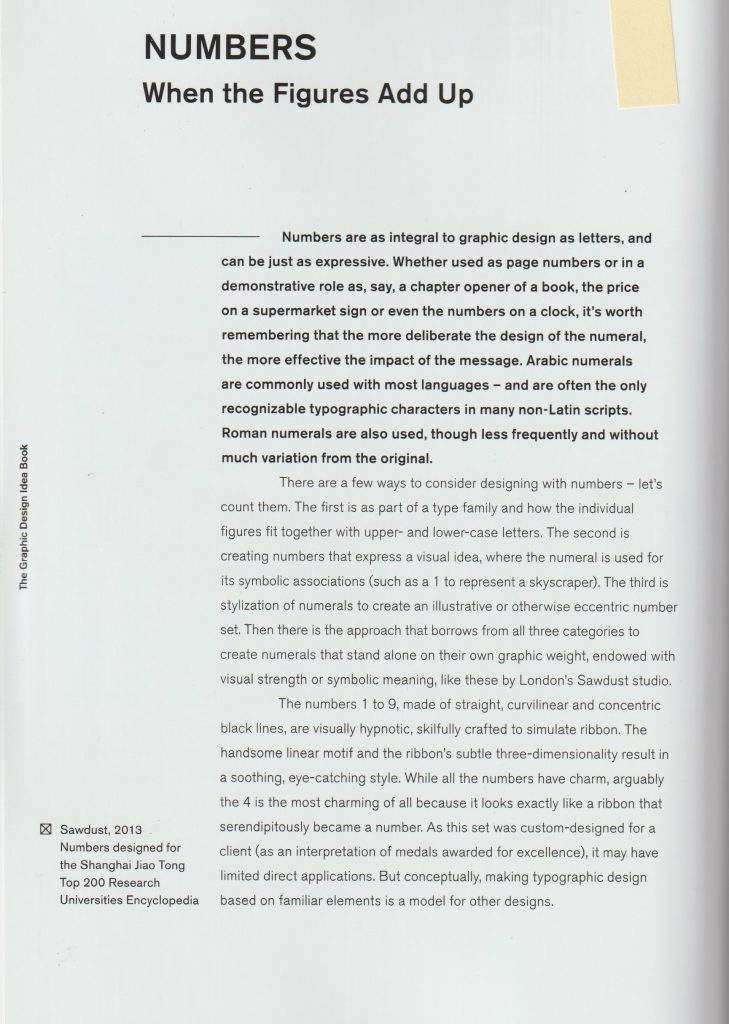
I looked at the way designers have approached numbers. These designs are suitable for use in posters, as the numbers have eye catching styles, shape and composition. They are functional, as they can convey information, and also are interesting designs.

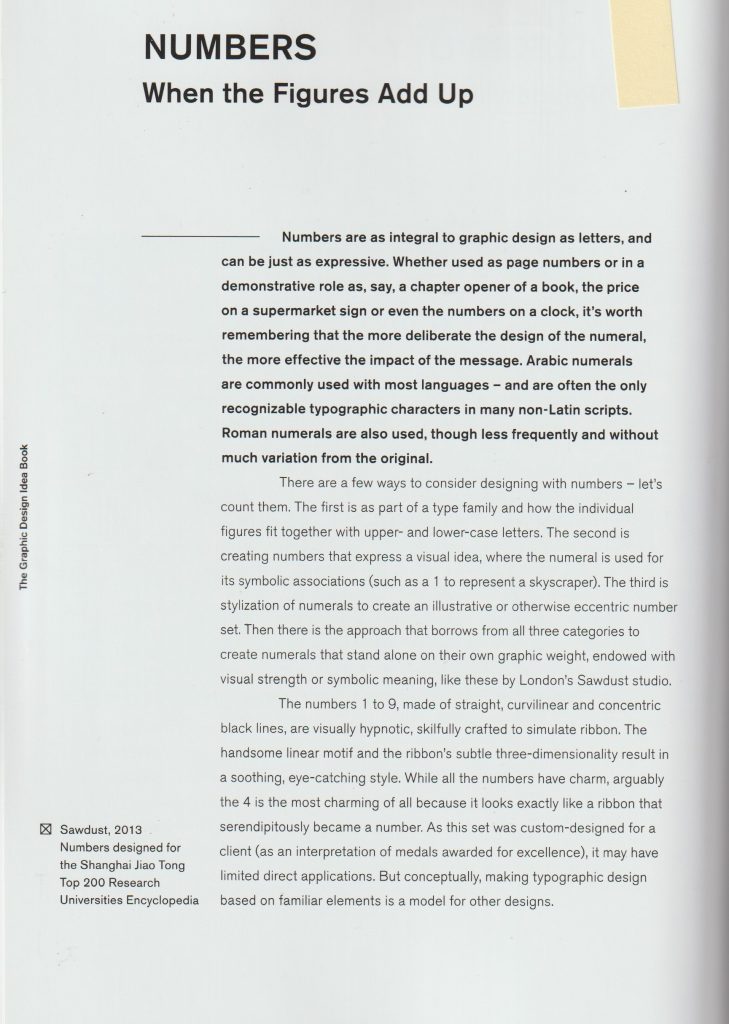
From The graphic design idea book by Steven Heller & Gail Anderson:

Non-Format

Non-Format are a pair of designers who are known for bespoke typography and interesting image making.

The designers were asked to create their version of the number 25. The colours they were given for this task were red and grey. I like the way they have played with the rotation, it reminds me of the staircase images by MC Escher. I like the 3D effect because the number looks tactile and I can envision it as an object in the room.

Image from: non-format.com/slanted-25

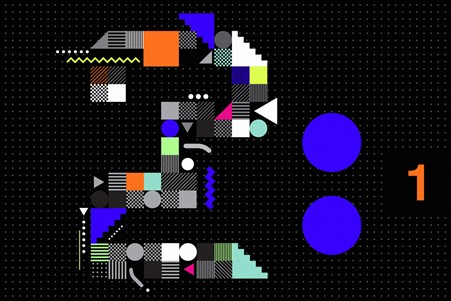
I also came across this design by Non-Format, which is styled quite differently to the 3D number. This figure is two-dimensional, but this does not make it flat looking. It looks as though they’ve designed this number using a grid. They have sometimes chosen to group the squares of the grid together and in other places, it’s easier to see the individual squares of the grid. The Zigzag lines that form the edge of the 2, add a sense of movement, it is as if we can see the shape vibrating. They have used smaller chequered patterns within a single grid square, they have used stripes, circles, triangles and dots. The figure itself is cohesive as one piece, because all the smaller elements within the 2, such as the different patterns and different colours, are presented in similar sizes to each other.

Leonardo Sonnoli

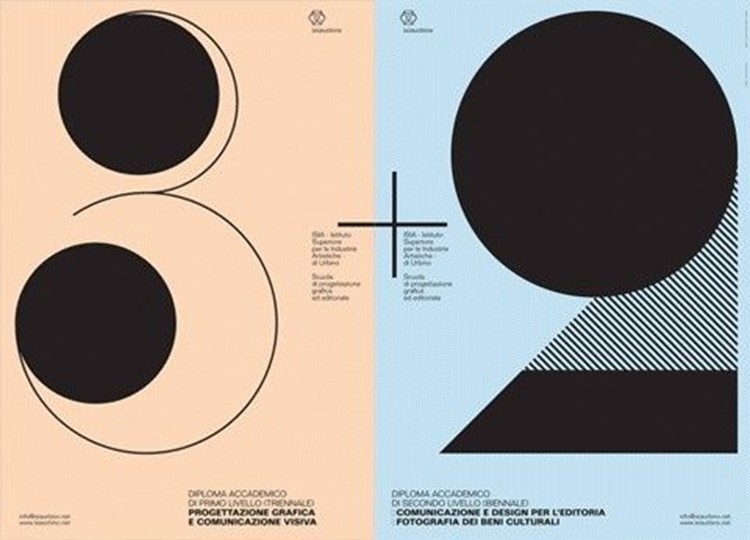
This looks to be a poster design, using the numbers three and two. I like the boldness and simplicity. The thin lines are important, as they balance out the boldness and add a sense of delicacy. The designs are quite elegant, and I would expect this to be a poster for an art event or for a sophisticated audience. I associate these numbers with the Art Deco style. The numbers themselves are black and white but the colour comes from the background. The number 2 is not joined up in a way we would expect, but instead it’s our eyes that join the top and bottom half to form one object because we are familiar with the figure of the two.

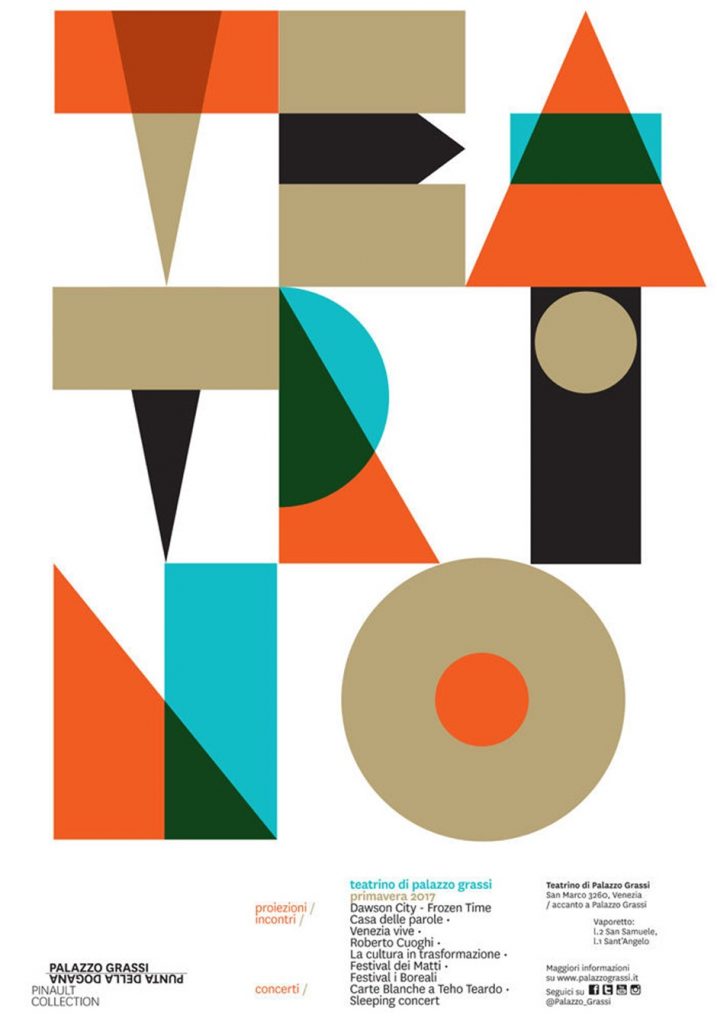
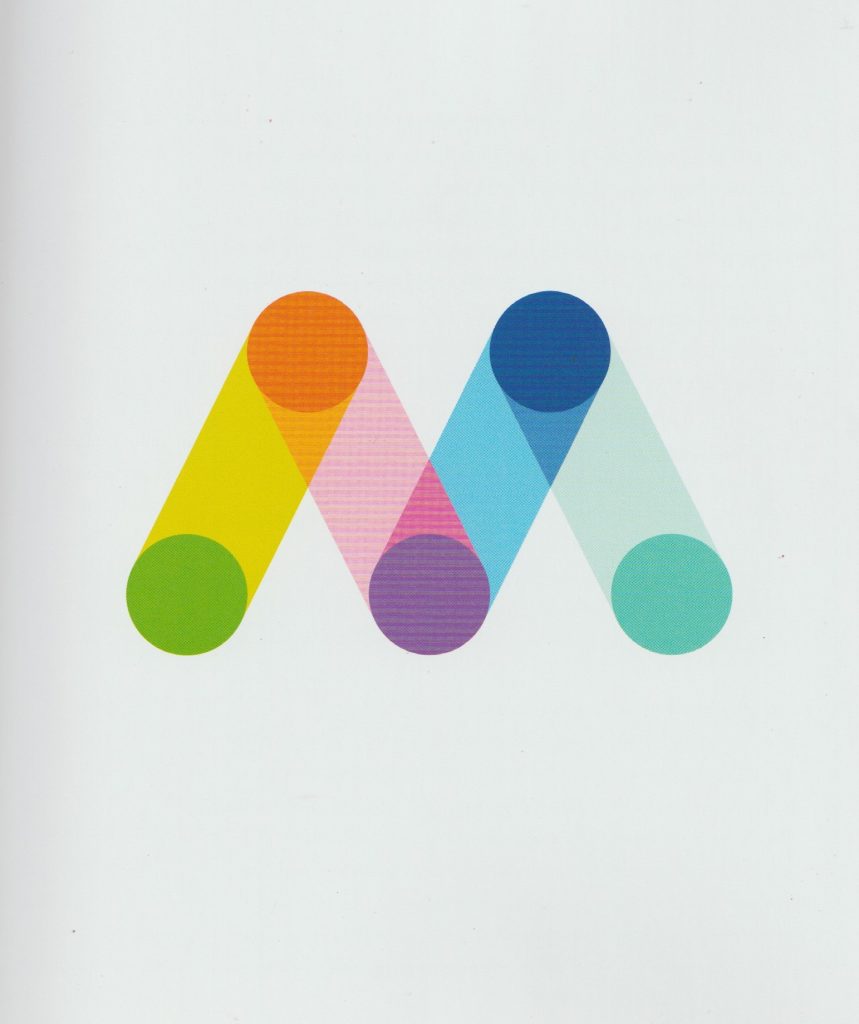
This poster does not contain numbers, but it interested me when I was thinking about number design. I like the overlapping of colours, particularly in the top third of the image where it looks as though the colours are mixing in layers before our eyes. Because these figures are chunky, and they are placed so closely together, my eyes naturally wanted to read the negative space as part of the design.

Dan Chamberlain

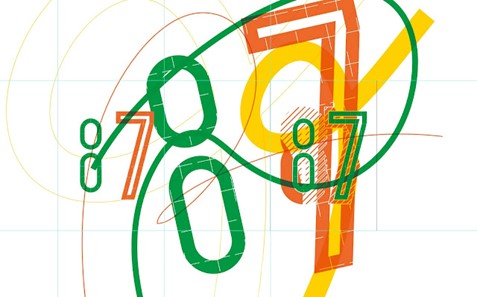
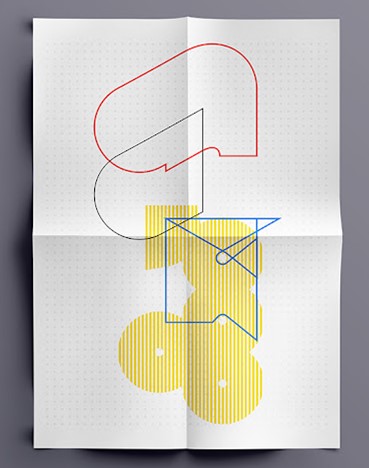
I was immediately drawn to the refreshing colour palette. This design looks fun and energetic. The two links that make up the eight do not need to be connected for us to read the pattern as an eight. This is helped by the fact that the figure of eight appears next to a seven. (Our mind makes the association that we are looking at numbers.) I like the outline of the 7 and I was inspired by the fact that I do not need to fill the figure with a colour.

Here I liked the use of half tones with negative shapes. It is interesting to see where they intersect at the centre stop. Using yellow and blue was a good choice because it helps the outline to stand out.

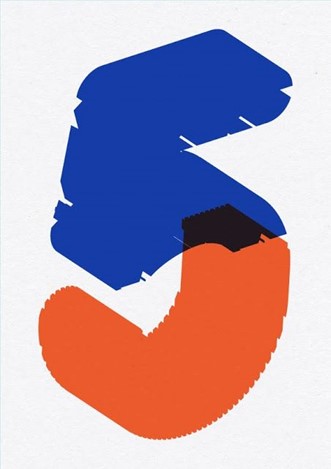
I was drawn to the boldness of this figure of 5. I like the way that certain areas are cutaway around the outside of the shape. It makes it look imperfect and accidental. This helps to include some negative space in what would otherwise be a bulky shape. The bottom half of the 5, to me resembles the bottom of the J. There may be some significance in this or not. Where the colours intersect at the centre, there is the murky dark colour. This shows that the blue and orange are transparent, and resembles the effects created by screen printing for example.

Because of this transparency, the 5 appears airy and light if it was to be physically lifted. It makes me think of jelly, this makes it a fun design to look at. I like the way the angles are not visible, but we can still see the shape is 3D because of the angle the designer has drawn it at. The use of orange and blue is very strong and works well because they are opposite to each other on the colour wheel.

From The graphic design idea book by Steven Heller & Gail Anderson:

Studio Myerscough
from the book: The Fundamentals of Typography (3rd edition) by Gavin Ambrose, Paul Harris and Sallyanne Theodosiou

This number 3 has been applied to the side of a building, it may have been painted on. I like the disjointed quality of the figure. It helps to break up the chunky parts of the design. She has used curved and angled shapes and the results is bold yet stylish. I like how the end of the three looks like a quotation mark or, or a backwards comma. This might suggest a relationship to a literary theme.

Adolphe Mouron Cassandre

This is a typeface for numbers and letters from 1929 (the Art Deco period). I like the combination of block shapes and half tones to make up each figure. Each number is unique and yet clearly belongs to the same family of numbers. The half tone, or stripy areas sometimes stand in for positive space, sometimes stand in for negative space, and other times are connecting and representing both.

My designs- using Adobe Illustrator

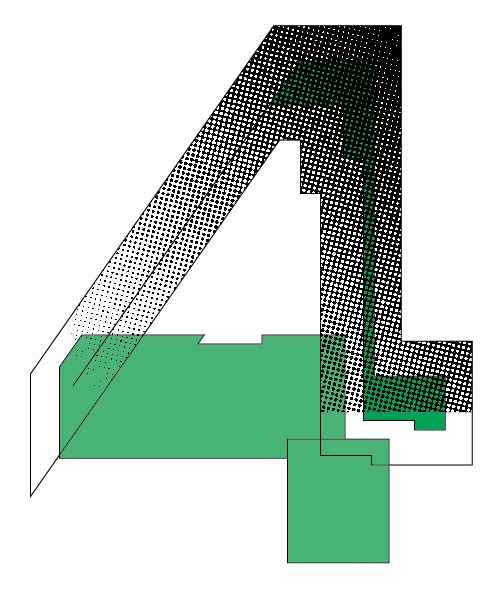
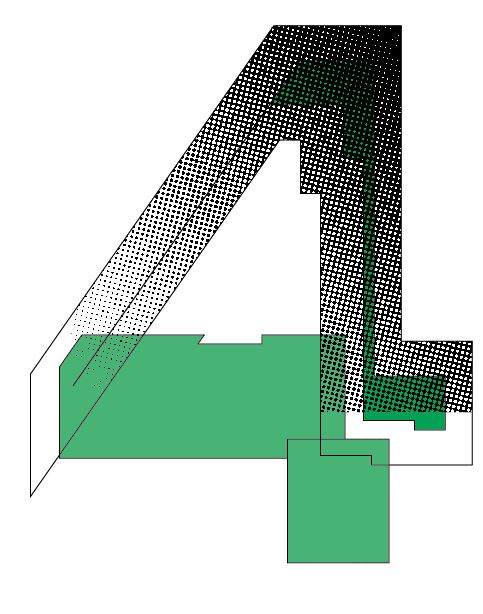
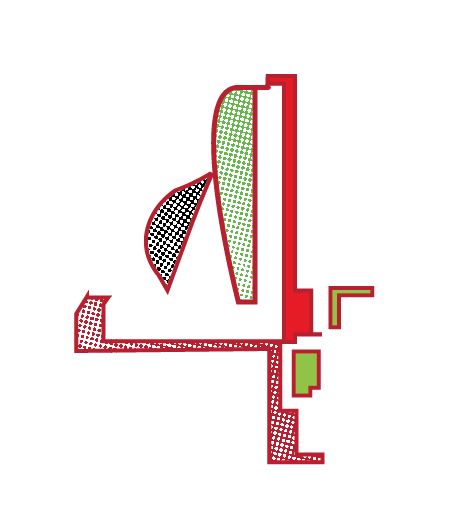
After experimenting with the numbers 2 and 5, I moved on to see what potential there was in a 4. I pushed myself to learn new skills on Illustrator and to practice the skills I have recently learnt.

From my second time on Illustrator, I learnt a few basic principles:

  • The white arrow is the Direct Selection Tool. It can be used to round the corners of a rectangle and to stretch the rectangle.
  • Add Anchor points just adds anchor points.
  • Anchor Point tool just moves anchor points that are already there.
  • The Pen Tool draws lines.
  • Shift+command+[] to move an object in front or behind
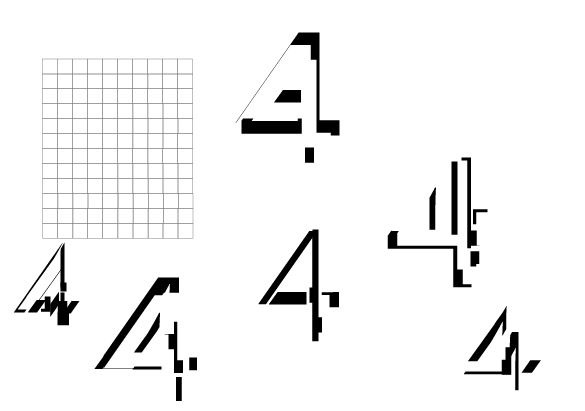
Drawing several 4’s on top of each other, then dividing them. I made these fours from the resulting pieces.
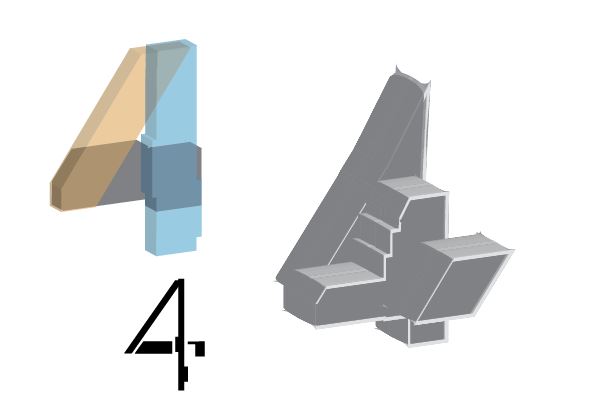
Here I played with the opacity/transparency option to have the different colours showing through. For the 4 on the right, I used the bevel tool to round the shape and add a 3D effect to it. I liked the chunky appearance that I created by increasing the stroke of the shape. Both of the larger 4s were made from the starting point of the small 4 on the bottom left.
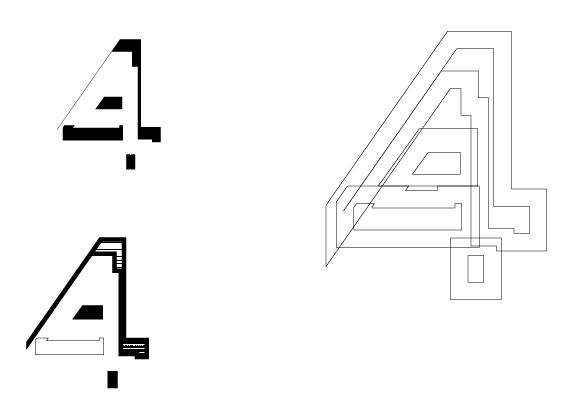
The bottom left and right 4 were both made from the top left 4. I really like this outlined pattern on the right but found it difficult to achieve. I used the pathfinder tool to divide and ungroup. I expanded the outline and played with removing the fills until I had the outline effect I was aiming for. The bottom left 4 was fun to make. I was inspired by Mouron Cassandre’s Art Deco typeface. I removed the fill in some areas and added my bitmap image to some spaces to create the striped effect. To do this I needed to select the shape, select draw inside and then file> place, to place my bitmap image into the space.
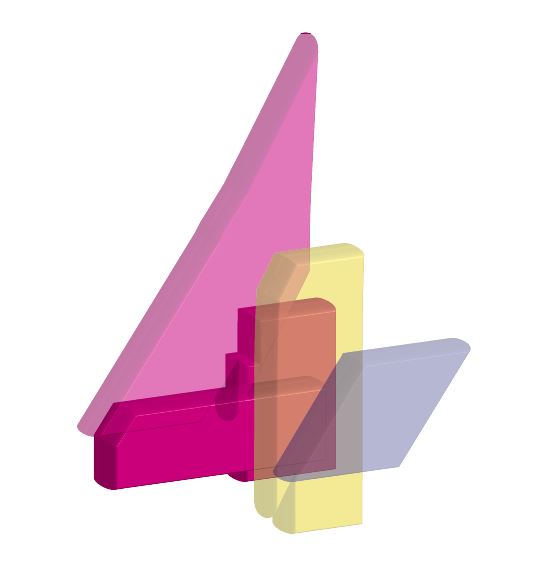
This fun jelly-like 4 was inspired by Dan Chamberlain’s 5. I selected different colours for each piece to help each section stand out. The darker pink piece had a higher opacity, because I wanted to see some variation.
Here I layered block colours with a dotted bitmap image.
I was inspired by the fun feeling of Dan Chamberlain’s design. I rounded the shapes using the direct selection tool. I then changed the colour of the bitmap image by selecting the bitmap and choosing from the colour swatches. I increased the stroke so that the outline of each shape would stand out.