After being introduced to the extended project brief, this was fresh in my mind when approaching this bookbinding workshop.
From the brief-
Create a mini-monograph magazine anthology of concrete
poems (a minimum of x5 poems chosen from a collection
provided for you) with the accompanying 2,000 word
introductory essay consisting of at least 8 printed-pages.
If I were to decided on 16 pages for the magazine/newspaper, this would mean using 4 sheets of paper.
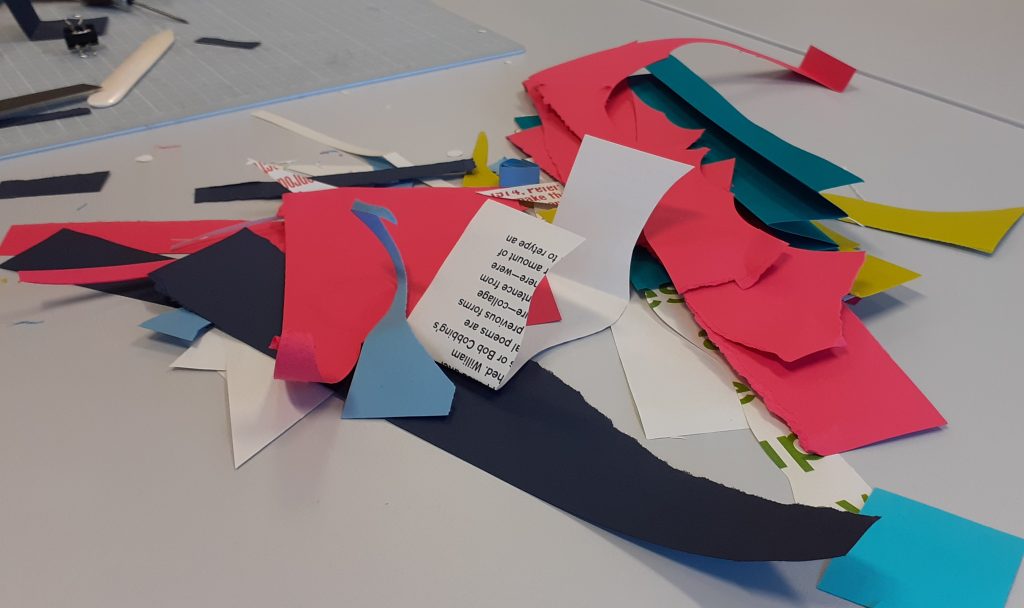
We were given a selection of printed pages, some double-sided and others not. The paragraphs were printed with red, blue, green and black text, in a variety of weights, pt size and placement. We were then challenged to put them together into books, using experimental techniques.
Things to consider in the workshop:
- The middle page will show double spread as the page is printed
- Think about how to place the pages together. How will the different colours and textures match across a spread?
- The cover could be shorter than pages.
- Staggered pages
- Cut areas out
- The thickness of the coloured paper we use for the cover may influence the method want to use for binding.
- We could use letterpress onto a coloured paper cover for our final magazines. Most papers can be printed on digitally, but the thicker papers might be more appropriate to letter press on instead.
- We could make pockets for 4 separate pieces.
- Stitch or staple pieces onto the folds
- Loose covers
- Different sizes paper
- Mini books inside
- Concertina
- Shapes and colours of the type, what textures etc to consider
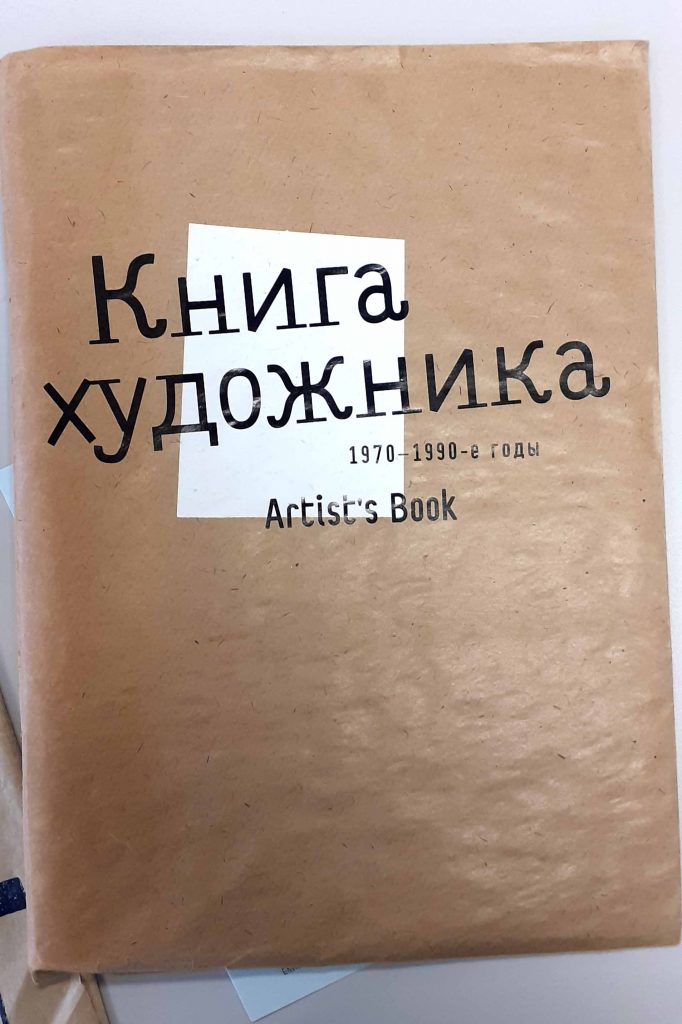
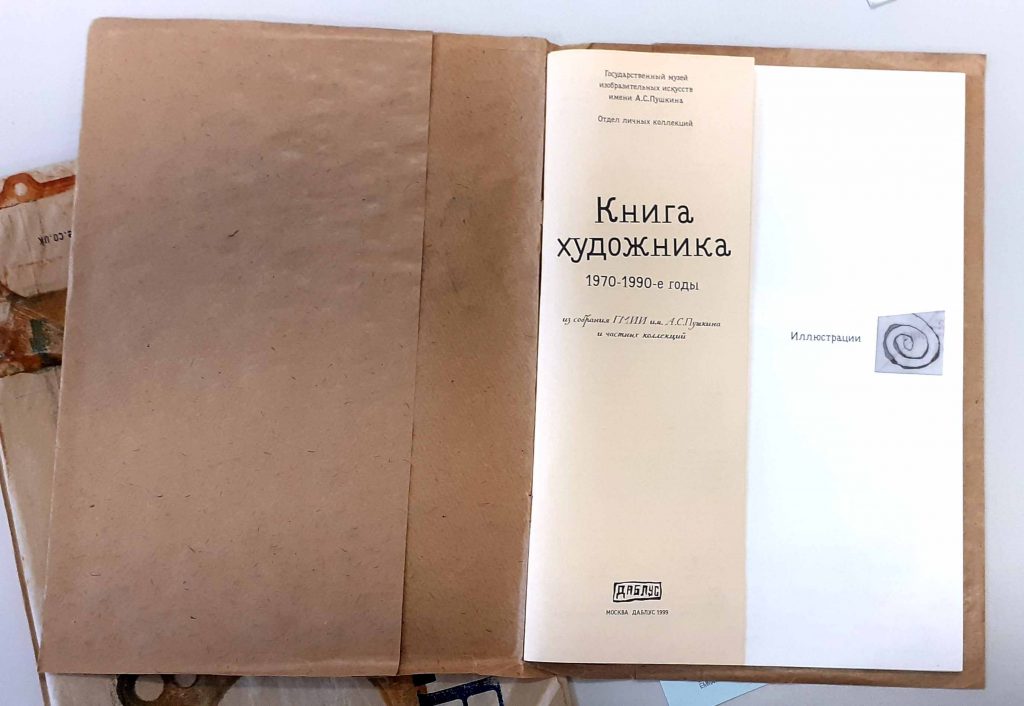
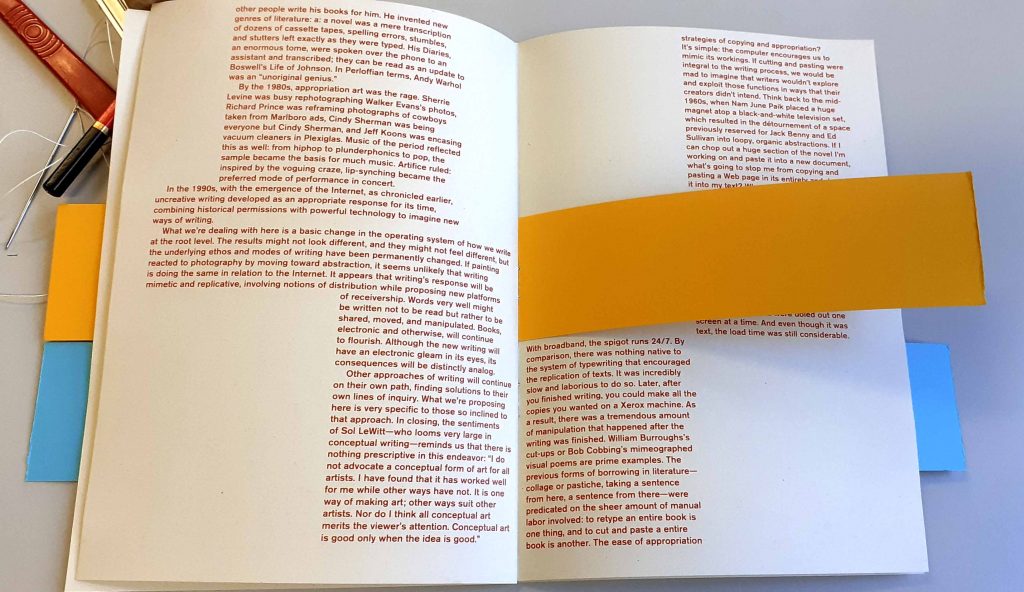
I looked at this book in the workshop. The brown paper cover intrigued me because it is unusual for a book cover.
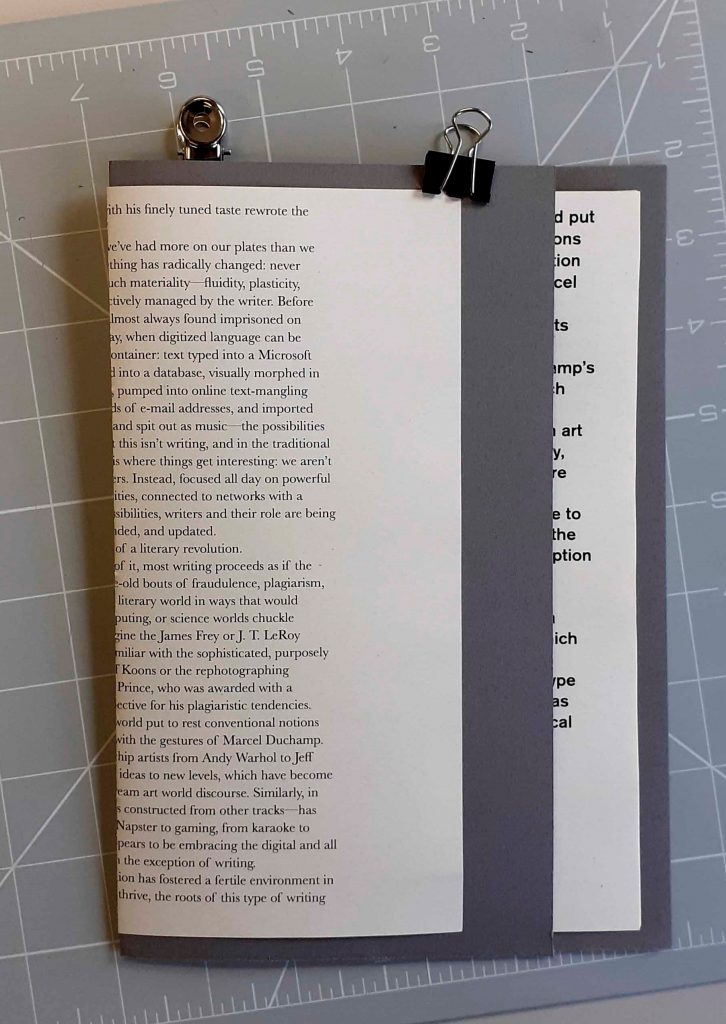
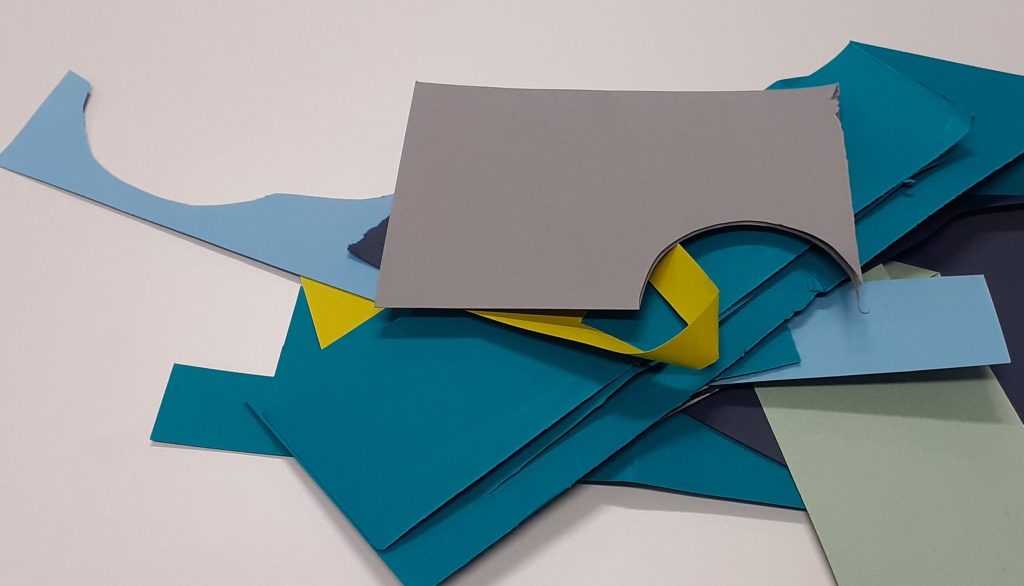
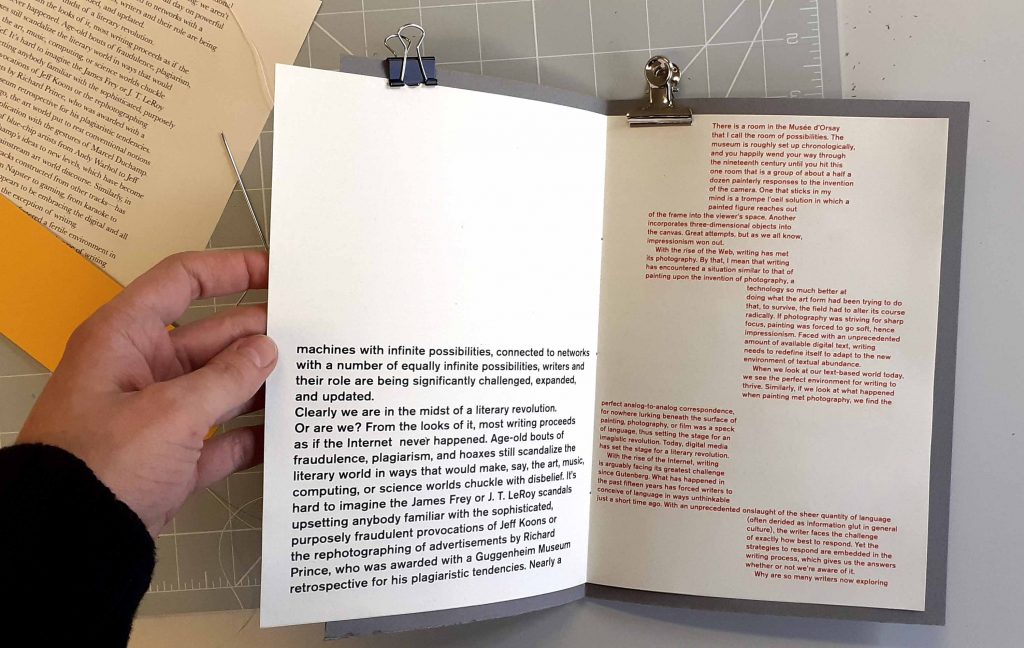
The first book I made was based around the idea of staggering the width of the pages. This is the book as seen from the front. I cut the outside page so that it is narrower all the way around the cover. It wouldn’t be readable, because half of the page is around the back of the book. I have used the grey card as a tougher cover for the book, with the very outside page functioning as a decoration rather than a page to read. The words here might function as a taster as to the theme of the book.
I have cut the edge of grey cover, on the front side, to reveal the contents of the book.
I have left the other page of grey cover at its full width. I cut the edge of the paper within the book, to create the staggered page effect.
The bolder text peeking out from the grey cover is effective, as it is in between the darker tone of the cover.
I placed the pages of red text in the second half of the book and pages of black text in the first half.
To bind this book, I chose to use a needle and tough thread. I held the sheets of paper together with bulldog clips. After punching 3 holes into the spine, I stitched the pages using the basic bookbinding stitch.
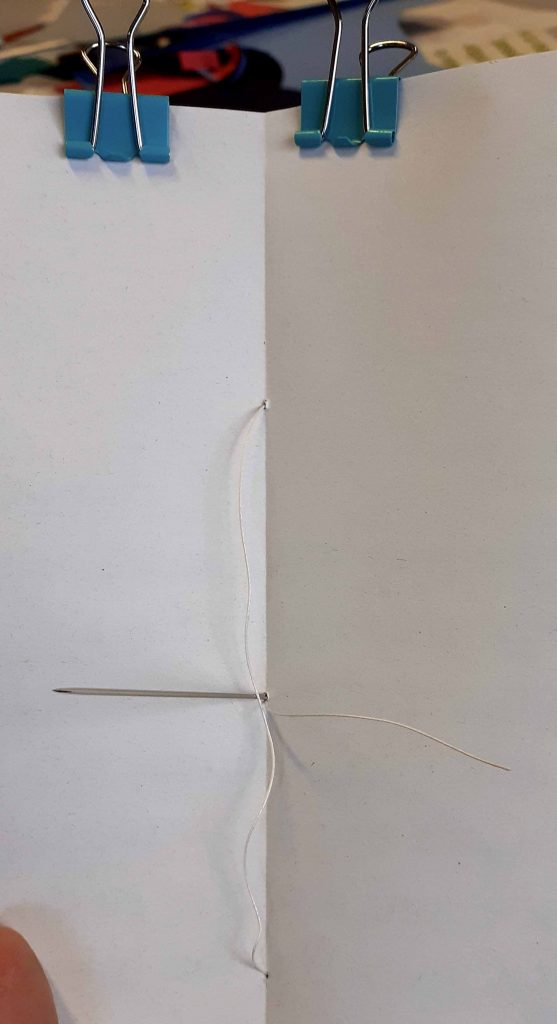
The last stage of stitching the book.
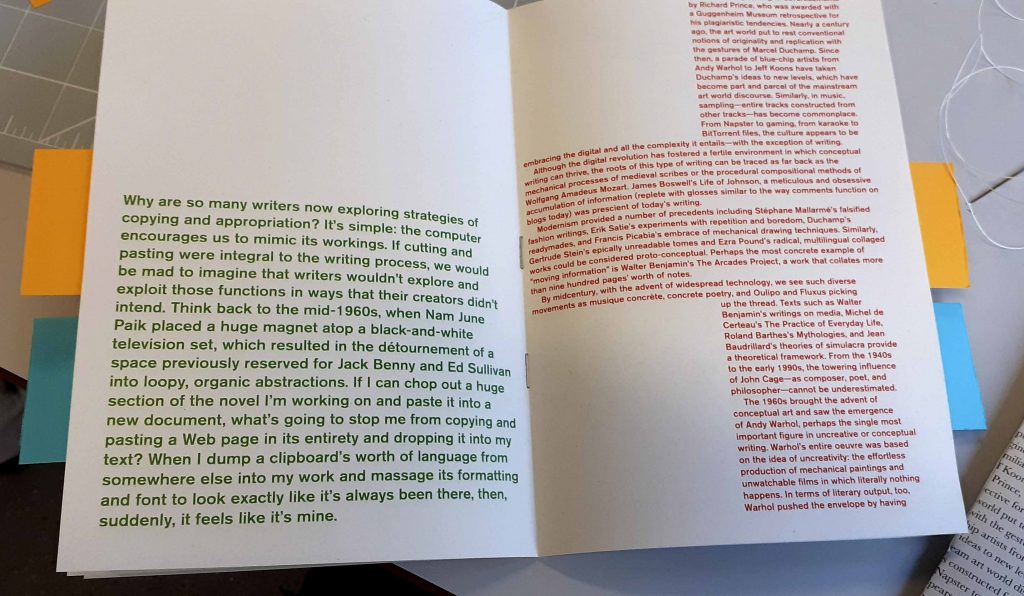
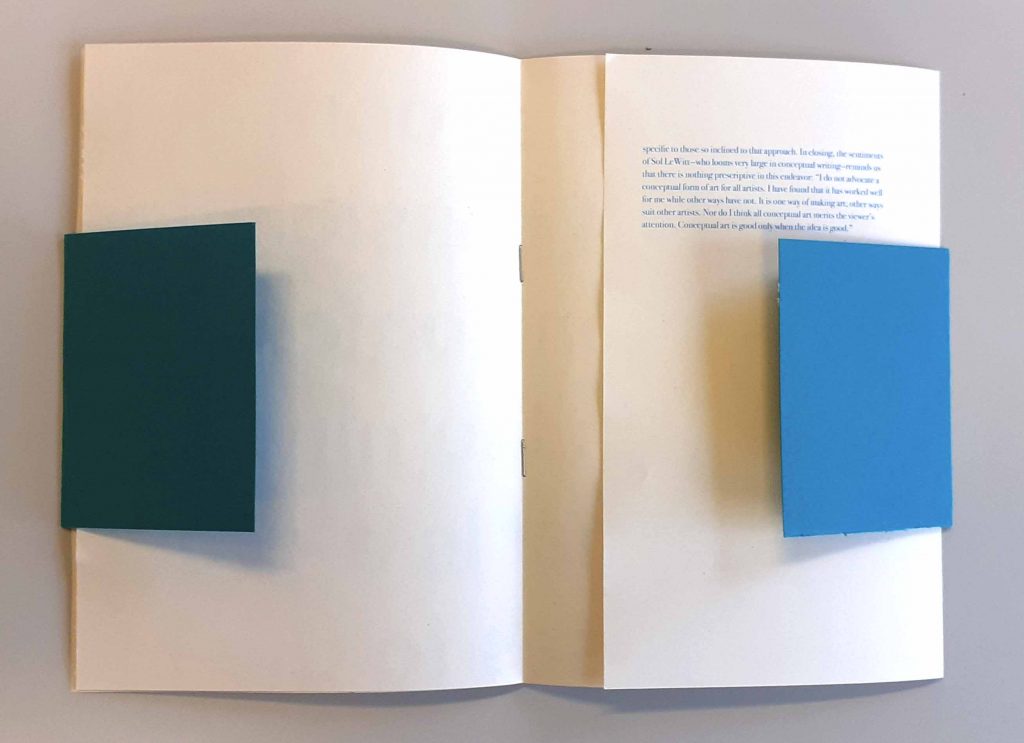
The second book I made. The colours of the book markers complement the black text on the cover.
The markers can be seen at the edge of the book.
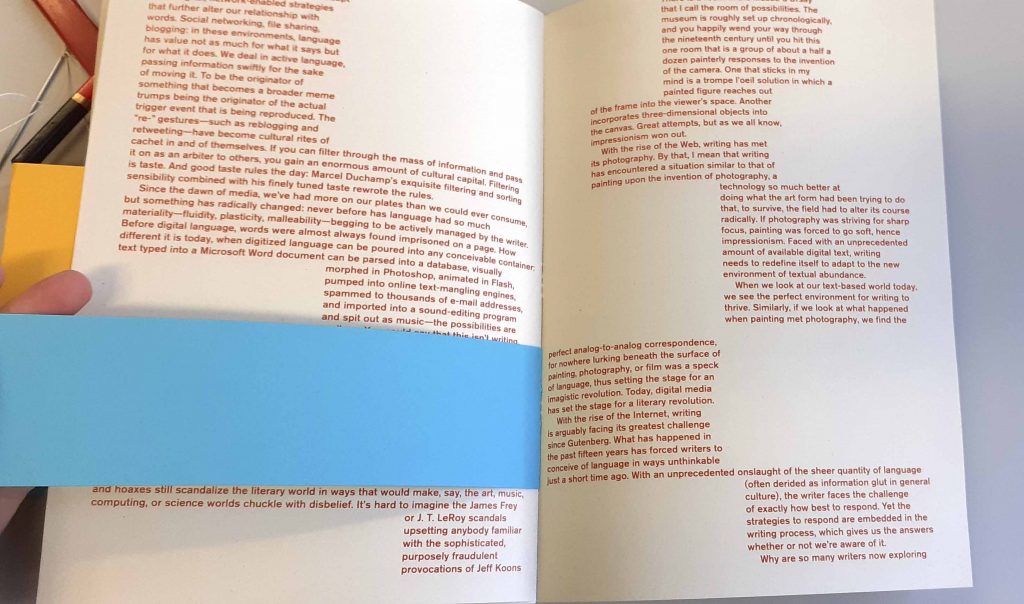

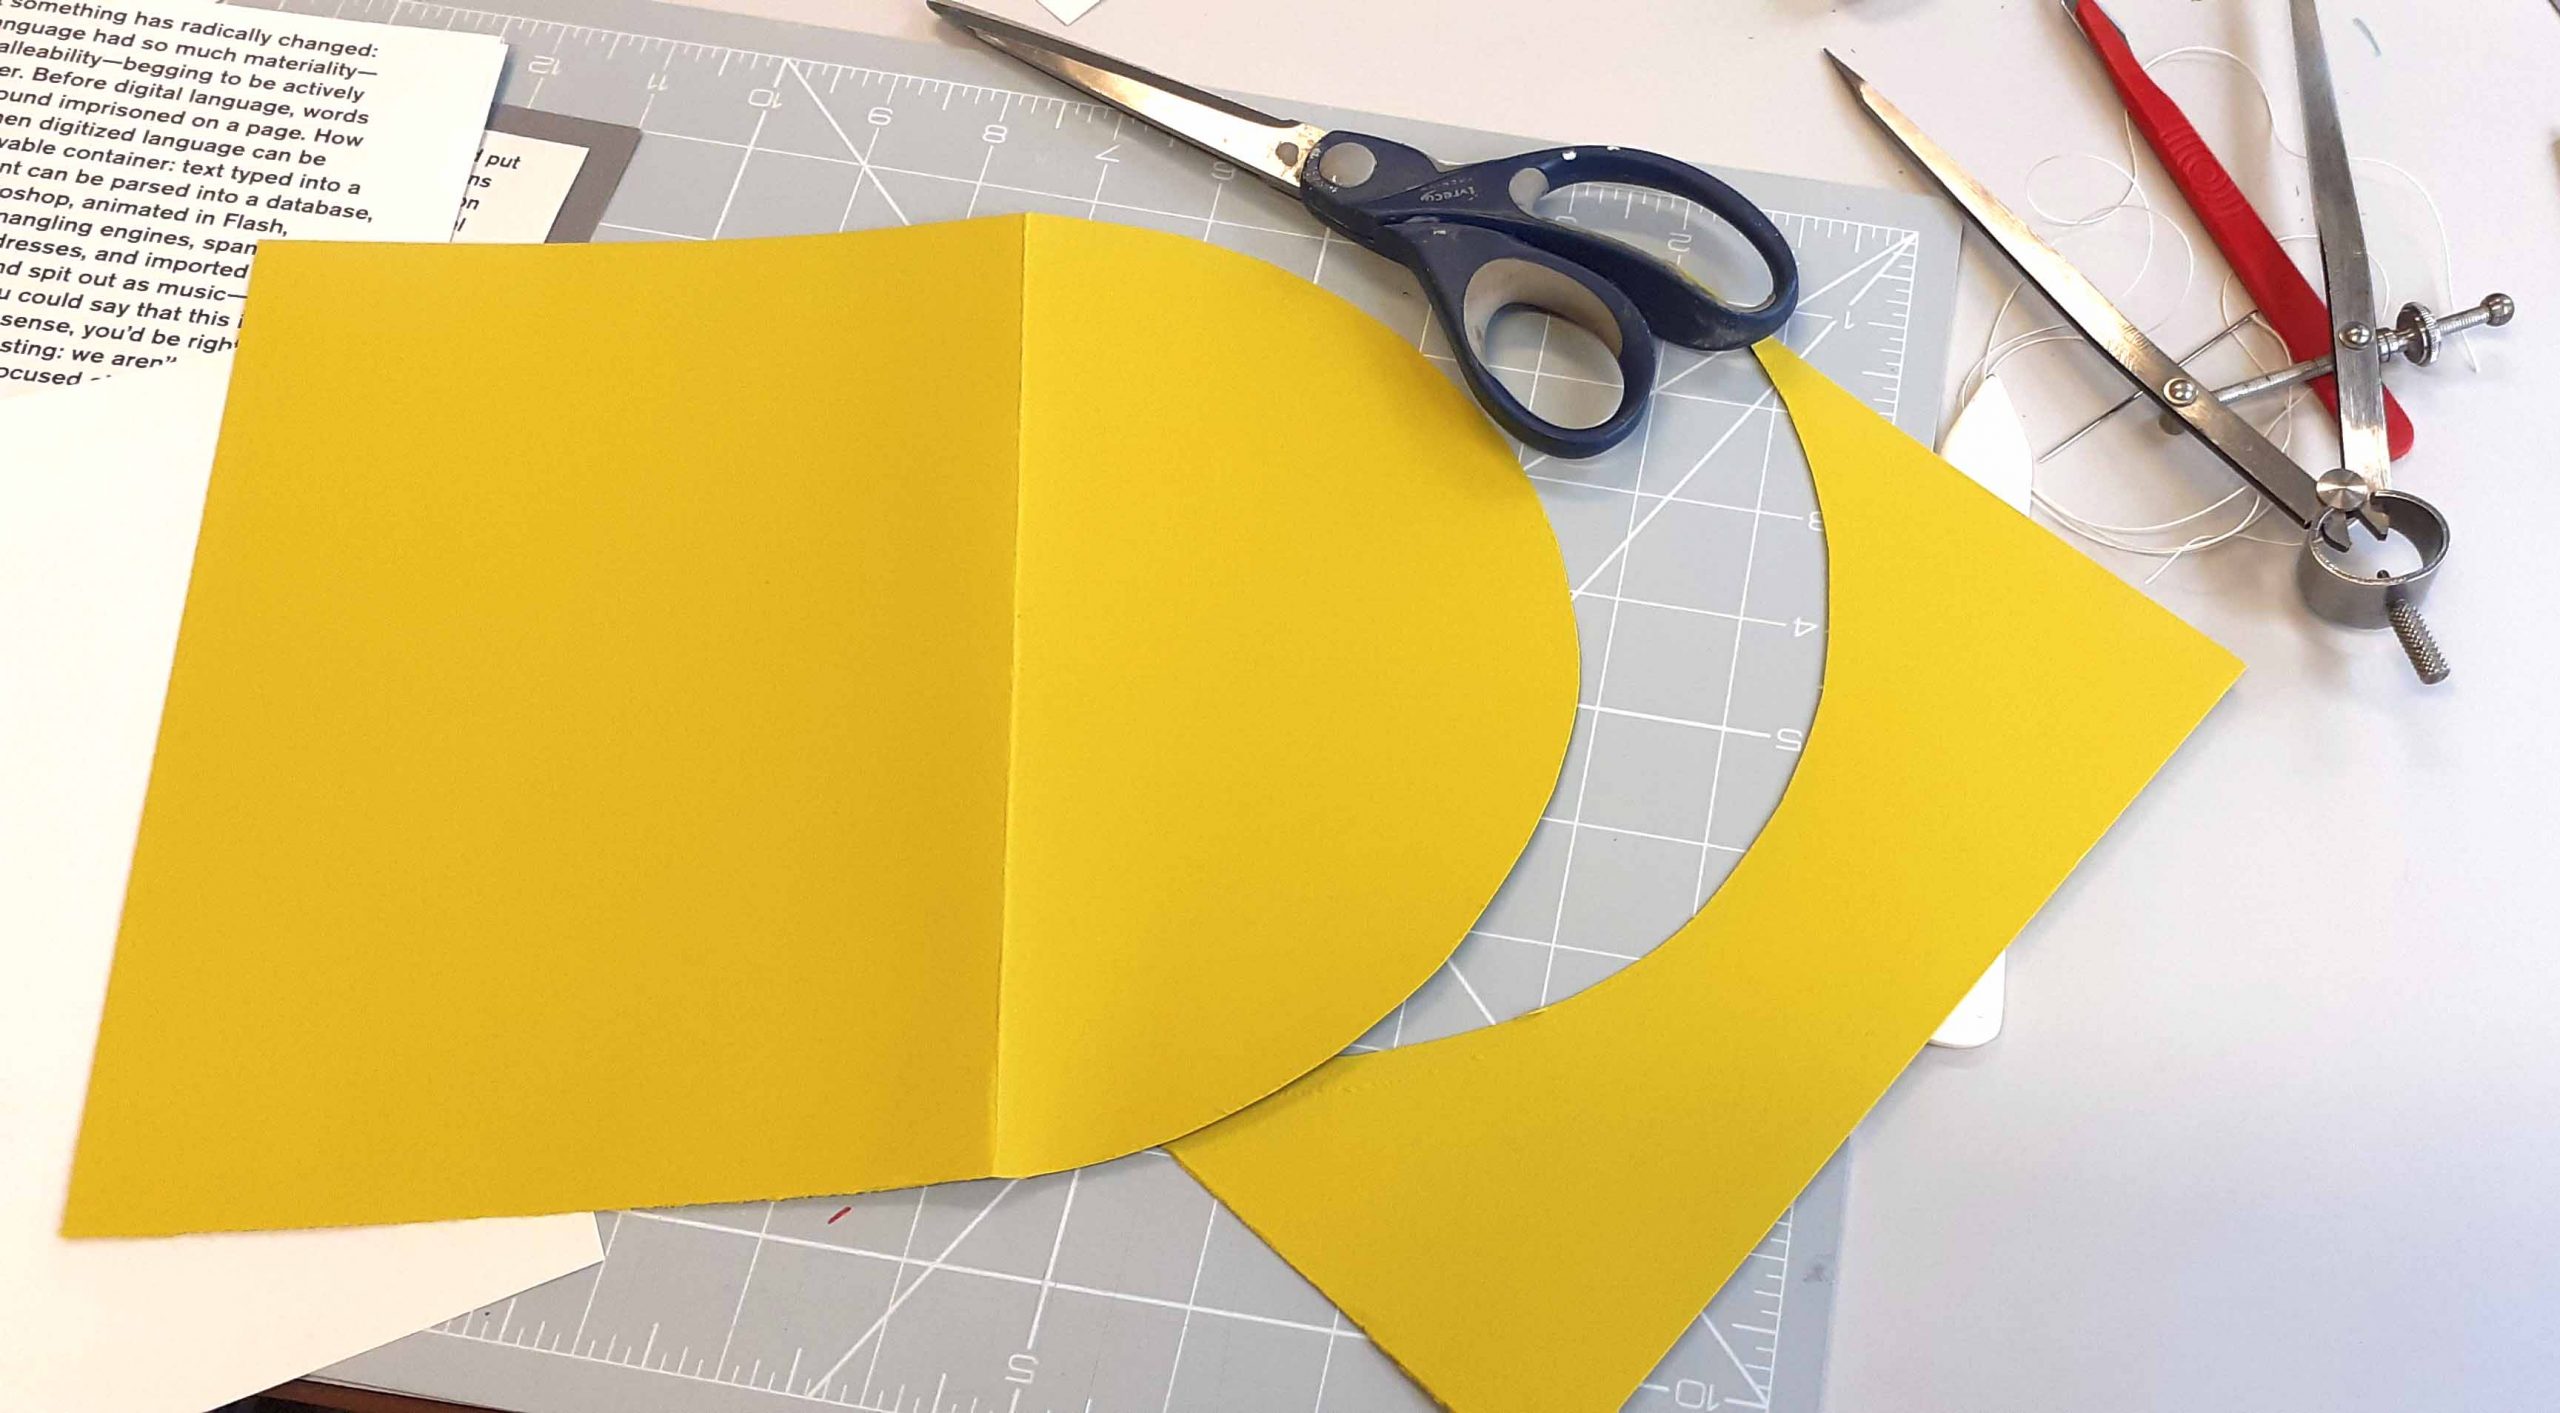
The third book I made:

Trimming the last pages of text, allowed the coloured card to be visible from the front when the book is closed.
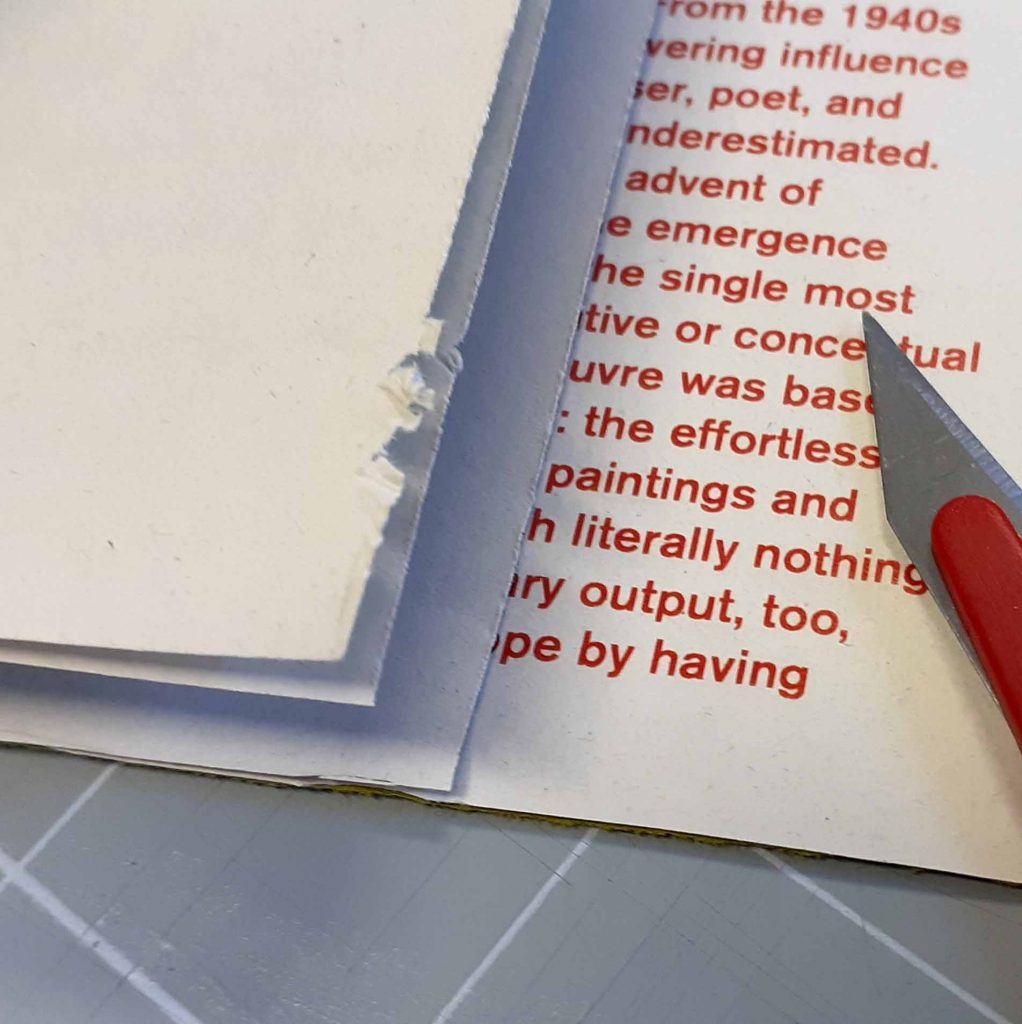
I used a scalpel and ruler to trim the edges of the paper.
However, this snagged at the paper. I thought this might have been due to the angle of me sitting down. I stood up to redo the cut, but this had the same effect. I then figured out that pressing on the scalpel harder and using a swifter motion, was enough to make a clean cut.
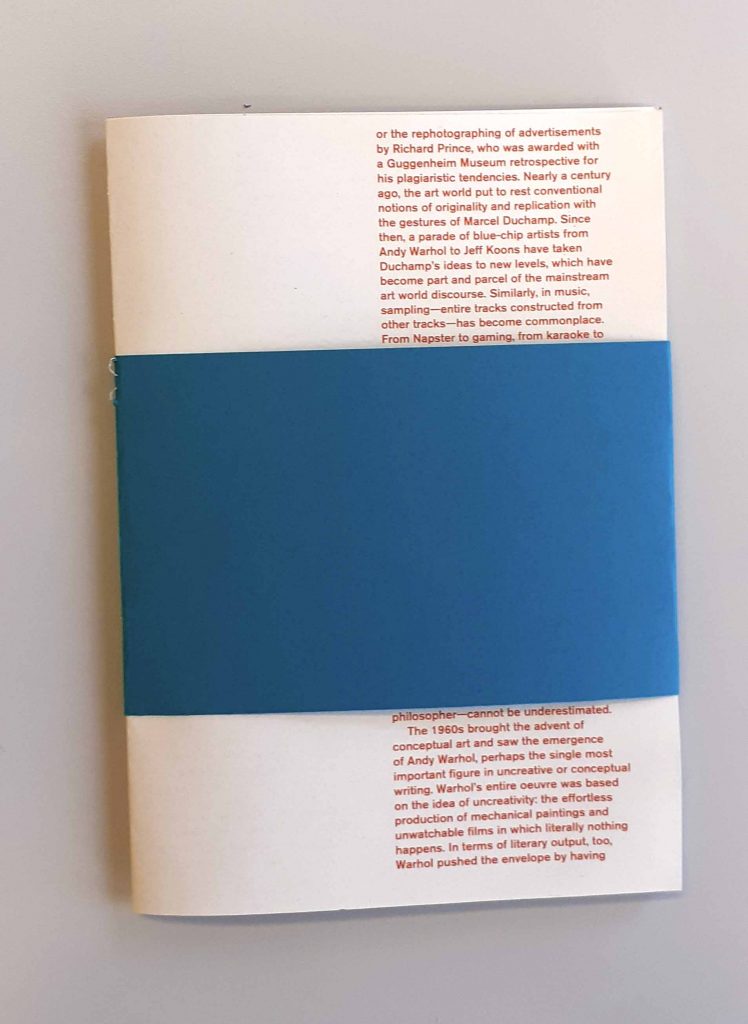
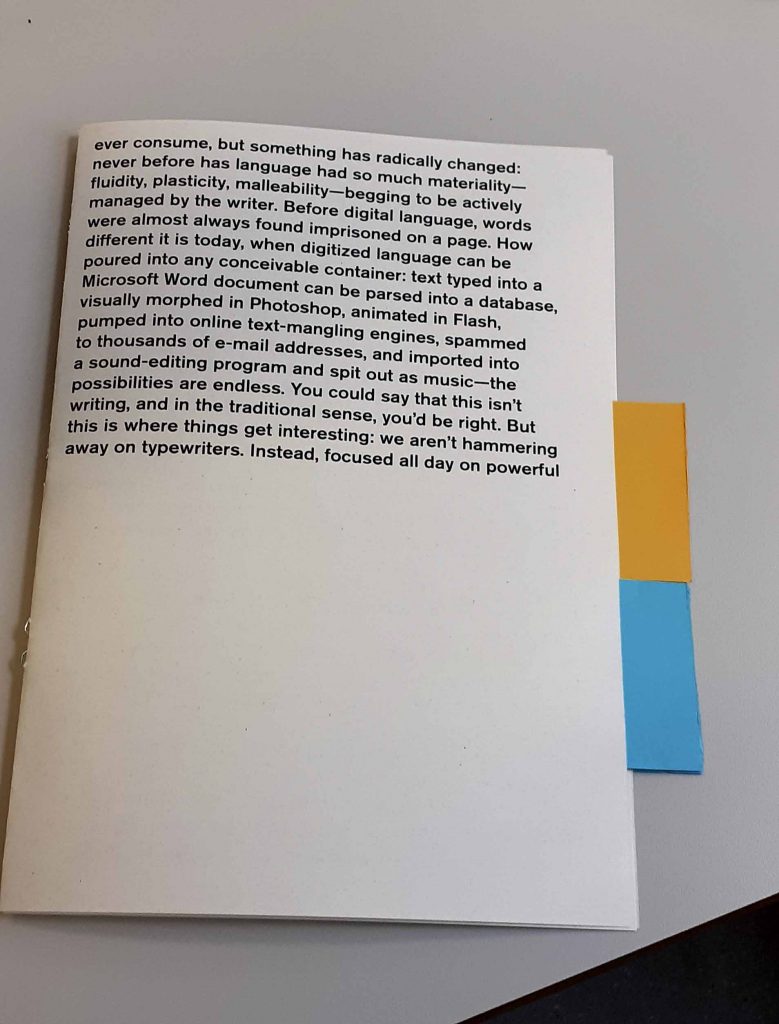
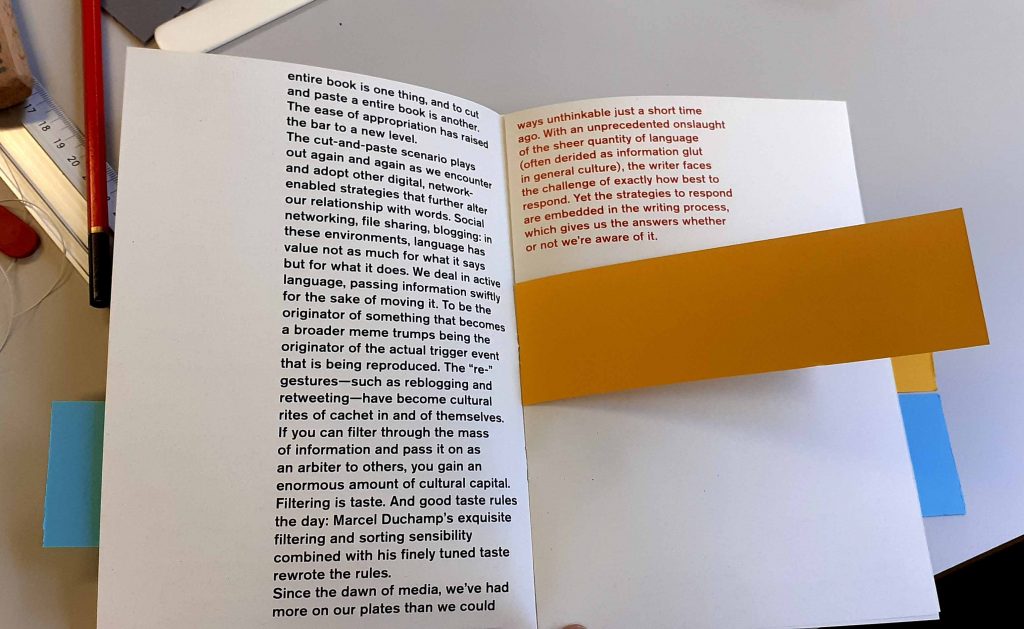
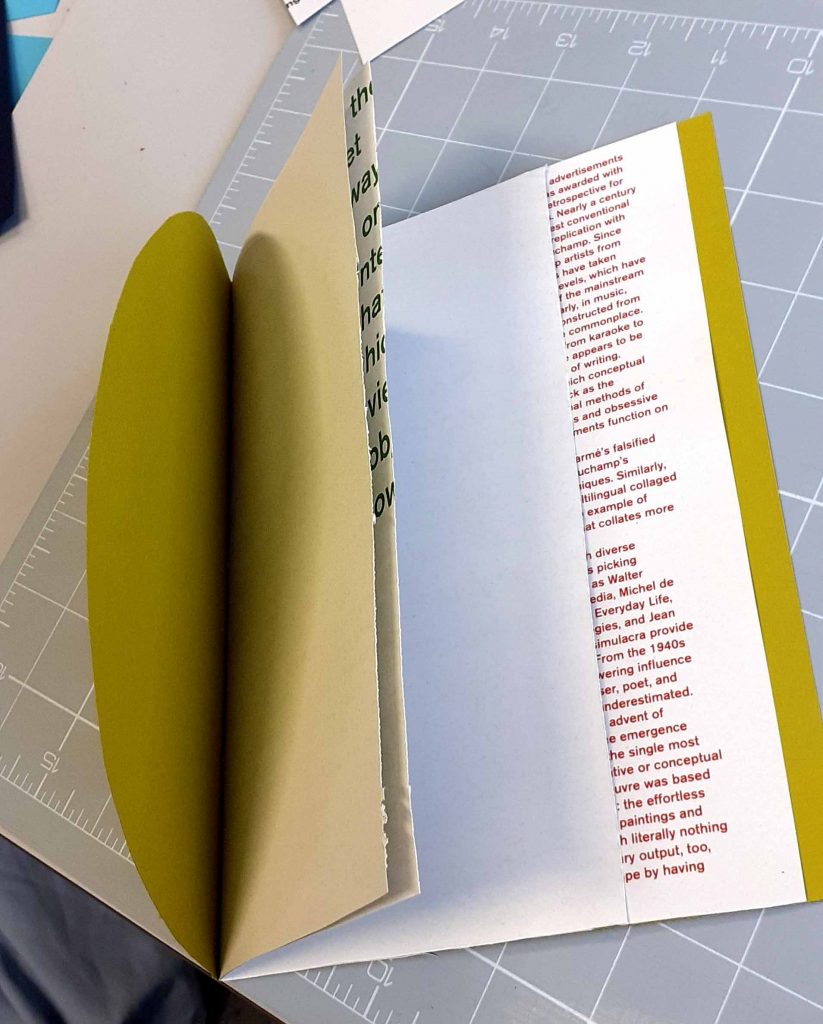
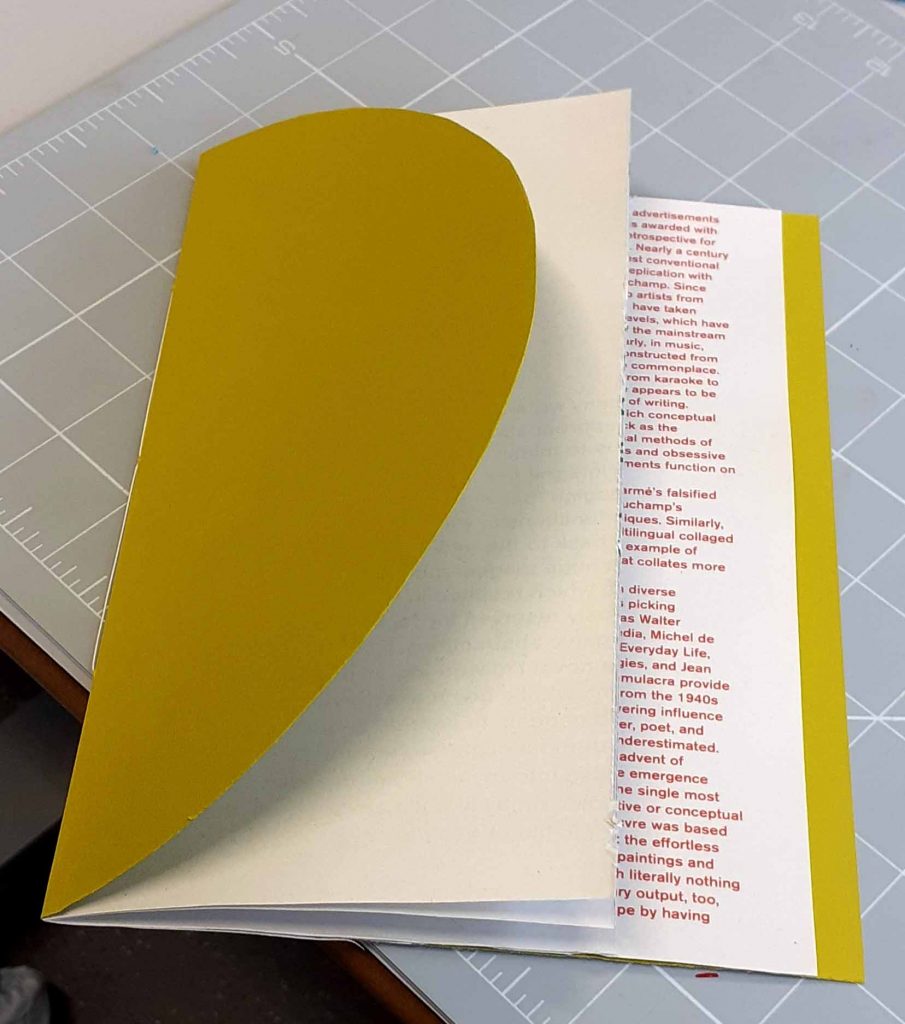
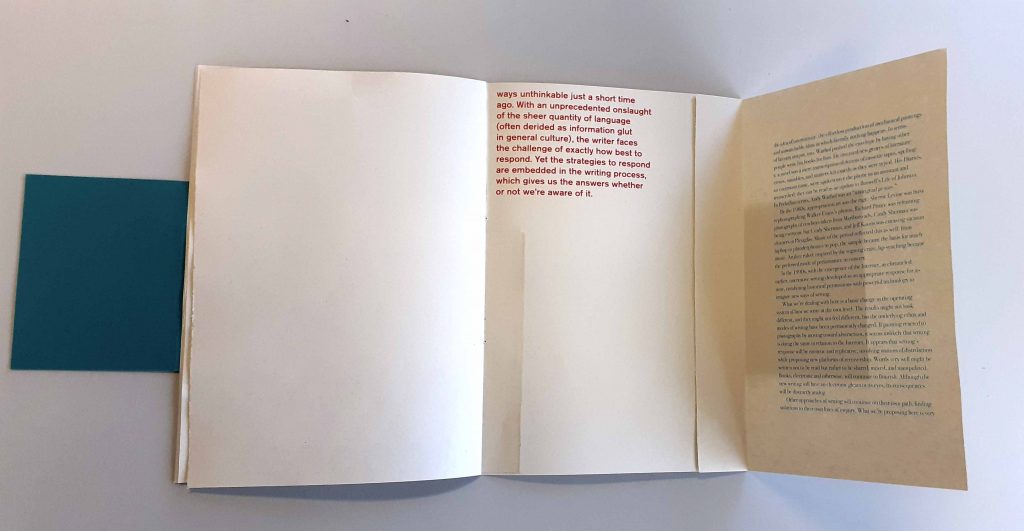
For the fourth book of the workshop, I made a smaller cover with blue card that acted like a belly band.
I feel that the colours work well together (red text and turquoise-blue cover)
The cover wraps around the pages and so the pages fit within the folds. (see below)
The blue text can still be read, with the band folded in.

I can see the potential of binding my own book. It allows more creativity and imagination, also inspiring the content as much as the content could inspire the format.