Bookbinding Workshop 2

In today’s bookbinding workshop, I made 2 kinds of book:

Stab-binding and a zig-zag/ concertina style book.

I also learned the foiling method of adding text to a book cover using a hot tool and coloured pieces of foil.
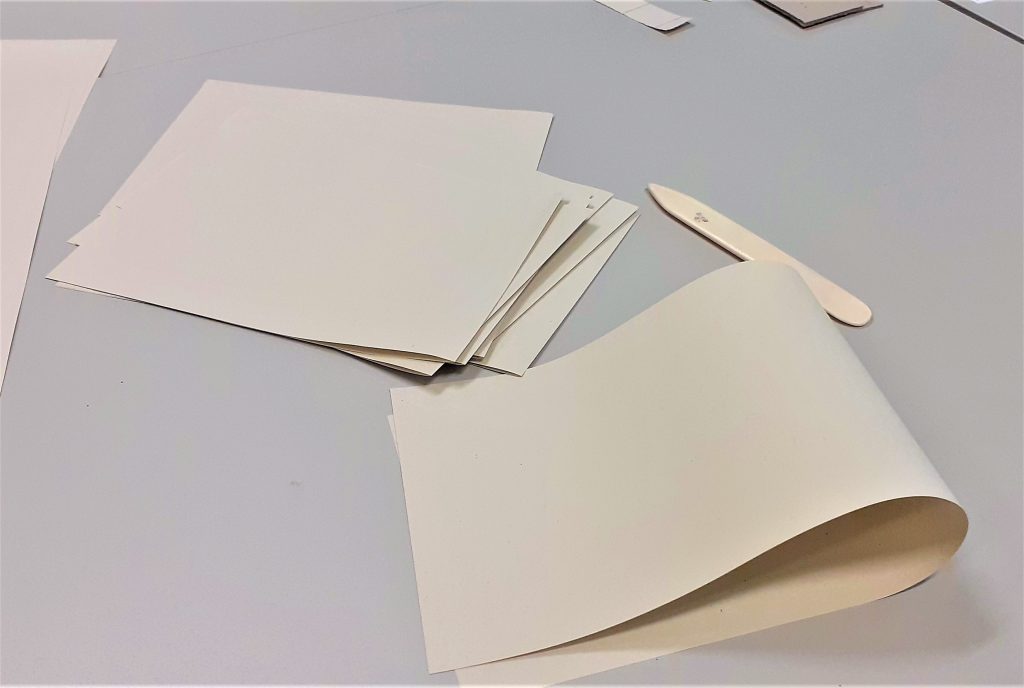
The first book we made in the workshop, used the stab-binding method. The folds of the pages were on the outside edge of the page. The advantage of these doubled-up pages, is that it makes it less likely for ink to seep through when you are writing on the page. The first task was to fold the pages, using the bone folder. We used 15 sheets in total.
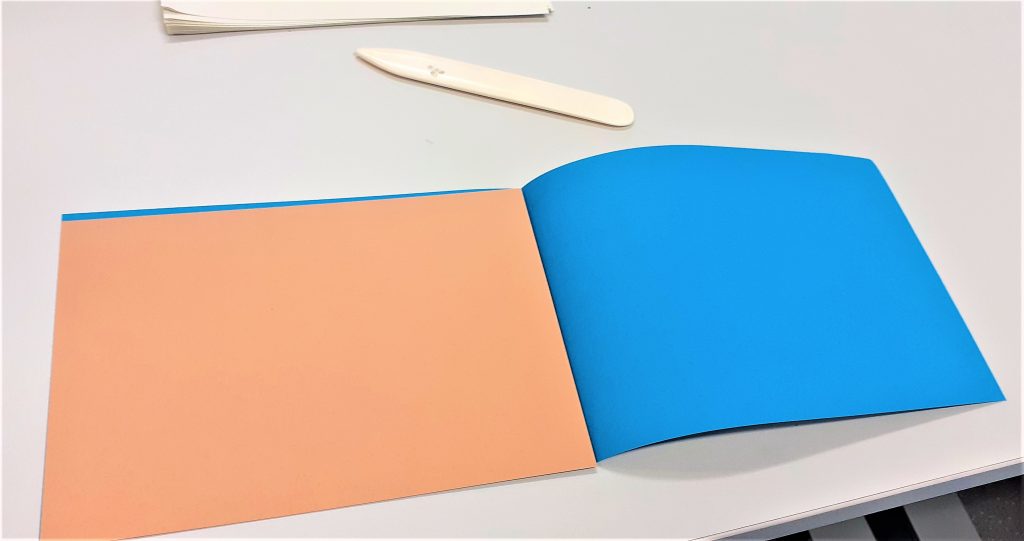
Using a thicker piece of card to re-enforce the cover means that the book may last longer. Here I folded the cover (blue) and ensured the (brown) card would fit nicely inside.
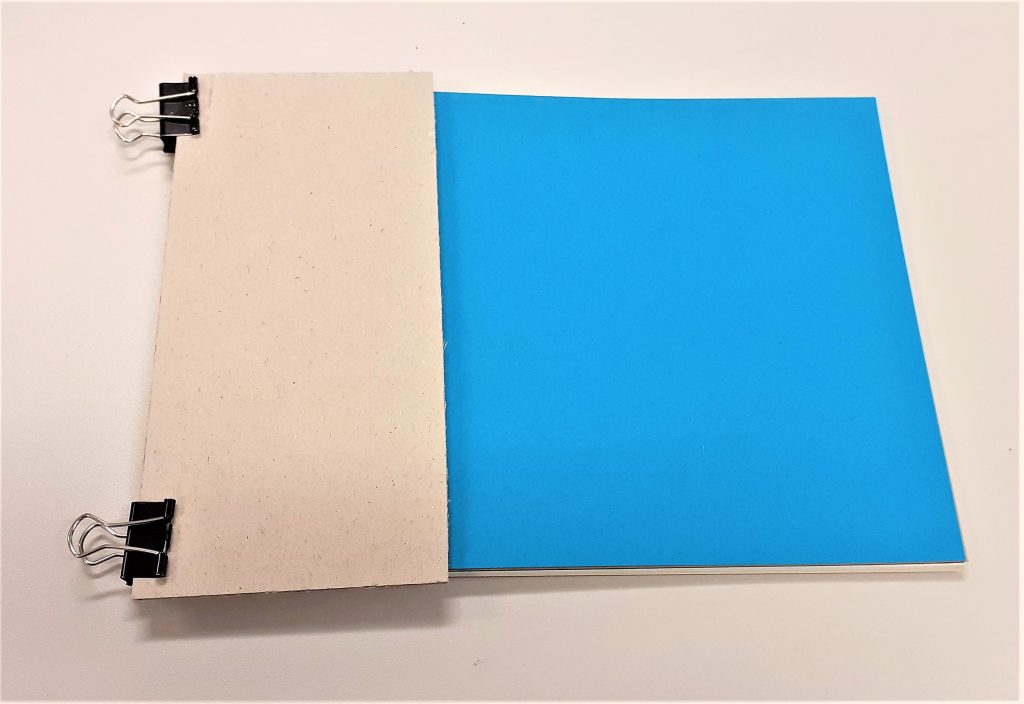
I assembled the pages together with the cover and used 2 bulldog clips to hold everything together. Using card between the clips and the cover means that I prevent marking the cover. I clamped the outside edge of the book, leaving the side free that would become the spine.

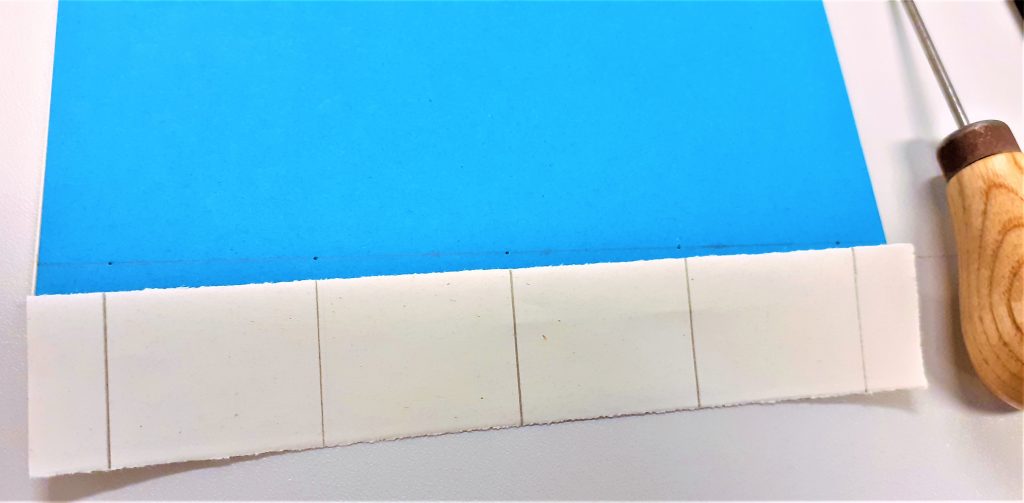
I measured 1cm from the edge of the cover. I marked 5 points on the cover where the holes needed to be placed. Using 5 holes makes the book hold together more strongly than if I made only 4 holes.
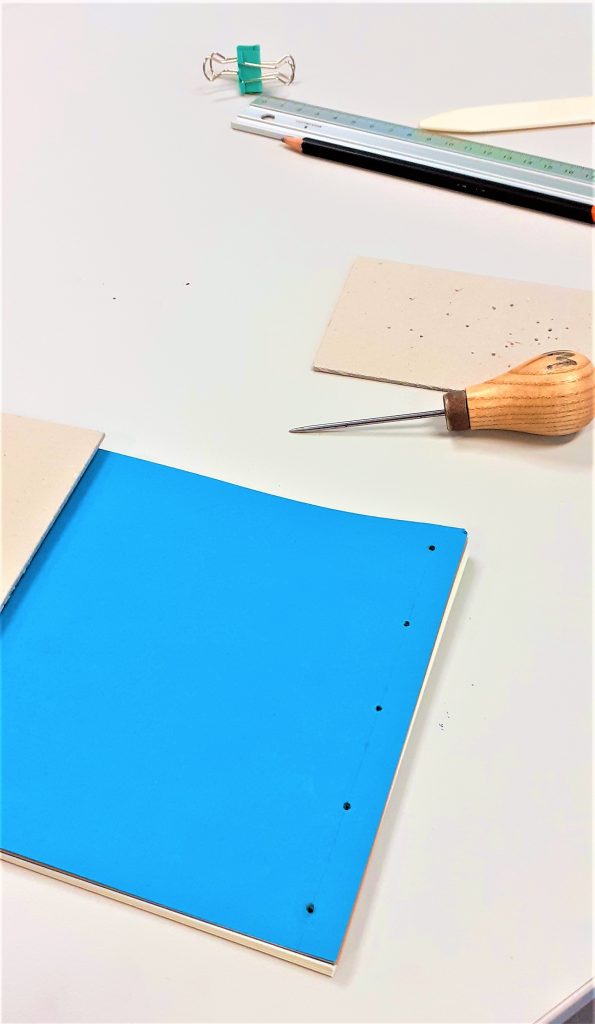
Making the holes was the most physically demanding part of the process. Using the awl, I pressed and twisted into the paper where I had made the pencil markings. I made sure to keep the awl straight. The number of pages and thickness of the card is what made the action tough. It was easier to make the holes whilst standing up. I placed card underneath the book to help hold it in place and prevent me marking the table. I made sure the awl was about 3mm through the other side. This meant the hole was big enough. Another way to check is to hold the book up to the light and see if I can see through to the other side.
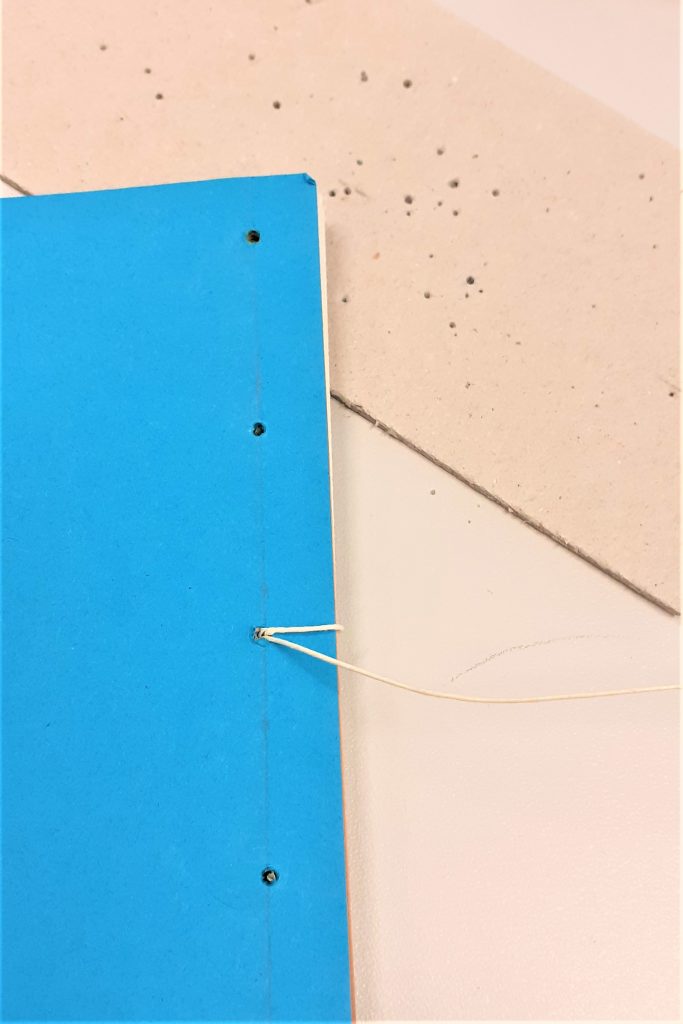
Using the needle and a strong thread, I began to stitch the book together. I started from the inside of the book and pushed the needle through the centre hole.

I found this stitching process easier than the previous books I have stitched. I think this is because the stab-binding stitching pattern works in right-angles. The main difference is that with this method, I needed to hook the thread around the outside of the cover.

I also needed to make sure I was pulling the thread tightly after each stitch.
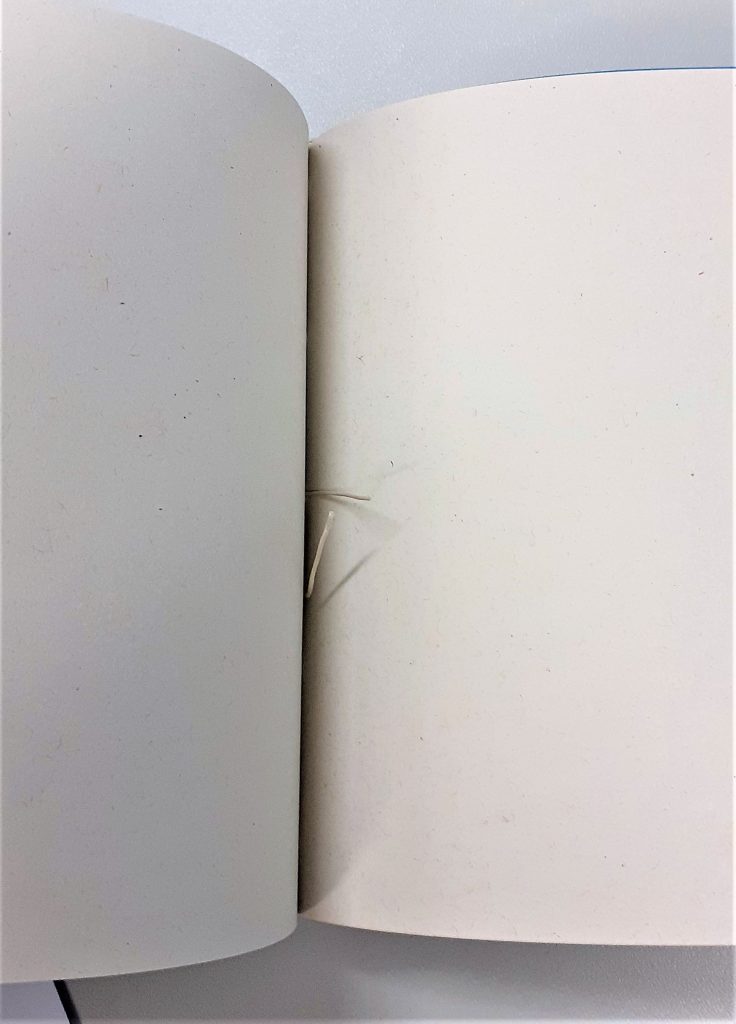
I did not need to tie a knot because the stab-binding holds the thread in place. The thread begins and ends at roughly the centre of the book.
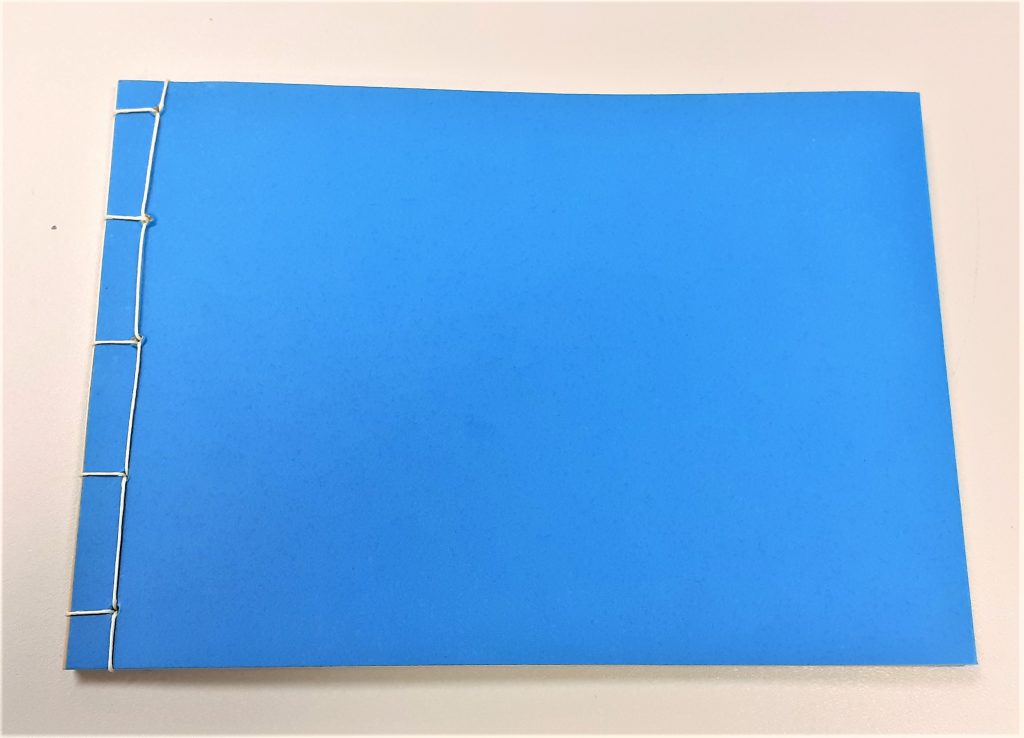
The result: I felt that the line of stitching looked wonky. This is probably due to where I placed the holes.

My next book was a zig-zag style book. My first thought when our lecturer Ruth showed us this kind of book, was how great this method would be for a photobook. This is because the book opens out to a long line of paper where the reader has the option of viewing every page together, or turning one page at a time.
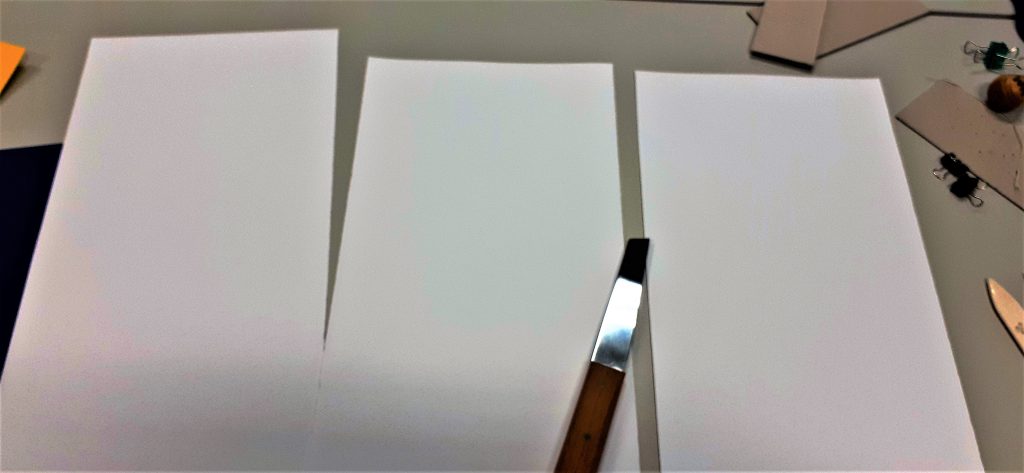
I began the process by cutting a large sheet of paper into 3 separate sheets. This makes up the pages of the book. I used the paper knife for this task.

After folding the paper into 4 pages per each piece of paper, I began working on the cover.
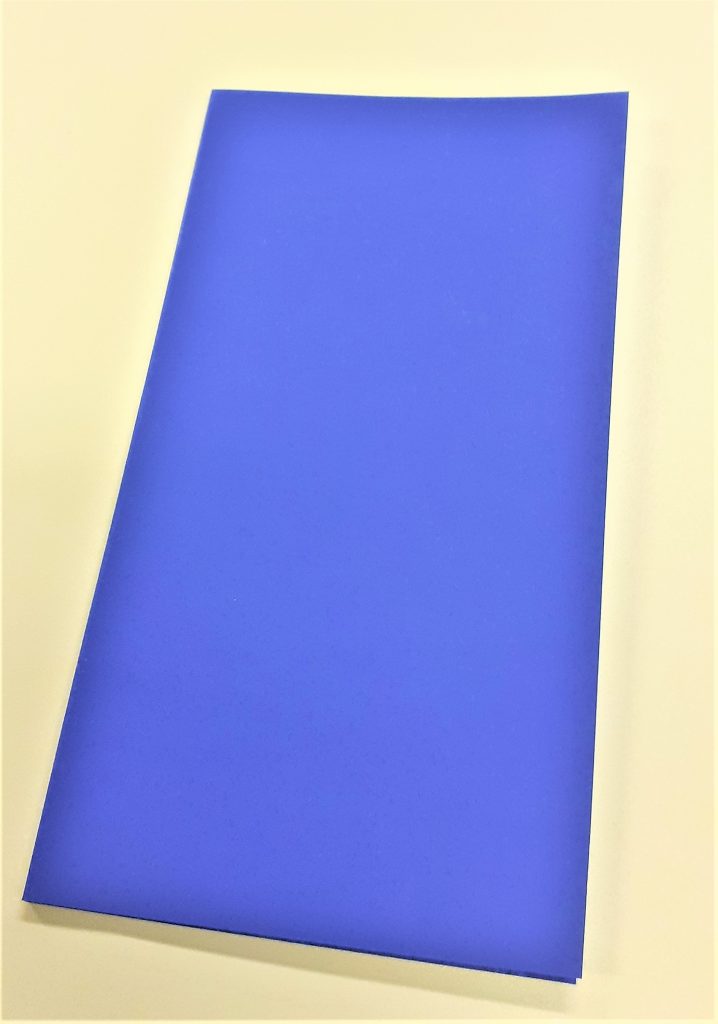
For the cover, I needed to fold the paper twice to create a flat spine. I worked out the width I wanted the spine to be by holding my pages together and measuring the thickness of the pages. I left a gap with this measurement at the edge of the card and folded up to this point. I turned the paper around and did the same in reverse.

I then attached my pages together using double-sided sticky tape. I then used the tape to attach the pages to the cover. This part of the process involved some decision making. I needed to think about how I wanted the book to be read. I had the option of attaching the pages to the back cover or the front cover. I needed to weigh up the procs and cons of each method.
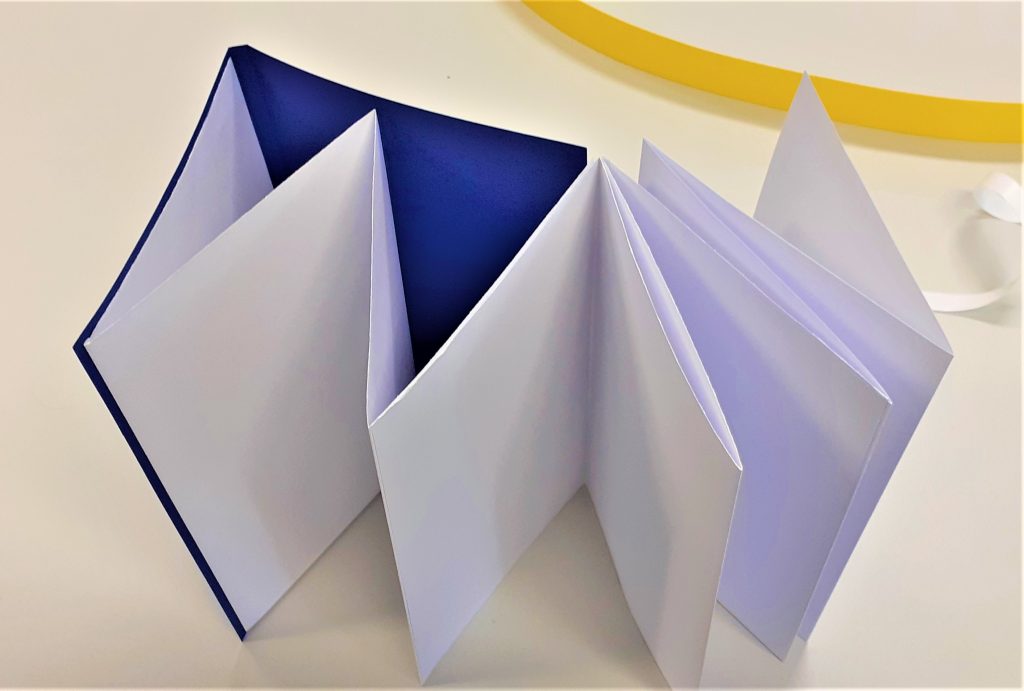
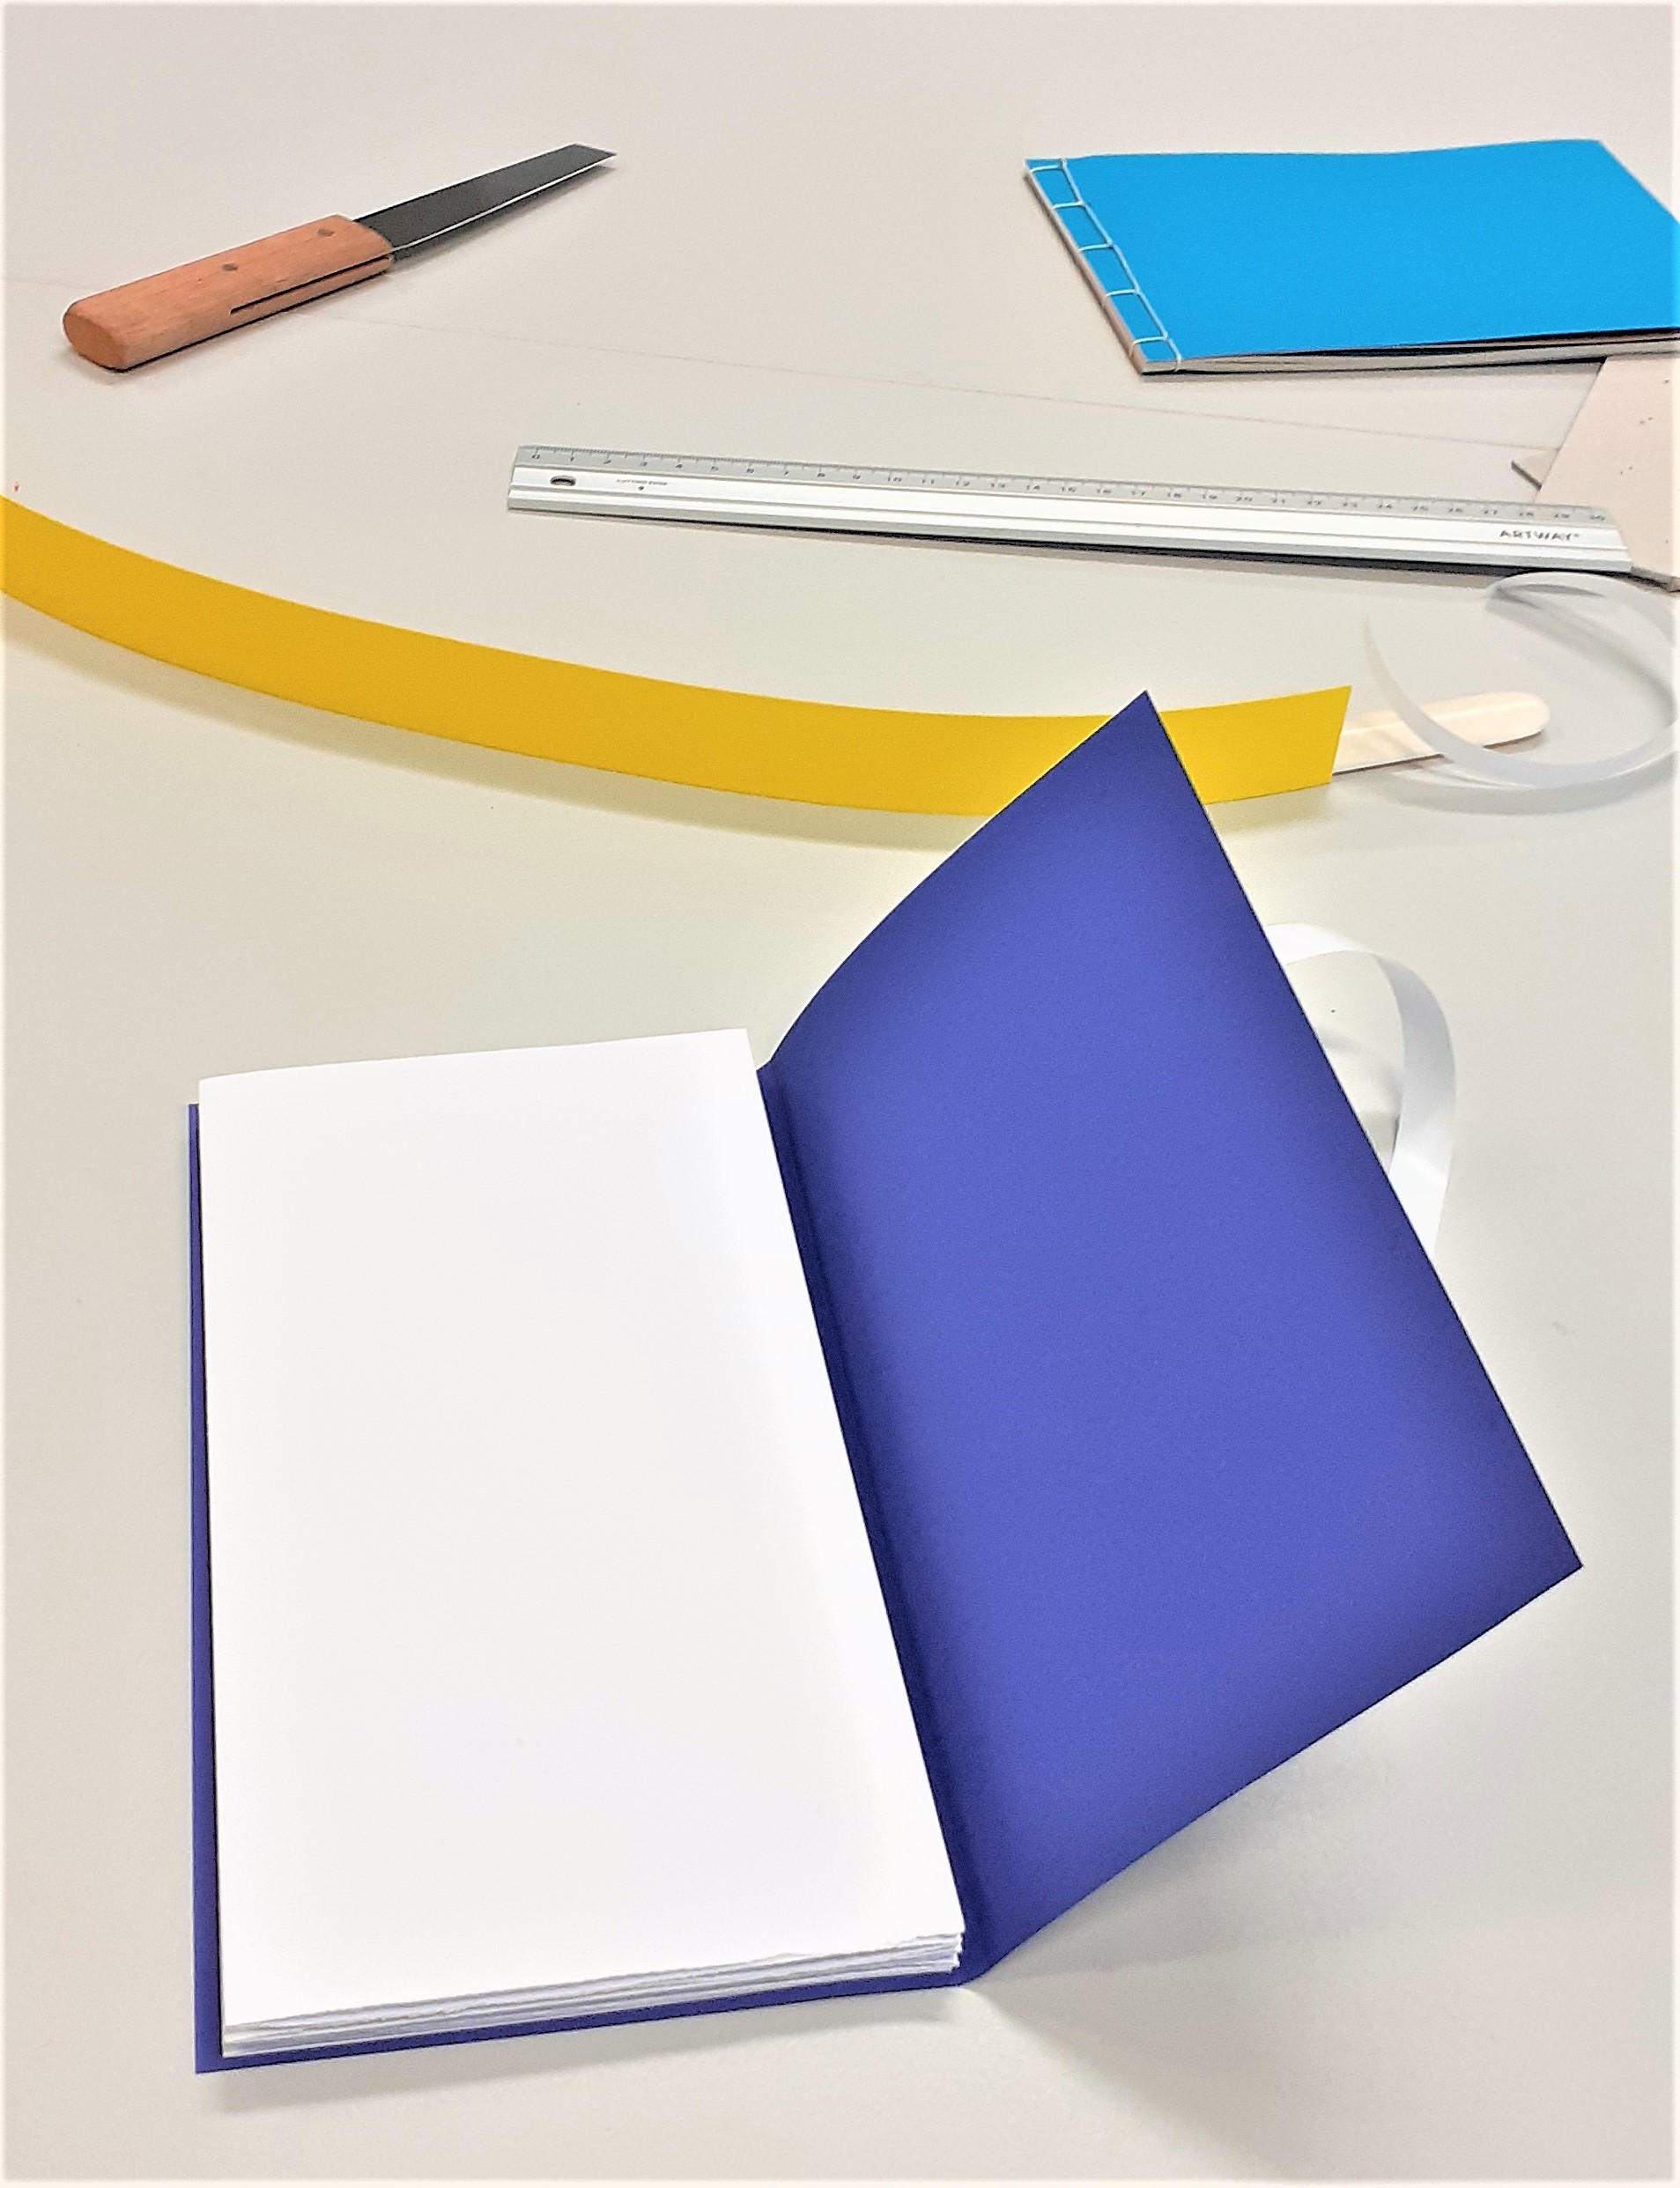
zig-zag book.
Attaching the pages to the front cover means that the reader will open the pages out to the right.

Using the foiling technique, I added the title to the book cover. I first practiced on a scrap piece of paper. It was important to use a template to trace the words, as this gave me a guide and ensured the word would look neater that working free-hand.

I needed to work slowly, to allow the heat to pass through the paper and the foil. I made sure the tool was switched to the lowest heat. A higher heat would have melted the foil and the result would not be effective. I considered health and safety during this process. I made sure the tool was not touching the table or any object while it was hot. I especially made sure the hot end of the tool would not touch the cable.


I added my initials to the back cover of the book. I had sketched the letters onto paper first, before using them as a template.

Digital Workshop- (Week 3) Working with Colour

From week 1, our digital workshops have been spent building up process books. These books give us somewhere to record the new skills we are learning in module 002. (Skills in screen-printing, bookbinding and in digital design software.) I have a feeling these 3 areas will soon come together…

In this weeks’ workshop, we focused on colour. I’ve learnt a bit about colour swatches in Adobe InDesign. Colour swatches are similar to the painter’s palette I am used to, only digital. I have found this process satisfying and much easier than I thought it would be! Computers have improved a lot since I left school 10 years ago.

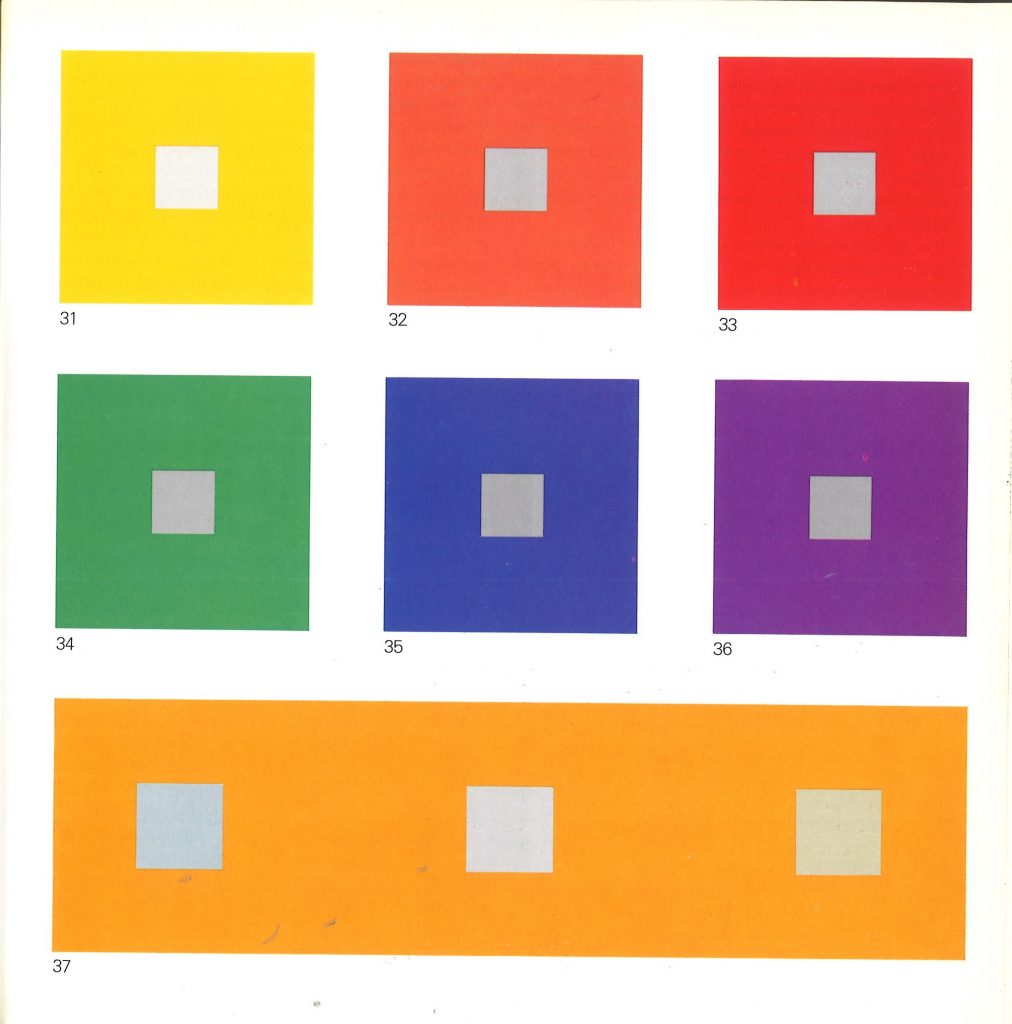
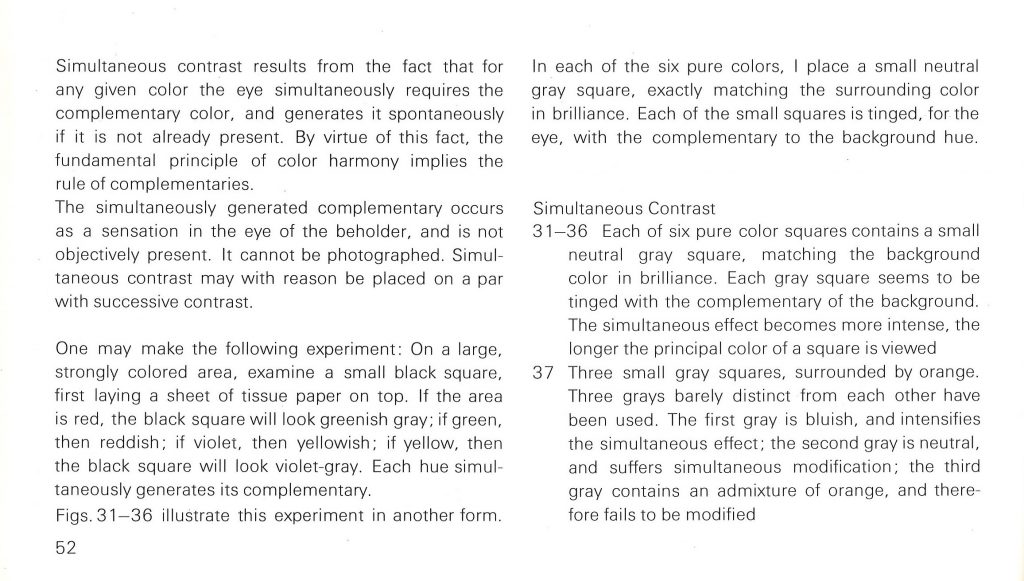
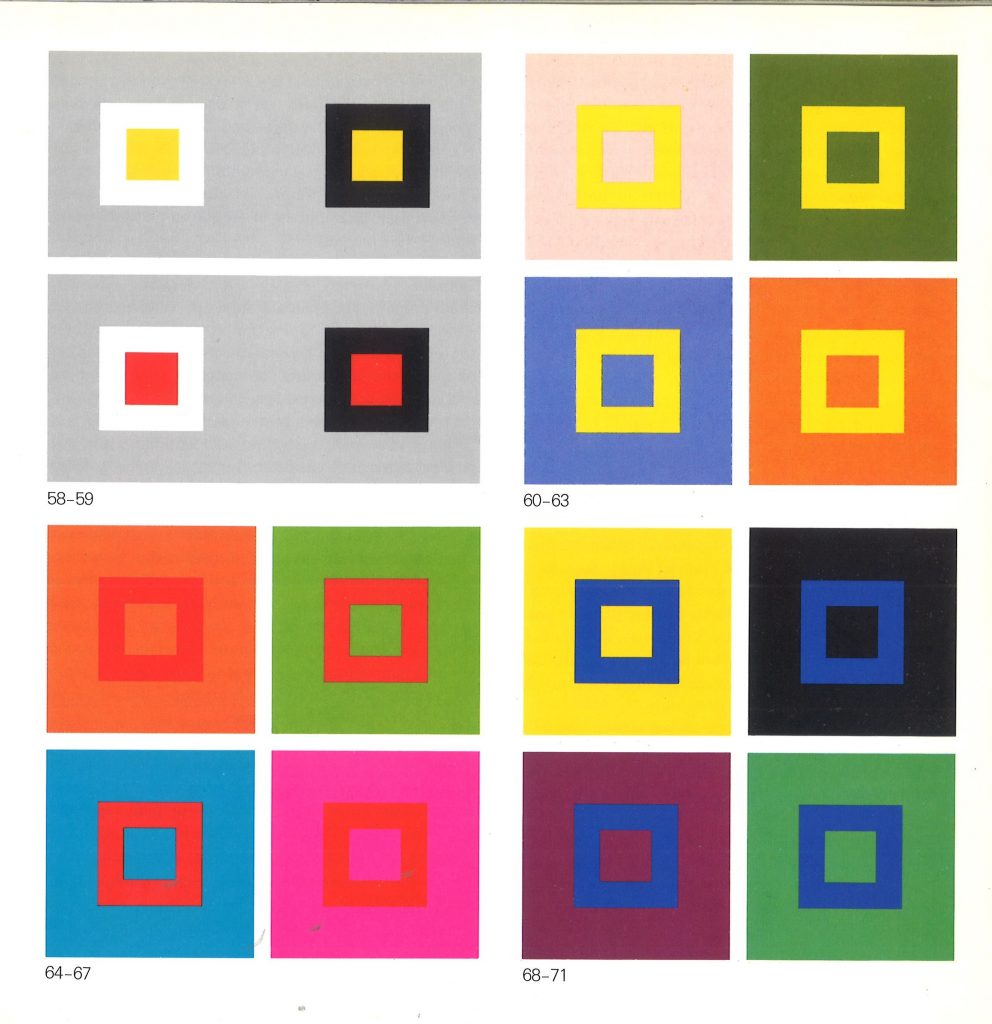
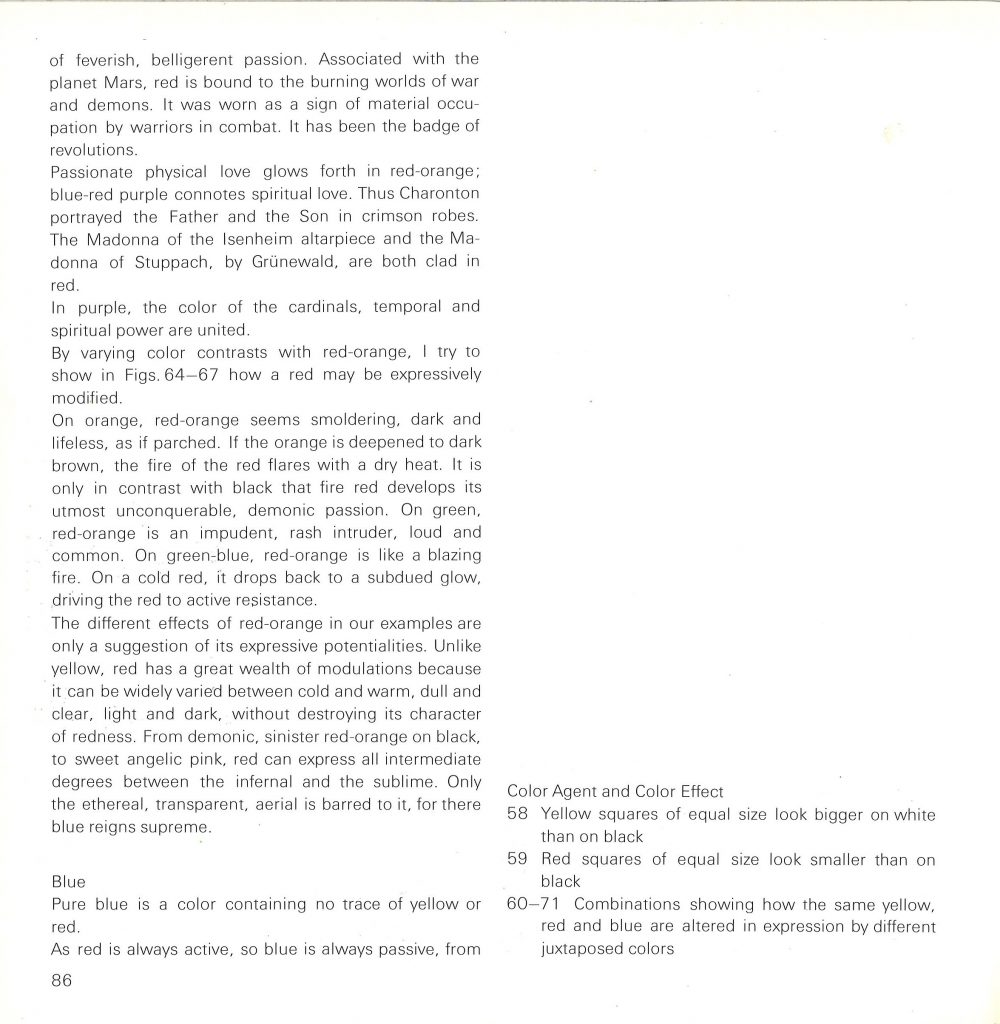
Our lecturer Adam mentioned colour relativity. At college last year, I completed a project based on the work of Josef Albers, famous colour theorist and fine artist. He spent his life exploring the relationship between colours. I took a trip to the library and came across The ELements of Color by Johannes Itten. It is a handy paperback book that explains colour relativity in simple terms:

From The ELements of Color. The grey square at the centre appears different depending on which colour it is placed against.
The same colour is placed on a series of coloured squares. The result is the illusion of a variety of depths.
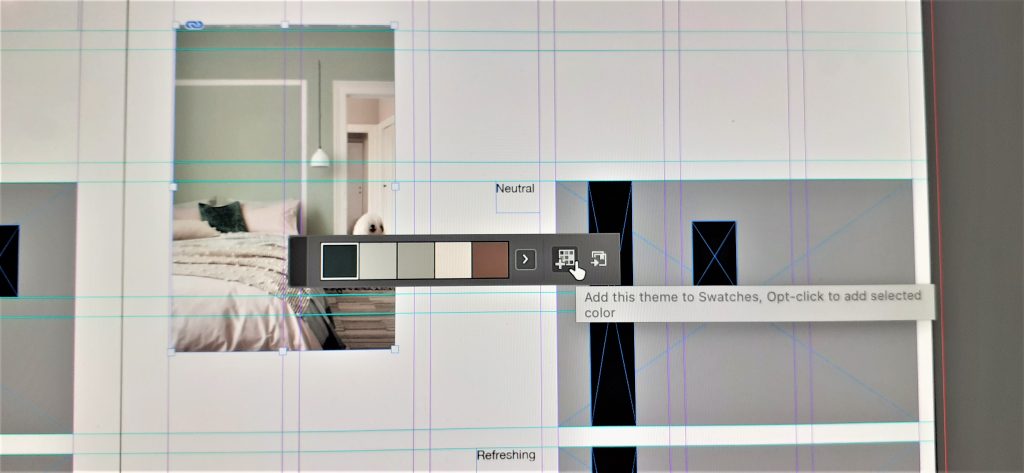
(In InDesign) The colour theme tool allows me to create colour swatches from the colours within any image.
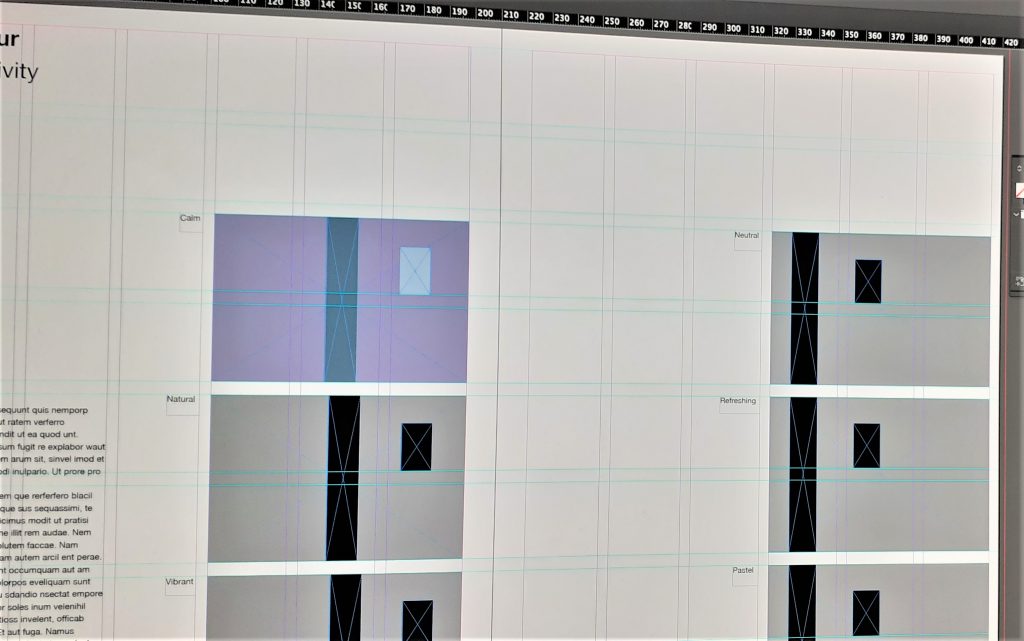
I was then able to add these colours to the process book, taking them from my swatches. I created different themes such as ‘calm’, ‘neutral’ and ‘vibrant’. I placed them within rectangles that I drew using the rectangle tool.

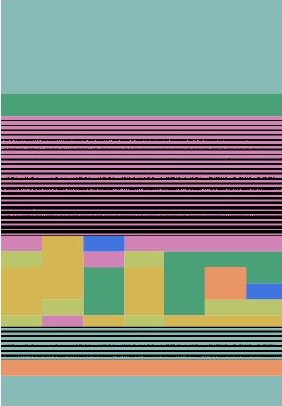
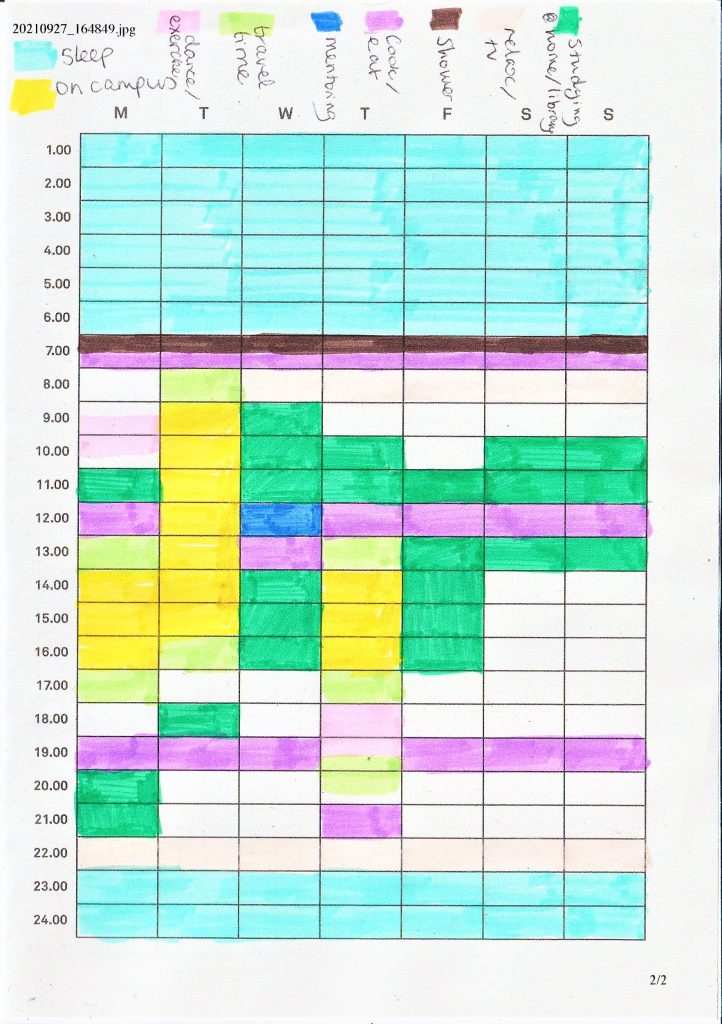
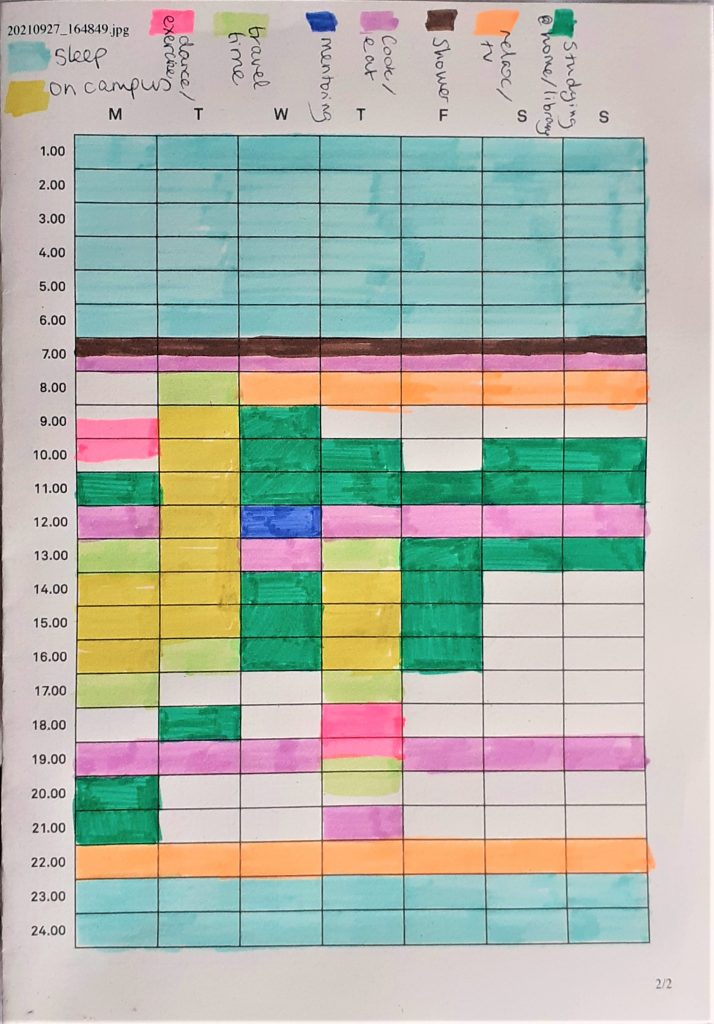
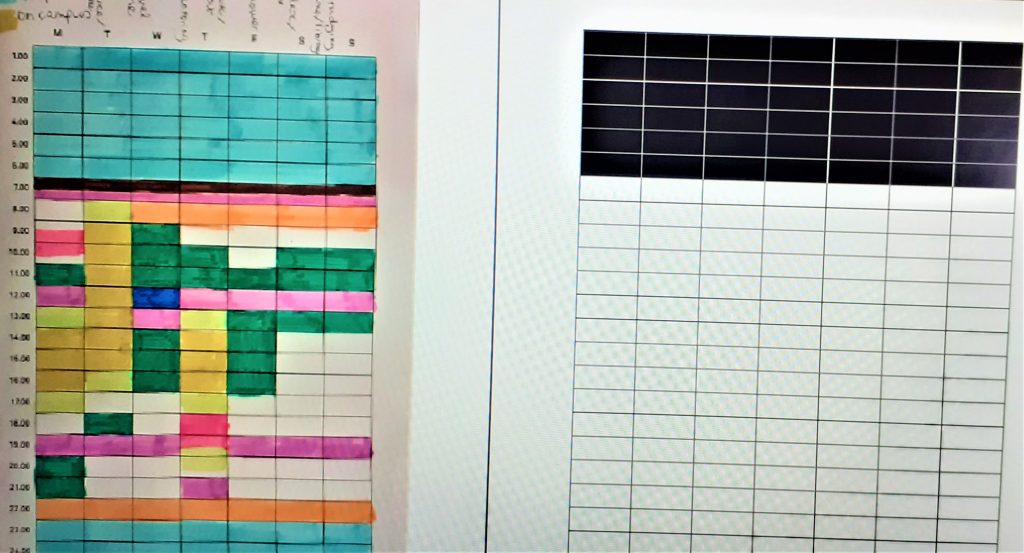
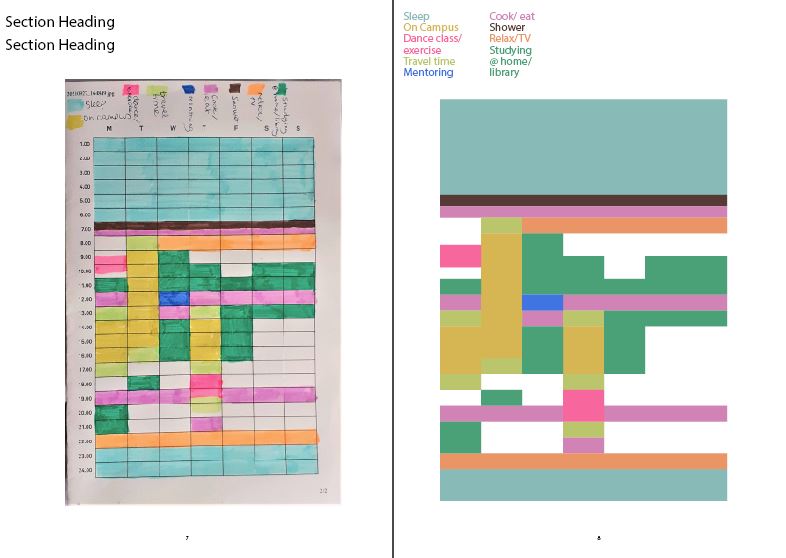
For the next task, Adam asked us to experiment with a scanned image. We coloured in timetables of our week and scanned them onto the computer:

The scanner washed out the fluorescent colour from my highlight pen. Therefore, I needed to take a photo of the timetable instead.

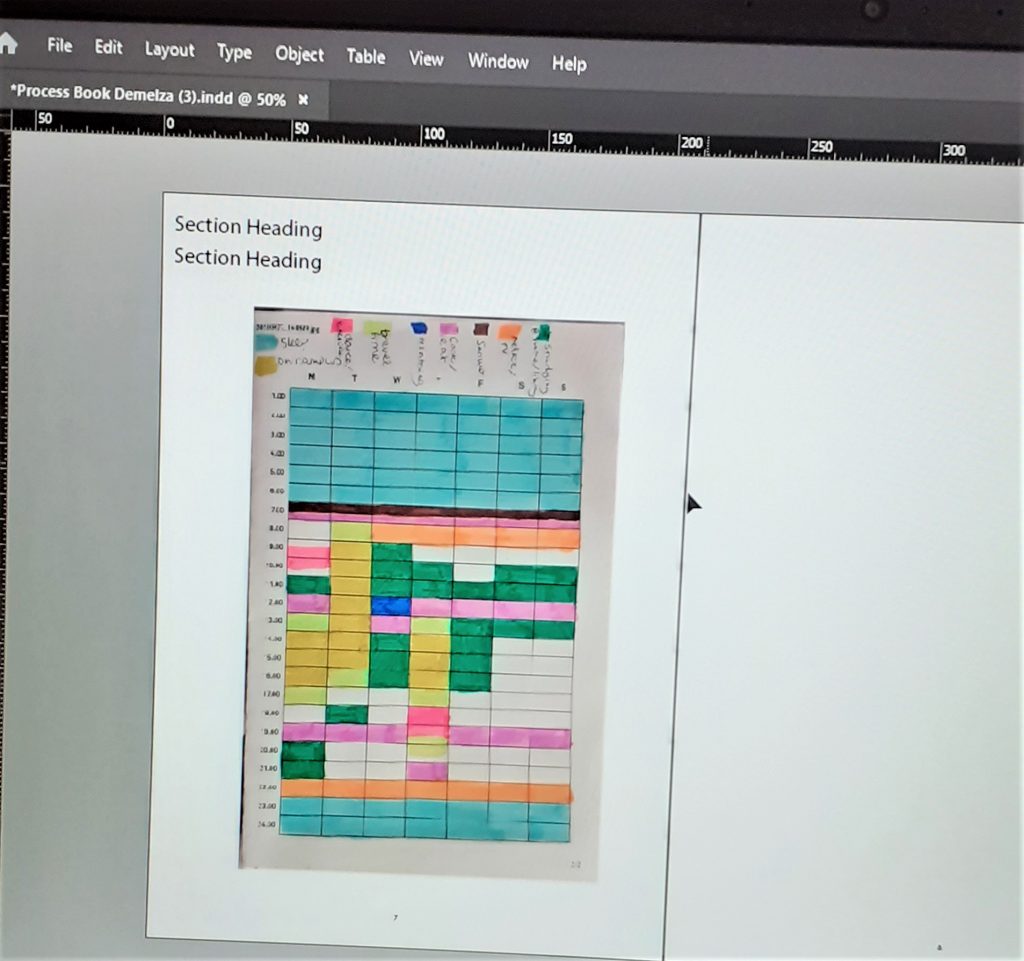
I inserted the photo into the document by pressing Command+D (Ctrl+D on Windows) and selecting the file.

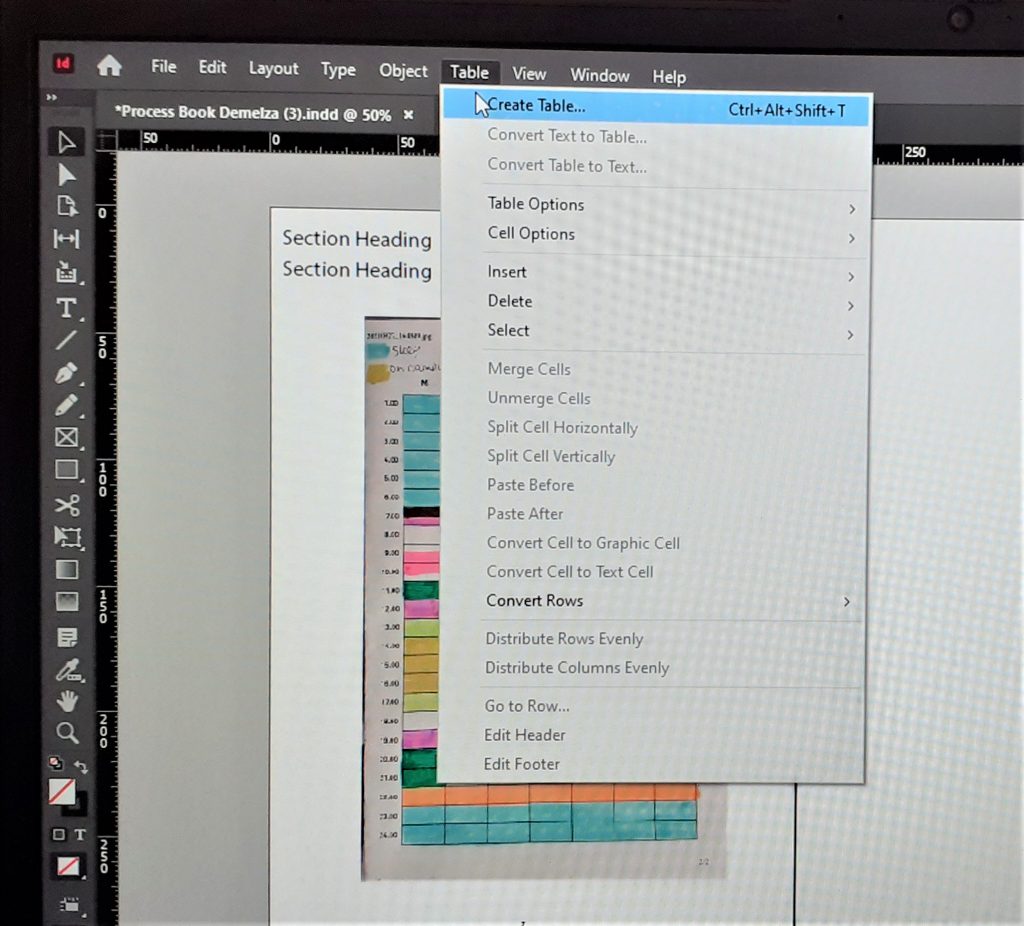
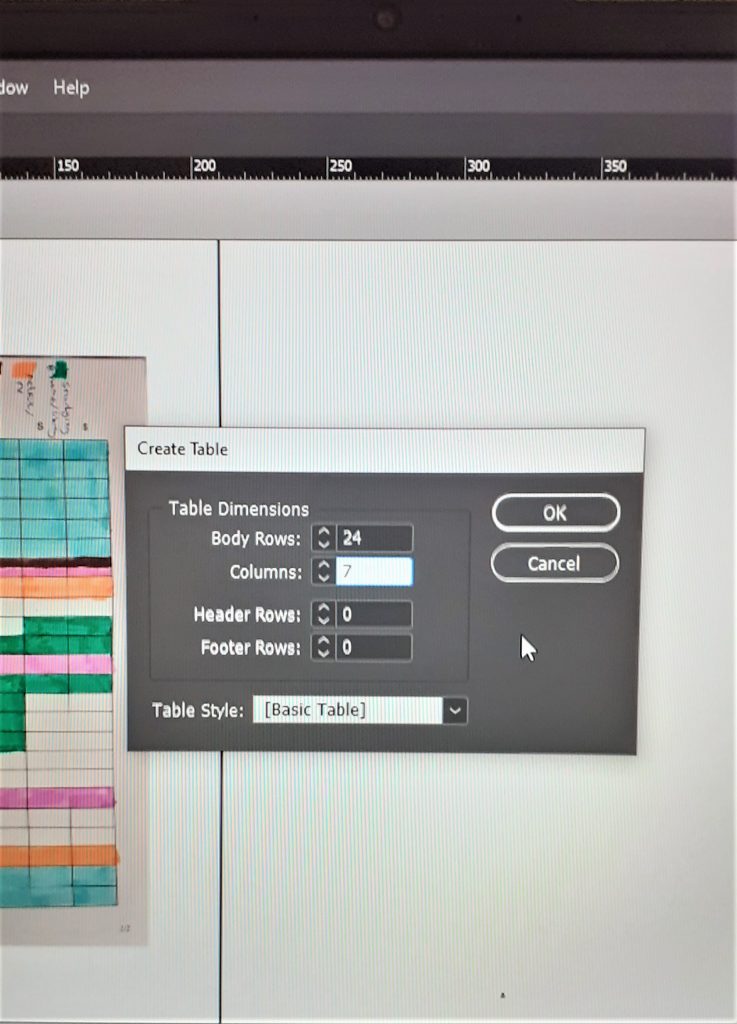
The first task was to replicate the timetable on InDesign, using the colours from the scan. I clicked ‘Table’ > ‘Create Table’.

I chose 24 rows for the 24 hours of the day, and 7 columns for the days of the week. After clicking ‘OK’, I needed to click and drag the table onto the page.

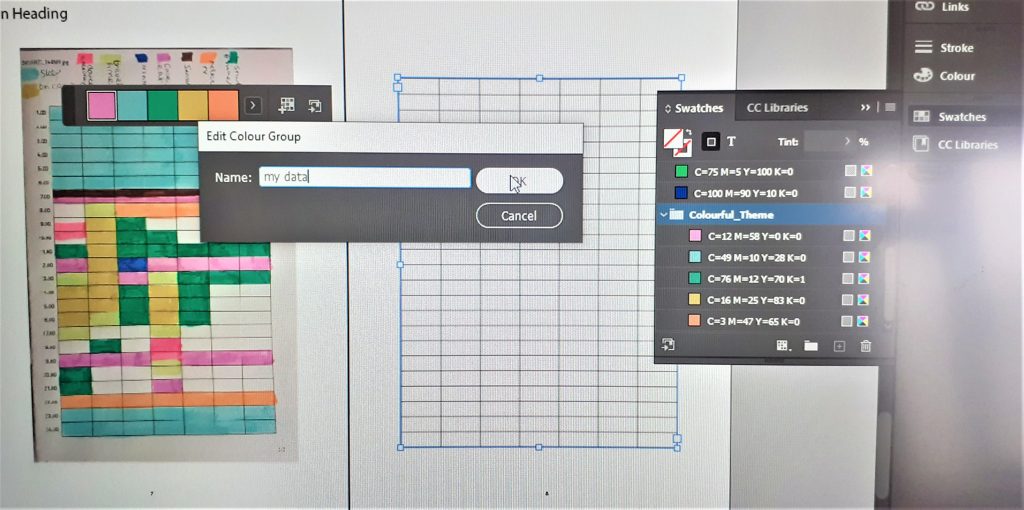
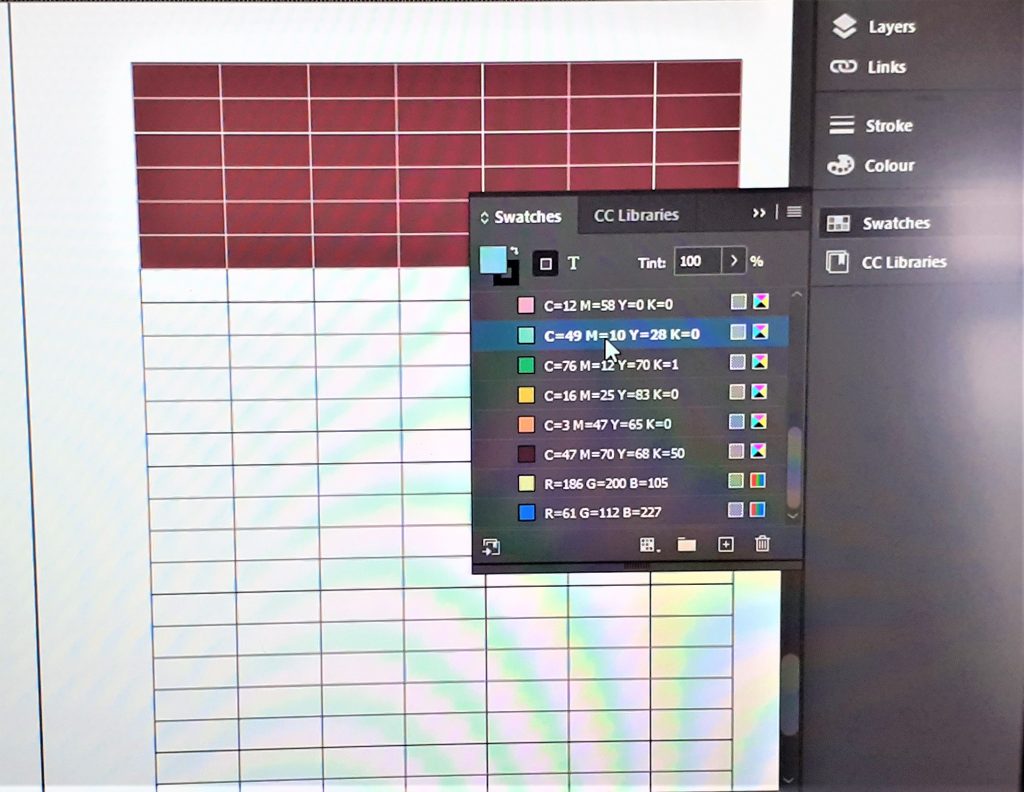
I used the colour theme tool to grab the colours from my scanned image. I added this to my swatches and named the group of colours ‘My Data’. This would allow me to find them easily.

The colour theme tool picks out a limited selection of the colours within your image. Since my image has many colours, I needed to add a few of them individually to my group of swatches.

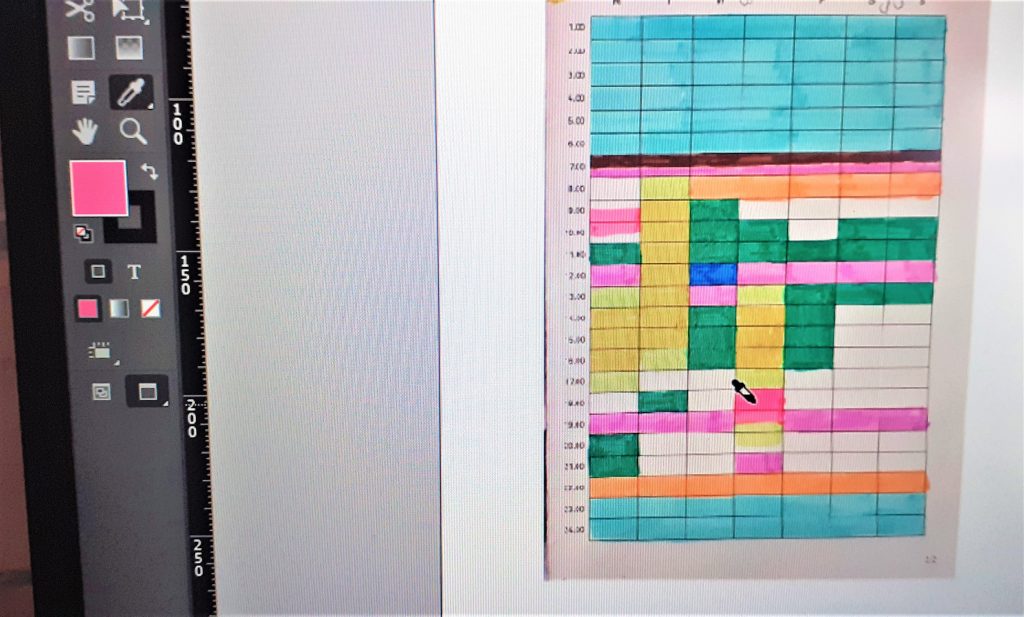
I needed to use the eyedropper tool to select the colours from my scanned image.

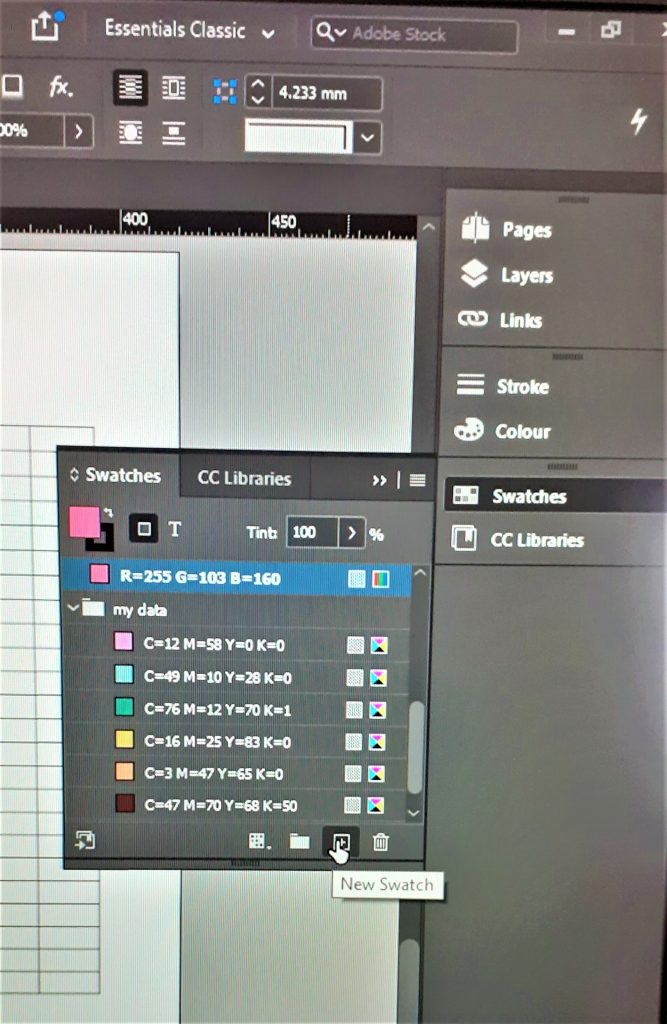
I added this colour to the swatches by selecting ‘New Swatch’.

Adding colours to the table is simple! I highlighted the area I wanted to colour in by clicking and dragging. (The black area is highlighted) I then clicked on the blue colour within my data swatches:
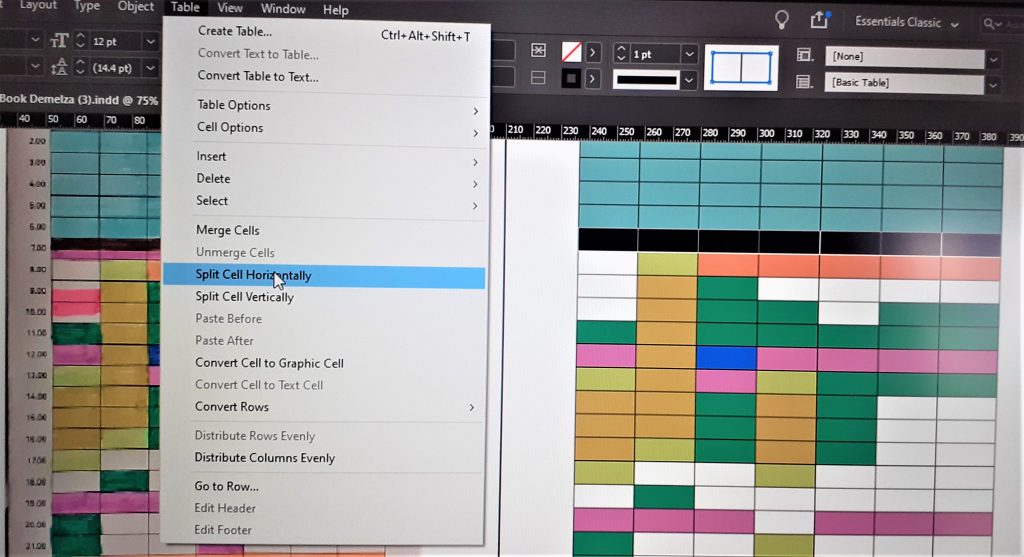
For the areas of half hours, I needed to split the cells horizontally. To do this, I highlighted the cells I wanted to split. I clicked ‘Table’ > ‘Split Cell Horizontally’.

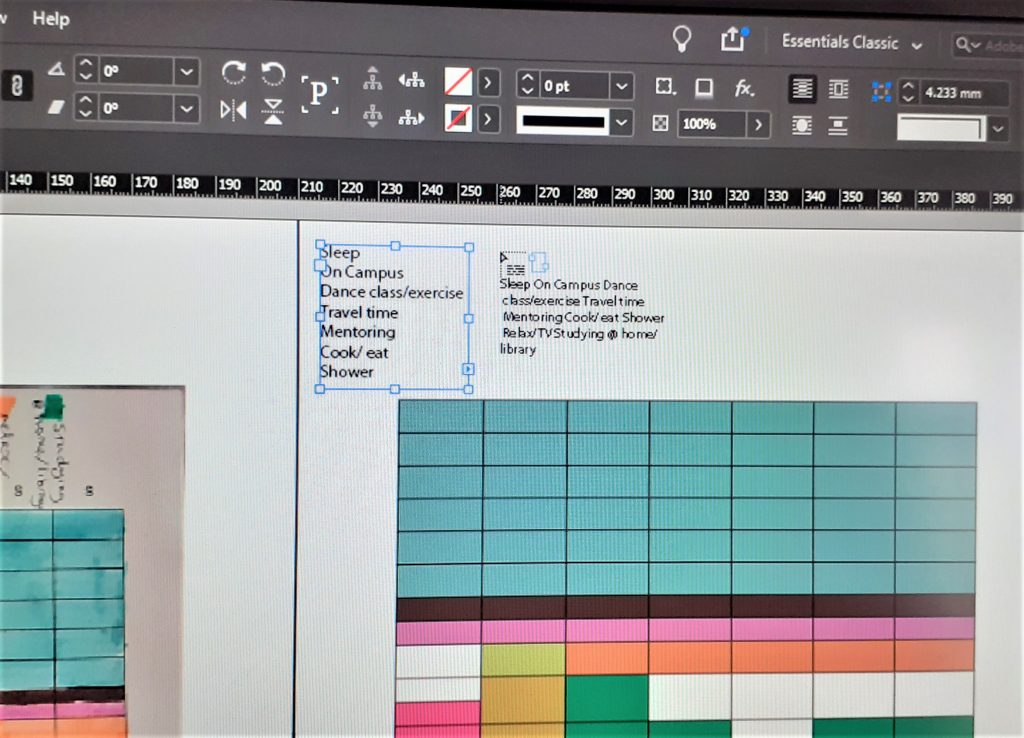
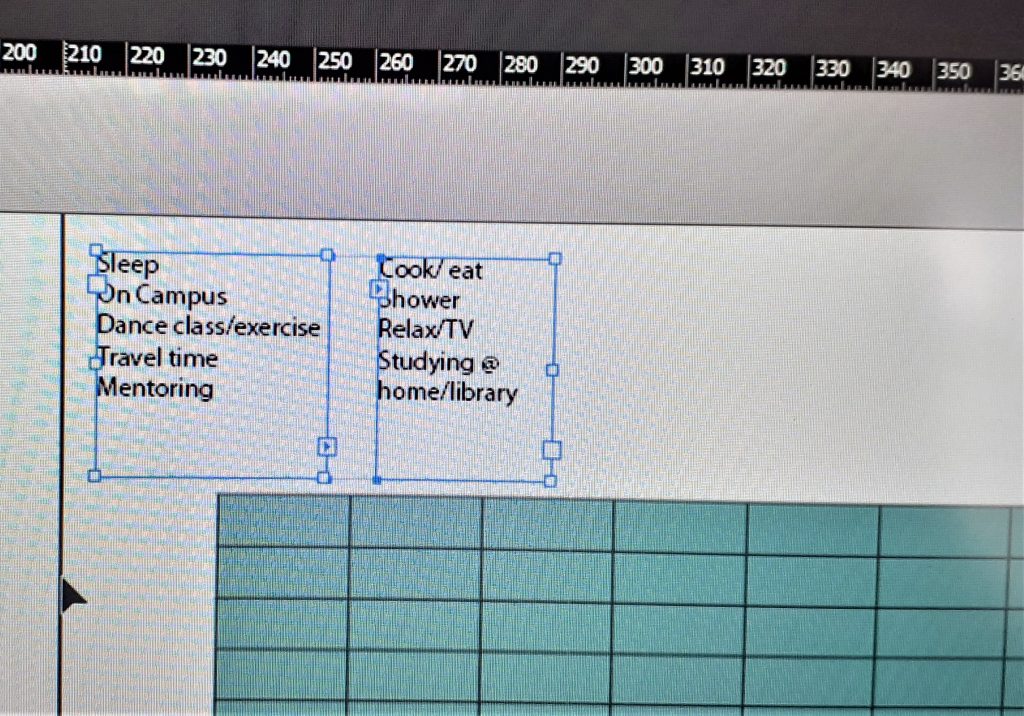
I wanted to add a key to my timetable. I typed the words in a list above the table. The list was too long for the box. This meant that a small red square appeared to tell me there is not enough space for the words. I clicked this red square and selected another area to place the words. I placed them in a box next to the first box.
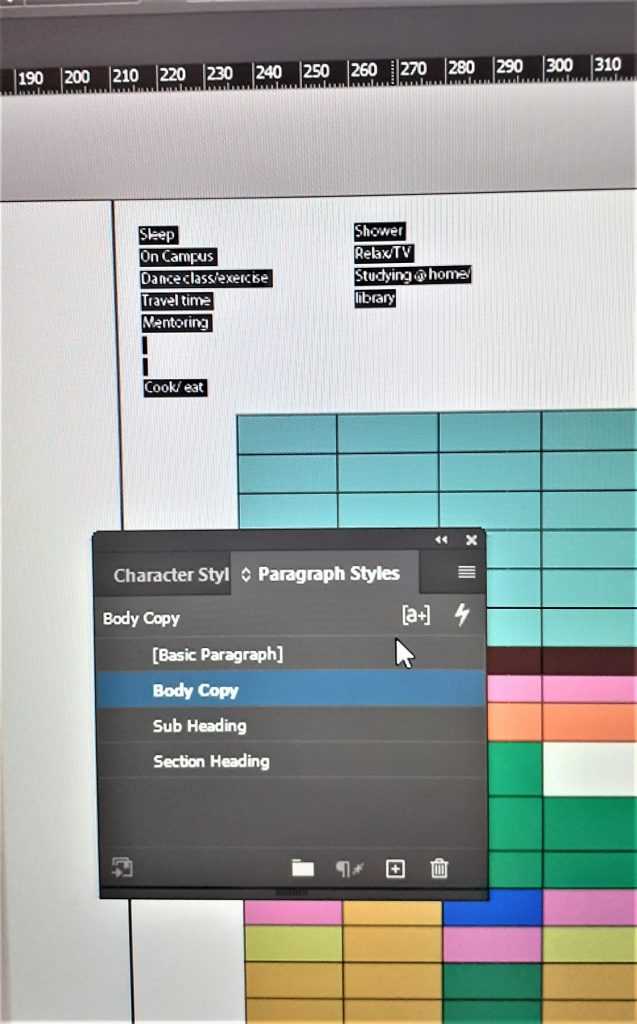
I wanted to change the font to the style I was using for the process book, ‘body copy’. To do this I needed to select the text. I clicked on the first text box, pressed down SHIFT, then clicked the second text box. This meant that both boxes were selected.

With the text highlighted, I opened the ‘Paragraph Styles’ tab and selected ‘body copy’.

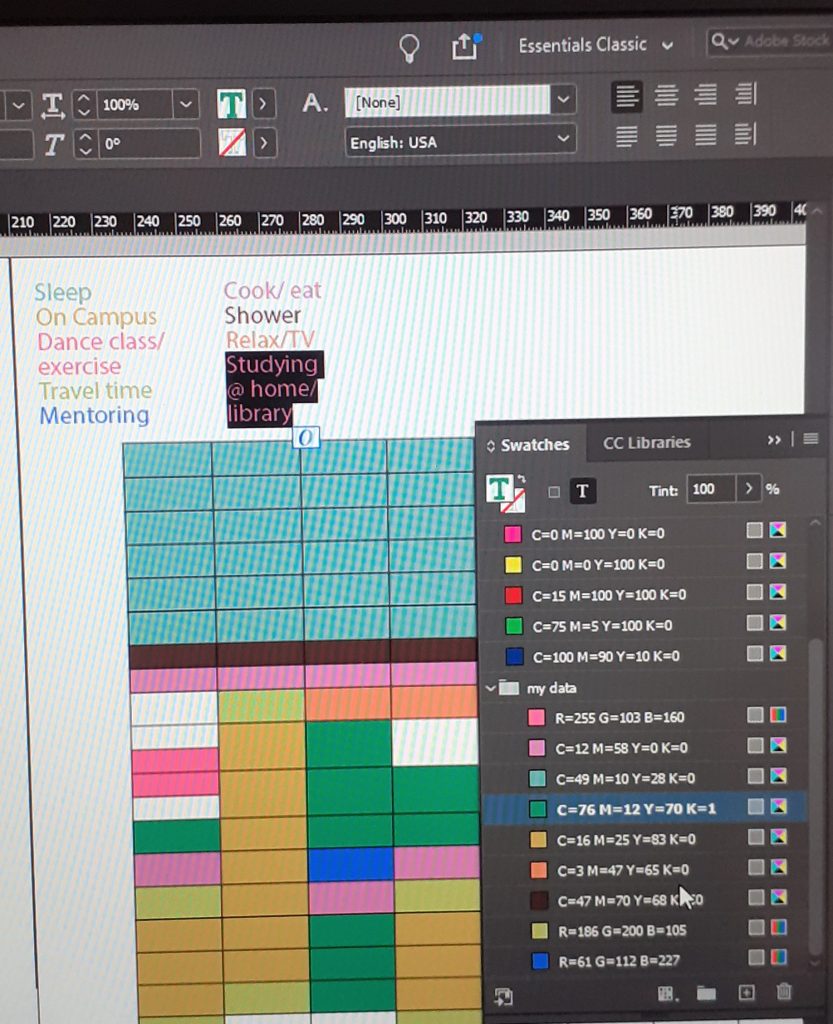
I highlight each word, one at a time. I then changed the colours to match the colours they correspond to in the timetable, choosing from the ‘my data’ swatches.

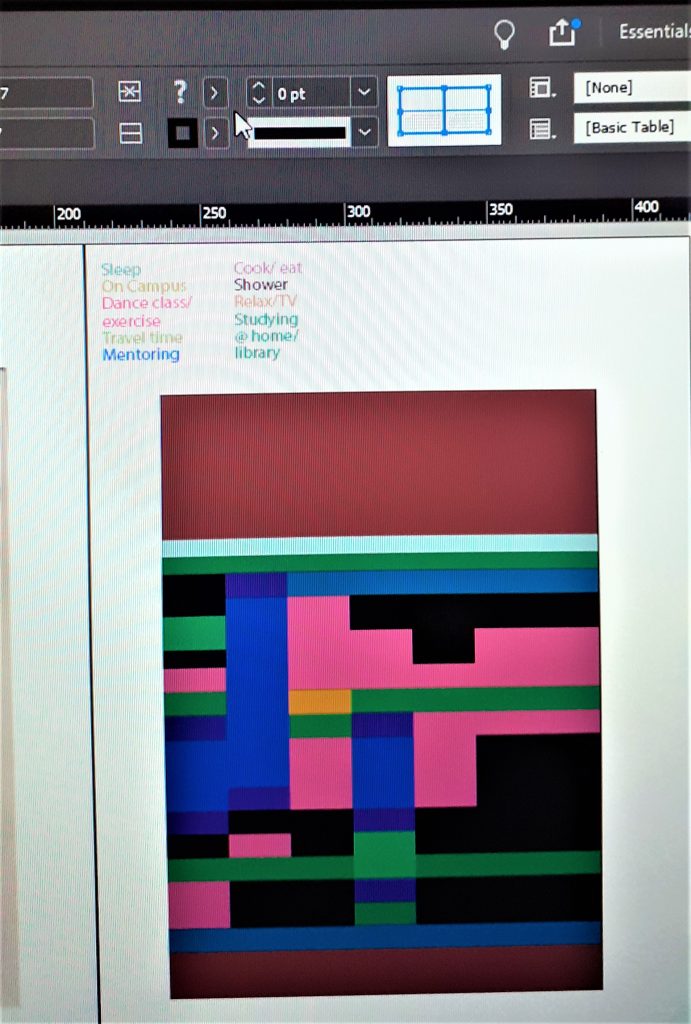
I wanted to remove the lines within the timetable. To do this, I selected the lines by making sure the lines in the square at the top of the page, were blue and changed the thickness of the lines to ‘0 pt’
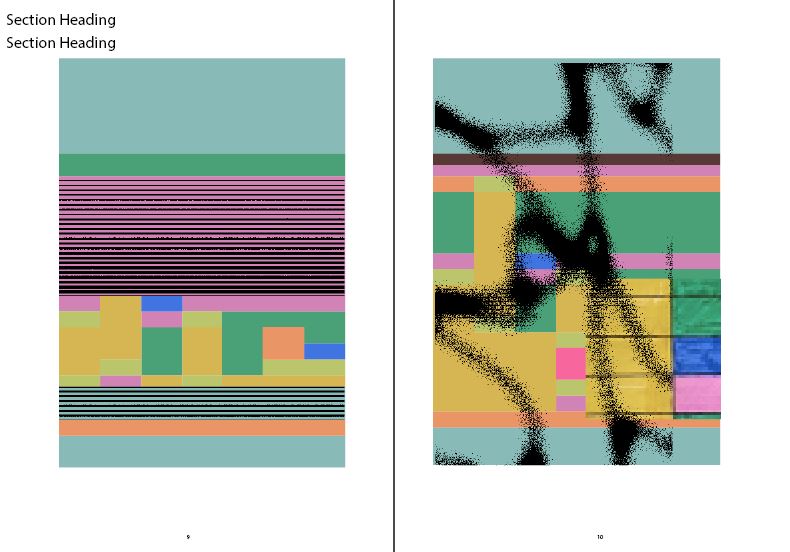
I then used the timetable design as a template for experimentation. I played with merging cells, inserting images, bitmap images and adding colour.

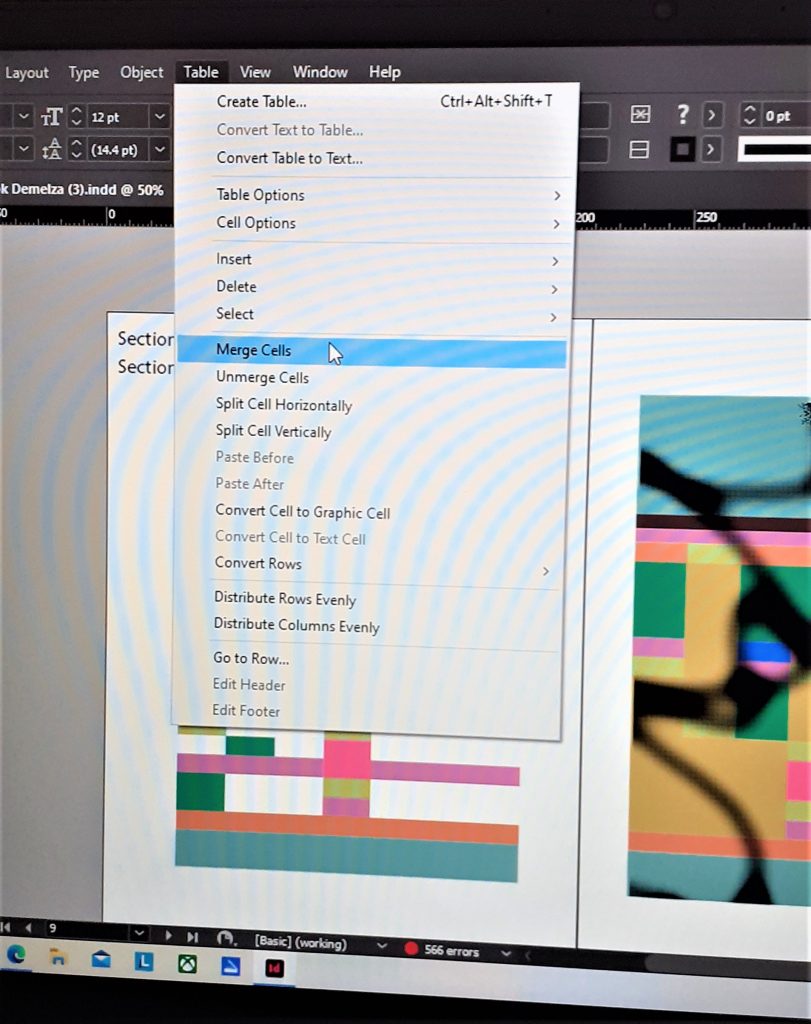
I merged cells to give me a larger area to work in. I highlighted the cells I wanted to merge and clicked ‘Table’ > ‘Merge Cells’
I used the bitmap images from week 1 and 2 to incorporate into these designs.

Intro to Photography (Workshop part 1)

Having studied photography briefly in college, I had a basic understanding of DSLR cameras. Today we had 3 hours to be introduced to photography and capture our objects using a variety of set-ups. This was a fast-paced session, packed with lots of information.

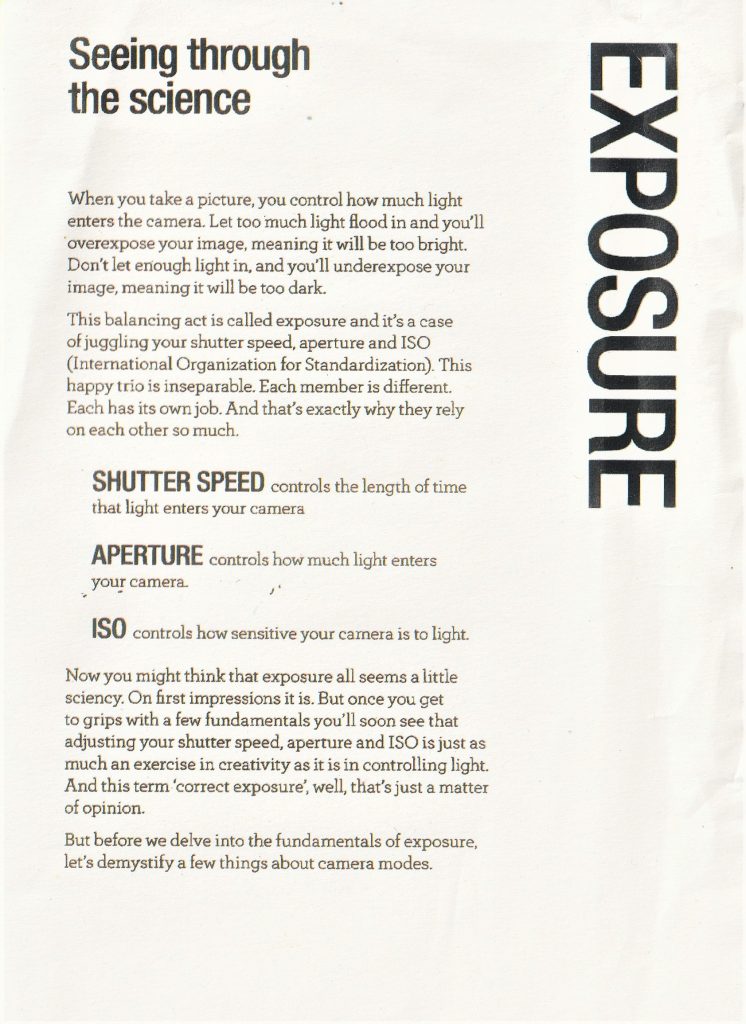
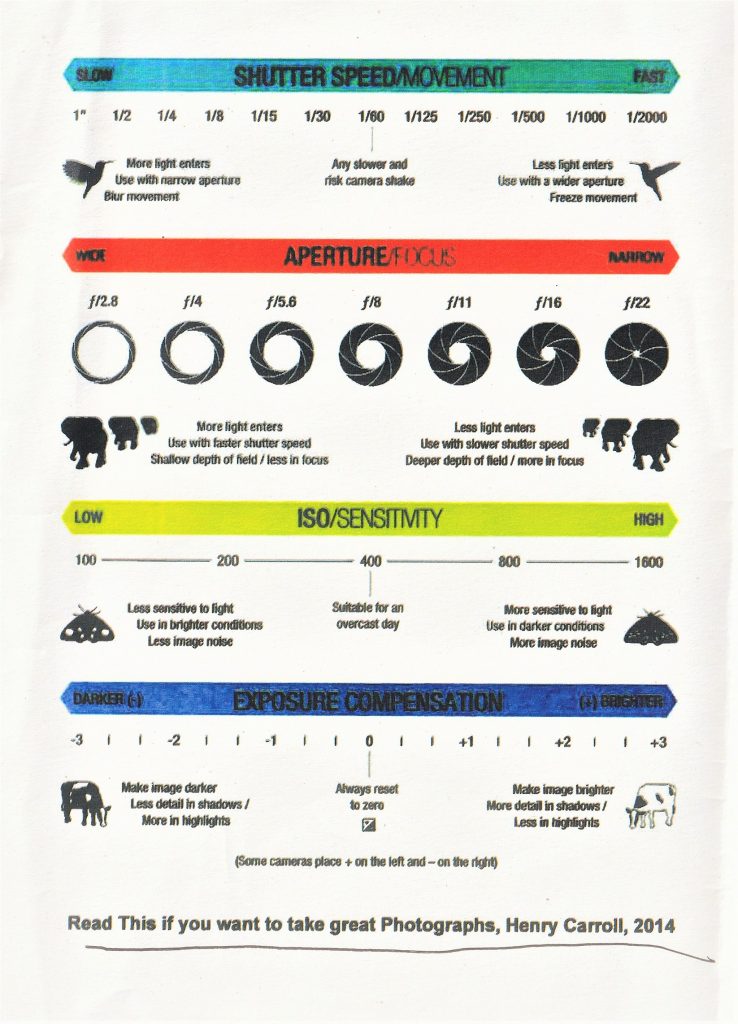
Our lecturer Hannah explained that the camera is a machine that takes in light. As a photographer, our job is to control the light going into the camera. This is done using shutter speed, ISO and aperture. When you alter one of these, it affects the other 2 settings.
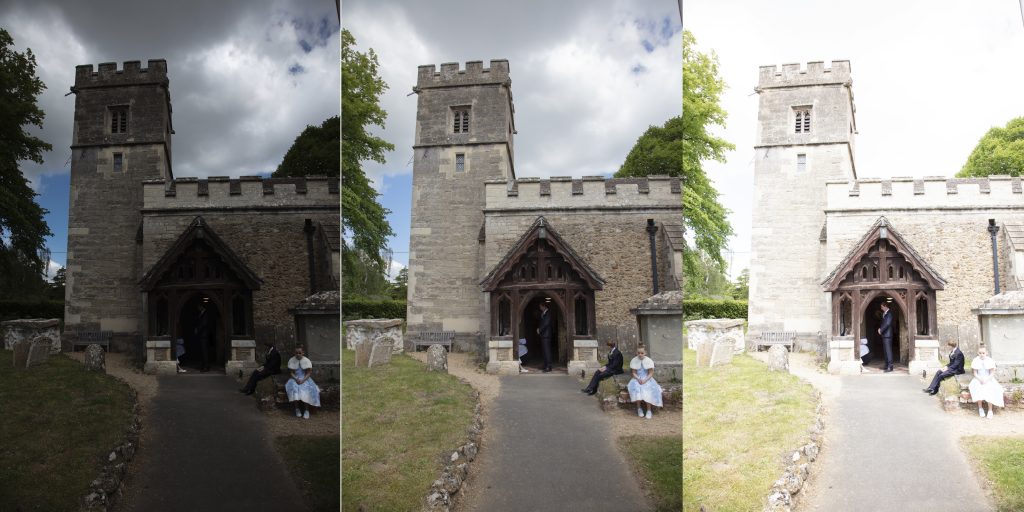
Letting in too much light makes an image over-exposed and too little light creates an under-exposed image:

(Left to right: Under-exposed, correctly exposed, over-exposed) photos by Guy Henstock | Photographer Oxford

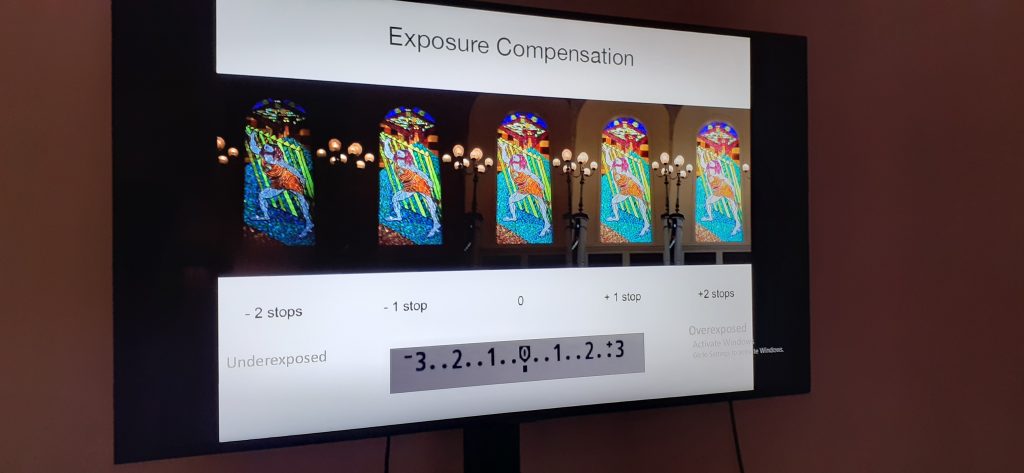
We learnt about a camera feature I had never heard of, called exposure compensation. This is used to balance the light in an image when a scene has very dark and very light areas, for example, when a scene is lit from behind.

With analogue cameras, the ISO can only be changed by changing the whole film to one with a different ISO rating, but digital cameras allow you to change the ISO from shot to shot. A good ISO for a cloudy day would be 800 and for a sunny day would be 100. A low ISO gives a smooth grain, as the camera is letting in less light. Using a high ISO will give you more noise, though you need to use a higher ISO when shooting in a really dark room for example.

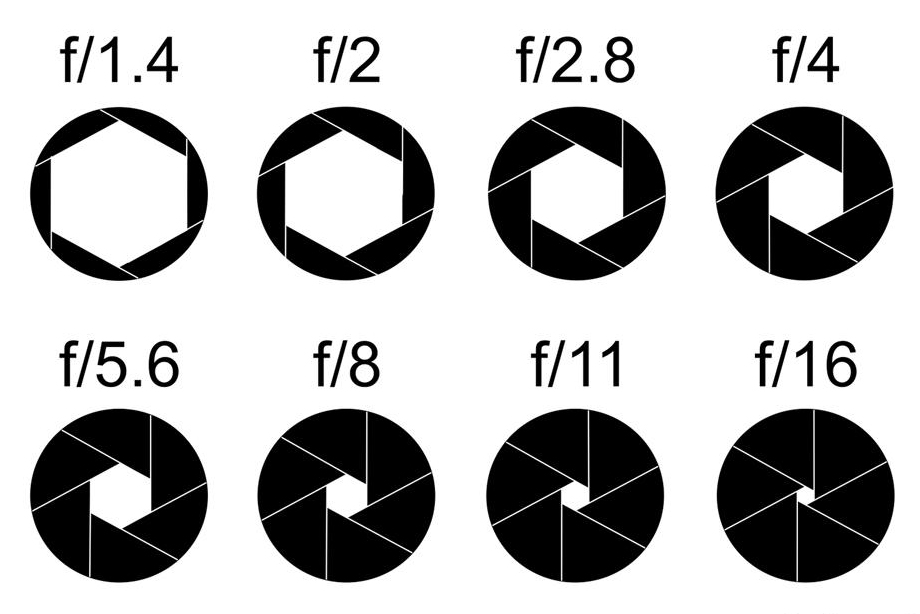
Aperture refers to the size of the opening of the camera. A smaller opening = a high aperture, for example f/22. This would be suitable for photographing landscapes. This gives a larger depth of field, meaning that the camera is able to focus on foreground, mid-ground and background. A larger opening, and therefore low aperture, such as f/4.5, is best for portrait photography. A low aperture focuses on the foreground and these photos will have slightly blurry background.

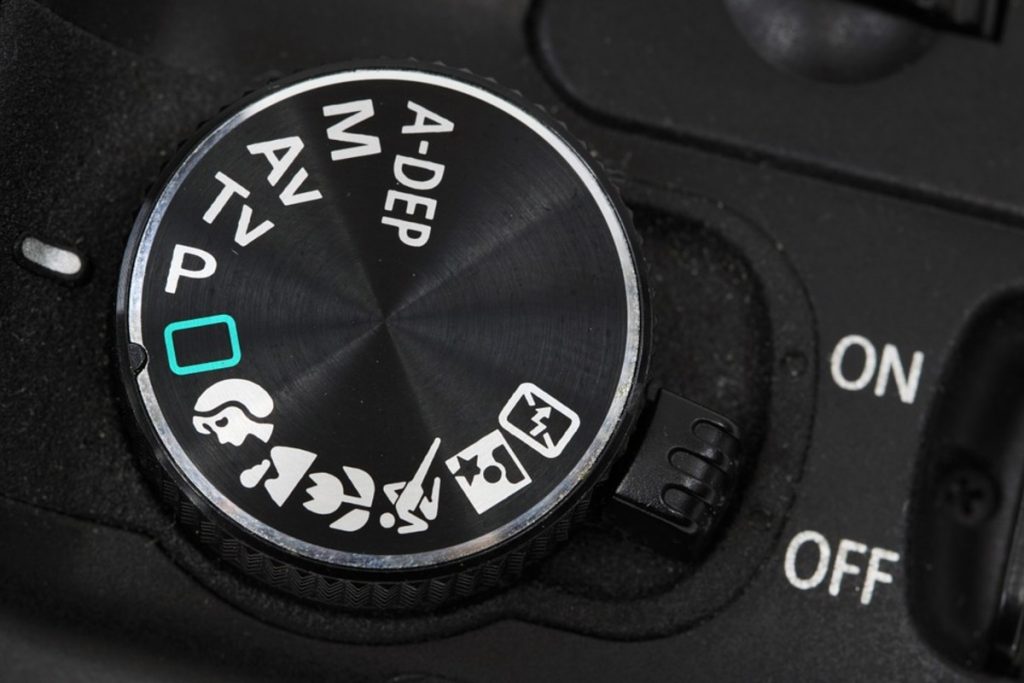
Hannah explained features of the Canon cameras we use at Brookes:

Tulip symbol = macro (to capture tiny details)

Running person symbol = shutter speed

Flash symbol = night time/ low light shooting

M=manual function

AV= aperture priority

TV=shutter priority

MF/AF= manual focus/automatic focus

RAW for very large photos, e.g. the side of a building. They take up a lot of memory and you cannot process RAW images inside photoshop. You would instead need to use a RAW converter, such as Adobe camera RAW.

We learnt to work with tripods, which is something I had never done before. Using a tripod is an important technique in photography. When holding a camera by hand, we have a natural shake that can cause blurring in photos, especially when using a long shutter speed.

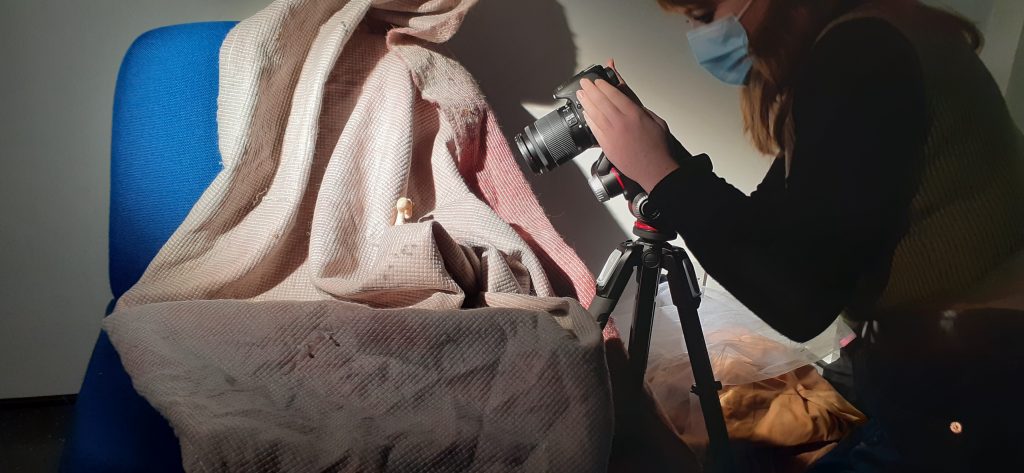
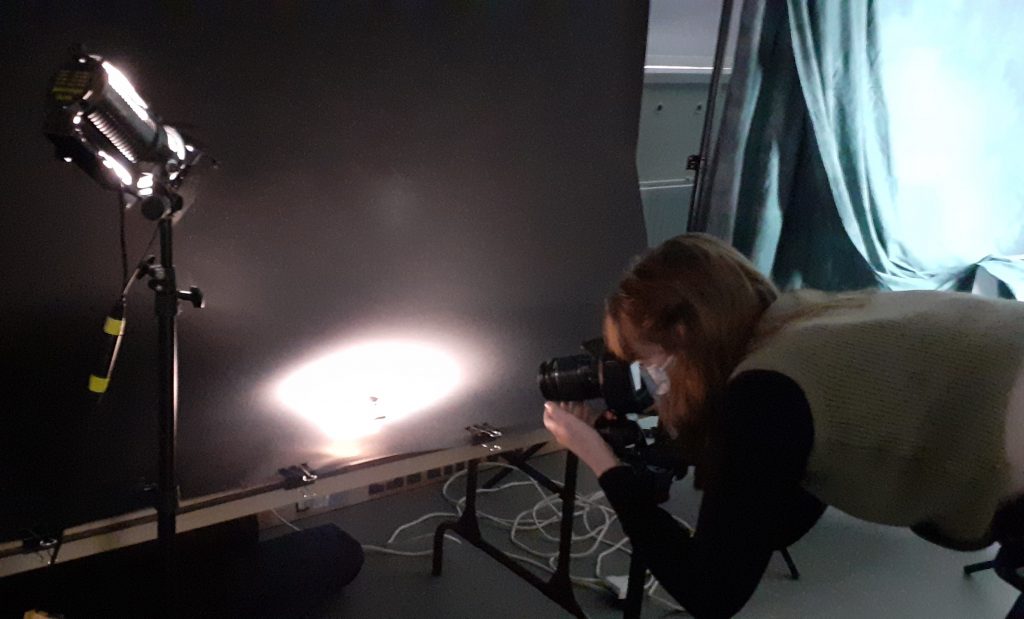
We used 4 different set-ups to photograph our objects. Working in pairs, we took several photos in 1 area, then moved to the next. For example, in 1 set-up we were using a chair draped in fabric and metal studio lights. These lights get very hot, so we used heat protective gloves to handle them. We had the choice of using one or both lights for a photo. Moving the bulb back and forth gave a spot-light effect or a more balanced light. We had the option to light part of all of the object.

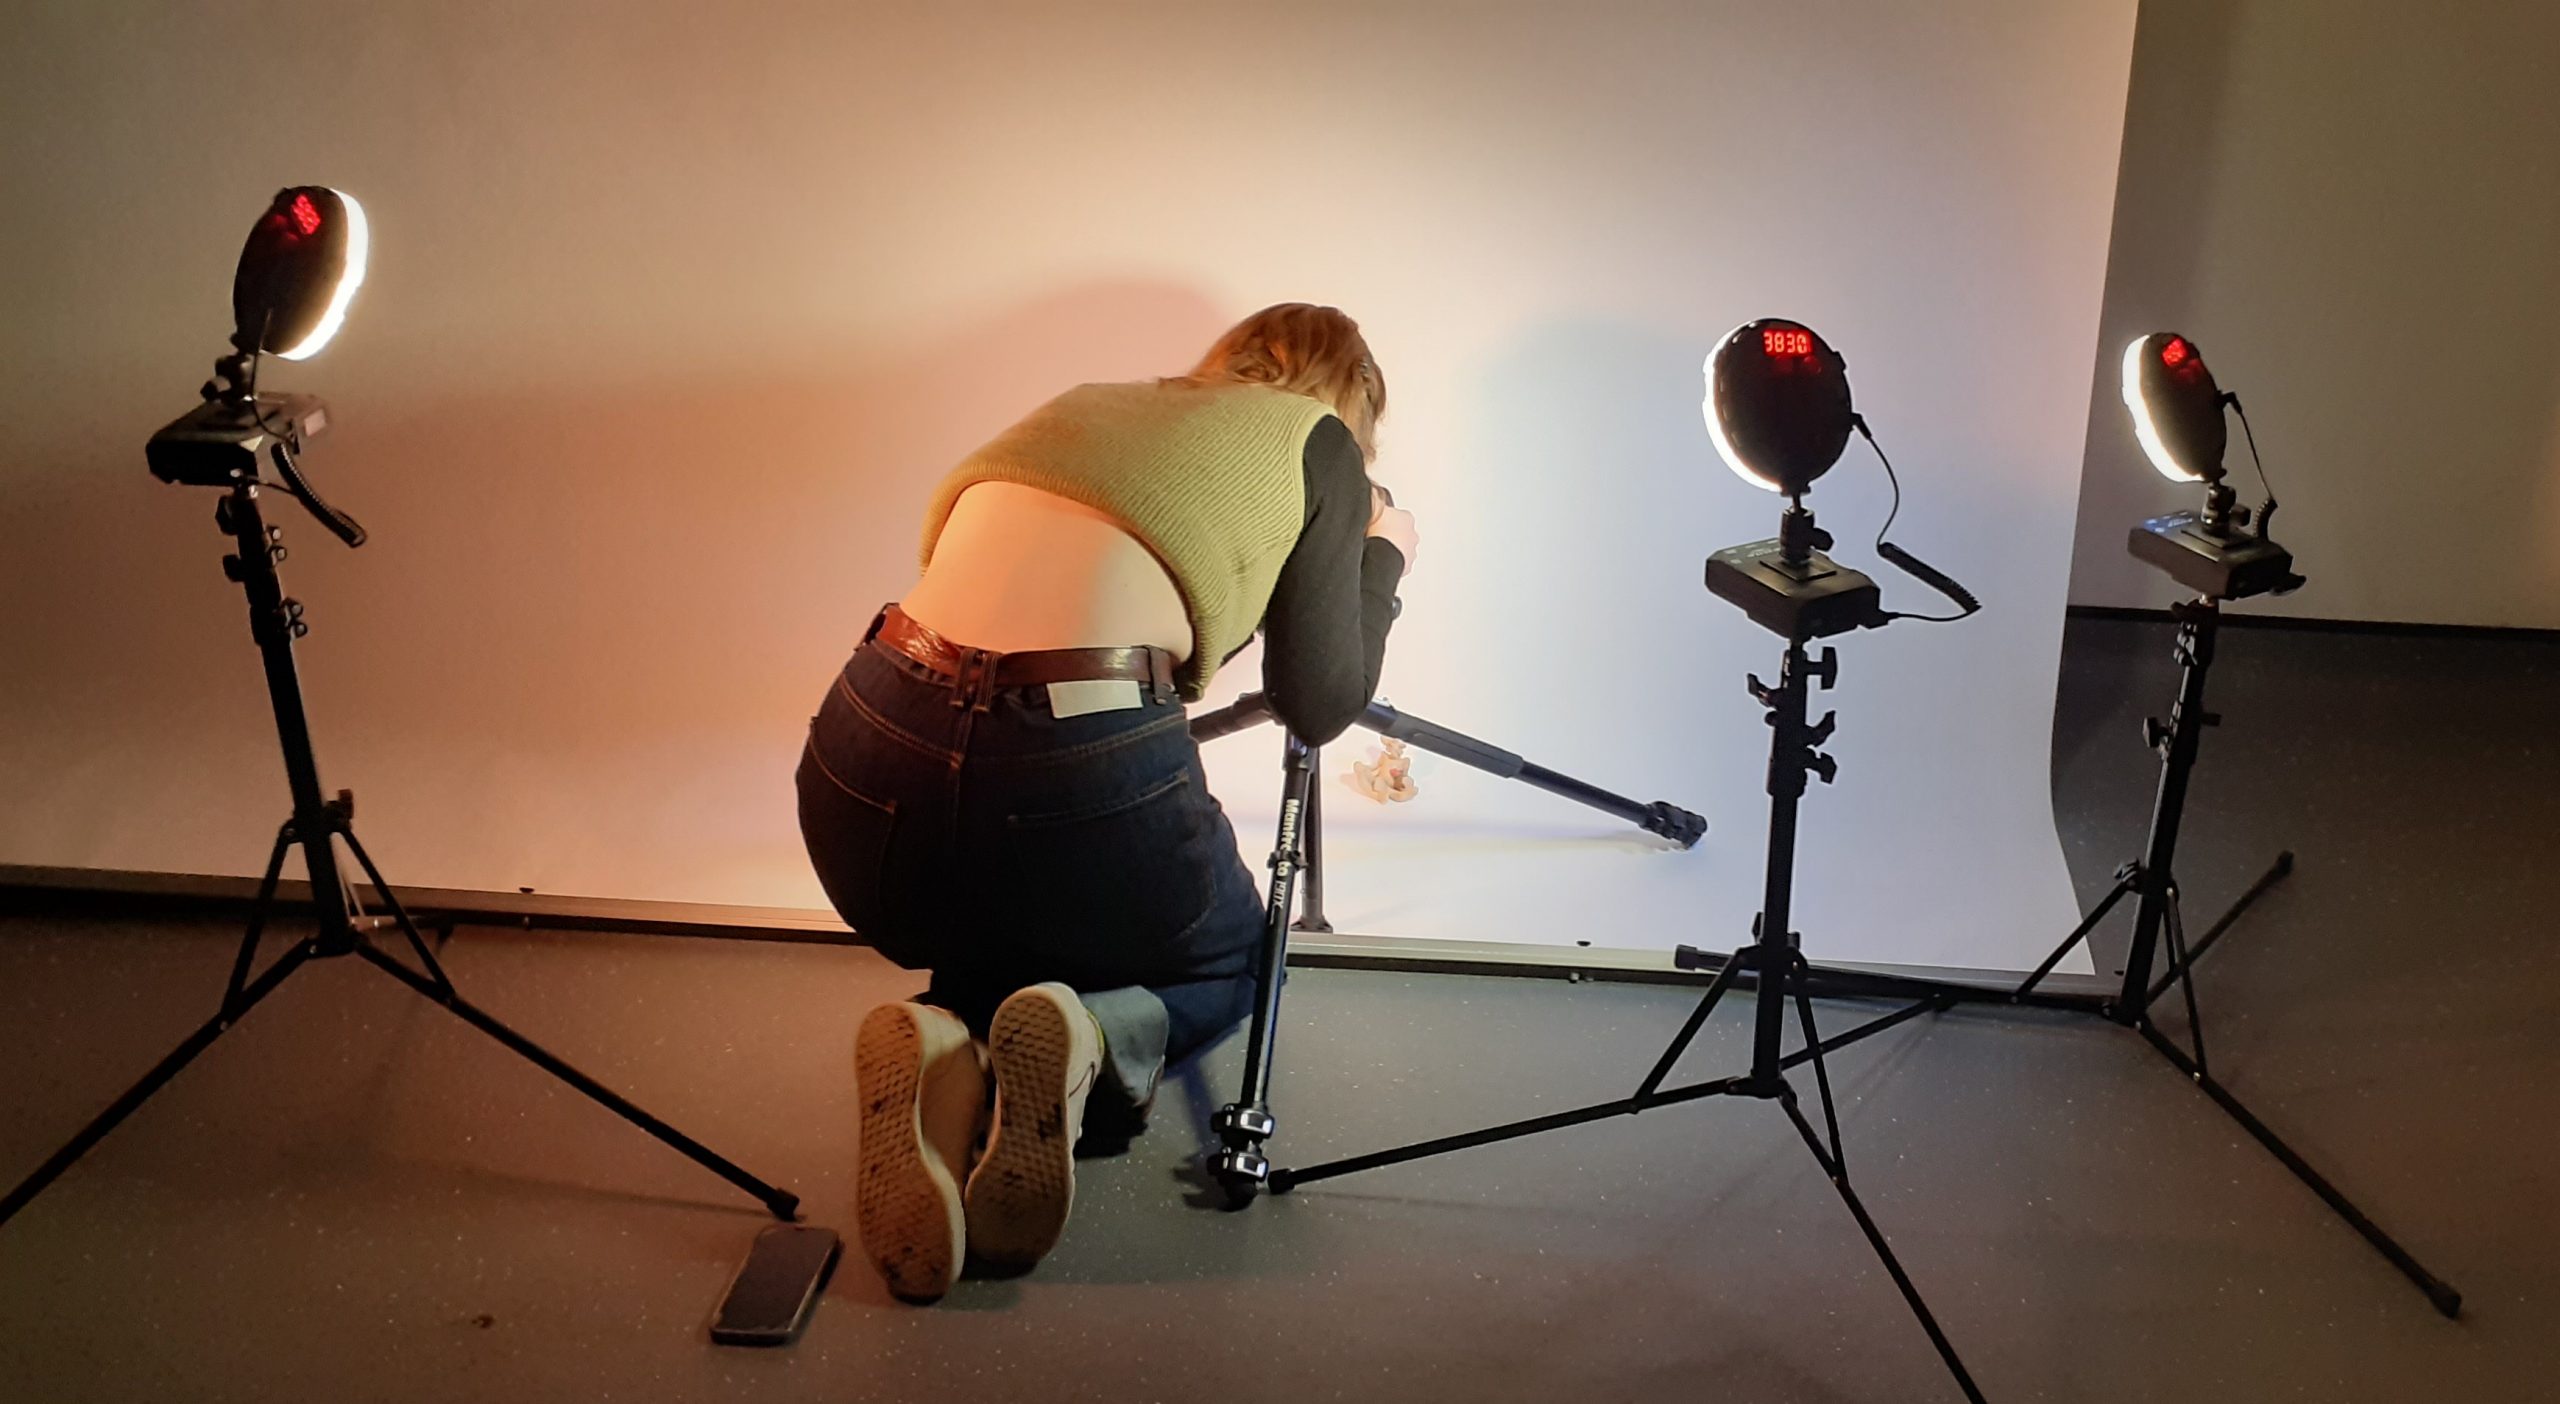
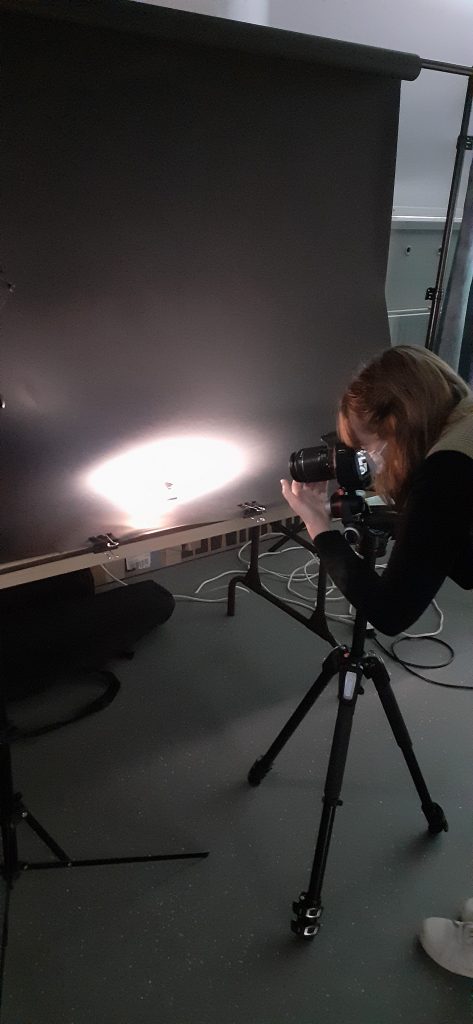
My classmate photographing her object.

Another set up had a plinth and sheet hanging as a background. For this set-up we used studio lights with diffusers attached to the front. This set-up reminded me of a school photo shoot.

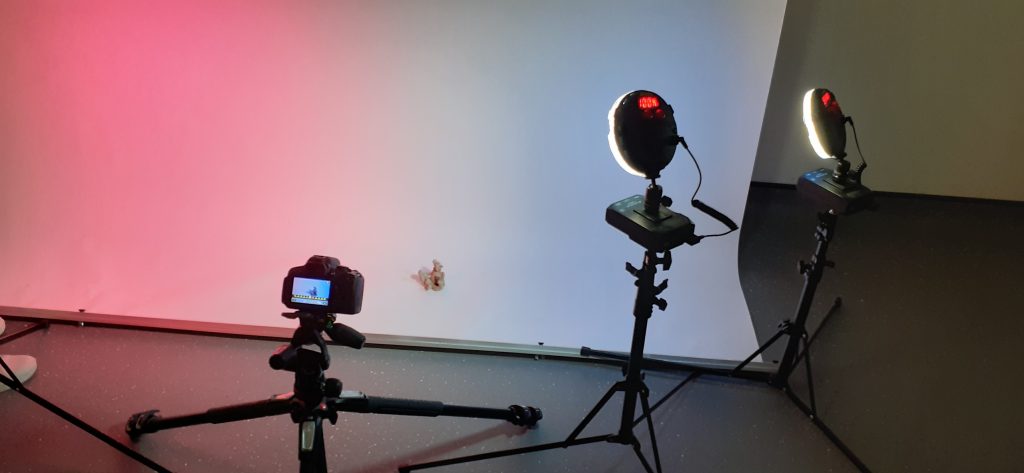
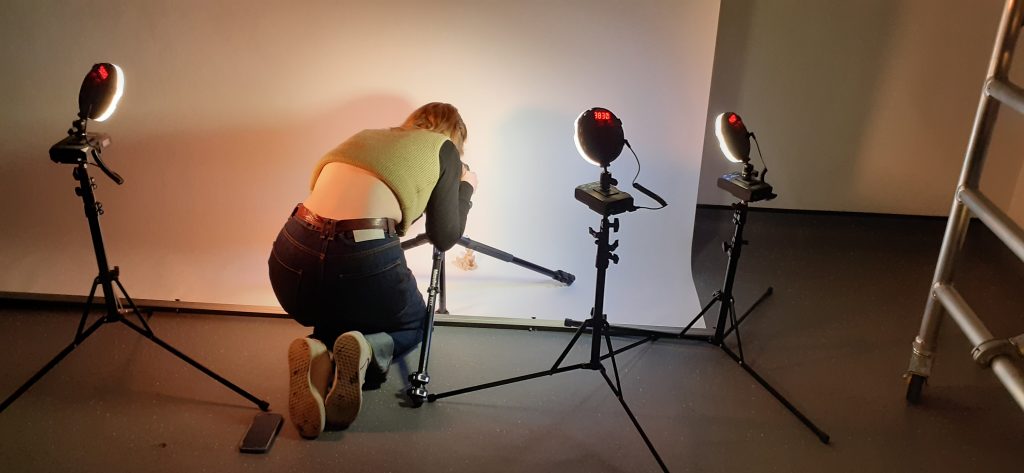
The 4th set-up allowed us to add colour gels to filter the light through. These were LED lights. They were the easiest to use, as the switches were the same on the back to 1) change the warmth of the light and b) change the brightness to lighter or darker.

LED light set-up gave us the option of using colour filters.
Classmate using the set-up.

It was interesting to experiment with shining light onto the background and seeing the effect compared to shining the light directly onto the subject. The black background created a theater look and made dramatic photos.

Class hand-out