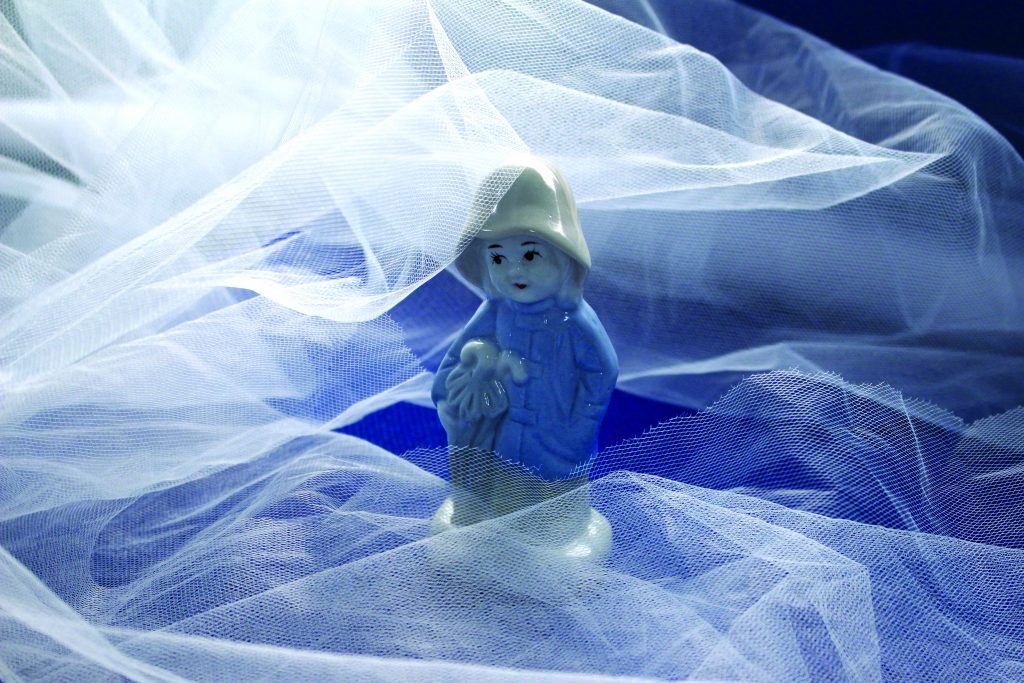
In this week’s workshop, we learned how to use Adobe PhotoShop to edit photographs. We practiced by editing the photos we took of our objects in last week’s photography workshop.
The Process:
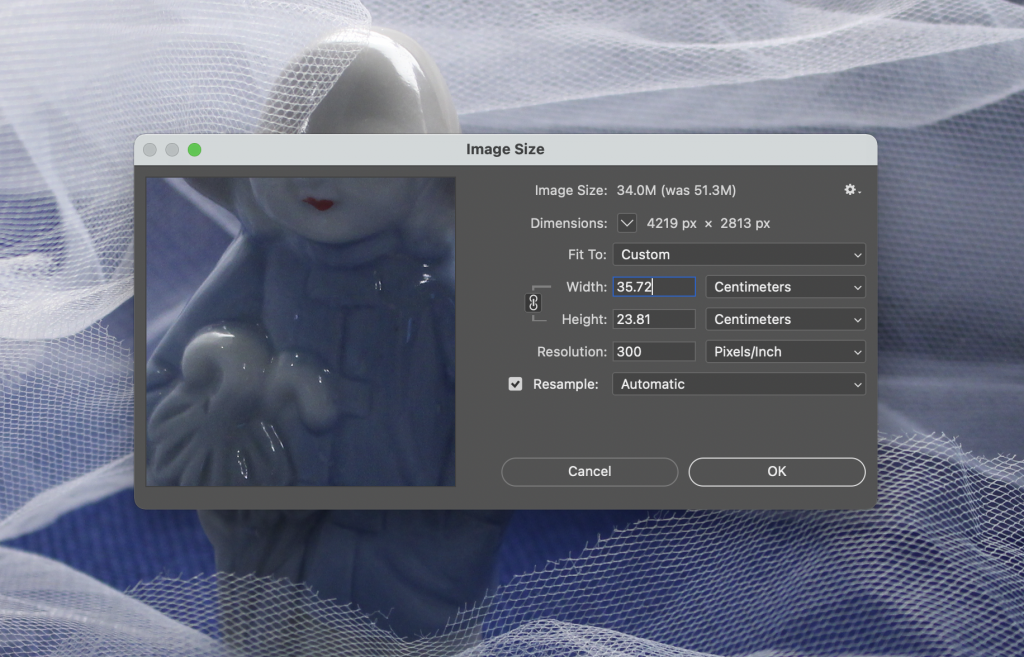
First, I opened my photograph in photoshop. An easy way to do this on a MAC, is to save the image to the desktop then drag and drop the image from the desktop into photoshop. You can also drag and drop several images into photoshop at the same time.
Selecting Image> adjustments> levels, brings up a histogram. It shows us what colour the pixels are. The shortcut for levels is Command + L.
The resolution is the pixels per inch, known as DPI.
- The lowest resolution is 72 DPI. This is good for images to be uploaded quickly, but they would be of a lower quality. The image could be suitable for images to be viewed on a phone- 72 is good for internet images.
- 180 DPI is suitable for a good print quality. Increasing the DPI to 180 means that the size of the image needs to be changed, otherwise you are stretching the image.
- 300 DPI would have a very good quality, but you would need to half the width of the image.
Selecting Image> mode> RGB (Red, Green,Blue) would be the option you would choose for screen production.
For an image that you want to print, CMYK (Cyan, Magenta, Yellow and Black) might be a better option. CMYK could correlate more with InDesign, as InDesign works in CMYK.
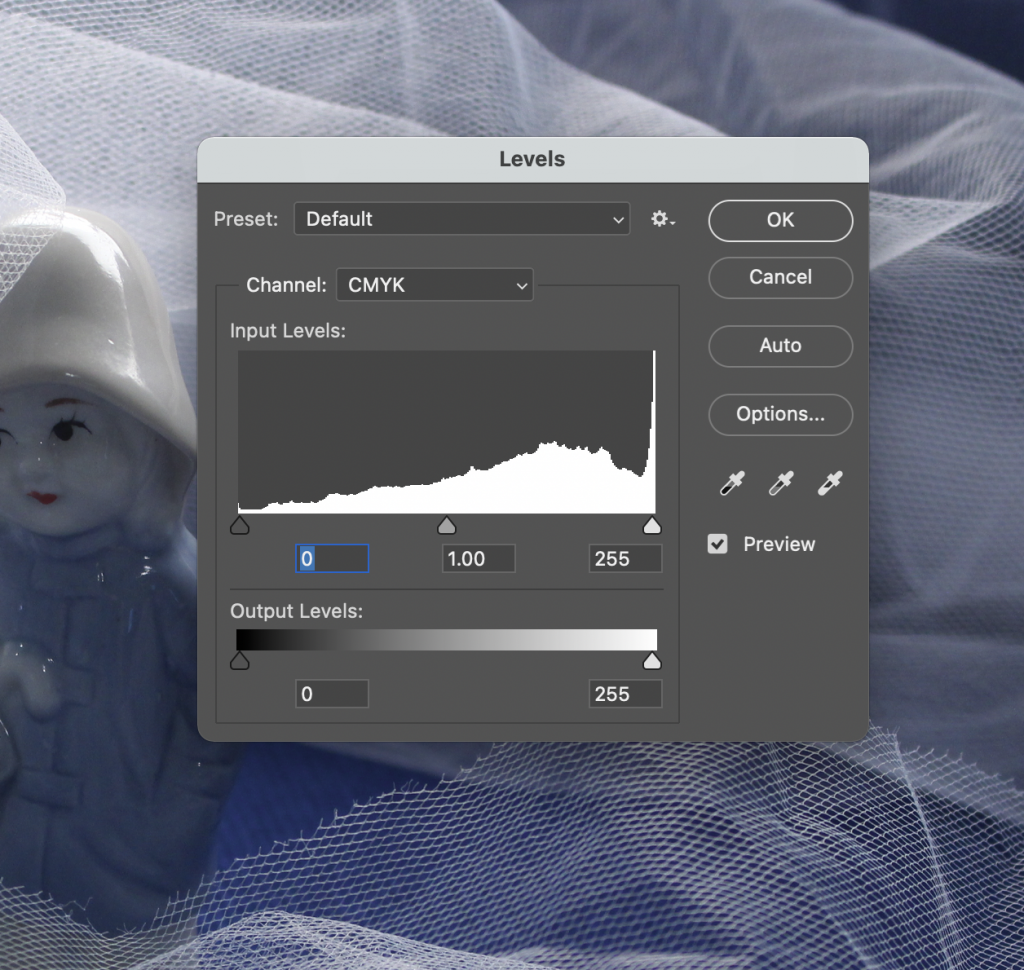
The 3 areas describe black on the left, mid-tones at the centre and highlights on the right. You might need to move the markers inwards to say where the histogram starts and ends. This would probably be the case if you had an image that was very light or very light. You can use these pointers to brighten or darken an image and make slight adjustments. Taking note of the slider number is useful.
You can use the pipette to show where you want the darkest dark or whitest white to be. The middle pipette can be used to unify the colours on a series of photos.
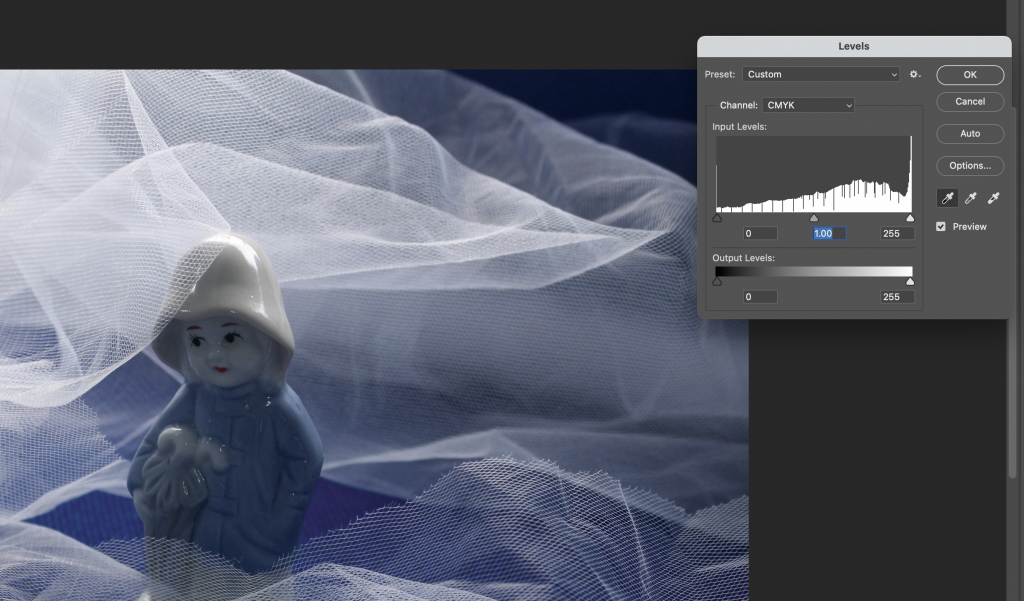
Holding down alt to brings up the option for reset. This can be used on the levels window to undo anything you have done to the image. (This works on any menu and replaces the ‘cancel’ option.)
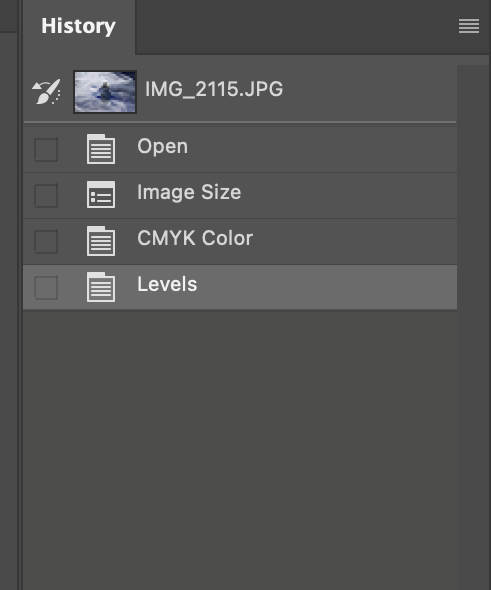
The history toolbar shows a record of your previous adjustments step-by-step. To bring up this tool, you can select Window> history to open it up.
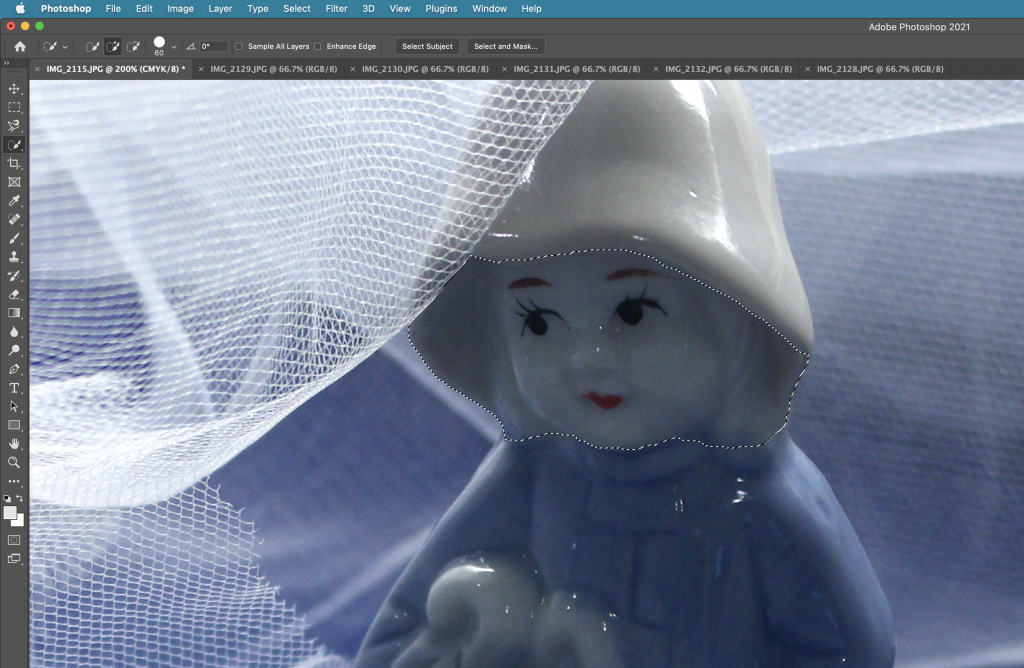
The magnetic lasso tool is used to select certain areas of your image. You can use the back space key to remove an anchor point, for instance if you have accidently gone out of the way.
The brightness/ contrast tool can be used to make adjustments. Using contrast can define the shadows. Our lecturer Hannah advised us not to use the brightness tool here, because the more refined way of brightening an image looks better.
The quick selection tool is another useful tool for selecting an area. It is used like a brush and like with a brush, the size can be increased and decreased. The easiest way to do this is to use the bracket keys make the brush bigger or smaller.
- Select> deselect. This deselects the area you have selected.
- Pressing V gets the curser back to an arrow.
- Command +0 brings the image back to full screen.
- Space bar, click and drag moves your focus around the page.
- Command +/ Command- zooms in and out.
- Selecting Helps > hands on tutorials brings up tutorials.
- To convert your image to black and white, I can select Image> adjustments> black and white.
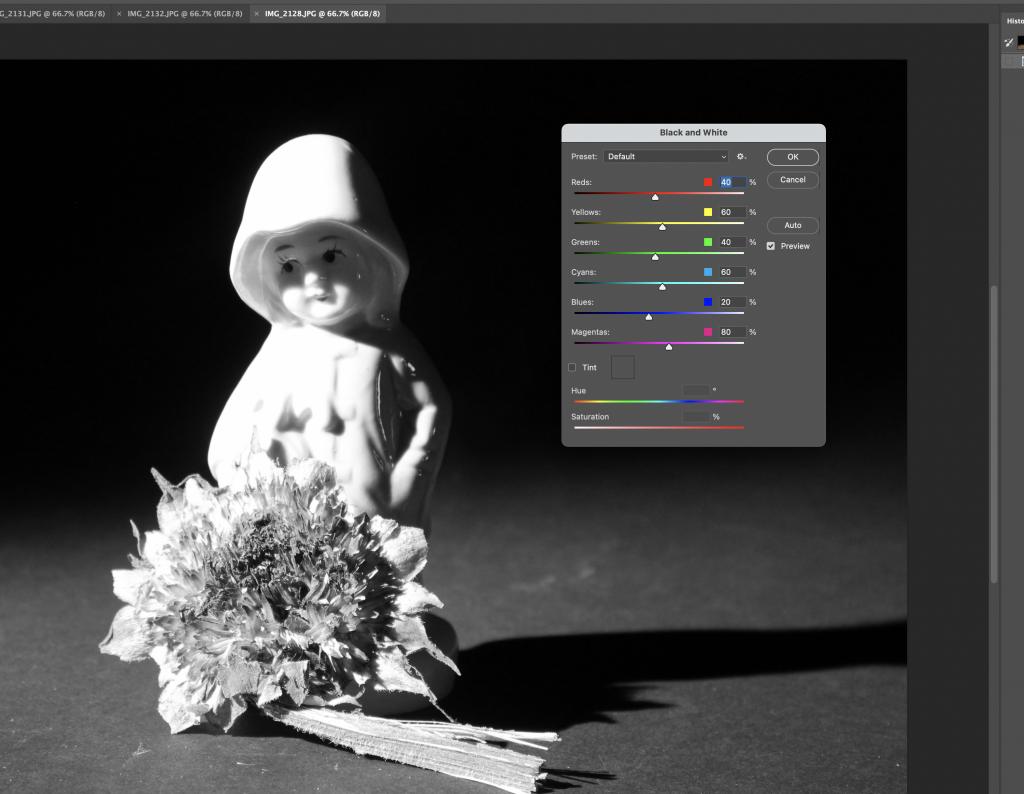
The colours of the sliders correspond to the colours in your original images. Changing these has an effect on your black and white image.
Green is more defined by the yellow channel than the green channel e.g. grass in an image.
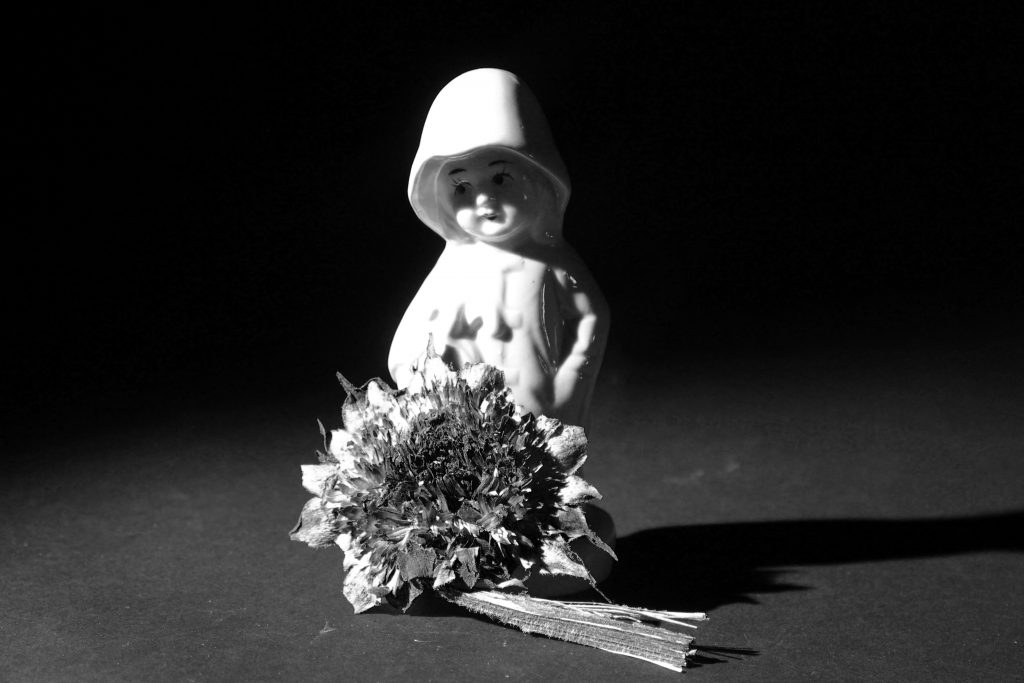
I chose ‘full black’ then lowered the contrast on the contrast and brighten tool for the above image.
When working with layers, clicking the eye switches the layer on and off. Meaning that you are able to see the image with and without that layer with the click of a button.
Only at the end of the process would you sharpen your photo. This can be good for an image that is very slightly out of focus, or ‘blurry’. To do this , I can select filter> sharpen > unsharp mask, and use the following numbers:
Radius 1.0
Amount 100
Threshold 8
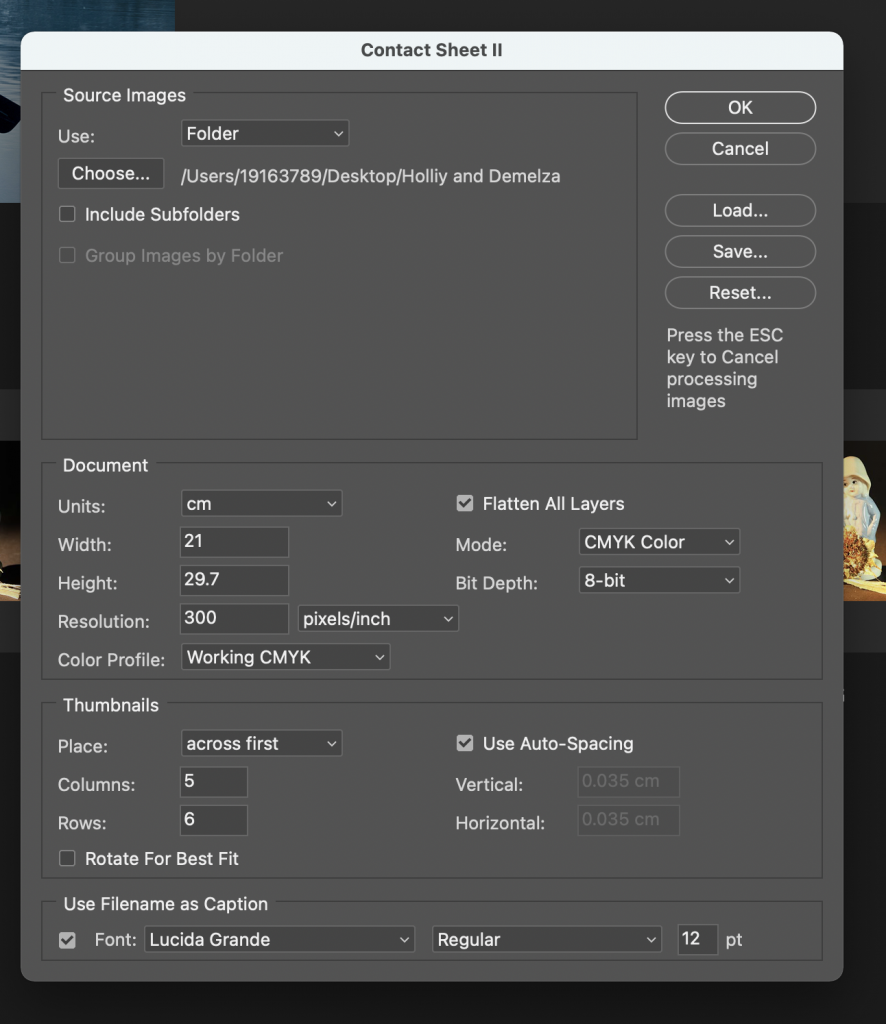
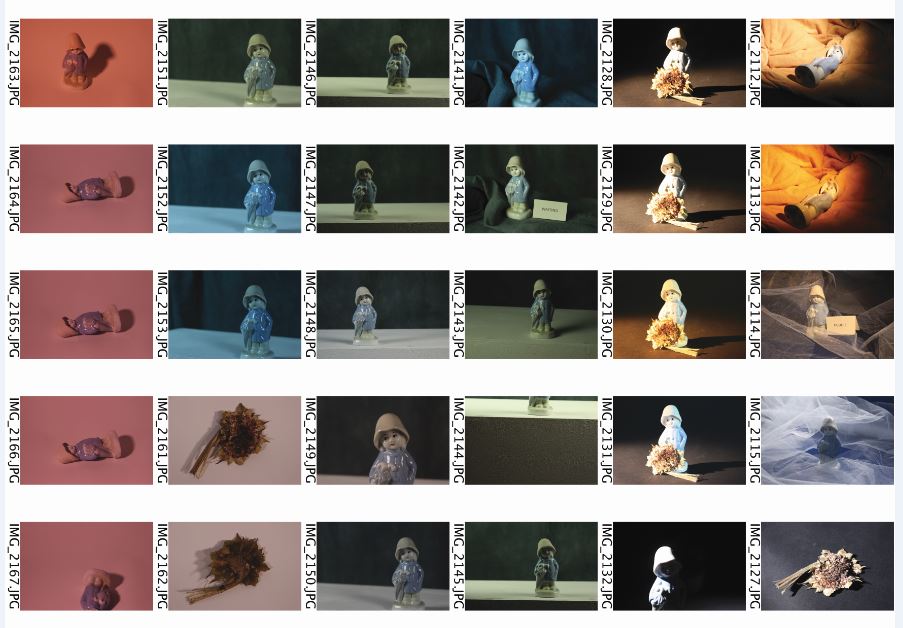
To create a contact sheet of all my photos from the workshop, I selected File> automate>contact sheet II. The photos will appear on the contact sheet in the alphabetical order they were in within the folder. Choosing the measurements means I can tell the computer whether I want the contact sheet to be landscape or portrait. I needed to know the measurements of A4 paper to do this.
Contact Sheet
A contact sheet is useful to be able to view all your photos together. (In this case, all the photos from one workshop.)

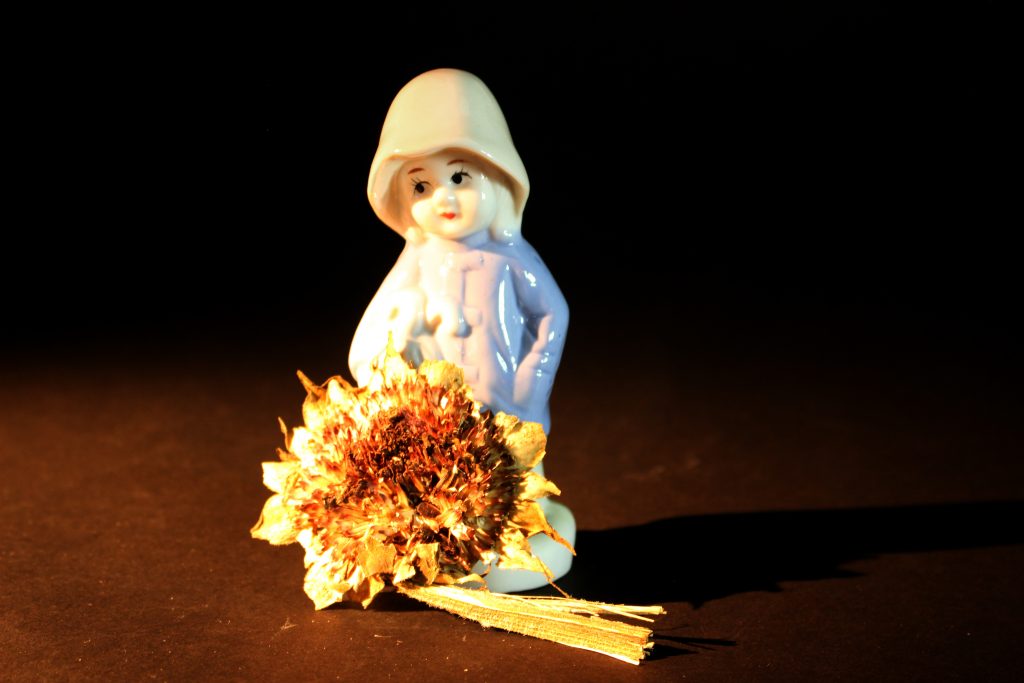
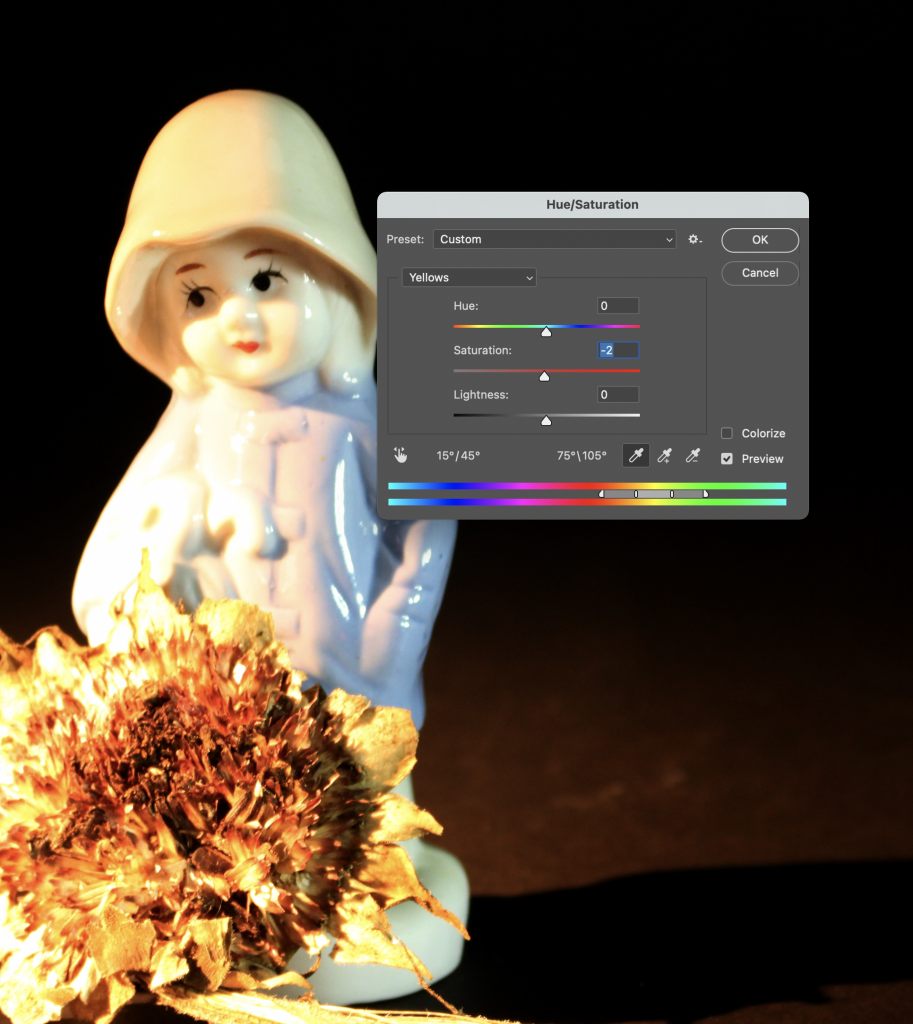
These were the 3 images I was able to edit during our PhotoShop workshop:
